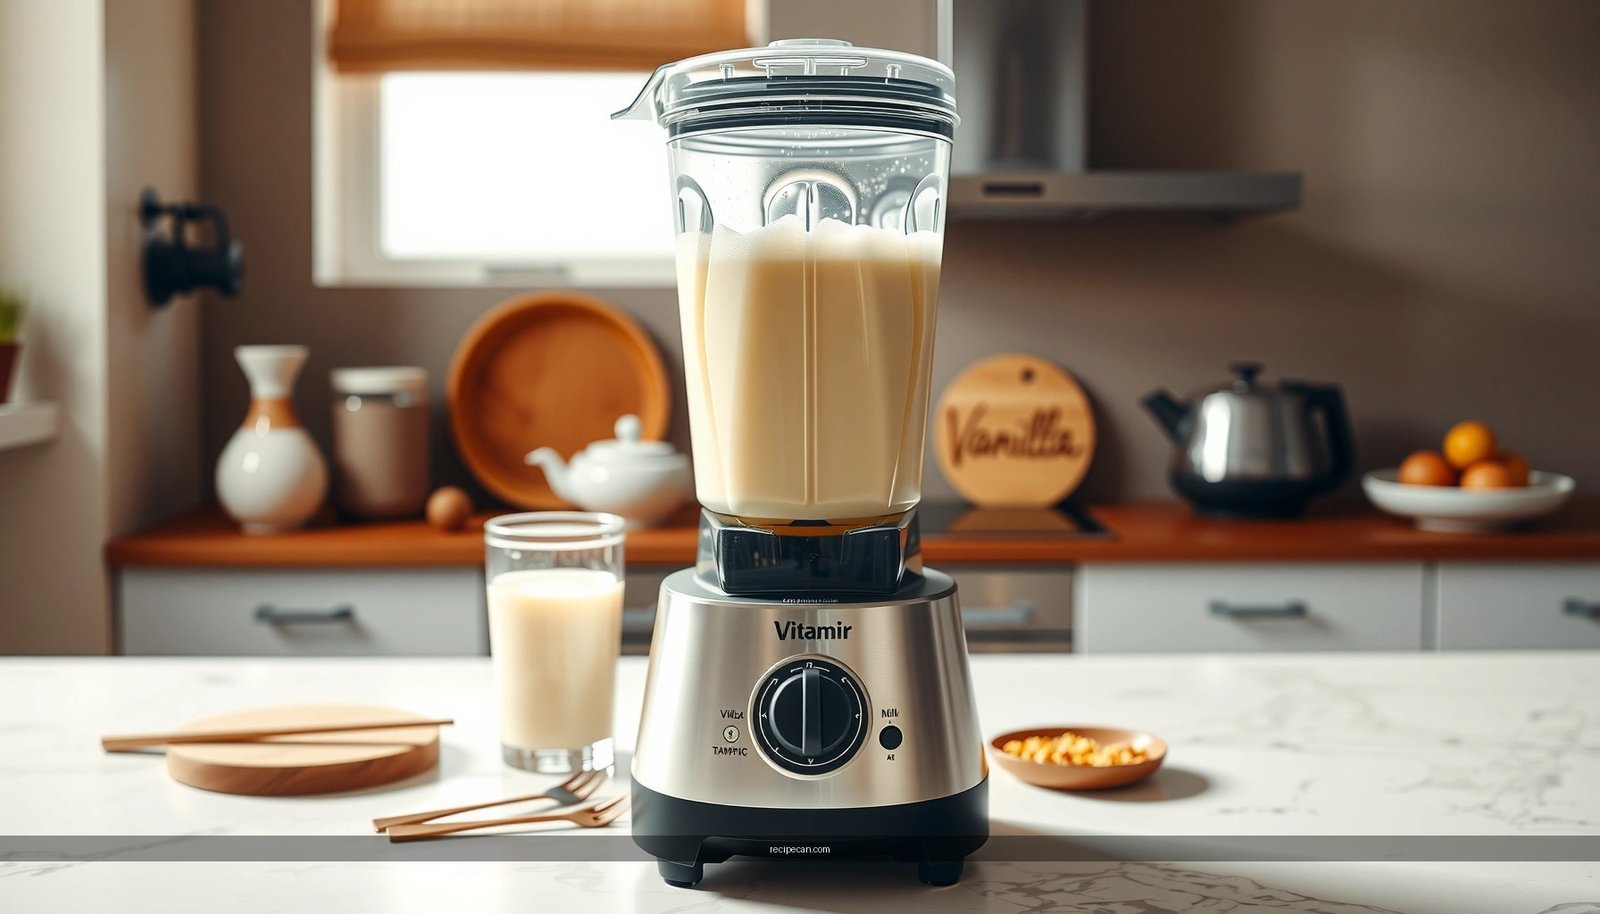
You want a Vitamix milkshake recipe that turns out thick, creamy, and spoon-stoppable—this one delivers. Follow these simple blender instructions for the quickest path from ingredients to a smooth shake without grainy ice or separation. By the end, you’ll know exactly how to blend, how long to run it, and how to get the texture right every time.
Make a thick, restaurant-style Vitamix milkshake by blending cold milk and your favorite ice cream with 1–2 mix-ins until completely smooth—then fine-tune thickness with simple ratio changes. Below are the exact blend steps, practical measurements, and customization ideas so you can consistently produce a creamy texture with minimal effort.
Choose Your Base Ingredients
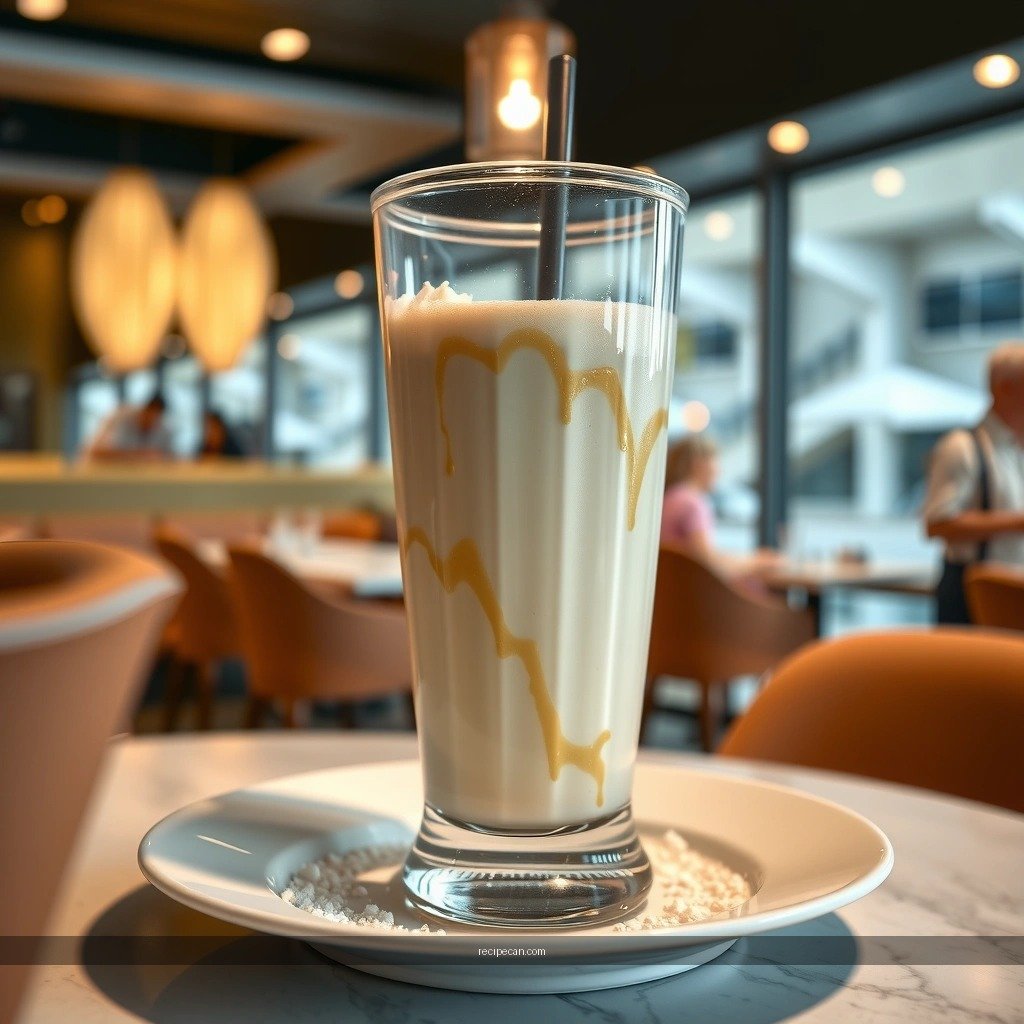
A great Vitamix milkshake starts with the right cold ingredients and a clear flavor direction. Because Vitamix blenders are built to create ultra-smooth textures, the main variables that affect your final shake are (1) temperature, (2) fat/protein content, and (3) how much “extra flavor” you introduce.
– Use cold milk and ice cream for the best thick texture
– Start with ice-cold milk and hard, scoopable ice cream. Cold ingredients help the blender maintain a thick emulsion rather than warming into a thinner drink.
– If your ice cream is very soft or melting, chill the container for 10–15 minutes before blending to protect thickness.
– Pick a flavor anchor (vanilla, chocolate, strawberry, or coffee)
– Choose one primary “anchor” so mix-ins don’t compete.
– For example:
– Vanilla anchor works with cookie crumbles, fruit, caramel, or chocolate syrup.
– Chocolate anchor pairs well with peanut butter, cocoa powder, or espresso powder.
– Strawberry anchor is ideal for real fruit, jam-style swirls, or white chocolate notes.
– Coffee anchor pairs naturally with mocha chips, cinnamon, or chocolate drizzle.
To keep measurements consistent, aim for a shake that’s thick enough to slow-flow off a spoon, not pour like a soda.
Build the Shake (Simple Measurements)
You don’t need complicated recipes—just a repeatable base ratio and controlled add-ins. These measurements are designed to work well for a standard single serving (one large glass or two smaller glasses) and to blend cleanly in a Vitamix.
– Start with milk + ice cream as your main ratio
– A reliable starting point for a classic thick milkshake:
– 2/3 cup (about 160 g) ice cream
– 1/3 cup (about 80–90 ml) cold milk
– Want it thicker? Move toward more ice cream / less milk.
– Want it more “strawberry shake” drinkable? Move toward less ice cream / more milk.
– Add 1–2 mix-ins (cookies, fruit, chocolate syrup) for flavor
– Keep mix-ins to 1–2 items for best texture and clean blending.
– Mix-ins should be either:
– Soft and blendable (banana, peanut butter, chocolate sauce), or
– Sized appropriately (cookie crumbs, chopped chocolate) so they don’t create gritty pockets.
– Use a simple rule: if your mix-in is chunky, chop it small or pre-freeze it for 20–30 minutes.
Example build formula (starting point):
– Base: 2/3 cup ice cream + 1/3 cup milk
– Mix-ins: 1–2 tablespoons of a thick add-in (peanut butter, jam, chocolate syrup) OR 1/4 cup of fruit/crumbs, depending on texture.
Milkshake Blend Settings That Match Ingredient Thickness
| # | Ice Cream to Milk Ratio | Estimated Texture | Start → High Speed | Blend Time (Total) | Expected Smoothness |
|---|---|---|---|---|---|
| 1 | 2/3 cup : 1/3 cup | Classic thick | Low (1–3) → High (8–10) | 35–45 sec | ★★★★★ |
| 2 | 3/4 cup : 1/4 cup | Extra thick | Low (1–3) → High (9–10) | 45–60 sec | ★★★★☆ |
| 3 | 1/2 cup : 1/2 cup | Pourable thick | Low (1–3) → High (8–9) | 30–40 sec | ★★★★★ |
| 4 | 5/8 cup : 3/8 cup | Spoonable | Low (1–2) → High (8–10) | 35–50 sec | ★★★★★ |
| 5 | 7/8 cup : 1/8 cup | Dense scoop-shake | Low (1–2) → High (10) | 55–75 sec | ★★★☆☆ |
| 6 | 1/4 cup : 3/4 cup | Thin café-style | Low (1–3) → High (7–9) | 25–35 sec | ★★★☆☆ |
| 7 | 2/3 cup : 1/3 cup + thick mix-ins | Classic with depth | Low (1–3) → High (9–10) | 40–55 sec | ★★★★☆ |
Vitamix Blending Steps for Creaminess
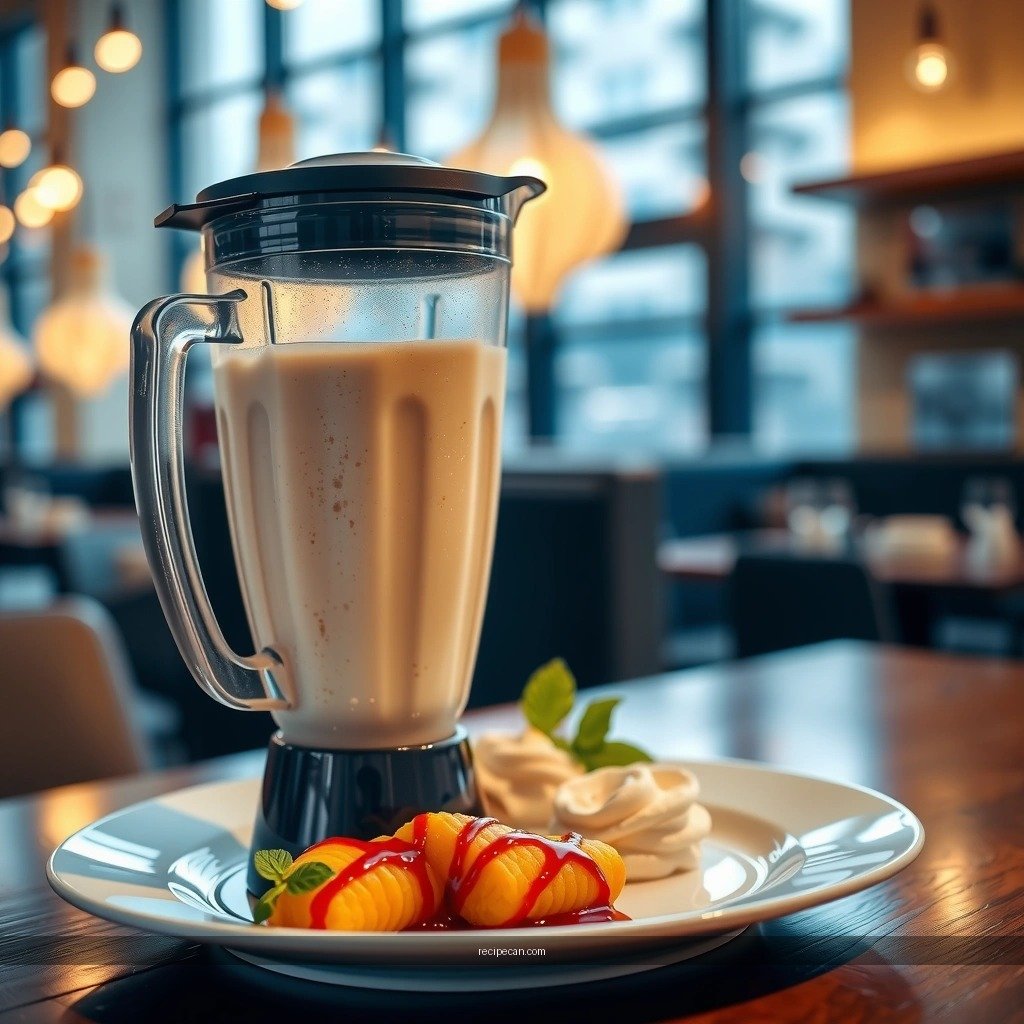
Blending technique matters as much as ratios. The goal is to build a stable emulsion without leaving frozen pockets. A short low-speed ramp helps the ingredients circulate evenly before you lock into high speed.
– Blend at a low start, then increase to high
1. Add cold milk first, then ice cream, then mix-ins.
2. Start on low (around 1–3) for 10–15 seconds. This prevents splatter and helps the blender begin pulling everything toward the blades.
3. Increase to high (8–10) for the smooth finish. This is where ice breaks down and texture turns glossy.
– Blend until smooth and creamy with no ice or chunks
– Blend until the mixture looks uniform and thick, and there are no visible streaks.
– Typical total blending time is 35–45 seconds for a classic 2/3 cup ice cream + 1/3 cup milk shake.
– If you hear persistent “grinding” or see unmixed chunks near the sides, pause, scrape down, and blend again.
Pro operator tip: If you add fibrous mix-ins (like strawberries or bananas), freeze them in small pieces so they blend evenly.
Adjust Thickness and Sweetness
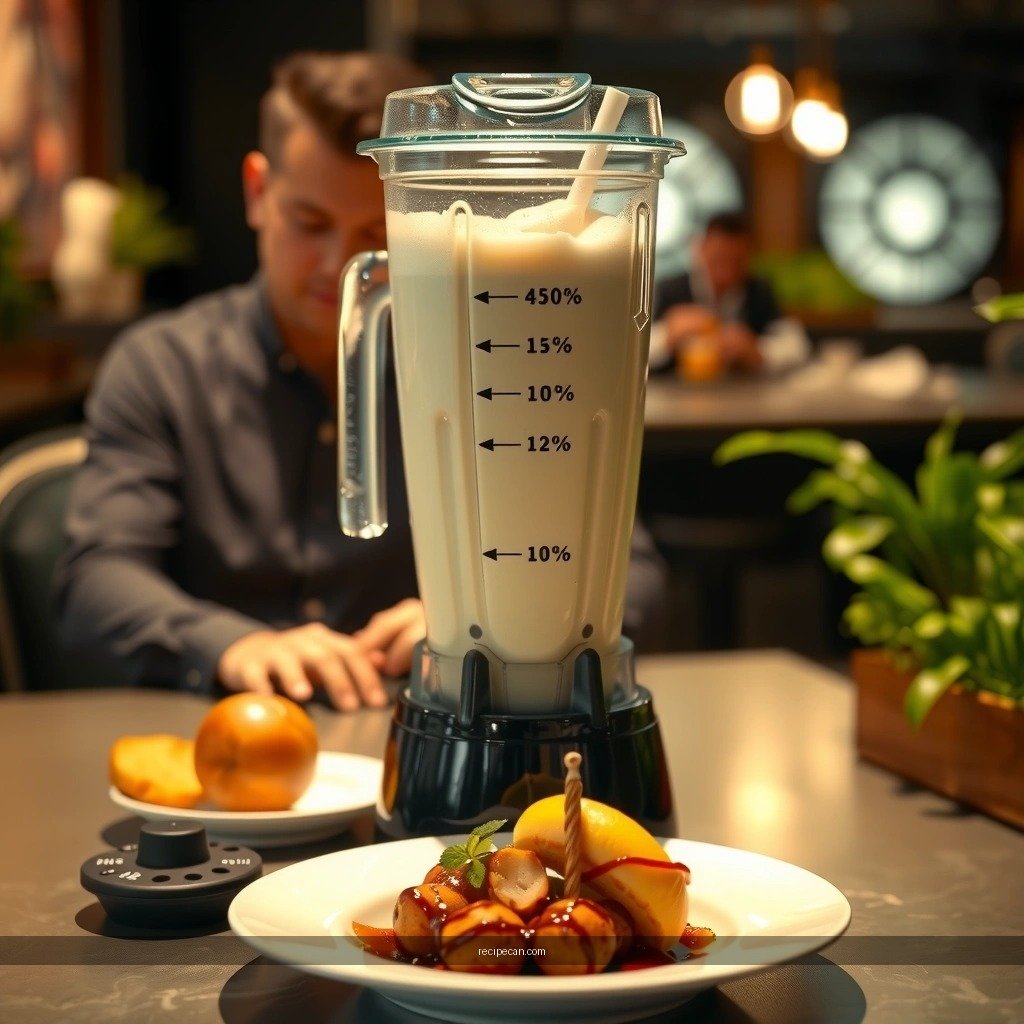
Once you understand the milk-to-ice-cream balance, customization becomes repeatable. Thickness changes mainly through dilution (milk) and solids (ice cream), while sweetness is driven by the flavor anchor and mix-ins.
– For thicker shakes, add more ice cream or less milk
– Move toward 3/4 cup ice cream + 1/4 cup milk for an extra-thick shake.
– Consider adding a little less milk rather than adding more ice cream if you want to preserve a smooth, spoonable consistency.
– For thinner shakes, add a small splash of milk and re-blend
– Add 1 tablespoon at a time (about 15 ml), blend for 10–15 seconds, then reassess.
– Thin shakes can become watery if you overshoot—small increments prevent that.
Sweetness calibration (business-like consistency):
– If using chocolate syrup, start with 1 tablespoon, then adjust.
– For fruit-based shakes, sweetness depends on the fruit’s ripeness. If your shake tastes “sharp,” add 1–2 teaspoons of a sweetener or syrup, then blend briefly.
– Vanilla shakes often need less added sweetness because vanilla ice cream already carries flavor depth.
Add-Ins and Flavor Variations
Mix-ins are where Vitamix milkshakes become “your brand.” The key is pairing ingredients by fat compatibility (dairy vs. chocolate vs. nut butter) and controlling particle size for smoothness.
– Try banana, peanut butter, cocoa powder, or espresso powder
– Banana + vanilla ice cream: Blend extra well for 45–60 seconds if using fresh banana pieces; freezing banana improves texture.
– Peanut butter + chocolate: Use 1–2 tablespoons peanut butter. It emulsifies well and creates a thick, cohesive shake.
– Cocoa powder: Add 1–2 tablespoons and blend thoroughly. Cocoa can be drying—milk ratio may need slight adjustment.
– Espresso powder: Start with 1/2 to 1 teaspoon; it boosts chocolate and vanilla profiles without making the shake taste like straight coffee.
– Add toppings after blending for crunch (sprinkles, whipped cream, cookie crumbs)
– Toppings remain vibrant and crisp when added at the end.
– Great crunch options:
– Cookie crumbs (fold-inspired texture without grinding)
– Chocolate shavings
– Toasted nuts (if very finely chopped)
– Whipped cream + drizzle
Flavor pairing ideas (fast selection):
– Vanilla + Oreo-style cookie crumbs
– Chocolate + peanut butter + chocolate drizzle
– Strawberry + white chocolate syrup + diced frozen strawberries
– Coffee + dark chocolate + espresso powder (mocha-forward)
Serve and Store Tips
Milkshakes are best when the texture is at peak thickness. While you can store them briefly, plan for slight separation as the emulsion cools and thickens.
– Serve immediately for the thickest consistency
– Serve right after blending to preserve aeration and prevent settling.
– Use a spoon test: if it slowly mounds and holds shape, you’re at the ideal thickness.
– If needed, refrigerate briefly and stir before drinking
– Refrigerate for up to 1–2 hours for best results.
– Stir vigorously or re-blend for 10–15 seconds to restore smoothness if you see separation.
– Avoid long storage; ice cream solids can settle and the shake may become uneven.
If you’re making multiple servings, blend one batch at a time to keep the texture consistent—this is especially important for add-ins like cookie crumbs and fruit.
A great Vitamix milkshake is all about the right ratio and blending until fully smooth—then customizing with your favorite mix-ins. Once you identify your preferred thickness (classic spoonable vs. ultra-thick), you can reliably remake the same result by adjusting milk and ice cream in small, controlled steps and sticking to a low-start then high-speed blending method.
References
- Google Scholar Google Scholar
https://scholar.google.com/scholar?q=vitamix+milkshake+recipe - Google Scholar Google Scholar
https://scholar.google.com/scholar?q=milkshake+recipe+blender - Google Scholar Google Scholar
https://scholar.google.com/scholar?q=smoothie+blender+emulsification+milk - Milkshake
https://en.wikipedia.org/wiki/Milkshake - https://www.britannica.com/topic/milkshake
https://www.britannica.com/topic/milkshake - Smoothie
https://en.wikipedia.org/wiki/Smoothie - Blender
https://en.wikipedia.org/wiki/Blender - https://www.mayoclinic.org/healthy-lifestyle/recipes/in-depth/smoothies/art-20048289
https://www.mayoclinic.org/healthy-lifestyle/recipes/in-depth/smoothies/art-20048289 - Milkshake recipes | Good Food
https://www.bbcgoodfood.com/recipes/collection/milkshake-recipes - https://pubmed.ncbi.nlm.nih.gov/?term=milkshake+nutritional+analysis
https://pubmed.ncbi.nlm.nih.gov/?term=milkshake+nutritional+analysis


