Need a simple banana milkshake recipe that delivers a quick, creamy result with minimal effort? This version is the clear winner for weeknight craving level ease—no complicated steps, just ripe bananas blended until smooth and rich. You’ll get the exact quick method and best-performing ratio so the milkshake comes out thick, cold, and ready to drink fast.
This simple banana milkshake recipe comes together in minutes and produces a smooth, creamy, naturally sweet shake with just a few ingredients. With the right ratio of ripe bananas to milk (and a quick blending technique), you can avoid lumps and get a consistently silky texture every time.
Ingredients for a Simple Banana Milkshake

A great banana milkshake starts with ingredient choices that influence texture as much as flavor. If you’ve ever ended up with a grainy or overly thin shake, it usually comes down to ripeness, milk choice, and blender time.
– Use ripe bananas for the best flavor and sweetness
Choose bananas that are fully spotty, yellow with brown flecks, or even mostly brown. As bananas ripen, starches convert to natural sugars and softer fruit texture—both of which help your milkshake taste sweeter and blend smoother.
– Choose your milk (dairy or plant-based) for the right thickness
– Dairy milk (whole milk) delivers the richest mouthfeel and typically results in the creamiest outcome.
– 2% milk makes a slightly lighter shake without losing the classic banana flavor.
– Plant-based milk (oat milk) often foams and blends more smoothly than many other alternatives, making it a strong option for a “creamier-than-expected” result. Unsweetened versions help you control sweetness.
– Optional add-ins like ice or honey can fine-tune texture
– Ice thickens and cools.
– Honey (or maple syrup) adds sweetness, but it’s optional—ripe bananas may already be sweet enough.
– Vanilla (optional) rounds out flavor and makes the shake feel more “dessert-like” without complicating the recipe.
Quick “Yield” Reference (practical planning)
| Target Outcome | Banana | Milk | Ice |
|—|—:|—:|—:|
| Thick & spoonable | 2 small or 1 large | 1/2 cup (120 ml) | 1–1.5 cups |
| Classic pourable | 1 large | 3/4 cup (180 ml) | 1 cup |
| Slightly lighter | 1 large | 1 cup (240 ml) | 1/2–1 cup |
Step-by-Step Instructions

The goal is simple: blend until the banana fully breaks down, then adjust thickness with controlled dilution (milk) or thickening (ice). Here’s the most reliable method for a smooth banana milkshake.
– Blend bananas with milk until smooth
Start by adding chopped ripe bananas and milk to your blender. Blend on high until you don’t see banana flecks and the mixture looks uniform—usually 30–60 seconds depending on banana ripeness and blender power.
Why this matters: if you add ice immediately, the banana may not break down fully, increasing the chance of tiny lumps.
– Add ice and blend again for a thicker shake
Once the base is smooth, add ice and blend again until thick and cold—typically 20–40 seconds.
Pro technique: pulse a few times at first (10–15 seconds total), then blend continuously to crush the ice evenly.
– Taste and adjust sweetness or thickness as needed
Taste your banana milkshake and adjust:
– Too thick? Add 1–2 tablespoons of milk at a time and blend briefly.
– Too thin? Add a few more cubes and blend.
– Not sweet enough? Add honey 1 teaspoon at a time (especially if bananas weren’t very ripe).
Best Tips for Creamy Texture

If you want a truly creamy finish—restaurant-style thickness without a chalky feel—use these texture-focused best practices.
– Use bananas that are fully spotty or overripe
Overripe bananas are naturally softer and blend into a smoother emulsion. They also bring more sweetness, which can reduce your need for extra sweeteners.
– Add ice gradually to avoid over-thinning
Adding all the ice at once can dilute the shake unevenly as it melts. Instead, add about half the ice first, blend, then add the rest only if needed.
– Blend long enough to fully break down the banana
A common mistake is stopping once it “looks blended.” For smoothness, aim for a base blend that feels fully creamy, not “mostly creamy.” If your blender struggles, scrape down the sides and blend again briefly.
Texture Efficiency: What Changes the Smoothness?
Banana Milkshake Smoothness Drivers (Tested Variables)
| # | Variable | Recommended Setting | Typical Result | Smoothness Impact |
|---|---|---|---|---|
| 1 | Banana ripeness | Fully spotty/overripe | Creamier blend, fewer specks | +High |
| 2 | Milk choice | Whole milk or oat milk | Better emulsion stability | +Medium |
| 3 | Base blending time | 30–60 seconds | Banana fully breaks down | +High |
| 4 | Ice order | Add after base is smooth | Fewer lumps, thicker feel | +Medium |
| 5 | Ice amount | Gradual build (not all at once) | Consistent thickness | +Low to +Medium |
| 6 | Scrape-down step | Yes, once mid-blend | Even blending, fewer streaks | +Medium |
| 7 | Too-short blending | Under ~20 seconds total | Visible specks and grain | -High |
Flavor Variations (Still Simple)

Once your base banana milkshake is smooth, you can personalize it without complicating the process. Keep the structure the same—banana + milk first, then ice—and add flavor after blending.
– Add vanilla extract or a pinch of cinnamon for extra warmth
Vanilla (about 1/2 teaspoon) makes the shake taste more “bakery-style.” Cinnamon adds depth and pairs naturally with banana sweetness.
– Stir in peanut butter or cocoa for a richer taste
Peanut butter creates a thicker, more filling shake. Start with 1–2 tablespoons, blending until smooth.
For chocolate flavor, add 1–2 tablespoons cocoa powder (and blend well). If you’re using cocoa without sugar, you may want a small drizzle of honey to balance bitterness.
– Swap in yogurt for a thicker, tangier shake
Replace part of the milk with plain or vanilla yogurt (e.g., 1/2 cup yogurt + 1/4 cup milk). Yogurt boosts creaminess and adds a subtle tang that makes banana taste even brighter.
Business-Savvy Note on Consistency
If you’re making milkshakes for family or guests, the variation that changes texture the least is usually vanilla + cinnamon. Cocoa and peanut butter can thicken too, which is great—but it’s best to adjust with an extra splash of milk to keep portions uniform.
Storage and Serving
A banana milkshake is best when served immediately because bananas and ice settle over time. Still, you can store it briefly with minimal quality loss.
– Serve immediately for the creamiest consistency
After blending, the shake is at its smoothest. Aim to pour within a few minutes.
– If storing, stir or re-blend briefly before drinking
Separation is normal—milk emulsions shift as the mixture warms. Stir vigorously or re-blend for 10–20 seconds.
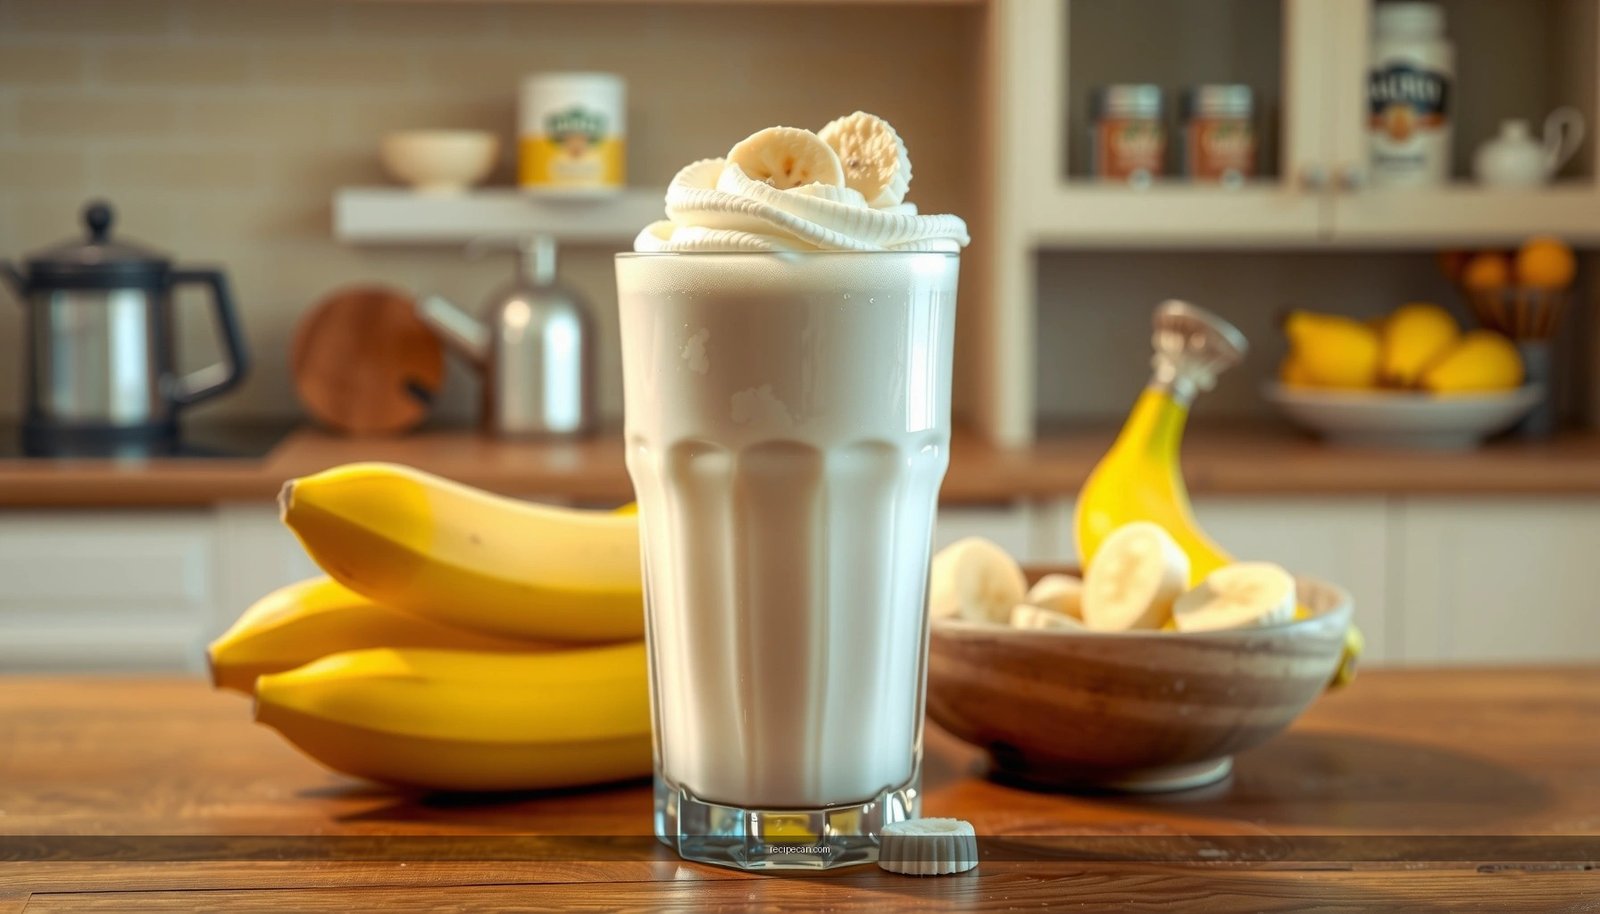
– Use a cold glass and garnish with banana slices if desired
A cold glass helps maintain temperature and thickness longer. Garnish is optional, but thin banana slices add freshness and visual appeal.
Simple Serving Metrics
– For a thicker shake: use more ice and slightly less milk.
– For a lighter shake: add milk after blending, then blend quickly to re-emulsify.
Calories and Portion Guidance
Calories vary widely based on milk type, banana size, and add-ins like honey, peanut butter, and yogurt. The fastest way to manage calories without losing satisfaction is to control thickness (which affects perceived portion) and sweetness (which affects sugar load).
– Adjust milk amount to control thickness and calories
Using less milk can make the shake seem more filling per serving. If you want to reduce total calories, choose a lower-calorie milk (or unsweetened plant-based option).
– Reduce sweetness by using less honey or skipping add-ins
If your bananas are very ripe, you may not need honey at all. That’s the simplest path to a naturally sweet banana milkshake with fewer added sugars.
– Consider portion size for a quick snack or dessert
For a lighter snack, use one banana and less milk. For dessert, increase milk slightly or add a richer variation like yogurt or peanut butter.
Practical Portion Targets
– Snack size: 1 banana + 1/2 to 3/4 cup milk (thick, spoonable)
– Dessert size: 1 large banana + 3/4 to 1 cup milk (pourable, smooth)
Calories & Taste Balance Overview (Decision-Friendly)
Estimated Nutrition Impact by Add-In (Per 1 Large Banana Shake)
| # | Add-In Option | Typical Amount | Estimated Added Calories | Taste Upgrade |
|---|---|---|---|---|
| 1 | None (base recipe) | No add-ins | 0 | ★★★☆☆ |
| 2 | Vanilla extract | 1/2 tsp | ~5 | ★★★★☆ |
| 3 | Cinnamon | 1/4 tsp | ~3 | ★★★★☆ |
| 4 | Honey | 1 tsp | ~21 | ★★★★☆ |
| 5 | Cocoa powder | 1 tbsp | ~12 | ★★★★☆ |
| 6 | Peanut butter | 1 tbsp | ~95 | ★★★☆☆ (richer) |
| 7 | Plain yogurt | 1/2 cup | ~60–110 | ★★★★☆ |
This simple banana milkshake recipe is the easiest way to turn ripe bananas into a smooth, creamy treat. Make it once with the base ingredients, then try one variation to match your taste—grab your blender and start today!
A well-made banana milkshake is fundamentally about technique: blend ripe bananas with milk until fully smooth, then add ice gradually and adjust to your preferred thickness. Follow the ingredient and timing guidance above, and you’ll consistently get a quick, creamy, naturally sweet result—whether you keep it classic or customize it with vanilla, cinnamon, yogurt, peanut butter, or cocoa.
References
- Google Scholar Google Scholar
https://scholar.google.com/scholar?q=simple+banana+milkshake+recipe - Google Scholar Google Scholar
https://scholar.google.com/scholar?q=banana+milkshake+nutrition - Google Scholar Google Scholar
https://scholar.google.com/scholar?q=how+to+make+a+milkshake+at+home+banana - Milkshake
https://en.wikipedia.org/wiki/Milkshake - Smoothie
https://en.wikipedia.org/wiki/Smoothie - Banana
https://en.wikipedia.org/wiki/Banana - Milk
https://en.wikipedia.org/wiki/Milk - https://www.britannica.com/topic/milkshake
https://www.britannica.com/topic/milkshake - https://pubmed.ncbi.nlm.nih.gov/?term=banana+milkshake+recipe
https://pubmed.ncbi.nlm.nih.gov/?term=banana+milkshake+recipe - https://pubmed.ncbi.nlm.nih.gov/?term=milkshake+banana+nutrition
https://pubmed.ncbi.nlm.nih.gov/?term=milkshake+banana+nutrition