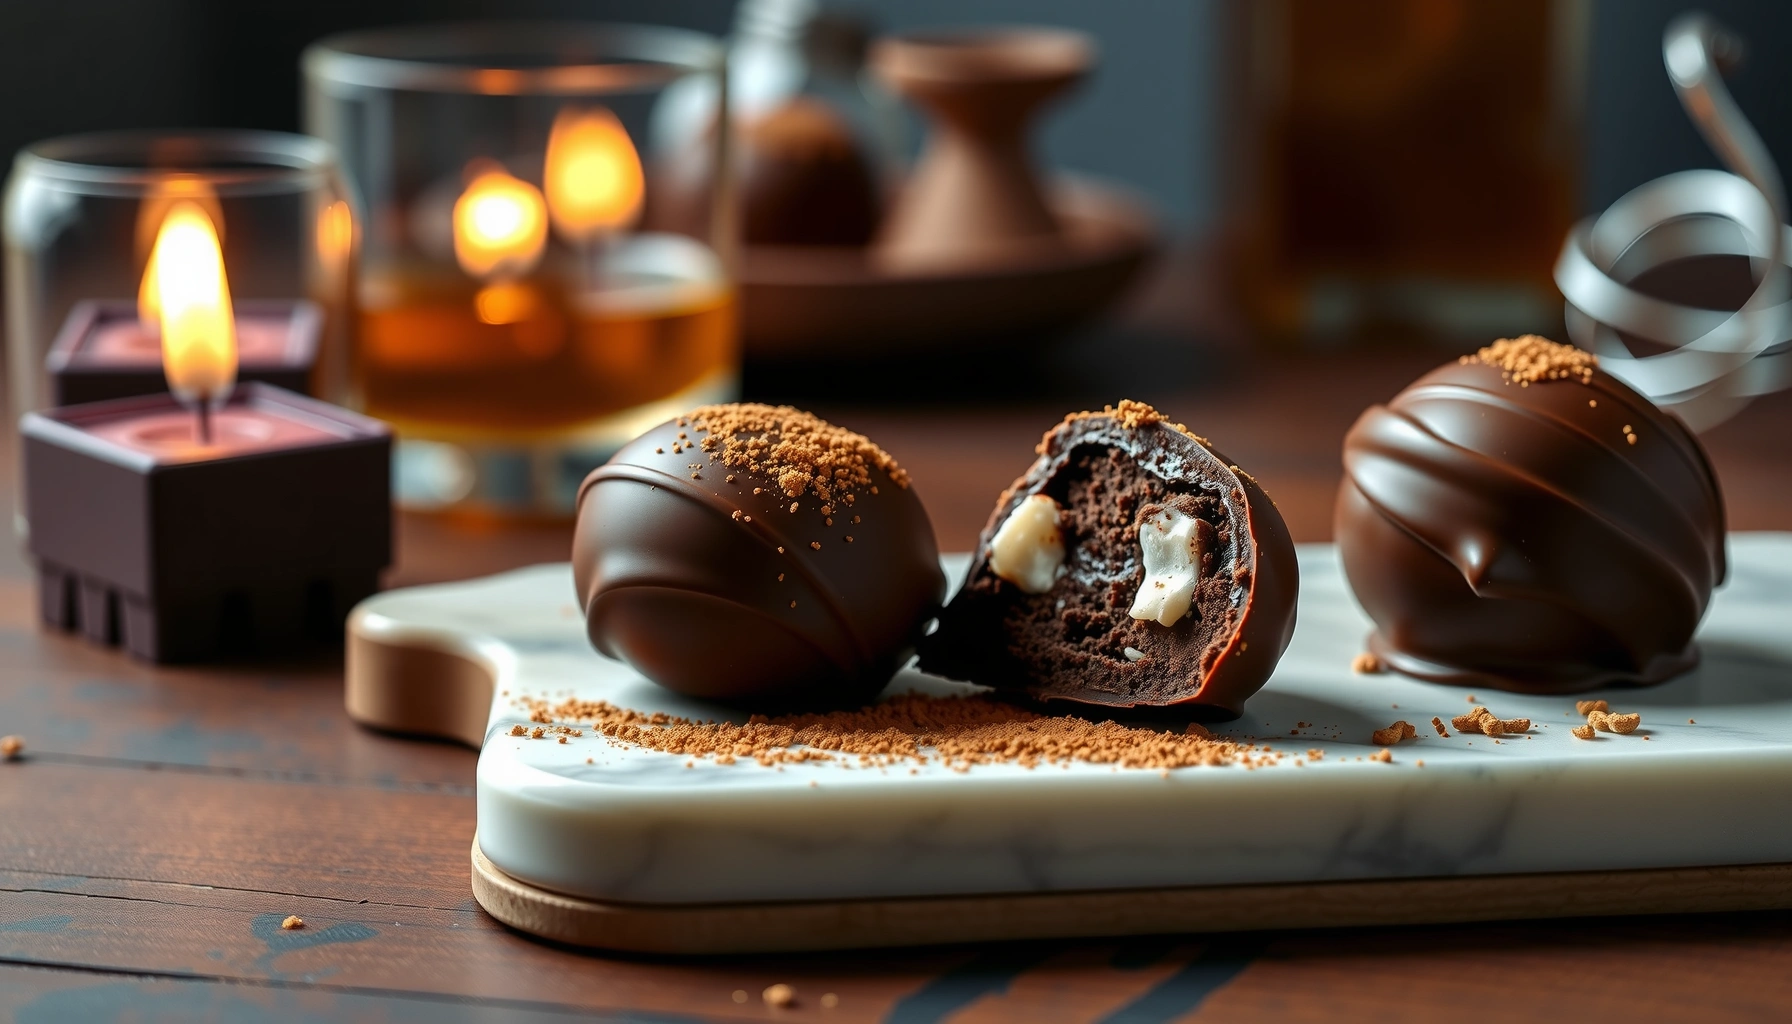
Get the old fashioned bourbon balls recipe you can actually make: rich bourbon flavor, classic cocoa coating, and a smooth, no-fuss step-by-step process. This guide delivers the definitive method for forming bourbon balls, rolling them cleanly, and setting them so they slice and bite just right. If you want traditional results without guesswork, you’ll have a batch ready to chill and serve.
Old fashioned bourbon balls are best made by creating a firm, chocolate-cocoa bourbon filling, chilling it until moldable, then coating with tempered-style melted chocolate for a clean shell. This step-by-step bourbon balls recipe walks you through exact mixing targets, rolling and chilling timing, and practical storage guidance so your candy sets properly for holidays and gifting.
Ingredients for an Old Fashioned Bourbon Balls Recipe
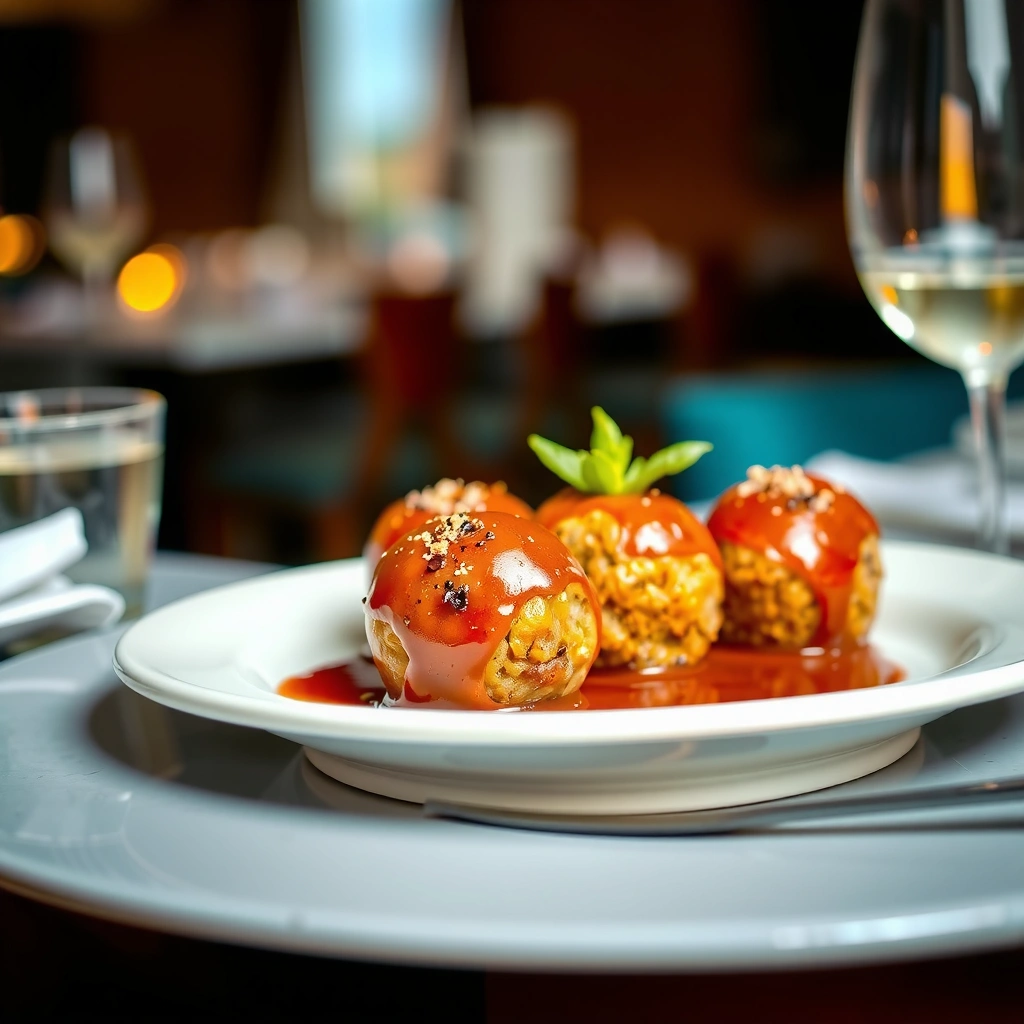
Classic bourbon balls are essentially a bourbon-infused confection: a cooked/cream-and-butter base (or softened fat base), sweet powdered sugar for structure, cocoa for depth, optional chopped nuts for texture, and chocolate for coating or topping. The key to an old fashioned result is balance—enough bourbon to flavor the filling without making it too loose.
– Butter: provides body and helps the filling set when chilled
– Bourbon: choose a mid-priced bourbon with vanilla-oak notes (your bourbon flavor should be present, not harsh)
– Powdered sugar: fine sugar dissolves smoothly and thickens the mixture into a rollable paste
– Unsweetened cocoa powder: for classic chocolate bitterness and structure
– Vanilla extract: rounds bourbon edges and enhances the chocolate aroma
– Chopped nuts (optional): walnuts or pecans are traditional; keep pieces small for even texture
– High-quality chocolate for coating (or topping): use chocolate chips or a baking bar designed for melting
Ingredient quality matters more than most people expect. A watery cocoa or low-fat “cocoa mix” can change the filling texture and cause softness. Similarly, if your powdered sugar is lumpy, sift it to prevent gritty filling and inconsistent setting.
Quick “structure” note (why ratios matter)
For bourbon balls, the filling should feel like thick fudge dough—tight enough to hold shape, but still pliable for rolling. If it looks glossy and thin, it likely needs more cocoa/powdered sugar or additional chilling. If it’s dry and crumbly, it may need a small amount of butter or a controlled splash of bourbon (but go sparingly).
Bourbon Ball Filling Consistency Targets (Workshop Benchmarks)
| # | Mix Checkpoint | Target Texture | Time (Chill/Set) | Outcome |
|---|---|---|---|---|
| 1 | After heating butter + bourbon | Smooth, lightly glossy base; no separation | 5 min cooling | Improved cocoa incorporation |
| 2 | After whisking powdered sugar + cocoa | Thick paste that forms a ribbon and holds | 15–20 min | Rollable dough consistency |
| 3 | Dough firmness before rolling | Firm enough to scoop; slightly tacky on fingers | 30–45 min | Clean shaping, fewer cracks |
| 4 | Surface prep before coating | Surface feels dry-ish; dough isn’t sticky or wet | 10 min uncovered | Better chocolate adhesion |
| 5 | After coating | Chocolate shell matte-to-satin, not wet-glossy | 20–30 min at cool room temp | Handle without deforming |
| 6 | Final set before packaging | Firm snap when lightly tapped (shell holds) | 1–2 hours chilled | Stable shapes for gift boxes |
| 7 | Best service window after chilling | Slightly softened center; shell not brittle | 10–15 min at room temp | Peak flavor & texture |
Step-by-Step Instructions
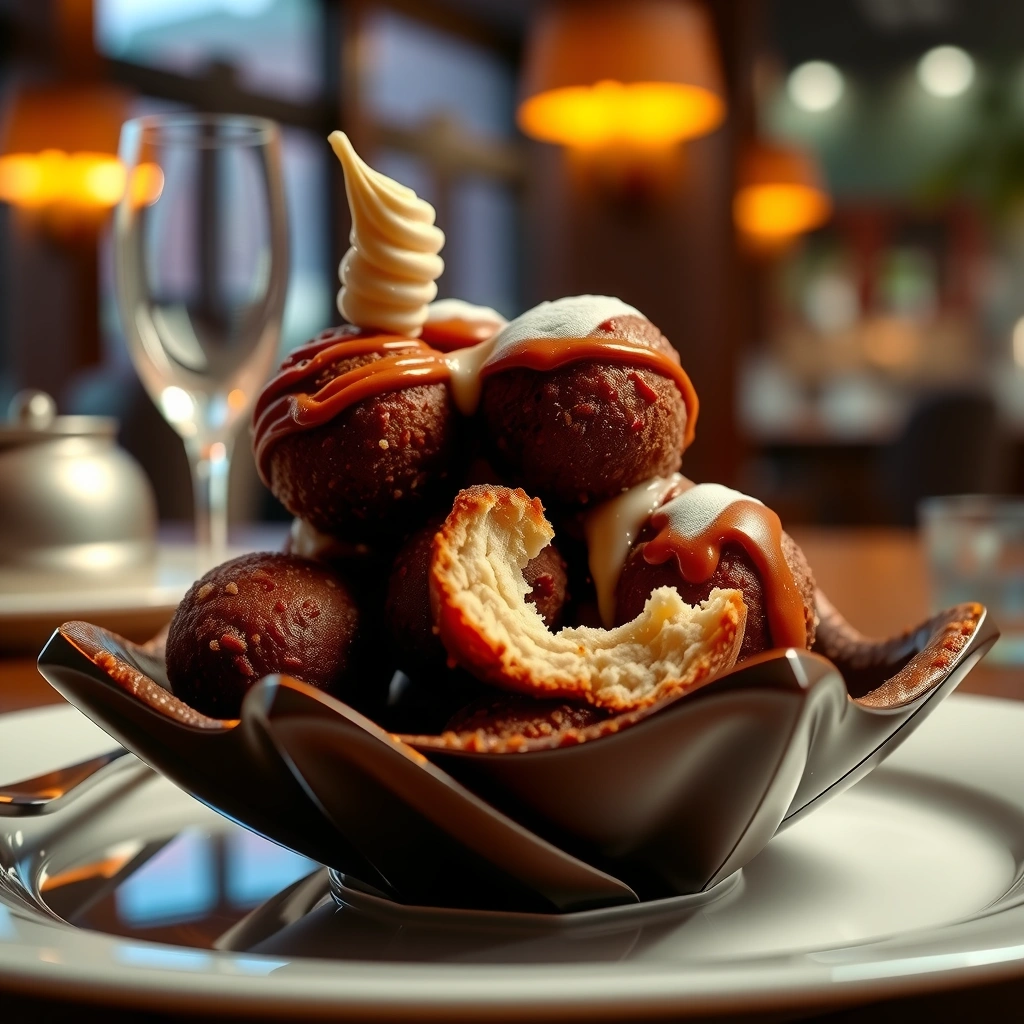
Below is the practical workflow used for reliable bourbon balls—designed so the filling firms up, the dough rolls cleanly, and the chocolate coating doesn’t smear.
– Step 1: Combine bourbon and butter (base creation)
In a small saucepan, gently warm butter with bourbon just until cohesive. You’re not trying to “boil off” the bourbon; you’re helping the butter melt and distribute flavor evenly. Remove from heat and let it cool slightly (a few minutes) so the powdered sugar won’t seize.
– Step 2: Add powdered sugar, cocoa, and vanilla (build structure)
Whisk in powdered sugar and unsweetened cocoa powder gradually. Stir until the mixture becomes thick and uniform. Add vanilla for aroma.
Target: a dense paste that holds shape when spooned.
– Step 3: Fold in nuts (optional texture boost)
If using chopped nuts (pecans or walnuts), fold them in once the base is thick. Keeping nuts optional is helpful—some people prefer a pure chocolate-bourbon experience without extra chew.
– Step 4: Thicken and chill (make rolling easy)
Transfer the filling to a bowl. Cover and chill until firm enough to scoop and roll. This step is where “easy” becomes “repeatable.” If you try to roll too early, you’ll get misshapen candies; too late and the dough can turn crumbly.
– Step 5: Form into balls
Use a small cookie scoop for consistent sizing (and consistent chocolate coverage). Roll quickly between lightly chilled hands or with a light dusting of cocoa on your palms to reduce sticking.
– Step 6: Coat as directed
Coat with melted chocolate or roll in cocoa/chopped nuts topping. Let shells set fully before packaging.
Analytical perspective: Different kitchens vary in humidity, butter softness, and cocoa absorption. That’s why the “thick and moldable” stage and “firm enough to roll” stage are more useful than strict minute-by-minute rules. Use time as a guide, but use texture as your final authority.
How to Coat Bourbon Balls the Right Way
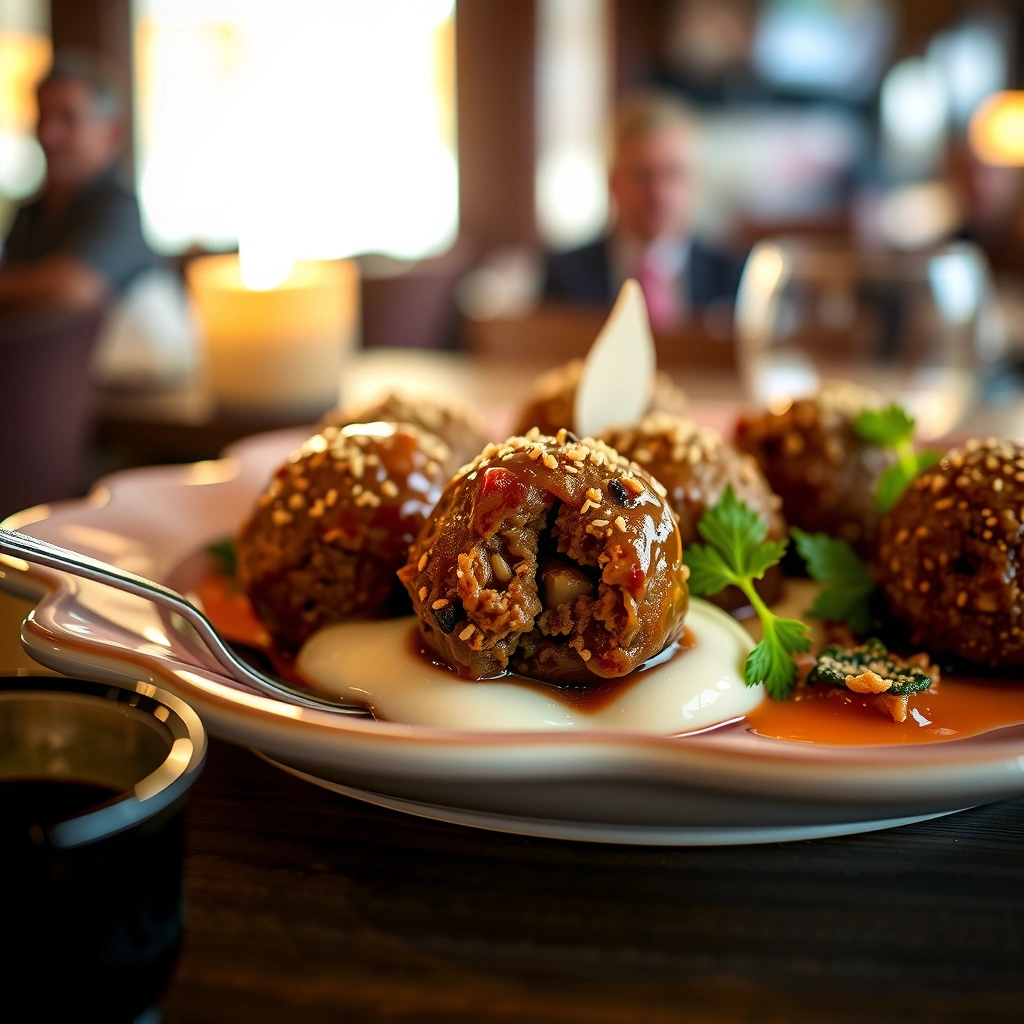
Coating is where many homemade bourbon balls recipes go wrong—either the shell gets streaky, the candy sweats, or the filling cracks. These coating techniques emphasize clean adhesion and stable set.
– Roll and chill briefly so the surface firms up before coating
After shaping balls, chill them briefly (or let them sit cool) until the outside isn’t tacky-wet. This reduces smearing and helps chocolate stick.
– Use melted chocolate for a smooth, even shell
Melt chocolate gently—too hot can cause chocolate to look oily and seize at the wrong temperature. Stir until smooth, then coat promptly. If your chocolate thickens, re-warm slightly rather than letting it overheat.
– Let coated balls set fully before handling
Place coated balls on parchment and avoid moving them early. Give them time to set to prevent fingerprints, shell cracking, or filling exposure.
Practical coating workflow (what to do in real time)
Coating is easier if you work in small batches:
1. Keep balls chilled.
2. Dip or spoon-coat 6–12 at a time.
3. Return tray to a cool spot for 10–20 minutes.
4. Continue coating.
This reduces temperature swings—especially important in warm kitchens.
Chilling, Setting, and Serving Tips
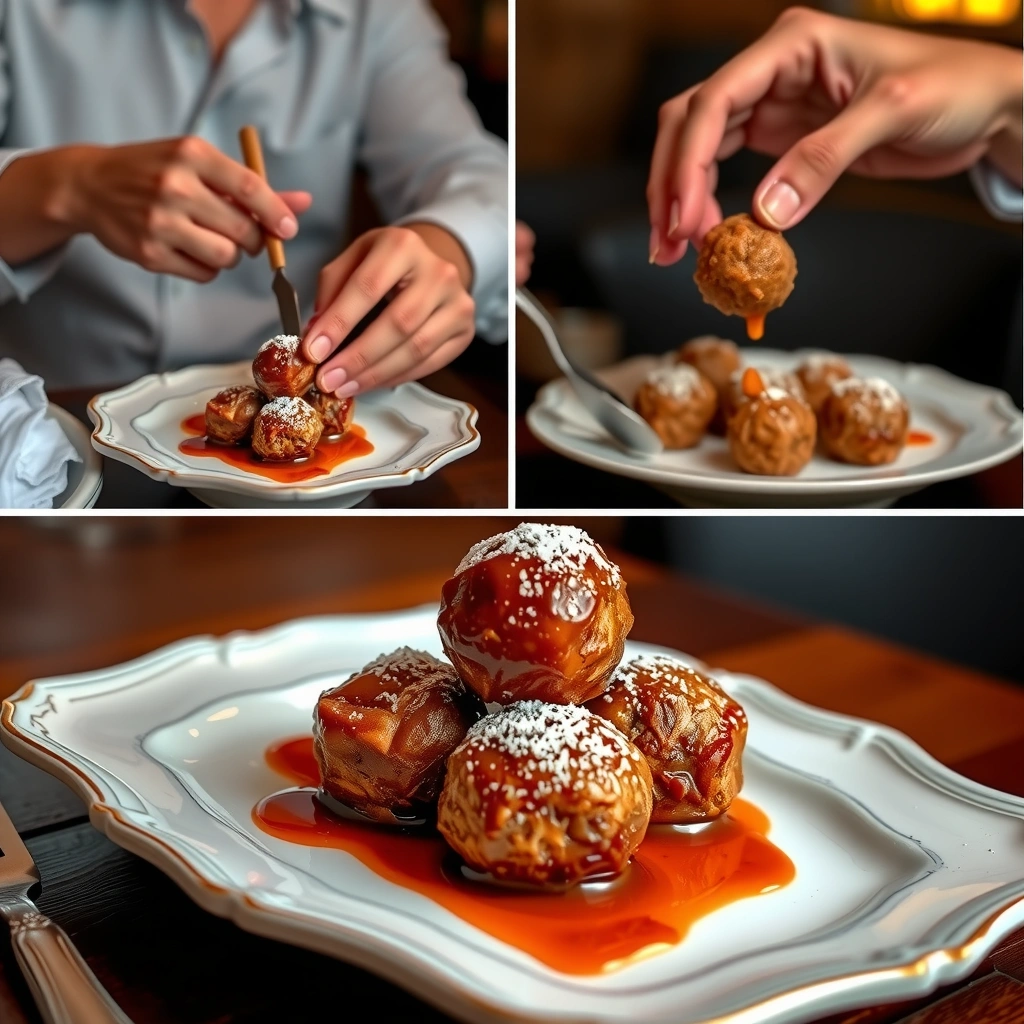
Chilling isn’t just about safety—it’s about texture. A well-chilled bourbon ball will have a firm exterior, a dense center, and a clean bite.
– Chill until firm enough to slice or package
If you plan to gift in boxes or trays, chill to the point where the shape doesn’t deform when you lift it with a spatula.
– Let bourbon balls sit at cool room temperature briefly before serving
For best flavor, serve after a short rest at room temperature. The center softens slightly, and the bourbon aroma becomes more pronounced.
– Store in a cool place to maintain texture and flavor
Too much warmth can soften the filling and dull the shell. Too much cold can make chocolate feel overly hard—so aim for a stable refrigerator environment, then rest briefly before serving.
Sensory note: When bourbon balls are just-right, the shell provides a gentle snap and the center feels fudgy rather than gooey. Achieving that balance is mostly about chilling duration and accurate filling thickness.
Storage and Shelf Life
Proper storage protects texture, flavor, and appearance—especially when you’re making bourbon balls ahead of a holiday event.– Keep in an airtight container in the refrigerator or a cool pantry
Airtight storage reduces moisture absorption and prevents cocoa or chocolate from picking up fridge odors.
– Separate layers with parchment to prevent sticking
Chocolates can cling when slightly softened. Parchment between layers keeps candies intact and gift-ready.
– Consume within a reasonable timeframe for best taste (and freshest bourbon notes)
Bourbon aroma gradually becomes less vibrant over time. For best results, plan to enjoy your batch within a few weeks, rather than “shelfing” it indefinitely.
Storage Method Impact on Bourbon Ball Texture
| # | Storage Choice | Best For | Approx. Quality Window | Texture Risk |
|---|---|---|---|---|
| 1 | Airtight container + parchment (refrigerator) | Maximum shape stability | 2–3 weeks | Low |
| 2 | Airtight container (cool pantry, 60–68°F / 15–20°C) | Short-term serving | 7–10 days | Medium (warm days) |
| 3 | No parchment between layers | Quick cooling/temporary holding | 1–2 days | High (sticking) |
| 4 | Opened container in refrigerator | None—avoid for gifting | 2–3 days | High (odor + drying) |
Common Mistakes to Avoid
Even though bourbon balls are forgiving, a few errors consistently lead to disappointing texture or coating.
– Overmixing or adding too much bourbon can make the filling runny
Bourbon contributes flavor, but it also adds liquid. If your mixture looks thin, add powdered sugar/cocoa in small increments and chill to restore structure.
– Skipping chilling may prevent clean rolling and coating
Warm filling will smear under your hands and melt into the chocolate shell. Plan chilling time—texture can’t be rushed without consequences.
– Using warm chocolate can cause messier coatings and melting
If the chocolate feels hot and fluid, it may soften the filling and create pooling. Melt gently, keep it smooth, and coat promptly.
Additional improvement: If your first batch looks slightly too soft, treat it as feedback: reduce bourbon amount next time or increase chilling time and rely on powdered sugar/cocoa to regain firmness.
Old fashioned bourbon balls are easy to make once you follow the right ingredient ratios, mix to the correct thickness, and chill before coating. Make a batch this week, package them for sharing, and store them properly so they stay rich, firm, and ready to serve—start with the step-by-step instructions above.
In the end, great bourbon balls come down to three controllable factors: a structured filling (powered sugar + cocoa thick enough to roll), deliberate chilling for clean handling, and steady coating practices with chocolate that’s melted but not overheated. Use this workflow for classic, easy bourbon balls every time—ideal for holiday candy trays, corporate gifting, and any occasion where dependable homemade confectionery matters.
References
- Bourbon ball
https://en.wikipedia.org/wiki/Bourbon_ball - Chocolate truffle
https://en.wikipedia.org/wiki/Chocolate_truffle - Ganache
https://en.wikipedia.org/wiki/Ganache - Bourbon whiskey
https://en.wikipedia.org/wiki/Bourbon_whiskey - Confectionery
https://en.wikipedia.org/wiki/Confectionery - https://www.britannica.com/topic/truffle
https://www.britannica.com/topic/truffle - https://www.britannica.com/topic/bourbon
https://www.britannica.com/topic/bourbon - Google Scholar Google Scholar
https://scholar.google.com/scholar?q=bourbon+balls+recipe - Google Scholar Google Scholar
https://scholar.google.com/scholar?q=bourbon+ball+confectionery - Google Scholar Google Scholar
https://scholar.google.com/scholar?q=chocolate+truffle+bourbon+ganache