Looking for a reliable Butterfinger Balls recipe that actually turns out chewy, crunchy, and scoopable every time? This recipe delivers the exact method and proportions to transform crushed Butterfinger bars into bite-size treats with the right sweetness and texture. If you want the best results for parties, gifting, or quick dessert prep, this is the winner.
Make no-fuss Butterfinger balls by mixing finely crushed Butterfinger with a creamy binder (like cream cheese), rolling into bite-size portions, chilling, and then coating in melted chocolate (or candy melts). This recipe is straightforward—so you can go from prep to a set, sliceable, party-ready treat with minimal effort and maximum flavor.
If you’ve ever wished you could recreate that “candy-shop” crunch-and-cream experience at home, Butterfinger balls deliver: sweet, peanut-buttery, and cookie-crispy in every bite. Below, you’ll find an efficient, reliable workflow (including how to troubleshoot texture and dipping) that works for holiday batches, gift boxes, and everyday cravings.
Ingredients for Butterfinger Balls
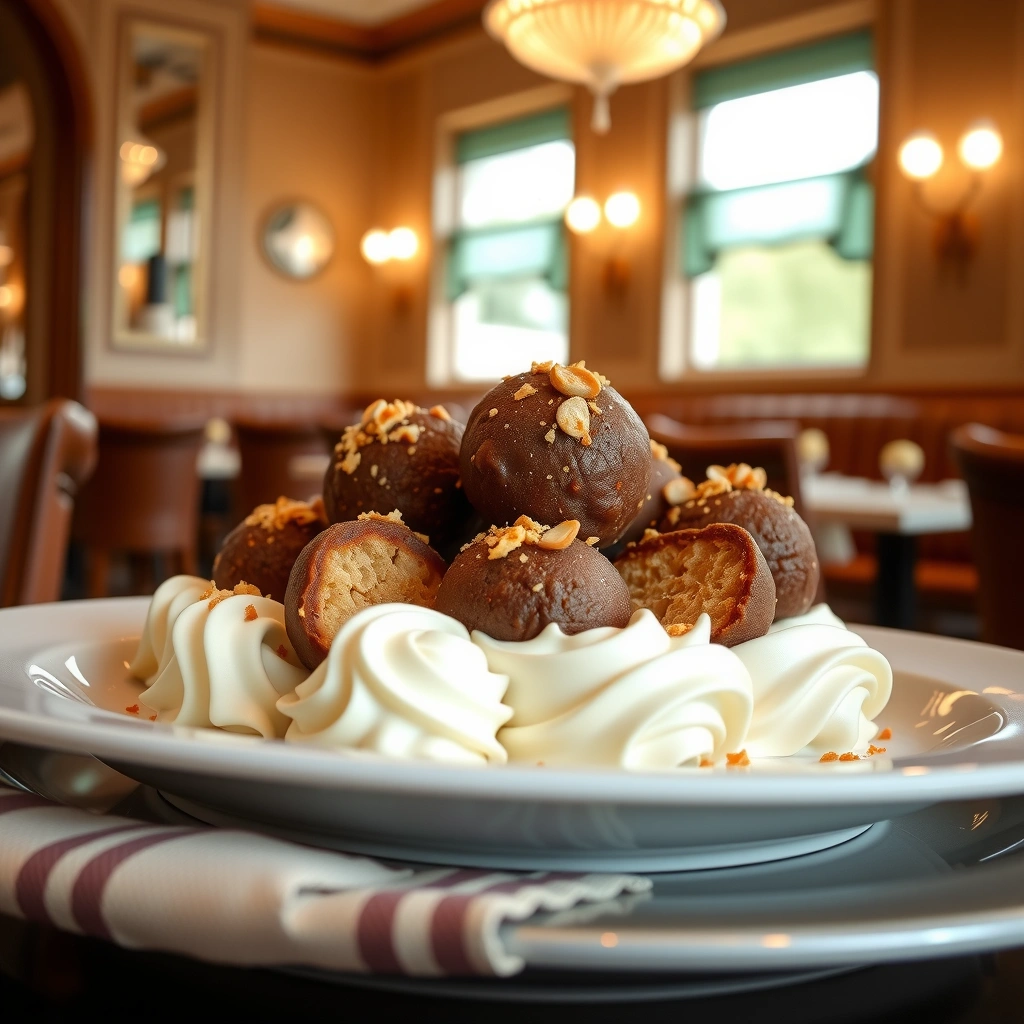
– Use crushed Butterfinger as the main flavor base
Finely crushed Butterfinger provides the signature crunch, toffee-like sweetness, and peanut butter flavor. The finer the crumb, the smoother the filling and the better it holds its shape during rolling and dipping.
– Combine with a creamy binder (e.g., cream cheese) to hold the shape
Cream cheese is the most common binder because it blends easily, adds tang, and “glues” the crumbs into a scoopable mixture. Using softened (not melted) cream cheese prevents graininess and keeps the texture creamy, not oily.
– Choose a coating (melted chocolate or candy melts) for the finish
Chocolate gives a classic flavor and snap, while candy melts offer a smoother coating and easier melting/dipping. Either way, coating temperature and thickness matter—too hot can cause streaks, too cool makes clumps.
Butterfinger Ball Batch Planning (Yield, Chill, and Coating Time)
| # | Batch Size | Approx. Balls | Total Active Time | Coating/Set Time |
|---|---|---|---|---|
| 1 | Snack batch (1 regular-size bag) | 24–28 | 20–25 min | 45–75 min |
| 2 | Small gathering (2 bags) | 50–60 | 35–45 min | 60–90 min |
| 3 | Gift-ready batch (3 bags) | 78–90 | 50–65 min | 75–120 min |
| 4 | Holiday prep (4 bags) | 100–120 | 70–90 min | 90–150 min |
| 5 | “Double dip” batch (5 bags) | 125–150 | 90–115 min | 110–180 min |
| 6 | Cream-cheese only adjuster (extra moisture) | Varies | +5–10 min | Depends |
| 7 | Warm kitchen delay risk | Same yield | +10–20 min | May extend 30–60 min |
Prep the Butterfinger Filling
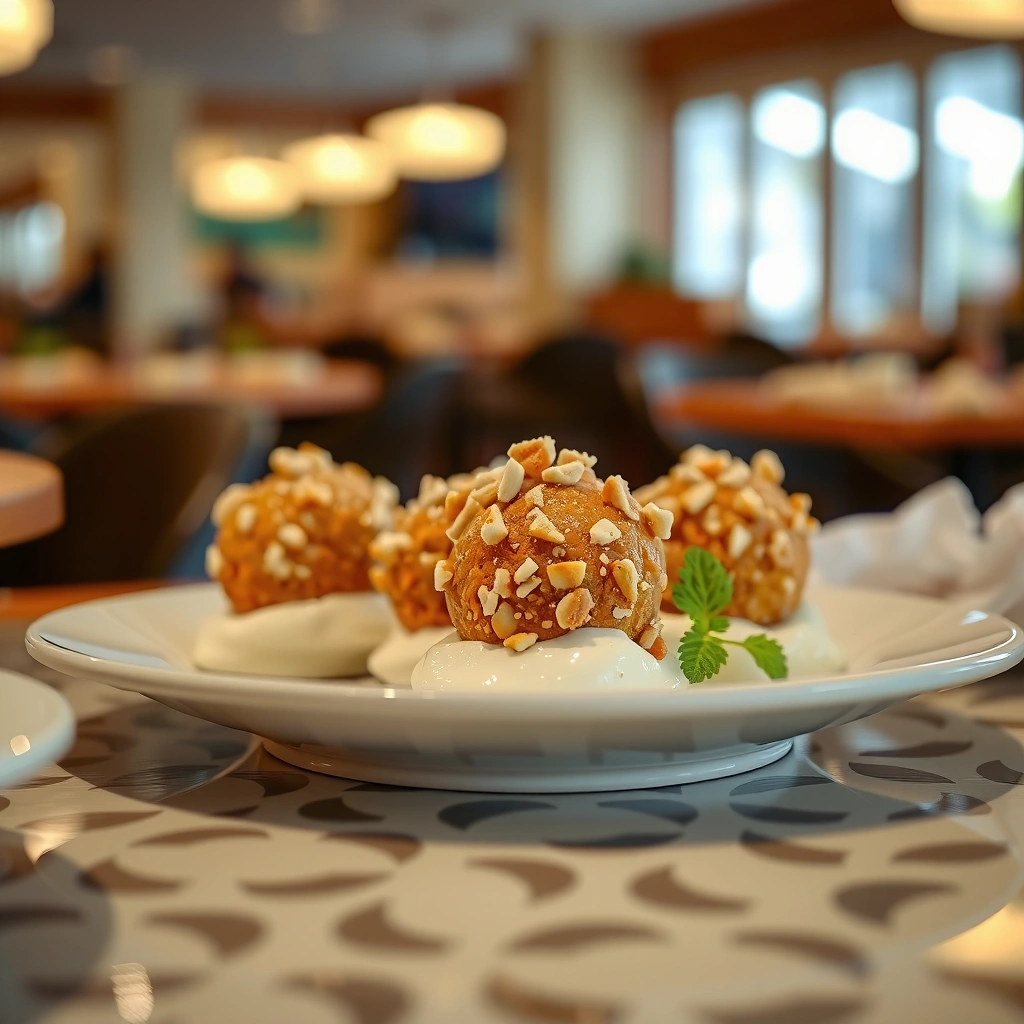
– Crush the Butterfinger into fine crumbs for better texture
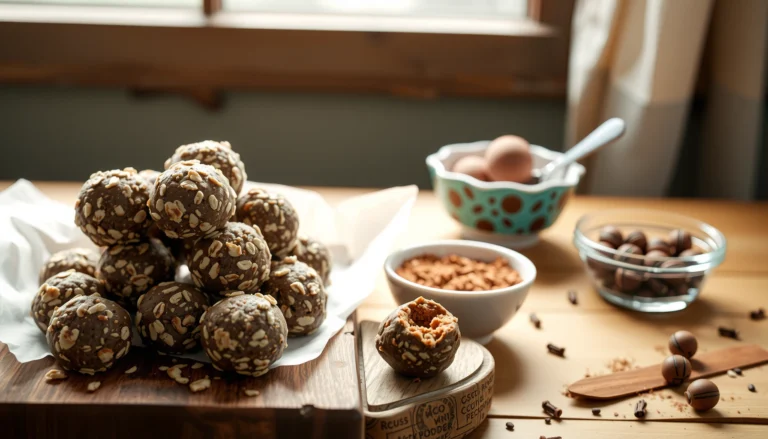
For the best “crunch in the center” effect without a gritty mouthfeel, crush Butterfinger in pulses. Aim for mostly fine crumbs with a few slightly larger bits—this balances texture and helps the filling taste lively rather than uniformly sandy.
– Mix until fully combined and scoopable
Combine crushed Butterfinger with softened cream cheese and stir until the mixture looks cohesive and holds shape when pressed. If you want more “density” for cleaner dipping, mix a little more thoroughly to ensure the binder fully distributes.
– Chill briefly if the mixture feels too soft
Butterfinger filling can soften quickly if cream cheese is too warm or the kitchen is hot. Chill 10–20 minutes before rolling (or longer if needed) to make shaping easier and to prevent melting during the coating step.
Practical tip: If your filling is sticky, it’s usually a binder-to-crumb imbalance or overly warm cream cheese. Chill first—then reassess before adding anything. If it still won’t roll, add 1–2 tablespoons of extra crushed Butterfinger to firm it up.
Shape and Chill
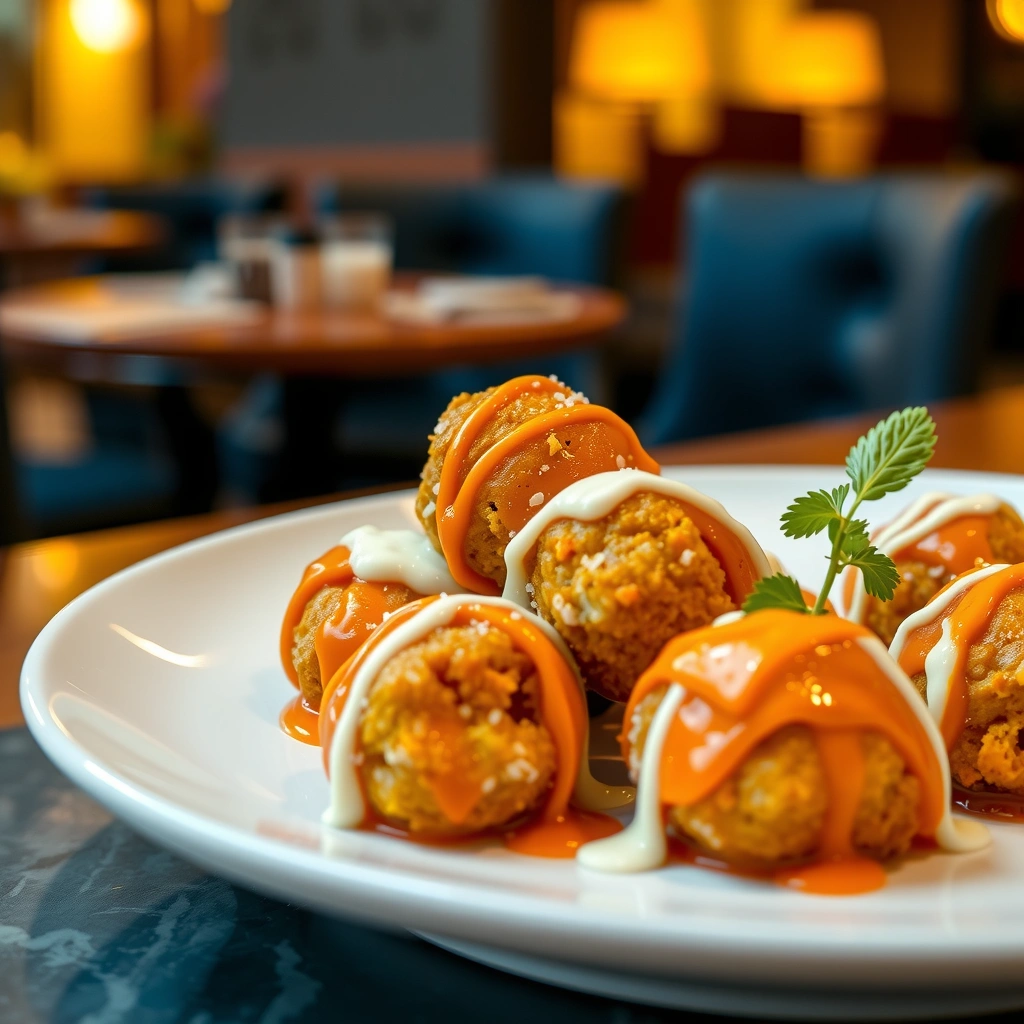
– Roll into bite-sized balls (uniform size helps them set evenly)
Consistency matters for both texture and timing. Use a small cookie scoop or measure portions (for example, about 1 tablespoon each) so every ball chills and coats at the same pace.
– Place on a lined tray to prevent sticking
Line a baking sheet with parchment paper or a nonstick silicone mat. This prevents tearing and keeps the surface clean, which helps the chocolate coat set smoothly.
– Refrigerate until firm before coating
Chill at least 30 minutes, ideally longer for larger batches. Firm filling reduces smearing and helps maintain defined ball shapes while dipping.
Quality control checkpoint: When you gently press a ball, it should feel firm with minimal give. If it still feels soft, coating will be messier and you’ll likely see chocolate streaks from the filling warming.
Melt and Coat
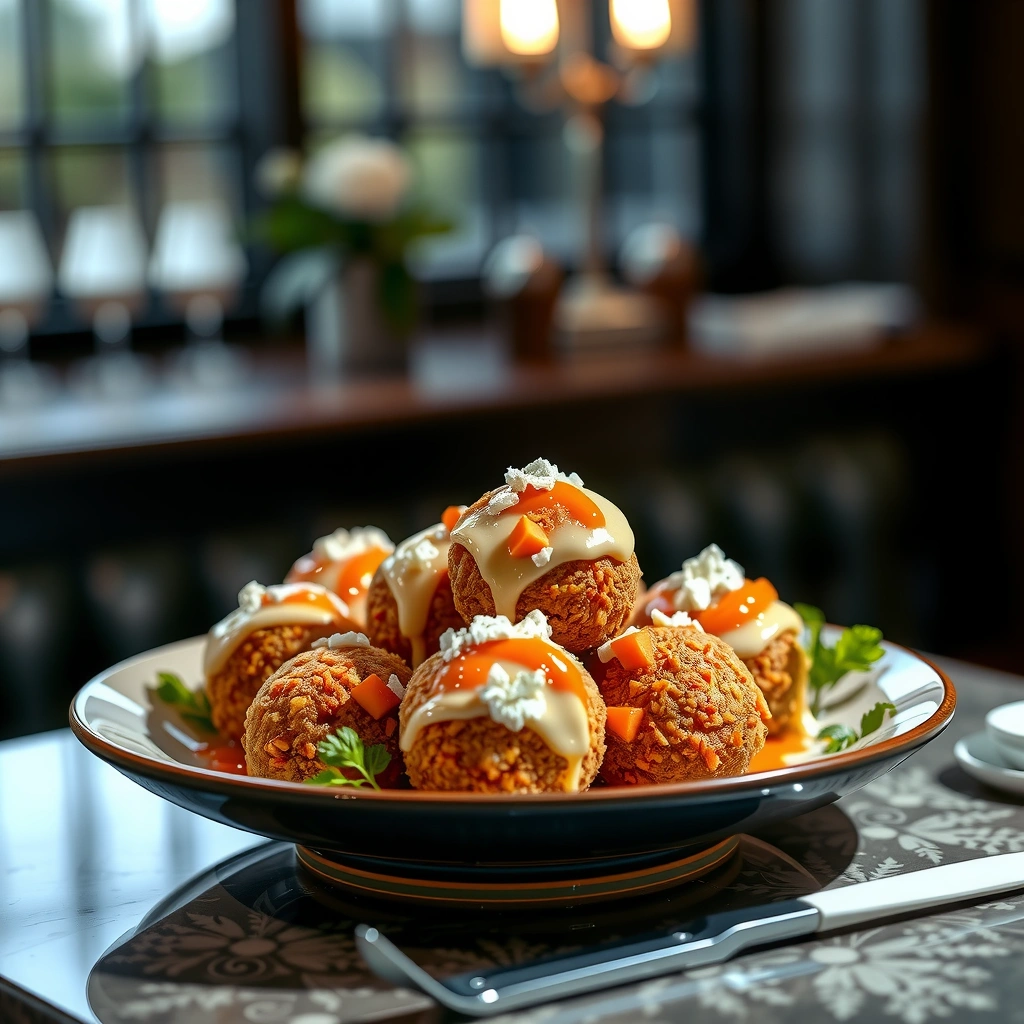
– Melt chocolate/candy melts until smooth
Melt in short intervals (microwave) or low heat (stovetop) to prevent scorching. Chocolate seizes if overheated; candy melts are more forgiving but still benefit from gentle, controlled melting.
– Dip or spoon-coat each ball and let excess drip off
Dipping works well with firmer balls; spoon-coating can be easier for beginners and prevents fingerprints. After coating, allow extra chocolate to drip back into the bowl for a thicker, cleaner finish.
– Add optional toppings (sprinkles, crushed cookies) before the coating sets
Toppings adhere best while the coating is still wet. Aim to add crunchy garnishes immediately after coating—delayed toppings may fall off or sit unevenly.
Pro-level finish: If you want restaurant-style coatings, re-melt and stir occasionally to maintain an even, glossy consistency. Also, coat one tray at a time so the balls don’t warm while you work.
Troubleshooting quick fixes
– Coating too thick/clumpy: Melt slightly longer, then stir until smooth.
– Chocolate too thin/dripping excessively: Let it cool briefly, or use a slightly thicker coating approach (spoon-coat instead of full dip).
– Bumps or air holes: Rotate the ball gently while coating and tap the spoon lightly to settle the chocolate.
Set, Serve, and Store
– Let coated Butterfinger balls set fully (chill if needed)
Once coated, place the tray in the refrigerator until the surface feels firm. This step is essential for clean handling—especially if you plan to package them as gifts.
– Serve chilled or at room temperature for best taste
Chilling intensifies the firmness and helps structure; room temperature can bring out a slightly smoother, more candy-like flavor. For balanced texture, serve chilled but allow 5–10 minutes of rest so the center isn’t rock-solid.
– Store in an airtight container in the fridge for freshness
Keep them airtight to prevent moisture exposure and to preserve the coating. Layer with parchment if stacking many pieces.
Storage guidance for best quality
– Fridge: Typically best within about 1 week for peak flavor and texture.
– Freezer (optional): You can freeze in an airtight container. For best results, thaw in the fridge first to reduce condensation on the coating.
Easy Variations for Butterfinger Balls
– Add a pinch of salt or a splash of vanilla for extra flavor depth
Even small adjustments can elevate the overall sweetness. A tiny pinch of salt balances the toffee-peanut notes, while vanilla adds warmth and rounds out the binder’s tang.
– Swap coatings (dark, milk, or white chocolate) to match your preference
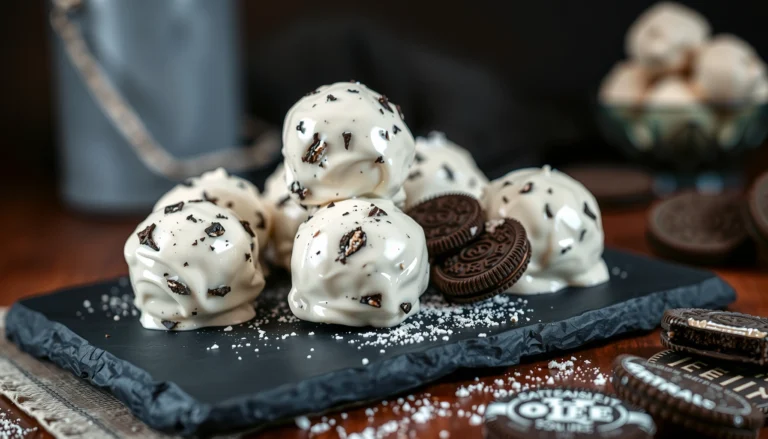
Dark chocolate pairs well with the salty peanut flavor, creating a more “grown-up” candy profile. Milk chocolate keeps the taste nostalgic and sweet. White chocolate turns the recipe visually festive and milder in flavor.
– Try topping swaps like crushed peanuts or caramel drizzle
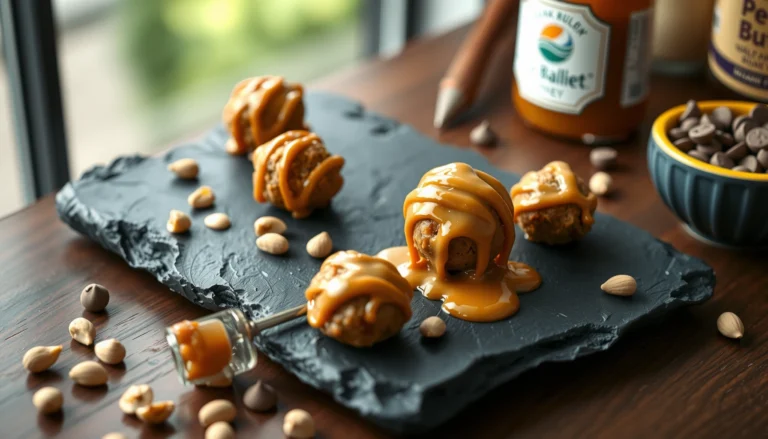
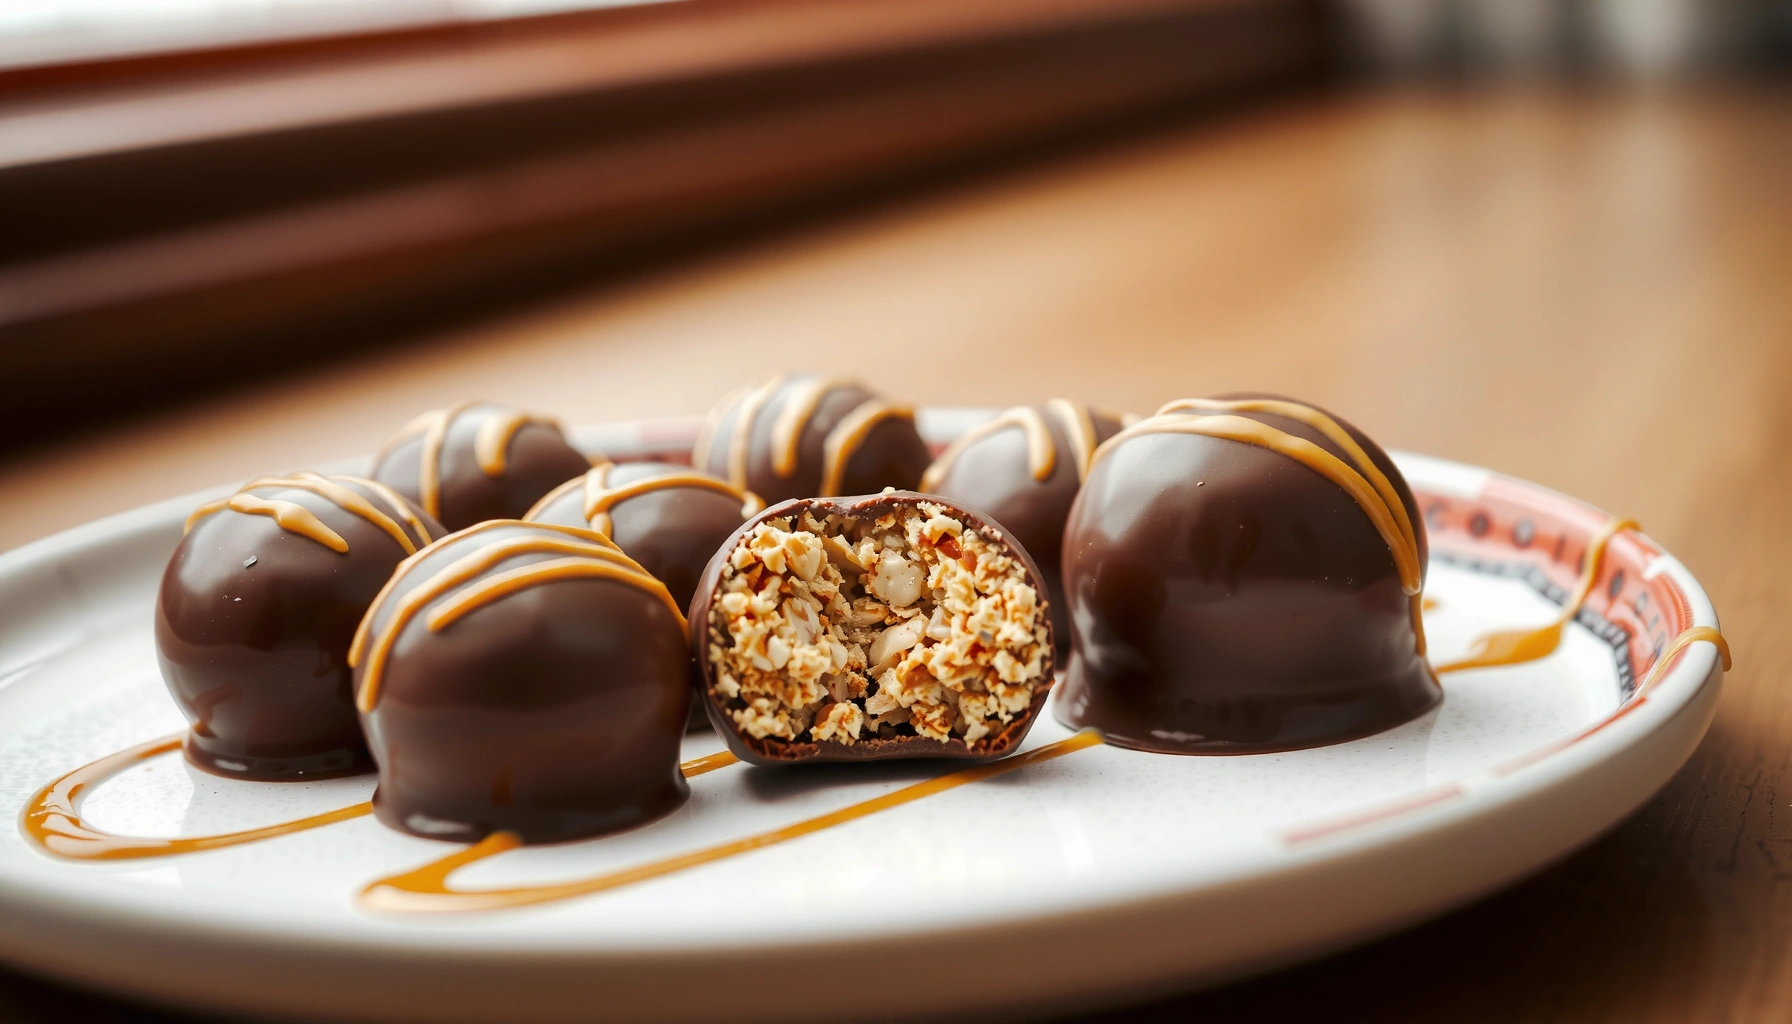
Add crushed peanuts for extra crunch, or drizzle a thin ribbon of caramel for a dessert-shop vibe. Keep drizzle modest—too much can seep into the coating.
Additional variation ideas (still no-fuss)
– Peppermint season twist: Add a few drops of peppermint extract to the binder (start with a small amount) and top with crushed candy cane for a holiday flavor arc.
– Crunch boost: Mix in a small amount of crushed graham crackers or wafer crumbs along with the Butterfinger for a more complex bite.
Butterfinger balls are quick to make: mix crushed Butterfinger with a binder, roll, chill, then coat in melted chocolate and set. Follow the steps above for a smooth filling and a clean, tasty finish—then make a batch for parties, gifts, or whenever you want a sweet no-bake treat.
Choosing the right crumb size, keeping the filling properly chilled, and using a consistent coating method are the keys to achieving a professional-looking, reliably delicious result. With this Butterfinger balls recipe, you can confidently scale up for events or refine your technique for the perfect bite—whether you serve them chilled, at room temperature, or packaged as a thoughtful homemade gift.
References
- Google Scholar Google Scholar
https://scholar.google.com/scholar?q=butterfinger+balls+recipe - Google Scholar Google Scholar
https://scholar.google.com/scholar?q=butterfinger+truffles+recipe - Google Scholar Google Scholar
https://scholar.google.com/scholar?q=peanut+butter+balls+candy+recipe - Butterfinger
https://en.wikipedia.org/wiki/Butterfinger - Chocolate truffle
https://en.wikipedia.org/wiki/Chocolate_truffle - Confectionery
https://en.wikipedia.org/wiki/Confectionery - Peanut butter
https://en.wikipedia.org/wiki/Peanut_butter - Chocolate | Definition, History, Types, Production, & Facts | Britannica
https://www.britannica.com/topic/chocolate - https://www.britannica.com/topic/truffle
https://www.britannica.com/topic/truffle - https://www.britannica.com/topic/candy
https://www.britannica.com/topic/candy