Get the basic cheese ball recipe that delivers the classic, no-stress results every time, with straightforward steps and an unmistakable creamy bite. This guide answers whether you can make a classic cheese ball at home quickly—without complicated techniques or special equipment. If you want a dependable holiday-party centerpiece that holds its shape and tastes rich, these are the exact steps to follow.
Make a basic cheese ball by mixing softened cream cheese, shredded cheese, and seasonings, then chilling and shaping it for a no-stress, crowd-pleasing appetizer. The key is getting the texture right (soft enough to mix, firm enough to scoop) and letting the flavor develop during the chill so the final result slices cleanly and holds its shape.
Gather Your Ingredients

A classic cheese ball is simple by design: a creamy base that “binds,” a flavorful shredded cheese that adds depth and texture, and seasonings that make it taste intentional rather than bland. While you can vary the cheeses, staying consistent with the ratio helps your cheese ball set properly in the refrigerator.
Core components to shop for:
– Cream cheese as the base: Choose regular, full-fat cream cheese for best melting behavior and sturdy structure. Softened cream cheese is critical—cold cream cheese won’t blend smoothly and can create lumps.
– Shredded cheese for flavor and texture: Shredded cheddar is the most recognizable classic, but you can use a blend like cheddar + Monterey Jack for a milder taste or cheddar + Colby for a slightly sweeter profile.
– Seasonings that define the flavor:
– Garlic powder for savory depth
– Onion powder for rounded aroma
– Salt for balance (start modest, adjust after mixing)
– Black pepper for gentle heat and complexity
Coating options (choose based on your audience):
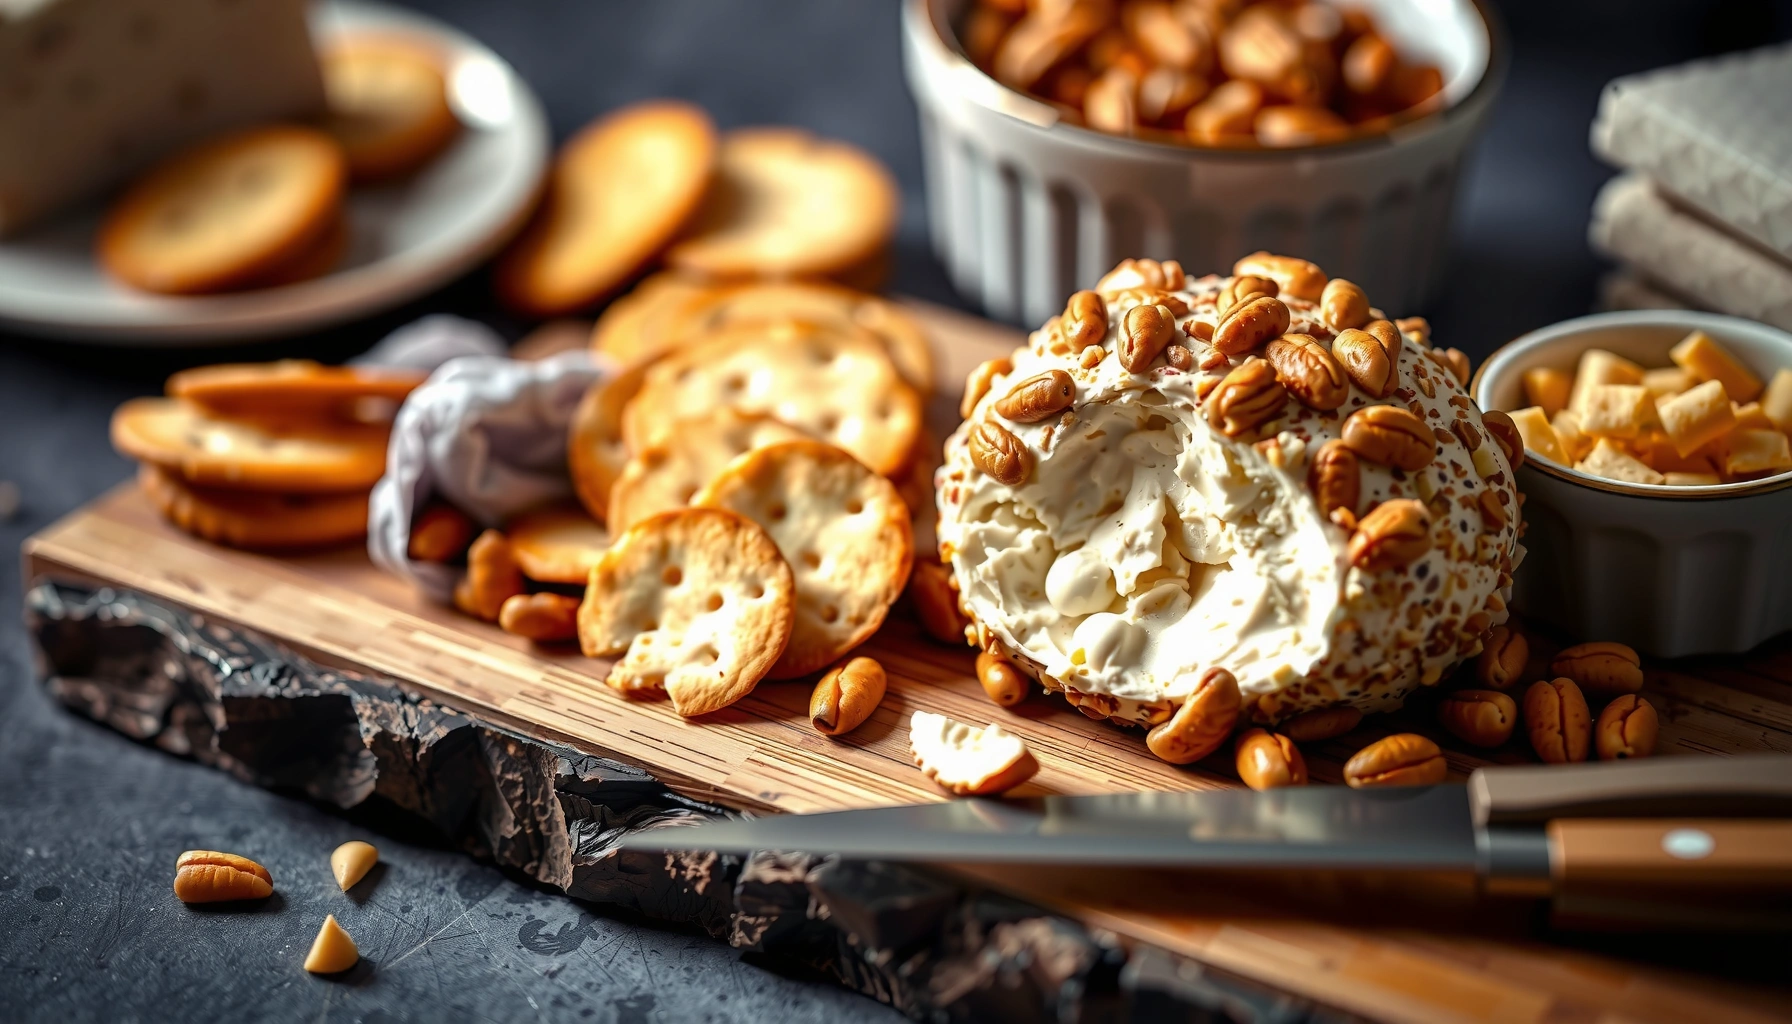
– Chopped nuts (pecans or walnuts) for crunch and a “holiday” look
– Fresh or dried parsley for a clean, green finish that’s visually appealing
– Crushed crackers for extra savory texture
– Everything bagel seasoning for a modern, high-impact flavor profile
To keep the recipe scalable and predictable, it helps to know typical yields and how much coating you’ll need—especially if you’re serving a crowd or preparing multiple cheese balls.
Classic Cheese Ball Batch Guide (Approximate)
| # | Serving Goal | Cheese Ball Size | Cream Cheese | Shredded Cheese | Best Coating Match | Set Reliability |
|---|---|---|---|---|---|---|
| 1 | 4–6 people (small gathering) | ~1 lb ball (medium) | 8 oz (1 block) | 1 cup shredded (~4 oz) | Crushed crackers | ★★★★★ |
| 2 | 6–10 people | ~2 lb ball (larger) | 16 oz (2 blocks) | 2 cups shredded (~8 oz) | Chopped pecans | ★★★★★ |
| 3 | 10–14 people | ~2.5 lb ball | 24 oz (3 blocks) | 3 cups shredded (~12 oz) | Everything bagel mix | ★★★★☆ |
| 4 | Office tray (shared snack) | ~1.5 lb log | 12 oz (1.5 blocks) | 1.5 cups shredded (~6 oz) | Chopped parsley + salt | ★★★★☆ |
| 5 | Family dinner (easy prep) | ~1 lb ball | 8 oz (1 block) | 1.25 cups shredded (~5 oz) | Crushed butter crackers | ★★★★☆ |
| 6 | High-crunch crowd | ~2 lb ball | 16 oz (2 blocks) | 2 cups shredded (~8 oz) | Finely chopped walnuts | ★★★★★ |
| 7 | Lactose-sensitive planning | ~1.5 lb ball | 12 oz lactose-free cream cheese | 1.5 cups shredded (~6 oz) | Parsley + cracked pepper | ★★★☆☆ |
Mix the Cheese Ball Base

Once your ingredients are assembled, the success of this easy cheese ball recipe depends on texture control and even seasoning distribution.
Step-by-step mixing approach (and why it matters):
1. Soften the cream cheese properly.
– Leave it at room temperature until it’s pliable but not melted.
– If you rush with microwave heat, the mixture may turn loose and reduce how firmly the ball sets.
2. Blend until smooth.
Use a mixing bowl and a sturdy spoon or hand mixer to eliminate lumps. A smooth base helps the shredded cheese distribute evenly and improves scoopability.
3. Fold in shredded cheese and seasonings.
Add the cheddar (or your chosen cheese) and sprinkle seasonings gradually. Folding rather than over-mixing prevents overworking the mixture, which can change how it feels after chilling.
4. Taste and adjust.
Because cheeses vary in saltiness, taste after mixing. Add a pinch more salt, black pepper, or garlic powder as needed.
Practical analytical note:
A common “failure mode” is an overly salty or under-seasoned result. Since the coating is often bland (crackers or nuts), seasoning inside the cheese ball is what you want to be right first. The second-best approach is to add just enough salt so the center tastes well-rounded on its own, not just “salty to cover up blandness.”
Shape and Coat

Shaping is where your basic cheese ball becomes visually impressive. With the right technique, you’ll also prevent crumbling and uneven surfaces.
How to form the ball (classic and reliable):
– Portion first: Scoop and form the mixture into a tight sphere. If the mixture sticks to your hands, rinse or lightly dampen your fingertips (water prevents sticking without adding moisture to the mix).
– Use a plate or parchment paper: Parchment helps you move the ball to the fridge without damaging the coating.
– Smooth the surface: Press gently around the edges so the exterior is uniform—this improves both appearance and coating coverage.
How to coat it effectively:
– Spread your coating (nuts, parsley, crushed crackers, or seasoning blend) on a plate.
– Roll the shaped cheese ball through the coating or press coating onto the sides.
– If you want the coating to “stay put,” apply it right after shaping, when the surface is slightly tacky.
Classic presentation options:
– Ball format: Traditional for parties and gatherings.
– Log format: Easier to slice evenly, particularly when serving buffet-style at events.
Chill to Set

Chilling is not optional—it’s what transforms creamy mix into a properly scoopable, slice-friendly appetizer.
Timing and handling:
– Refrigerate at least 1–2 hours.
For best firmness, especially with larger batches, aim for a full 2 hours.
– Cover the cheese ball.
Use plastic wrap or an airtight cover to prevent drying and preserve aroma.
– Rest briefly at room temperature before serving.
Let it sit about 10 minutes before serving so it softens just enough for clean scoops without smearing.
Why chilling works (the mechanics):
Cream cheese firms up in cold temperatures and the shredded cheese helps the structure “lock in.” If it’s too cold right when you serve, the exterior can feel overly firm; that’s why a short room-temperature rest improves the eating experience while maintaining shape.
Serve and Pairing Ideas
Serving is where you convert a good cheese ball into a memorable appetizer. The best pairing is about balance: creamy vs. crunchy, rich vs. fresh, salty vs. lightly sweet.
Dippers that work every time:
– Crackers (plain, whole grain, or lightly salted)
– Sliced baguette
– Toasted bread points or small crostini pieces
– Pretzel crisps if you want a more robust salty flavor
Fresh veggie options for contrast:
– Celery sticks for a classic palate-cleaning crunch
– Carrot sticks for mild sweetness
– Cucumber slices for a light, refreshing bite
– Bell pepper strips for color and reduced dairy richness
Beverage pairings (practical guidance):
– Wine: a crisp white (Sauvignon Blanc-style) or a light-bodied red that isn’t too tannic
– Sparkling water: keeps the palette fresh without competing with cheese seasoning
– Light beer: adds carbonation and mild bitterness to balance creaminess
From a service standpoint—especially if you’re feeding a group—choose at least one crunchy cracker and one fresh vegetable so guests can control how rich they want their bite to be.
Make Ahead and Storage Tips
If you’re planning for a party or a business-hosted event, this basic cheese ball recipe is ideal because it tastes better after it has time to meld.
Refrigeration and freshness:
– Refrigerate up to 3–5 days in an airtight container.
– Press plastic wrap directly on the surface if you’re worried about slight crusting.
Freezing considerations (use cautiously):
– Freezing can change the texture of cream cheese and the coating’s crunch.
– If you do freeze, keep it in a freezer-safe container and plan to thaw in the fridge overnight for best results.
– For best quality, many hosts prefer freezing the base mixture without the coating, then coat fresh after thawing.
Best thawing method:
– Thaw in the refrigerator overnight, then let the cheese ball sit at room temperature about 10 minutes before serving again.
A professional workflow for consistent results
If you’re cooking for an office, catered gathering, or recurring events, treat this recipe like a repeatable process:
1. Build the base and refrigerate (flavor develops during chill).
2. Shape and coat the cheese ball shortly before the final serving window or a few hours before, depending on how crunchy you want the coating.
3. Stage dippers so guests can self-serve without waiting—cheese balls shine when accessible.
A basic cheese ball is quick to assemble: mix, shape, coat, and chill until firm. Follow the steps above, then serve with your favorite dippers—make it ahead for an easy crowd-pleasing appetizer.
References
- Google Scholar Google Scholar
https://scholar.google.com/scholar?q=basic+cheese+ball+recipe - Google Scholar Google Scholar
https://scholar.google.com/scholar?q=cheese+ball+recipe+cream+cheese+cheddar - Google Scholar Google Scholar
https://scholar.google.com/scholar?q=how+to+make+cheese+ball+ingredients+and+food+safety - Cheese ball
https://en.wikipedia.org/wiki/Cheese_ball - Cream cheese
https://en.wikipedia.org/wiki/Cream_cheese - Cheddar cheese
https://en.wikipedia.org/wiki/Cheddar_cheese - Mayonnaise
https://en.wikipedia.org/wiki/Mayonnaise - Onion powder
https://en.wikipedia.org/wiki/Onion_powder - Garlic powder
https://en.wikipedia.org/wiki/Garlic_powder - Chives
https://en.wikipedia.org/wiki/Chive