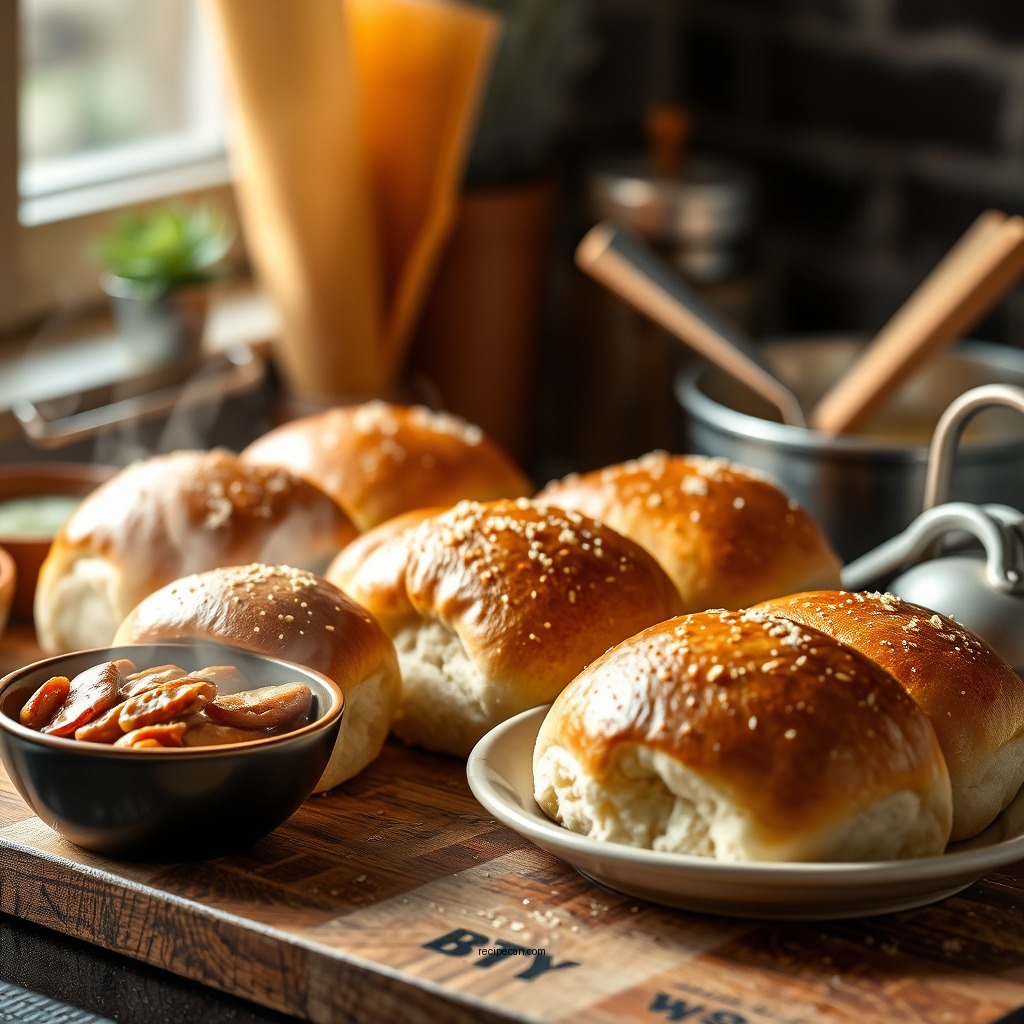
Making yeast rolls is easier than you might think! This easy yeast rolls recipe will guide you through the simple steps to create soft, fluffy rolls that are perfect for any meal. You’ll learn how to handle yeast, knead the dough, and bake these delightful rolls with minimal effort. Whether you are a novice baker or an experienced cook, this recipe will surely enhance your baking repertoire and impress your family and friends.
Understanding Yeast and Its Role

Yeast is a living organism that plays a crucial role in baking by fermenting sugars and producing carbon dioxide, which makes the dough rise. This fermentation process is what gives yeast rolls their characteristic airy and fluffy texture. There are several types of yeast commonly used in baking, including active dry yeast, instant yeast, and fresh yeast. Each type has its specific uses and can affect the rising time of your dough significantly.
Active dry yeast requires proofing in warm water before use, while instant yeast can be mixed directly with dry ingredients. Understanding the differences between these yeast types is essential to achieving the best results. For instance, using instant yeast can shorten the rising time, allowing you to prepare your rolls more quickly. Conversely, active dry yeast often requires a longer fermentation period, contributing to a richer flavor.
Gathering Your Ingredients

Creating delicious yeast rolls starts with gathering the right ingredients. The basic components include:
– All-purpose flour or bread flour: Bread flour contains a higher protein content, which can create a chewier texture.
– Granulated sugar: This not only sweetens the dough but also feeds the yeast, promoting fermentation.
– Salt: Essential for flavor and controlling yeast activity.
– Yeast: Choose between active dry or instant yeast based on your preference.
– Milk: Warm milk helps activate the yeast and enrich the dough.
– Butter: Adds flavor and tenderness to the rolls.
Optional ingredients can elevate your rolls, such as incorporating herbs like rosemary or thyme for added flavor or using milk alternatives for dietary restrictions. The quality of your ingredients can significantly impact the final product, so sourcing fresh and high-quality components is recommended.
Step-by-Step Preparation

To create your yeast rolls, follow these straightforward steps:
1. Activate the Yeast: In a mixing bowl, combine warm milk (about 110°F) and sugar. Sprinkle the yeast over the top and let it sit for about 5-10 minutes until it becomes frothy. This indicates that the yeast is active and ready to work.
2. Mix Ingredients: Once activated, add the flour and salt to the yeast mixture. You can use a stand mixer with a dough hook or mix by hand with a wooden spoon until combined.
3. Knead the Dough: Transfer the dough to a floured surface and knead it for about 8-10 minutes until it is smooth and elastic. The dough should spring back when poked and not be overly sticky.
4. First Rise: Place the kneaded dough in a greased bowl, cover it with a damp cloth, and let it rise in a warm, draft-free area for about 1-2 hours, or until it doubles in size.
Key Ingredients for Yeast Rolls
| # | Ingredient | Purpose | Amount |
|---|---|---|---|
| 1 | Flour | Structure | 4 cups |
| 2 | Sugar | Feeding Yeast | 1/4 cup |
| 3 | Salt | Flavor | 1 tsp |
| 4 | Yeast | Leavening | 2 1/4 tsp |
| 5 | Milk | Moisture | 1 cup |
| 6 | Butter | Flavor | 1/4 cup |
Rising the Dough
Rising the dough is a crucial step in making perfect yeast rolls. After the first rise, punch down the dough to release excess air and redistribute the yeast. Transfer the dough to a lightly floured surface and divide it into equal portions, typically about 12-16 pieces, depending on your desired size.
Shape each piece into a ball by tucking the edges under to create a smooth surface. Place the shaped rolls in a greased baking dish, spacing them slightly apart to allow room for further expansion. Cover the rolls with a damp cloth and let them rise again in a warm location for about 30-60 minutes, or until they have puffed up significantly.
Shaping and Second Rise
The second rise, or proofing, allows the rolls to develop flavor and achieve the desired texture. It is essential not to skip this step, as it significantly impacts the final result. During this time, the yeast continues to ferment, producing more carbon dioxide and increasing the volume of the dough.
The ideal environment for rising is one that is warm and humid. You can create this by placing the rolls in an oven with the light on or using a warm kitchen spot. Keeping the rolls covered with a damp cloth during this time will prevent them from drying out.
Baking the Rolls
Once the rolls have doubled in size during the second rise, it’s time to bake them. Preheat your oven to 350°F (175°C). Carefully transfer the rolls into the preheated oven and bake for about 20-25 minutes, or until they are golden brown on top.
For an added touch, you can brush the rolls with melted butter immediately after removing them from the oven. This enhances the flavor and gives the rolls a beautiful sheen. Serve them warm alongside your favorite dishes, such as soups, stews, or as a delightful addition to any meal.
Yeast Roll Baking Process
Storing and Serving Tips
To store leftover rolls, place them in an airtight container at room temperature for up to 2 days. For longer storage, you can freeze the rolls. Wrap each roll individually in plastic wrap and place them in a freezer-safe bag. When you’re ready to enjoy them, simply reheat in the oven at 350°F for about 10-15 minutes until warmed through.
For the best taste and texture, serve the rolls warm. They pair beautifully with butter, honey, or jams. Consider using them as a delightful side for soups, salads, or even as a base for sliders.
Incorporating these easy yeast rolls into your meals will not only enhance the dining experience but will also impress your guests with your baking skills.
Making these easy yeast rolls is a fulfilling endeavor that can elevate any meal. With just a few simple steps, you can create soft, fluffy rolls that your family and friends will love. Don’t hesitate to experiment with different flavors and techniques to make this recipe your own. Happy baking!
Frequently Asked Questions
What are the key ingredients for an easy yeast rolls recipe?
The key ingredients for an easy yeast rolls recipe typically include all-purpose flour, active dry yeast, sugar, salt, warm water or milk, and butter. These basic components work together to create soft and fluffy rolls, with the yeast playing a crucial role in the leavening process.
How long does it take to make easy yeast rolls from start to finish?
From start to finish, making easy yeast rolls usually takes about 2 to 2.5 hours. This includes 1 hour for the dough to rise and approximately 20-30 minutes for baking. The remaining time is spent preparing the dough and shaping the rolls, making it a relatively quick process for fresh homemade bread.
Why do my yeast rolls not rise properly during baking?
If your yeast rolls are not rising properly, it may be due to the yeast being expired or not activating correctly, which can happen if the water or milk is too hot or too cold. Additionally, insufficient kneading or a cold environment can hinder the rising process, so ensure you are using fresh yeast and a warm, draft-free area for the dough to rise.
What is the best way to store leftover yeast rolls for freshness?
The best way to store leftover yeast rolls is to let them cool completely, then wrap them tightly in plastic wrap or aluminum foil and place them in an airtight container. If you want to keep them for a longer period, consider freezing them, as this will preserve their texture and flavor for up to three months.
Which techniques can I use to enhance the flavor of my easy yeast rolls?
To enhance the flavor of your easy yeast rolls, consider adding herbs, garlic powder, or cheese to the dough for a savory touch, or incorporating cinnamon and sugar for a sweet variation. Brushing the rolls with melted butter right after baking also adds richness and a beautiful finish, elevating the overall taste of your homemade rolls.
References
- Bread
https://en.wikipedia.org/wiki/Bread - https://www.sciencedirect.com/topics/food-science/yeast
https://www.sciencedirect.com/topics/food-science/yeast - https://www.ncbi.nlm.nih.gov/pmc/articles/PMC5685379/
https://www.ncbi.nlm.nih.gov/pmc/articles/PMC5685379/ - https://scholar.google.com/scholar?q=easy+yeast+rolls+recipe Google Scholar
https://scholar.google.com/scholar?q=easy+yeast+rolls+recipe - Google Scholar Google Scholar
https://scholar.google.com/scholar?q=yeast+bread+recipes - https://www.foodnetwork.com/recipes/articles/yeast-bread
https://www.foodnetwork.com/recipes/articles/yeast-bread - https://www.nytimes.com/2017/12/20/dining/yeast-roll-recipe.html
https://www.nytimes.com/2017/12/20/dining/yeast-roll-recipe.html - https://www.britannica.com/topic/yeast
https://www.britannica.com/topic/yeast - https://www.fda.gov/food/ingredientspackaginglabeling/foodadditivesingredients/ucm393139.htm
https://www.fda.gov/food/ingredientspackaginglabeling/foodadditivesingredients/ucm393139.htm - easy yeast rolls recipe – Search results
https://en.wikipedia.org/wiki/Special:Search?search=easy+yeast+rolls+recipe