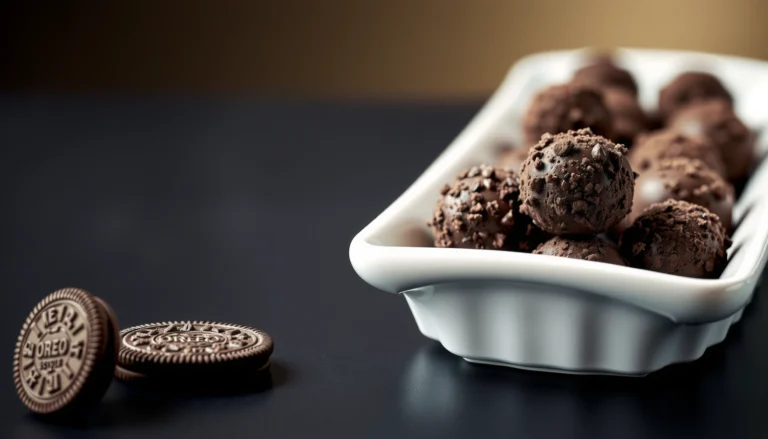
Making your own Oreo cookies at home is simpler than you might think! In this article, you’ll learn how to create delicious, homemade Oreo cookies with a few easy steps. Whether you’re looking to impress friends or enjoy a tasty treat, this recipe will guide you through the process of crafting the perfect cookie, complete with a creamy filling that rivals the store-bought version.
Gather Your Ingredients

To start your homemade Oreo adventure, it’s essential to gather the right ingredients. For the cookie base, you’ll need:
– All-purpose flour: This will provide structure to your cookies.
– Cocoa powder: Choose unsweetened cocoa powder for a rich chocolate flavor.
– Baking soda: This helps the cookies rise and attain a light texture.
– Salt: A pinch of salt enhances the overall flavor of the cookies.
For the filling, the following ingredients are necessary:
– Unsalted butter: Make sure it’s at room temperature for easy mixing.
– Powdered sugar: This adds sweetness and a smooth texture to the filling.
– Vanilla extract: A splash of vanilla enhances the overall flavor profile of the cream.
Prepare the Cookie Dough

The first step in making your Oreo cookies is to prepare the dough. Begin by mixing the dry ingredients in one bowl. This includes the all-purpose flour, cocoa powder, baking soda, and salt. It’s important to sift these ingredients together to ensure they are well combined and to prevent any lumps.
In a separate bowl, cream the unsalted butter and sugar together until light and fluffy. This process is crucial as it incorporates air into the mixture, yielding lighter cookies. Once the butter and sugar are combined, add the vanilla extract and mix well.
Next, gradually add the dry ingredient mixture to the wet ingredients. Mix until the dough is well-formed and easy to work with. It should be thick and pliable, allowing you to roll it into balls without it sticking to your hands.
Comparison of Homemade vs. Store-Bought Oreo Ingredients
| # | Ingredient | Homemade | Store-Bought | Notes |
|---|---|---|---|---|
| 1 | All-Purpose Flour | 200g | 210g | Homemade has slightly less. |
| 2 | Cocoa Powder | 50g | 40g | More cocoa in homemade for richer flavor. |
| 3 | Baking Soda | 1 tsp | 1 tsp | Equal in both. |
| 4 | Unsalted Butter | 113g | 120g | Slightly less in homemade. |
| 5 | Powdered Sugar | 200g | 190g | More sweetness in homemade. |
| 6 | Vanilla Extract | 2 tsp | 1.5 tsp | Stronger flavor in homemade. |
| 7 | Salt | 1/4 tsp | 1/4 tsp | Equal in both. |
Shape and Bake the Cookies

Once your dough is ready, it’s time to shape and bake the cookies. Start by preheating your oven to 350°F (175°C). While the oven is warming, take portions of the dough and roll them into small balls, approximately one tablespoon each. Next, place these dough balls onto a baking sheet lined with parchment paper.
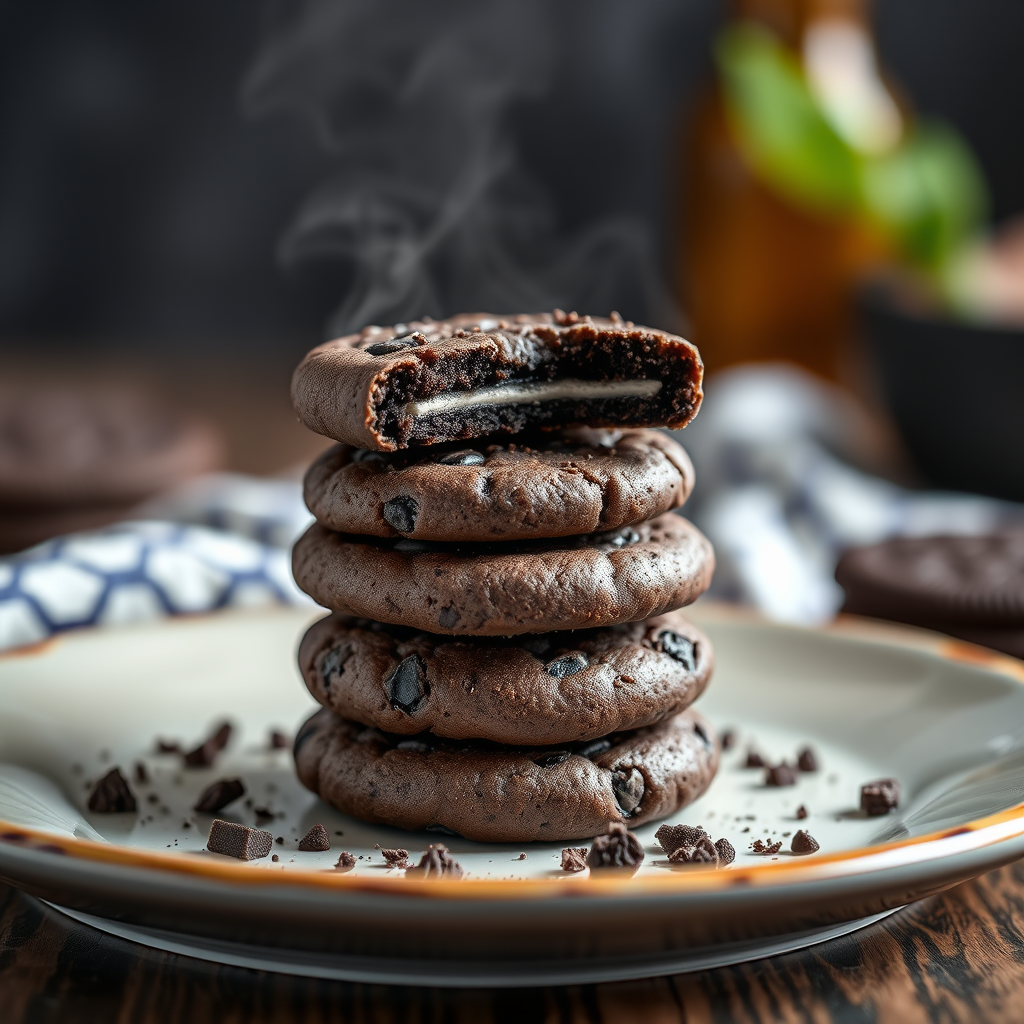
Using the bottom of a glass or your hands, gently flatten each ball into a round disk. The thickness should be about 1/4 inch to ensure even baking. Bake the cookies in the preheated oven for 10-12 minutes. The cookies should be firm around the edges but still slightly soft in the center when you remove them. This texture is key to achieving that classic Oreo crunch on the outside and softness on the inside.
Baking Time Comparison for Cookie Types
Make the Cream Filling
The cream filling is what truly sets Oreo cookies apart, and making it at home is straightforward. Start by beating the room-temperature unsalted butter in a mixing bowl until it becomes light and fluffy. This process usually takes about 2-3 minutes.
Gradually add powdered sugar to the butter, mixing on low speed to prevent a sugary cloud. Once incorporated, increase the speed to medium and beat until the mixture is smooth and creamy. Finally, add the vanilla extract and mix until well combined. The filling should be thick enough to hold its shape but soft enough to spread easily.
Assemble Your Oreo Cookies
Now comes the fun part—assembling your homemade Oreo cookies! Take one of the cooled chocolate cookie disks and spread a generous amount of the cream filling on the bottom. Use a spatula or a knife for an even application. Then, take a second cookie disk and gently press it on top of the filling, creating a sandwich. Ensure that the cookies are aligned evenly for a professional finish. Continue this process until all cookies are assembled.
Tips for Perfect Cookies
To enhance the flavor and texture of your homemade Oreo cookies, consider the following tips:
– Chill the dough: Refrigerating the dough for about 30 minutes before baking can improve the flavor and help the cookies hold their shape during baking.
– Customize flavors: Feel free to experiment with the filling by incorporating different extracts, such as mint or almond, to create unique flavor profiles.
– Even baking: Rotate your baking sheet halfway through the baking time to ensure even cooking, especially if your oven has hot spots.
Storing Your Homemade Oreos
Proper storage is essential for maintaining the freshness of your homemade Oreo cookies. Store them in an airtight container at room temperature for up to a week. If you wish to keep them longer, consider freezing them. Wrap each cookie sandwich individually in plastic wrap and place them in a freezer-safe container. They can be frozen for up to three months without losing flavor or texture.
In summary, enjoying homemade Oreo cookies is a delicious way to indulge your sweet tooth. With this easy recipe, you can create your own delightful treats right in your kitchen. Share them with friends or keep them all to yourself—either way, they’re sure to be a hit! Happy baking!
Frequently Asked Questions
What are the key ingredients needed for a homemade Oreo cookies recipe?
To make a classic homemade Oreo cookies recipe, you’ll need all-purpose flour, cocoa powder, baking soda, salt, unsalted butter, granulated sugar, brown sugar, and vanilla extract. For the creamy filling, you’ll require powdered sugar and shortening or butter, which will give your cookies that signature sweet and creamy taste.
How do you achieve the perfect texture for homemade Oreo cookies?
To achieve the perfect texture for homemade Oreo cookies, it’s crucial to properly cream the butter and sugars until light and fluffy, which incorporates air into the dough. Additionally, chilling the dough for at least 30 minutes before baking helps to firm it up, resulting in a chewy center and crisp edges once baked.
Why do my homemade Oreo cookies spread too much while baking?
If your homemade Oreo cookies are spreading too much during baking, it could be due to too much butter or not enough flour in the dough. Make sure to accurately measure your ingredients and consider chilling the dough before baking, as this can help prevent excessive spreading and maintain the cookie’s shape.
What is the best way to store homemade Oreo cookies for freshness?
The best way to store homemade Oreo cookies is to keep them in an airtight container at room temperature, where they can stay fresh for up to one week. For longer storage, you can freeze the cookies by placing them in a freezer-safe container or bag, which allows them to last for up to three months while preserving their flavor and texture.
Which variations can I try to customize my homemade Oreo cookies recipe?
You can customize your homemade Oreo cookies recipe by adding different flavors to the filling, such as mint, peanut butter, or even cream cheese for a unique twist. Additionally, consider experimenting with various add-ins like crushed cookies, nuts, or chocolate chips in the cookie dough to create a personalized version of this classic treat.
References
- Oreo
https://en.wikipedia.org/wiki/Oreo - https://www.britannica.com/topic/Oreo
https://www.britannica.com/topic/Oreo - Google Scholar Google Scholar
https://scholar.google.com/scholar?q=oreo+cookies+recipe - Google Scholar Google Scholar
https://scholar.google.com/scholar?q=oreo+cookie+history - https://www.ncbi.nlm.nih.gov/pmc/articles/PMC6478288/
https://www.ncbi.nlm.nih.gov/pmc/articles/PMC6478288/ - https://www.sciencedirect.com/topics/food-science/oreo
https://www.sciencedirect.com/topics/food-science/oreo - https://www.nytimes.com/2021/02/10/dining/oreo-cookies-recipe.html
https://www.nytimes.com/2021/02/10/dining/oreo-cookies-recipe.html - https://www.bbc.com/news/world-us-canada-55359166
https://www.bbc.com/news/world-us-canada-55359166 - https://www.theguardian.com/food/2021/feb/12/oreo-cookie-recipe
https://www.theguardian.com/food/2021/feb/12/oreo-cookie-recipe - https://www.cdc.gov/nutrition/resources-publications/healthier-choices.html
https://www.cdc.gov/nutrition/resources-publications/healthier-choices.html