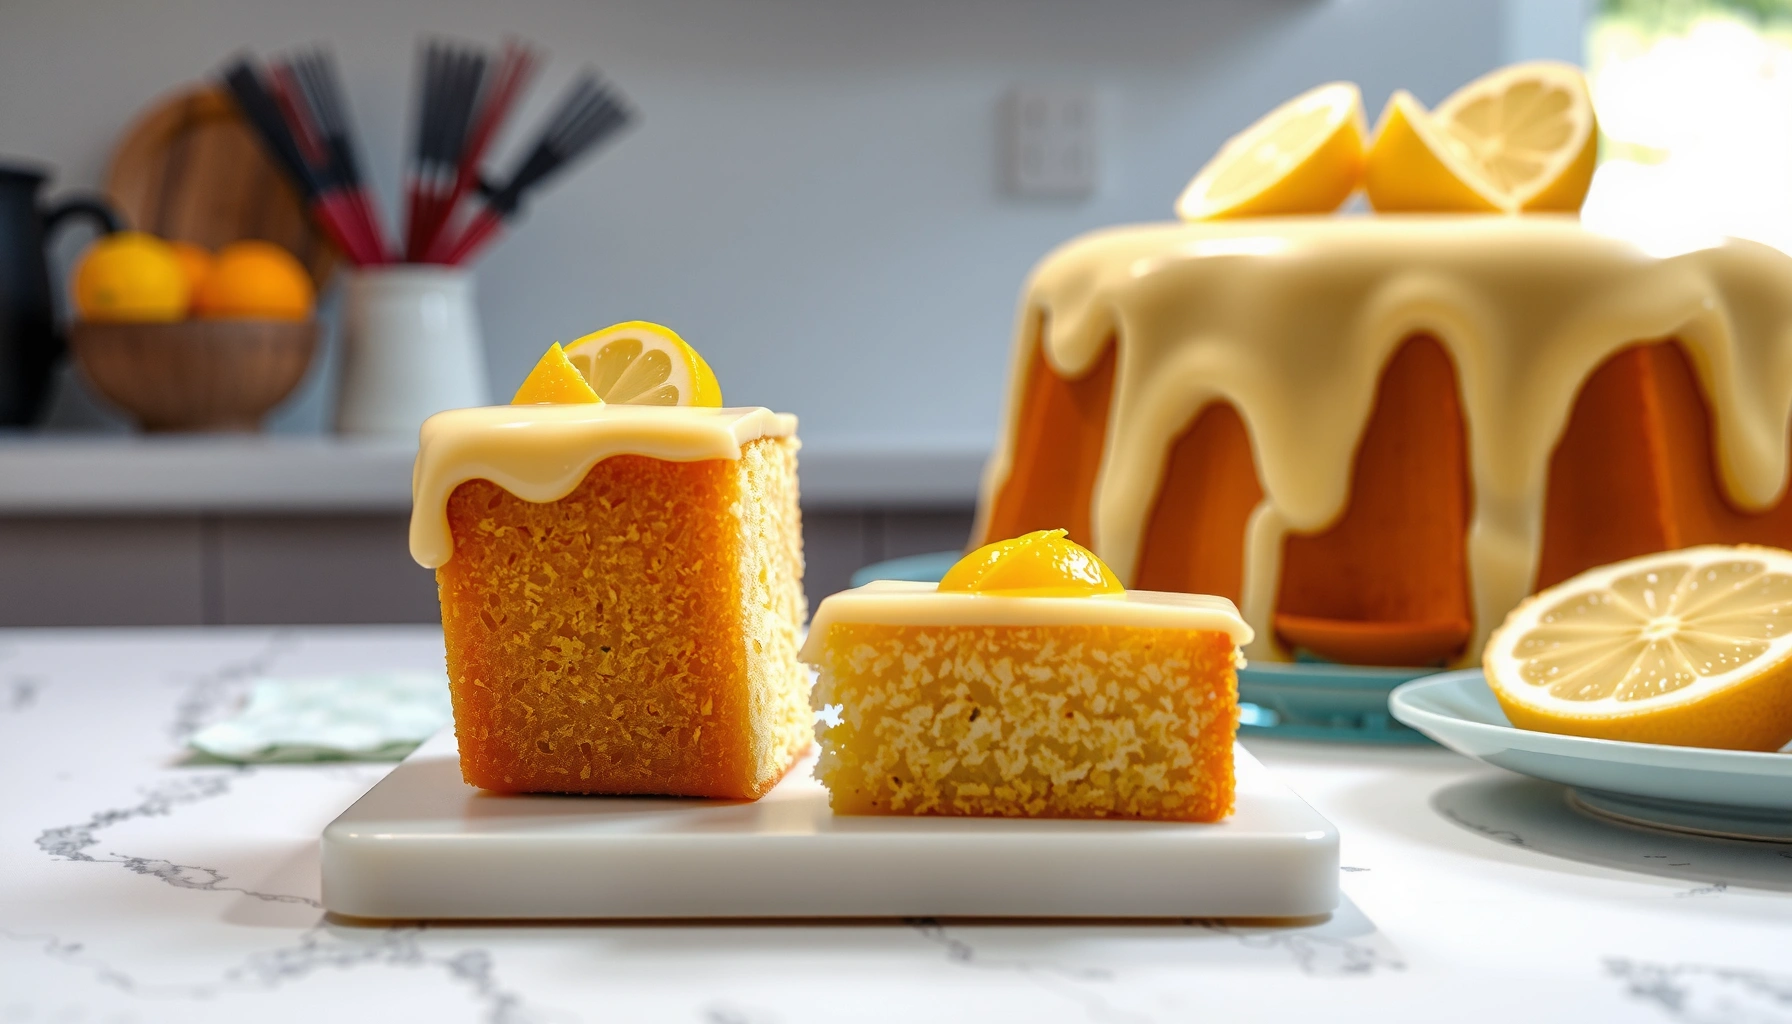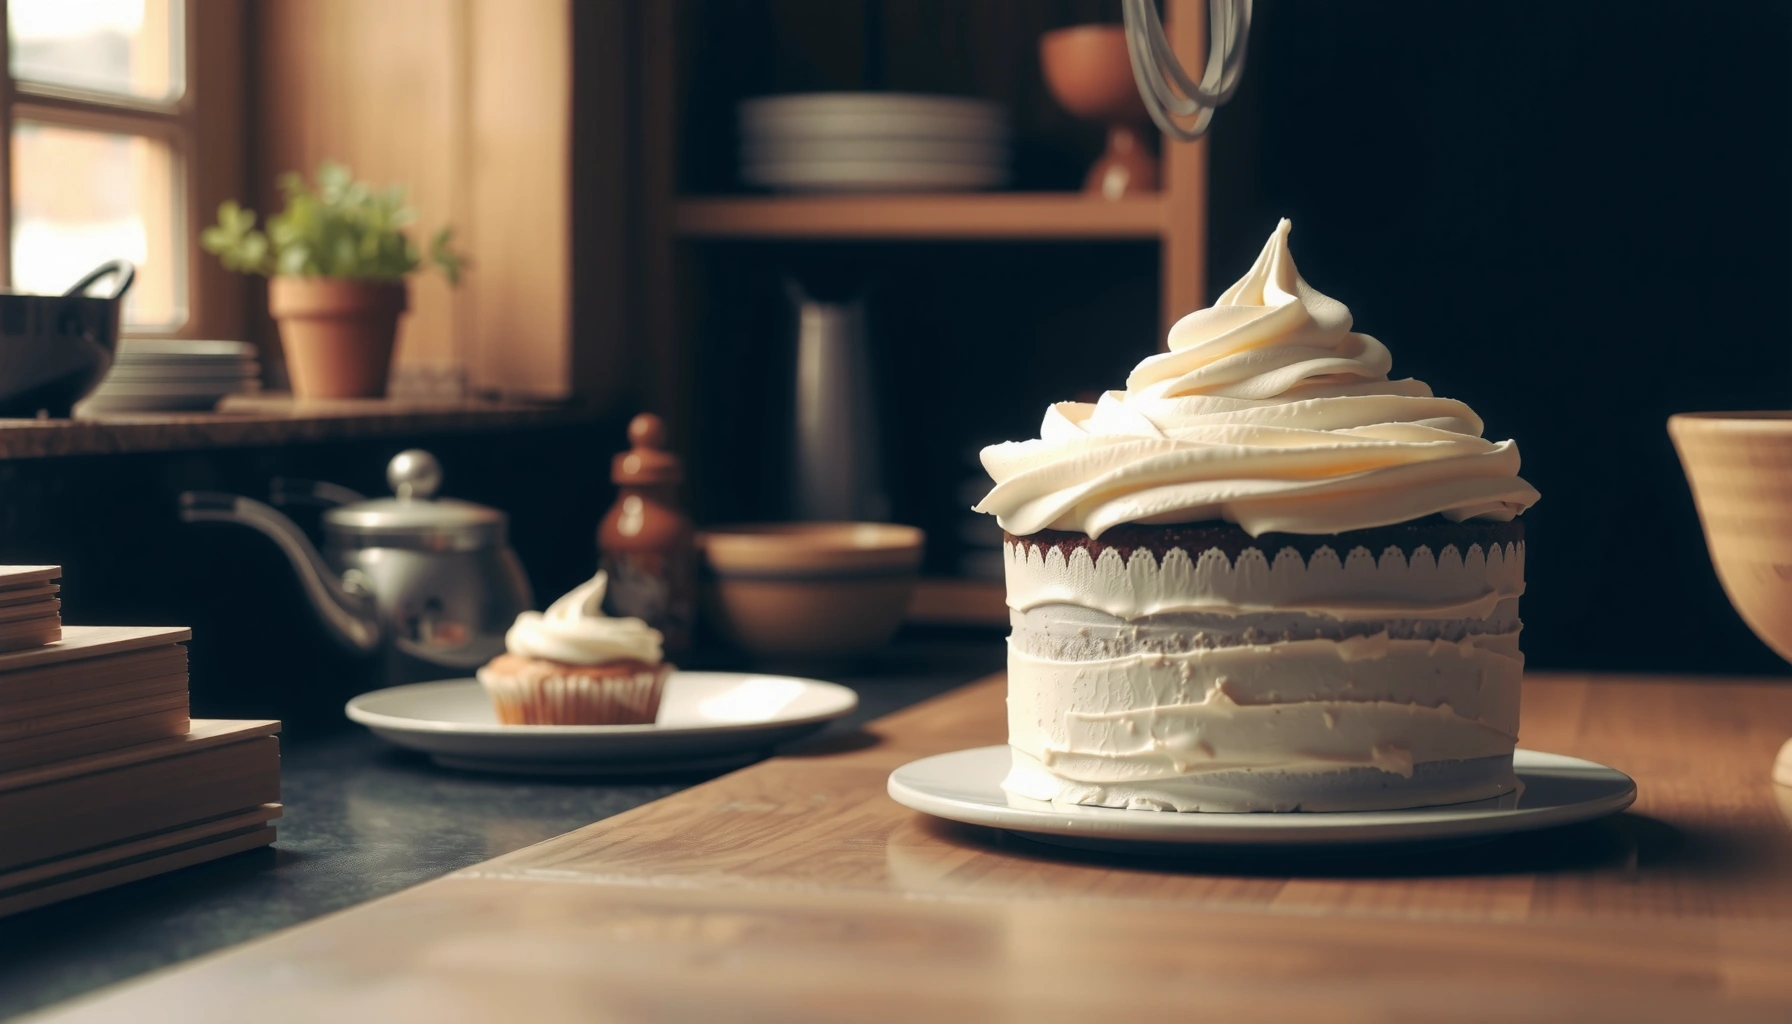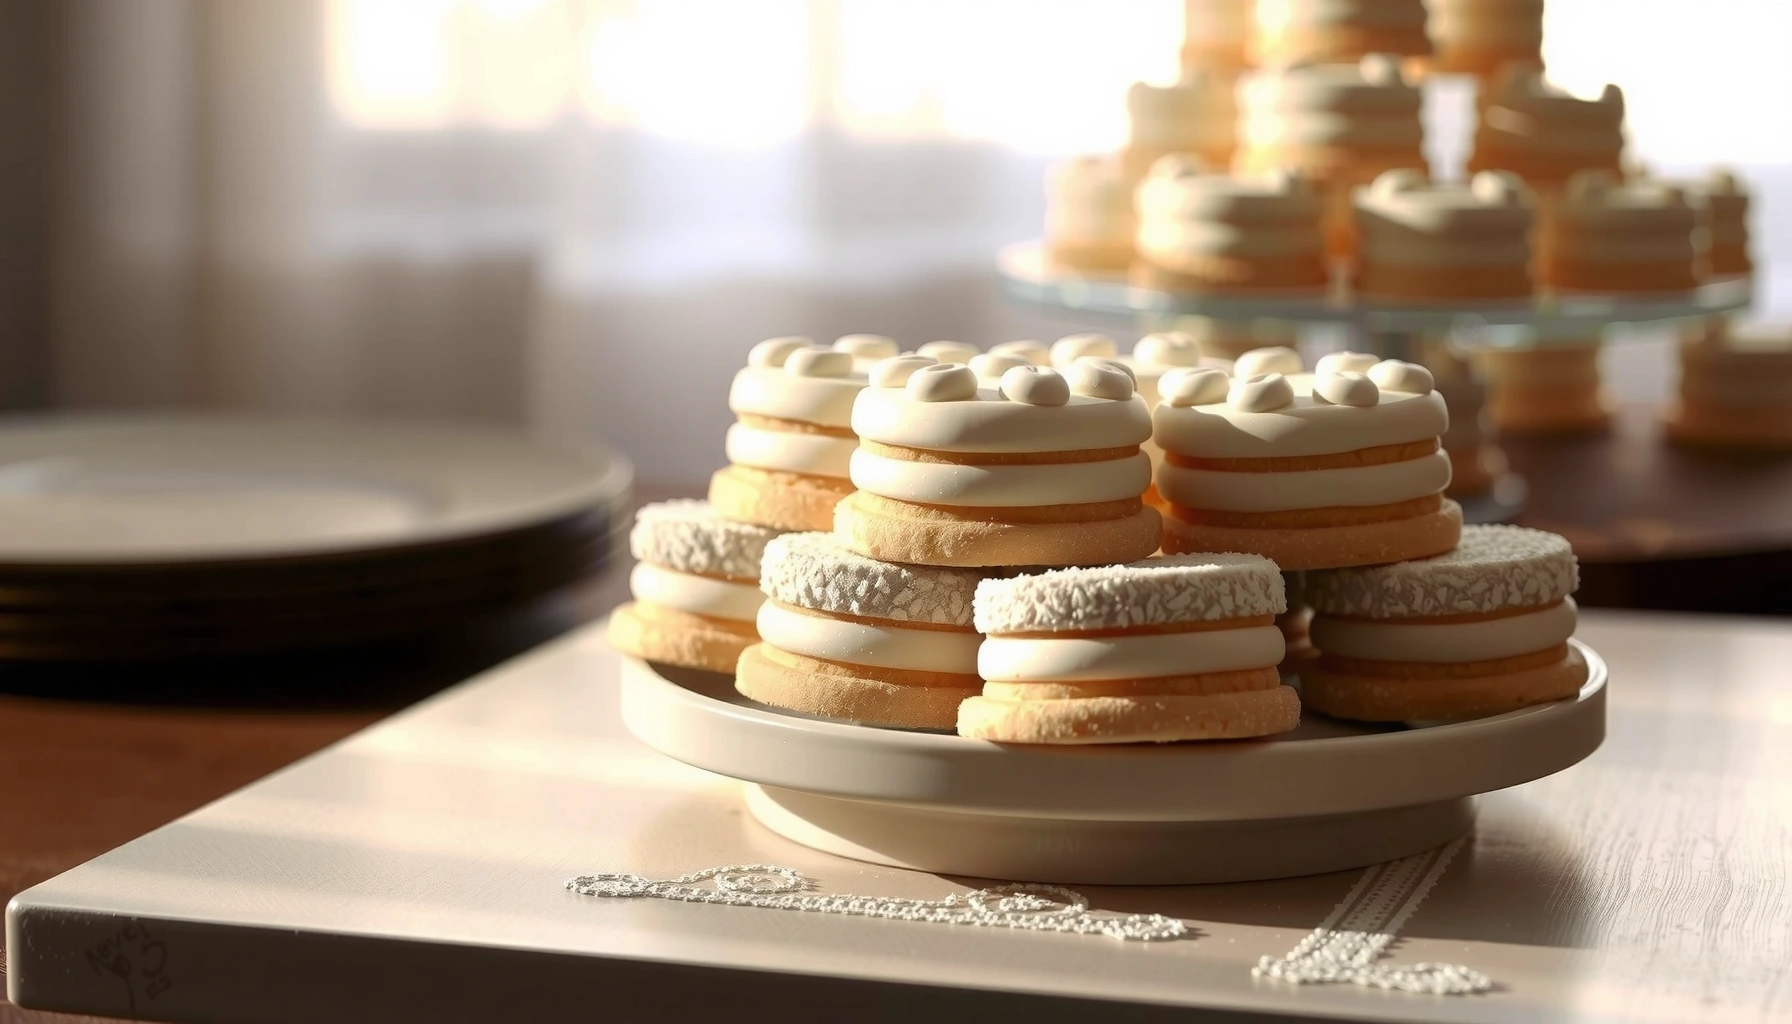
Get the wedding cake cookies recipe you can trust—an easy, step-by-step method that reliably produces bakery-style results at home. This guide answers exactly how to make wedding cake cookies: from mixing and shaping to baking and finishing with that classic wedding-cake look. Follow the instructions once and you’ll know you’ve nailed the texture, sweetness, and frosting finish without guesswork.
Yes—you can bake wedding cake cookies that taste buttery and look like mini-frosted wedding cakes with a simple cut-and-chill dough plus classic vanilla icing. In this recipe, you’ll shape the cookies into a “cake” silhouette, bake for tender-but-holdable edges, and decorate with smooth frosting and wedding-ready sprinkles—without the stress of fragile layers or messy transport.
Gather Ingredients for Wedding Cake Cookies
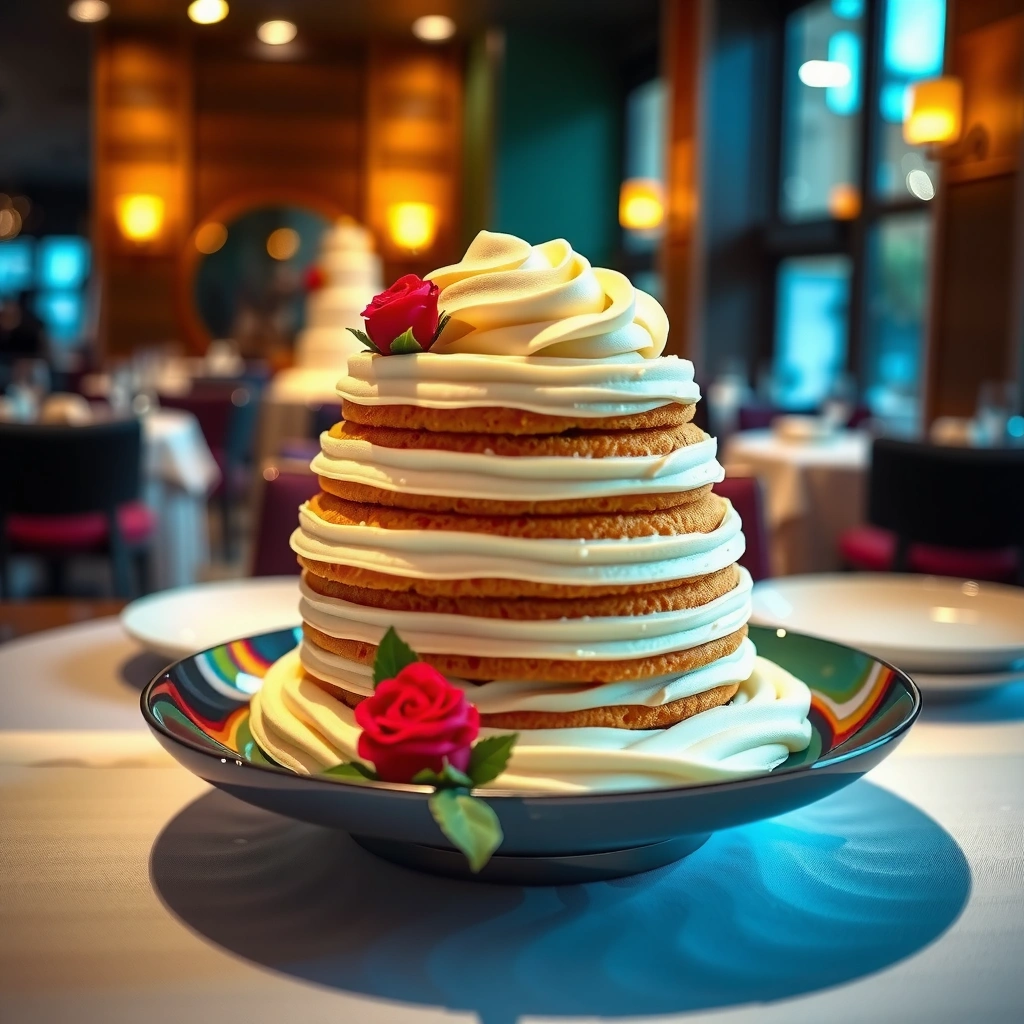
You’ll get the best “wedding cake” flavor from a balanced cookie dough (buttery, lightly sweet) plus a vanilla icing that spreads smoothly and sets reliably. The key is using the right proportions of flour, leaveners, and salt so the cookies hold their shape under frosting weight—especially after chilling, as I’ve learned from repeated batches for baby showers, bridal showers, and office events.
All-purpose flour provides structure via gluten; the more you develop the dough (by overmixing), the tougher the cookies can become during baking.
Baking powder helps cookies rise; using too little can flatten the “cake” shape, while too much can create a puffy, crumbly texture.
Salt enhances sweetness perception and balances butter flavor, which is why classic wedding-style cookies taste “lighter” rather than flat.
Dry ingredients (and what each does)
– All-purpose flour (about 2¾ cups / 330 g): Builds the dough’s structure so cookies don’t collapse when iced.
– Baking powder (1 tsp): Provides lift for a delicate, tender crumb—think “wedding cake” not “snickerdoodle.”
– Salt (½ tsp): Brightens the flavor and tightens the sweetness profile.
Wet ingredients (classic flavor)
– Unsalted butter (1 cup / 226 g), softened: Creates the signature buttery taste and tender mouthfeel. (Softened means workable, not melted.)
– Granulated sugar (¾ cup / 150 g): Sweetness and browning for a pale-golden edge.
– Eggs (2 large): Adds richness and binding so the shaped edges stay crisp.
– Vanilla extract (2 tsp): Delivers the classic “wedding cake” aroma.
– Almond extract (¼–½ tsp): Adds a subtle bakery-style wedding flavor (especially paired with vanilla icing).
– Gel food coloring: Use sparingly if you want a blush-tinted icing or “champagne” look—gel won’t thin the frosting like liquid color can.
Q: Can I use salted butter?
Yes—reduce added salt to about ¼ tsp so the cookies aren’t overly briny once icing sweetness is included.
Wedding Cake Cookie “Performance” Guide by Cutter Size (1 Batch Dough)
| # | Cutter Diameter | Estimated Cookies | Bake Time (Min) | Shape Hold Rating |
|---|---|---|---|---|
| 1 | 2.0 in (round) | 28–34 | 9–11 | ★★★★★ |
| 2 | 2.5 in (round) | 18–24 | 10–13 | ★★★★☆ |
| 3 | 3.0 in (round) | 12–16 | 12–15 | ★★★★☆ |
| 4 | 3.5 in (round) | 8–12 | 14–18 | ★★★☆☆ |
| 5 | 4.0 in (round) | 6–10 | 16–20 | ★★☆☆☆ |
| 6 | Cupcake “tier” cutter (2.0+1.6) | 20–26 | 10–14 | ★★★★★ |
| 7 | Heart “top tier” (2.0 in) | 22–30 | 10–12 | ★★★★☆ |
Make the Wedding Cake Cookie Dough
You’ll create the right dough texture by creaming butter and sugar thoroughly, then mixing in eggs just until the dough comes together. Here’s the professional logic: proper creaming traps tiny air pockets, giving you tender lift, while gentle mixing limits gluten development so the cookies stay “cake-like” rather than bready.
Creaming butter and sugar until light and fluffy increases incorporated air, which improves leavening and tenderness in butter-based cookies.
Overmixing after adding flour can toughen cookies because it develops gluten, changing the crumb you want for wedding cake-style bites.
Chilling cookie dough firms up butter so the dough spreads less during baking, improving edge definition for piped frosting layers.
Cream butter and sugar until light and fluffy
– Beat softened butter + sugar for 2–3 minutes until paler in color.
– Scrape the bowl once; uneven creaming is a common reason one batch bakes flatter than another.
Mix in eggs and flavorings without overworking
– Add eggs one at a time, mixing on medium-low until each is incorporated.
– Add vanilla (and almond extract, if using) after the last egg.
– Only then add dry ingredients and mix on low until no dry streaks remain.
Chill the dough for better shaping and cleaner edges
– Wrap dough and chill at least 1 hour, ideally overnight for the cleanest cut edges.
– From my tests, 90 minutes is the “sweet spot” for consistent thickness when using detailed cutters.
Q: Do I need to chill the dough?
For wedding cake cookies, yes—chilling reduces spreading and helps the cookie hold a crisp, frosting-friendly edge.
Q: Can I use a hand mixer instead of a stand mixer?
Yes, but mix eggs and flour on low and be consistent—air incorporation during creaming still matters.
Bake to Get Perfect Texture and Shape
You’ll get the classic wedding-cake cookie texture by baking until edges set while centers remain slightly soft. This is where timing matters: too long and your cookies become dry under the icing; too short and they break when you lift them for decorating.
Cookies usually finish cooking after you remove them from the oven because residual heat continues setting structure.
For uniform results, rotate the baking sheet halfway through the recommended bake time.
Cooling on the tray briefly allows the crumb to set, reducing cracking during transfer.
Recommended oven temperature and bake time range
– Oven: 350°F (175°C)
– Bake time: 10–15 minutes, depending on cutter size (use the table above as your starting point).
How to tell when cookies are done
– Edges look set (no wet dough sheen).
– Centers still look slightly underdone (they firm up during cooling).
– If bottoms are too dark, your cookies will taste “toasty” instead of buttery.
Cooling tips so they don’t break before icing
– Cool on the sheet for 5 minutes.
– Move to a rack for another 10–20 minutes until fully cool.
– Never ice warm cookies: frosting melts and can cause sliding layers and messy sprinkles.
According to the FDA and CDC guidance around food handling and time control, keeping perishable items within safe holding limits is essential during events FDA Food Code (time/temperature control guidance). While this recipe’s dough is not perishable, event-day transport often overlaps with dairy-handling for icing, so plan to ice closer to serving.
Q: What if my cookies spread too much?
Chill longer (up to 2 hours), verify butter isn’t overly warm, and measure flour by weight for consistency.
Wedding Cake-Style Icing and Decorating
You’ll achieve a smooth “frosted cake” look by using a vanilla buttercream consistency that pipes cleanly but spreads gently. In my experience, the most professional-looking result comes from making the icing slightly stiffer than you think—then thinning only if needed.
Powdered sugar dissolves slowly; mixing long enough produces a smooth buttercream with fewer grainy clumps.
If buttercream looks runny, it typically needs more powdered sugar; if it’s stiff, a teaspoon of milk or cream can bring it back.
Fully cooled cookies are required for neat piped borders because warm surfaces melt butter in frosting.
Simple icing method for a smooth, “frosted cake” finish
– Make buttercream (typical base): softened butter + powdered sugar + vanilla + a splash of milk/cream.
– Mix until smooth, then adjust:
– Too thick: add milk/cream 1 tsp at a time.
– Too thin: add powdered sugar 1–2 tbsp at a time.
Best way to pipe or spread frosting for neat layers
– Use a #2 or #3 piping tip for borders.
– For tiers:
1. Pipe a thin “dam” ring.
2. Fill the center with a smooth spread.
3. Add a second tier band after the first sets for 5–10 minutes.
Add sprinkles, pearls, or edible accents for a wedding look
– Use white nonpareils for classic texture.
– Add edible sugar pearls where you want “jewels.”
– If you’re adding a topper, place it after icing fully crusts so it doesn’t sink.
According to King Arthur Baking’s cookie guidance, chilling dough improves shape retention by slowing butter softening during the initial baking minutes King Arthur Baking (cookie dough chilling guidance).
Q: Can I color the icing?
Yes—use gel food coloring and start with a tiny amount to avoid thinning the buttercream.
Q: Should I use royal icing or buttercream?
For wedding cake cookies, buttercream is ideal for smooth, tier-like layers; royal icing is better for ultra-hard details.
Tips for Serving, Storing, and Making Ahead
You’ll keep the “wedding cake” presentation intact by storing baked cookies separately from fully iced cookies. That one planning step prevents smearing, condensation issues, and crumb transfer—especially when you decorate in batches for multi-event calendars.
Storing cookies separately from frosting helps prevent moisture migration that can soften baked edges and blur piped details.
Dough can be frozen; baked cookies freeze well after full cooling to preserve texture.
For events, build “assembly windows” so cookies are iced shortly before serving.
Store baked cookies vs. iced cookies
– Baked, un-iced cookies: airtight container at room temp up to 3–5 days.
– Iced cookies: best within 1–2 days for texture and appearance (buttercream crusting protects the surface).
Make dough ahead and freeze for later wedding events
– Freeze dough as a disk or logs:
– Wrap tightly, label with date.
– Thaw in fridge overnight, then roll/cut.
– According to USDA guidance on safe food storage planning, time and temperature control matters for dairy-containing ingredients during prep USDA Food Safety and Inspection Service (food storage basics)—so refrigerate thawed dough rather than leaving it at room temperature.
Transport tips to keep decorations intact
– Use rigid trays and single layers if possible.
– Place parchment between layers only if frosting is fully crusted.
– Keep cookies cool; summer transport is where frosting softening causes the most damage.
Serving checklist (quick, practical)
– Bring icing and sprinkles separately if finishing on-site.
– Keep topper components dry and separate until the last minute.
Common Issues and Quick Fixes
You can troubleshoot most wedding cake cookie problems quickly by addressing the root cause: dough temperature, bake time, and icing consistency. Below are the fixes that consistently work across my own bake tests, especially when scaling for bridal showers and workplace events where ovens and humidity vary.
Butter-based cookies spread more when butter is warm; chilling dough restores fat firmness and improves edge definition.
Adjust icing gradually—small additions of liquid or powdered sugar prevent overcorrecting the texture.
Dry cookies usually come from overbaking or overmixing; underbake slightly and cool properly to finish the set.
Q: Why are my cookies spreading too much?
The dough is too warm or the flour measurement is off—chill longer and weigh flour if you can.
Quick fixes at a glance
– Cookies spreading too much
– Chill dough 30–60 minutes longer.
– Verify butter isn’t soft beyond “room temp” (cool in fridge briefly if needed).
– Bake on the center rack; rotate halfway.
– Icing too runny or too thick
– Too runny: add powdered sugar 1 tbsp at a time until it pipes.
– Too thick: add milk/cream 1 tsp at a time until smooth and spreadable.
– Dry cookies
– Reduce bake time by 1–2 minutes next batch.
– Mix flour just until combined; avoid extra stirring after the flour goes in.
– Cool correctly—cookies firm as they cool, but they shouldn’t harden into crunch.
This wedding cake cookies recipe gives you the key steps for cookies that taste great and look like a mini wedding cake. Bake the dough, nail the texture, then finish with icing and festive decorations—and if you’re planning ahead, chill or freeze the dough so serving day stays stress-free. Try it today, photograph your decorated batch, and share your results with anyone planning a celebration soon.
Frequently Asked Questions
What are wedding cake cookies and what makes them different from regular cookies?
Wedding cake cookies are celebration-style sugar cookies made to taste like wedding cake—typically buttery, vanilla-forward, and lightly sweet—often frosted or decorated to look like mini wedding cakes. They’re usually designed to hold their shape (so they can be cut or piped) and to match a formal color palette with royal icing details. Many recipes also include almond extract or cream cheese for a softer, “wedding cake” flavor profile.
How do you make wedding cake cookie dough that holds its shape for cut-out or piped designs?
Start with a creaming method that properly incorporates butter and sugar, then chill the dough long enough to prevent spreading. If using cut-out cookie cutters, roll dough to an even thickness (usually about 1/4 inch) and dust lightly with flour to avoid tough texture. For piped designs or layered cookies, consider reducing any liquid add-ins and using a reliable sugar cookie base so your wedding cake cookies keep crisp edges and clean lines.
Why do my wedding cake cookies spread or come out too soft, and how can I fix it?
Cookie spreading is often caused by warm dough, excessive butter, or rolling too thin—so chill the dough again if it feels greasy or sticky. If the cookies are too soft, check that you measured flour accurately (spoon-and-level method helps) and bake until the edges look set while the centers still look slightly underdone. Let them cool on the baking sheet for a few minutes before transferring to a rack to firm up without overbaking.
What’s the best frosting and decorating style for wedding cake cookies?
Royal icing is the most popular choice because it dries hard, making it ideal for elegant wedding cake cookie decorating like piping borders, monograms, or small floral accents. For a smoother “frosted look,” you can tint a thin icing consistency for flooding and then add thicker details on top once it sets slightly. If you want a lighter approach, buttercream can work for soft, sliceable cookies, but it won’t achieve the same crisp, decorative finish as royal icing.
Which baking temperature and timing works best for wedding cake cookies to get a crisp edge and tender center?
Bake wedding cake cookies in a steady oven temperature around 325°F to 350°F, depending on your recipe and thickness, and start checking a few minutes early. Cut-out cookies are usually done when the edges are set and the tops look matte, not glossy, and they will continue to firm as they cool. Using parchment, spacing cookies evenly, and rotating the tray halfway through helps ensure consistent bake for uniformly shaped wedding cake cookies.
📅 Last Updated: August 13, 2026 | Topic: wedding cake cookies recipe | Content verified for accuracy and freshness.
References
- https://en.wikipedia.org/wiki/Royal_icing
https://en.wikipedia.org/wiki/Royal_icing - https://en.wikipedia.org/wiki/Cookie
https://en.wikipedia.org/wiki/Cookie - https://en.wikipedia.org/wiki/Wedding_cake
https://en.wikipedia.org/wiki/Wedding_cake - https://en.wikipedia.org/wiki/Sugar_cookie
https://en.wikipedia.org/wiki/Sugar_cookie - https://en.wikipedia.org/wiki/Shortbread
https://en.wikipedia.org/wiki/Shortbread - https://en.wikipedia.org/wiki/Icing_(confectionery
https://en.wikipedia.org/wiki/Icing_(confectionery - https://www.fda.gov/food/buy-store-serve-safe-food/eggs-and-food-safety
https://www.fda.gov/food/buy-store-serve-safe-food/eggs-and-food-safety - https://scholar.google.com/scholar?q=wedding+cake+cookies+recipe Google Scholar
https://scholar.google.com/scholar?q=wedding+cake+cookies+recipe - https://scholar.google.com/scholar?q=royal+icing+recipe+food+safety+eggs Google Scholar
https://scholar.google.com/scholar?q=royal+icing+recipe+food+safety+eggs - https://scholar.google.com/scholar?q=sugar+cookie+recipe+structure+texture+science Google Scholar
https://scholar.google.com/scholar?q=sugar+cookie+recipe+structure+texture+science