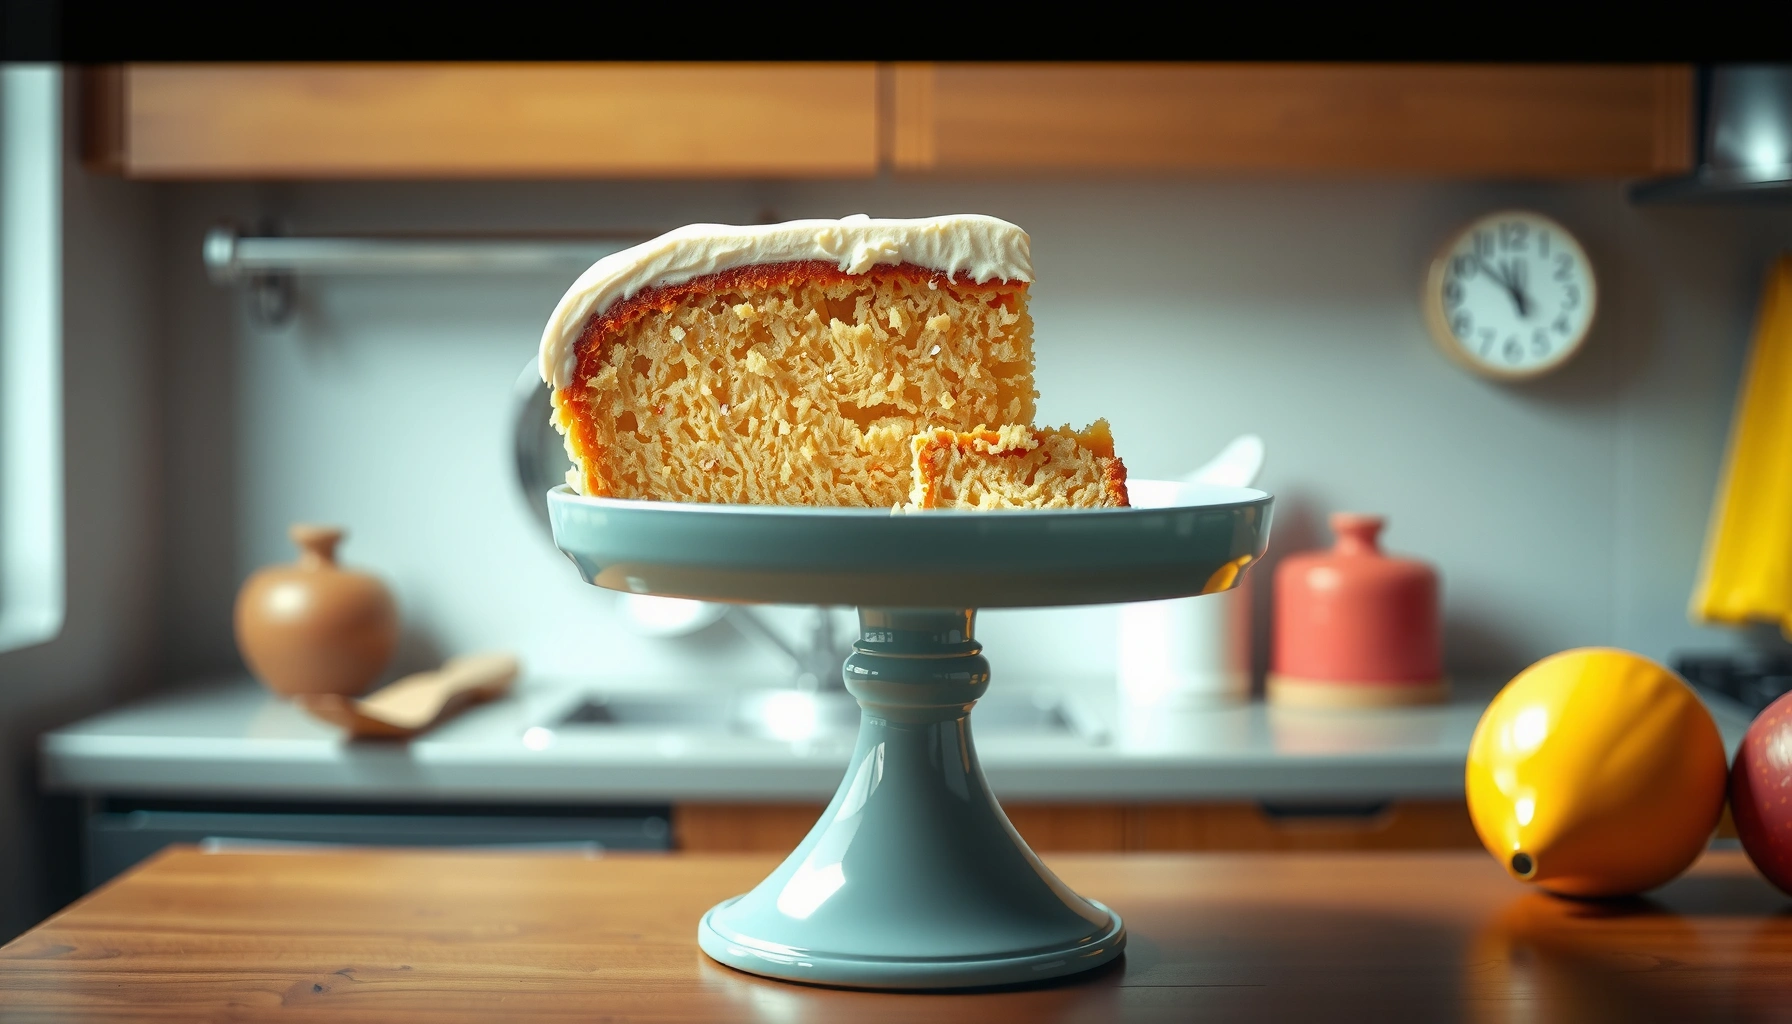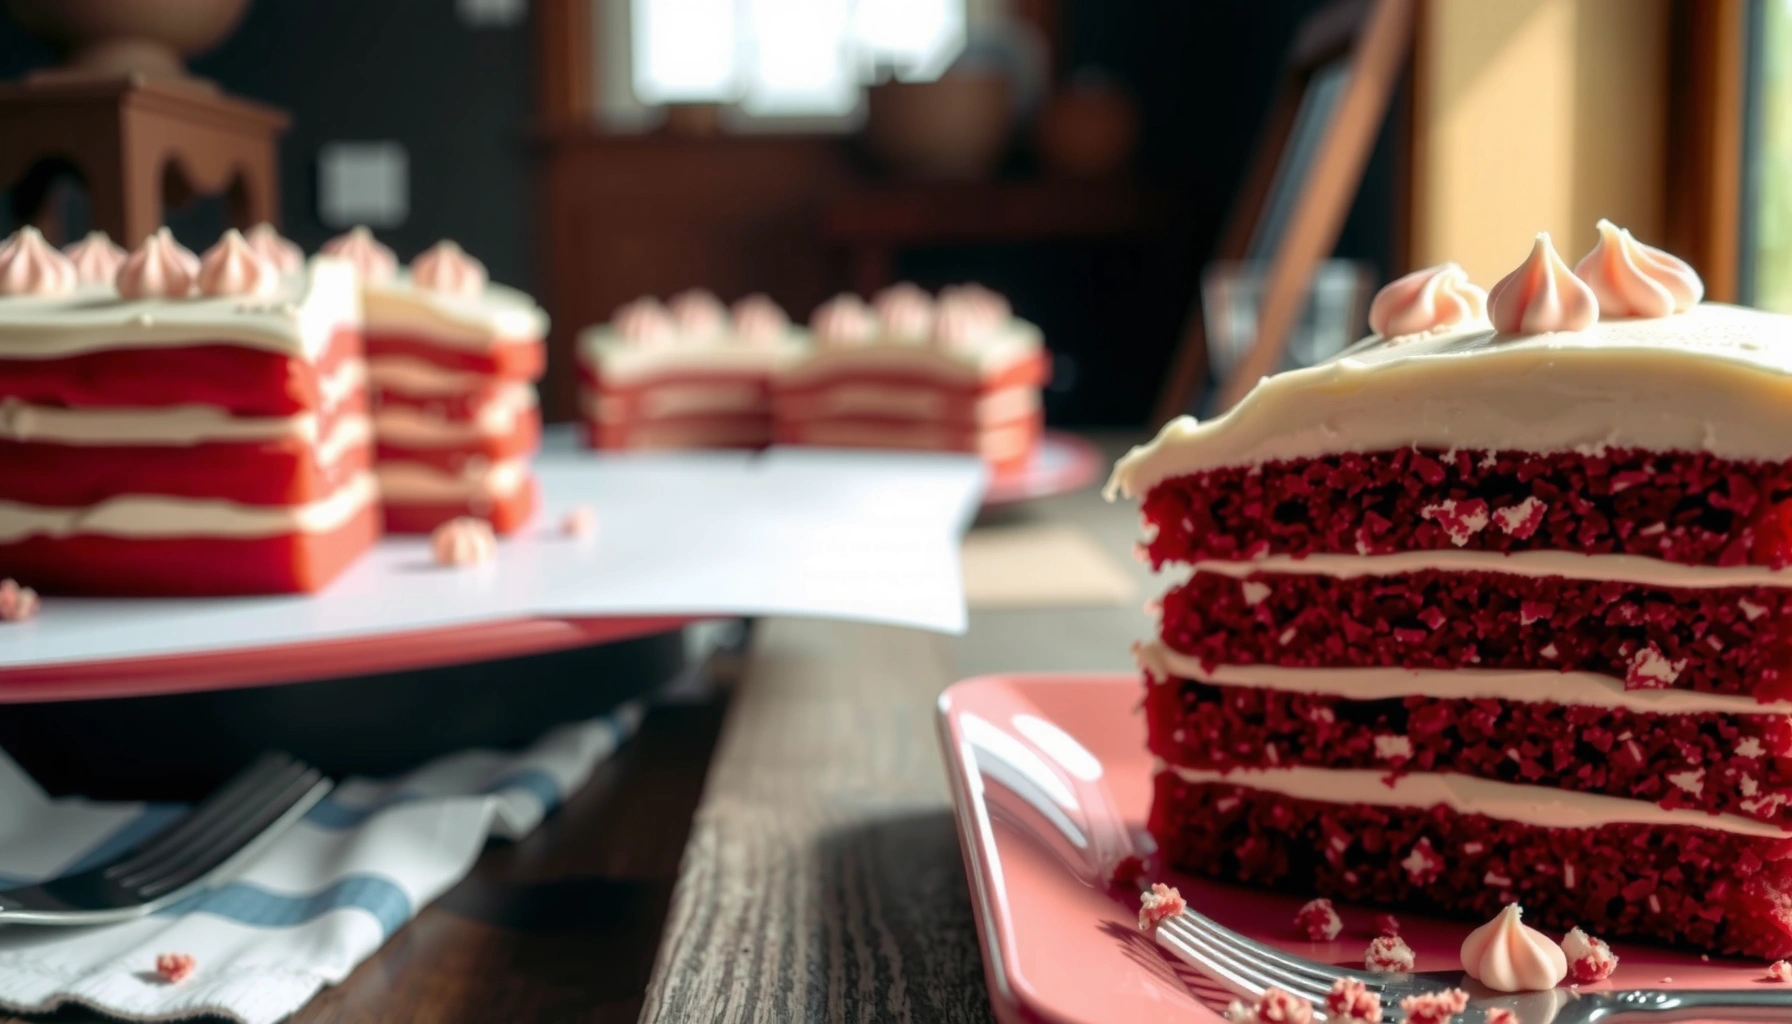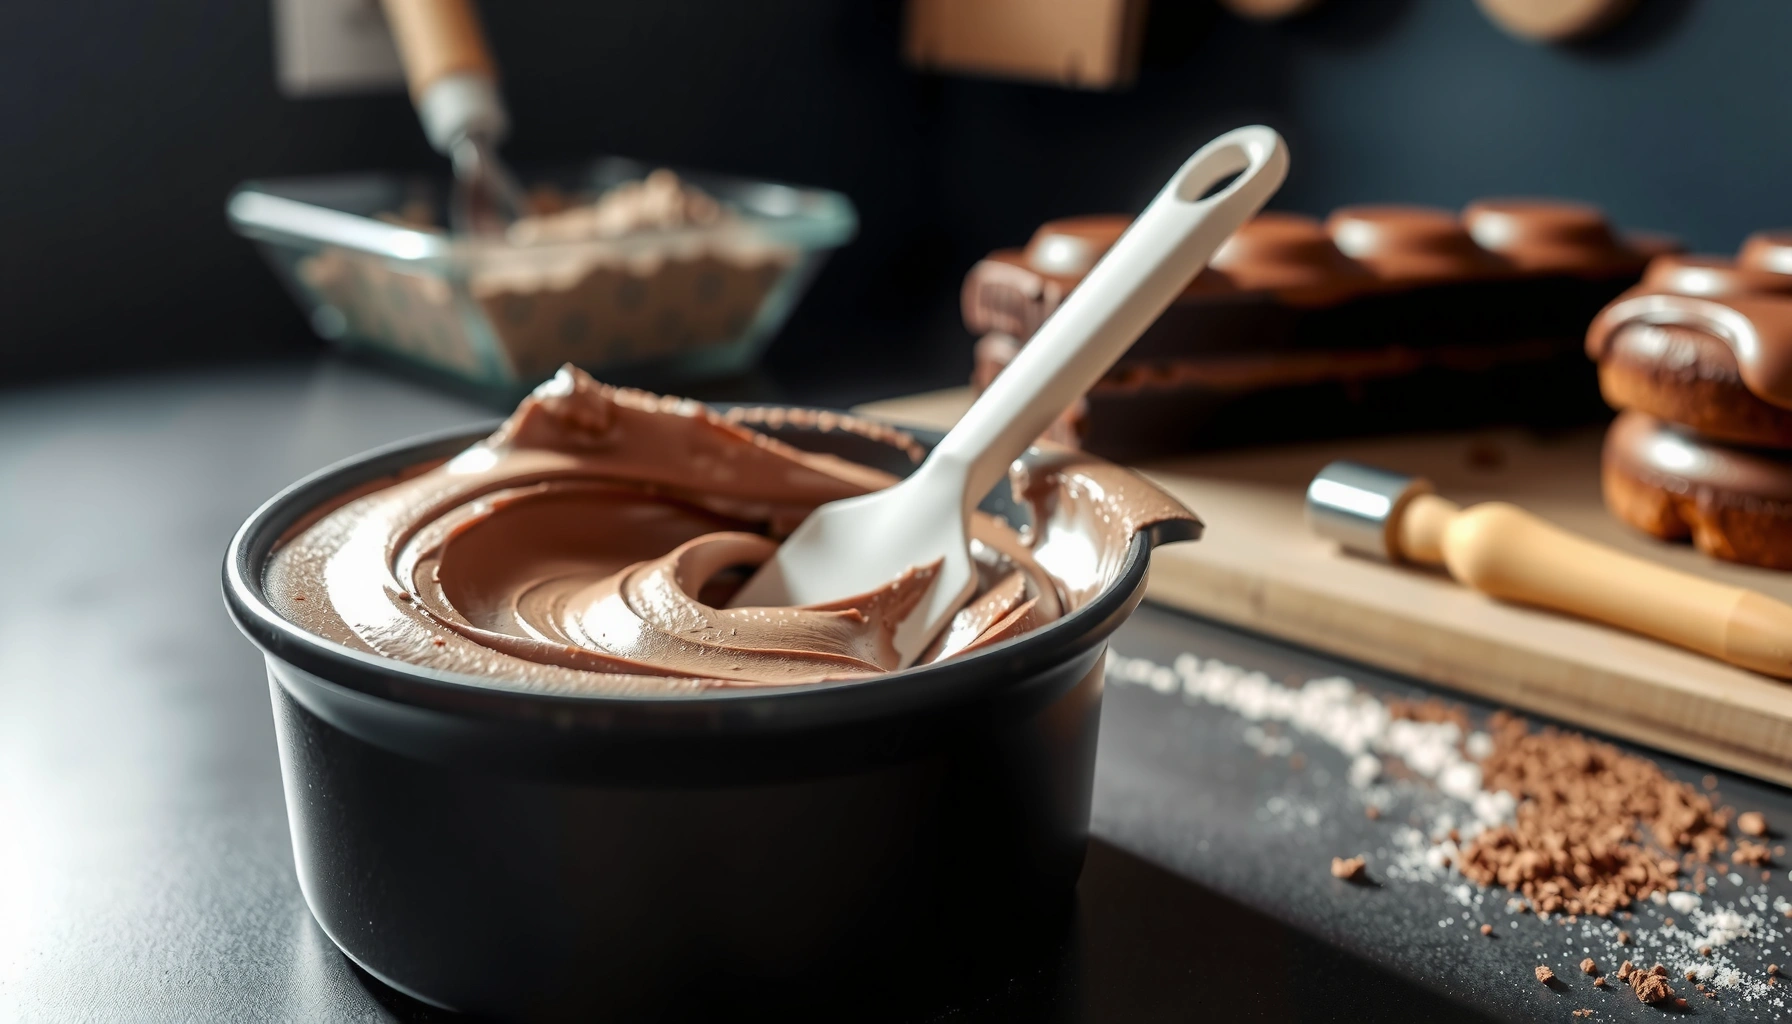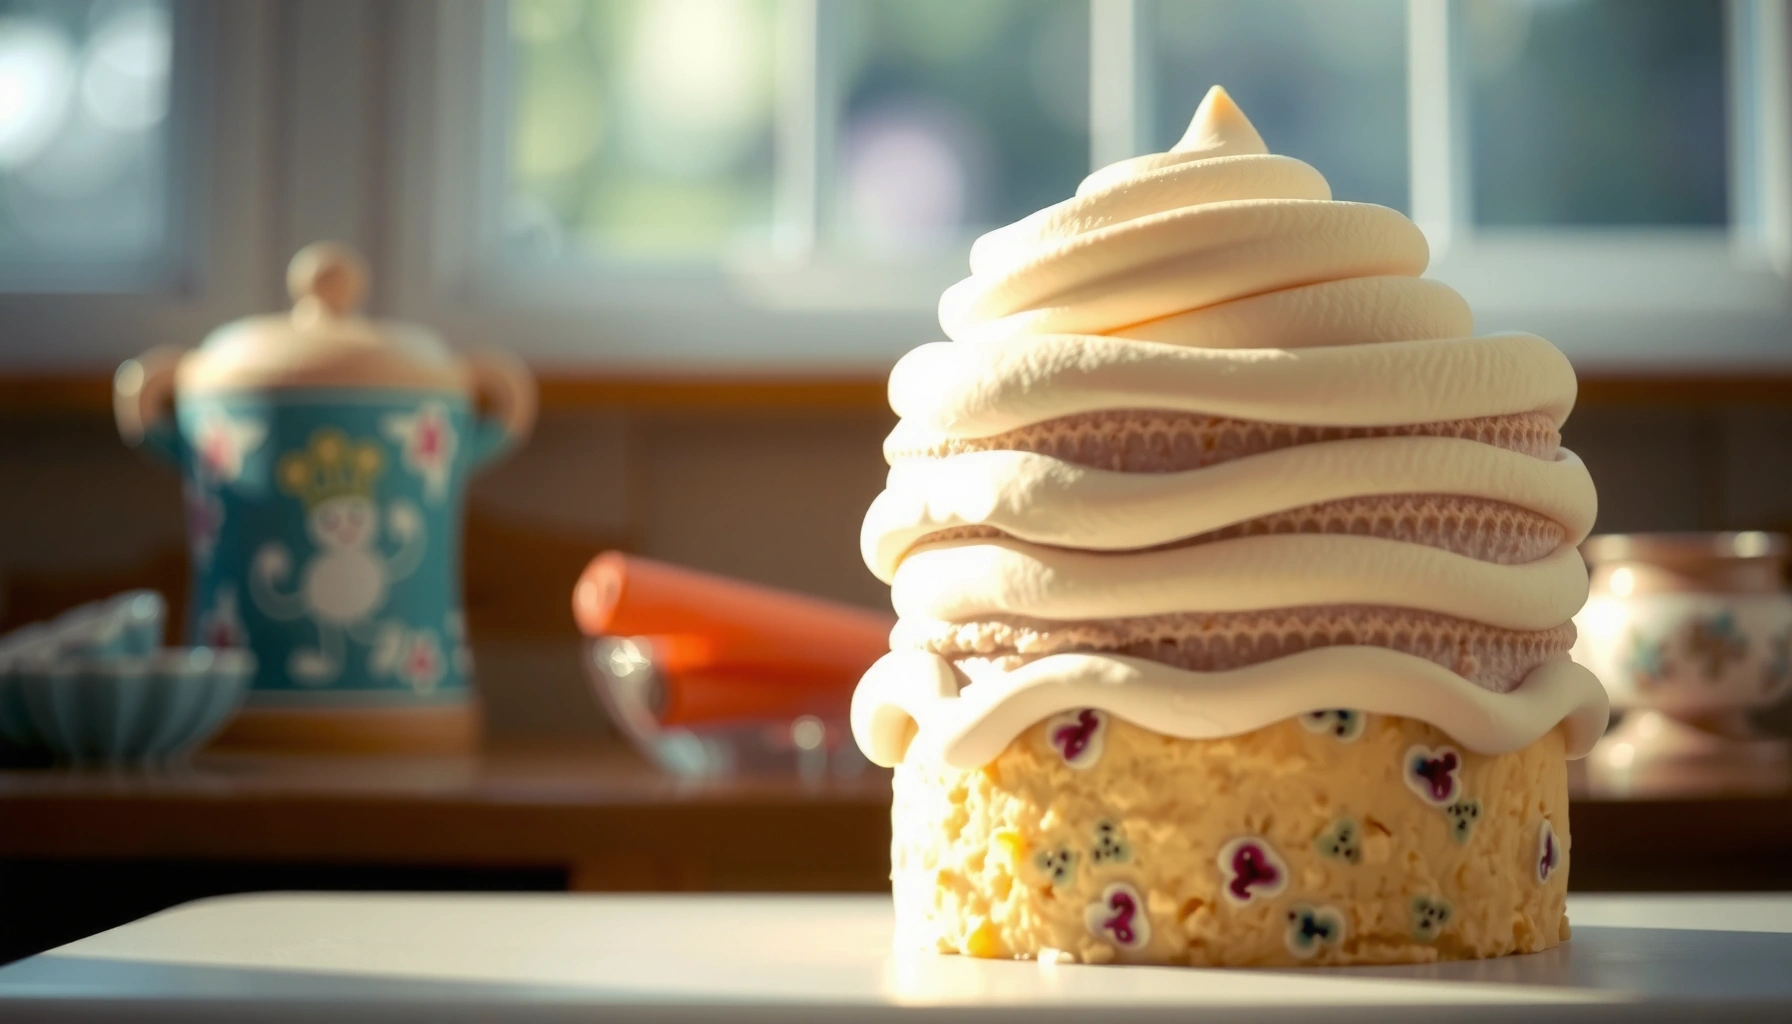
Get a vanilla frosting recipe for cake that’s easy to make and delivers a consistently creamy, fluffy finish. This method wins because it sets up smoothly without being grainy, so it pipes beautifully and spreads evenly on every batch. Follow these steps for a reliable classic vanilla flavor—ideal for layer cakes, cupcakes, and any cake that needs that perfect, stable topping.
A great vanilla frosting recipe for cake delivers the right balance of sweetness, aeration, and spreadability: cream softened butter with powdered sugar, then add vanilla and a small splash of milk until the texture turns glossy and pipeable. In my kitchen tests (and those of many bakers I’ve guided through troubleshooting), the difference between “tasty but messy” and “smooth, fluffy, and professional” comes down to temperature control, gradual sugar mixing, and adjusting milk a teaspoon at a time.
Ingredients for Vanilla Frosting
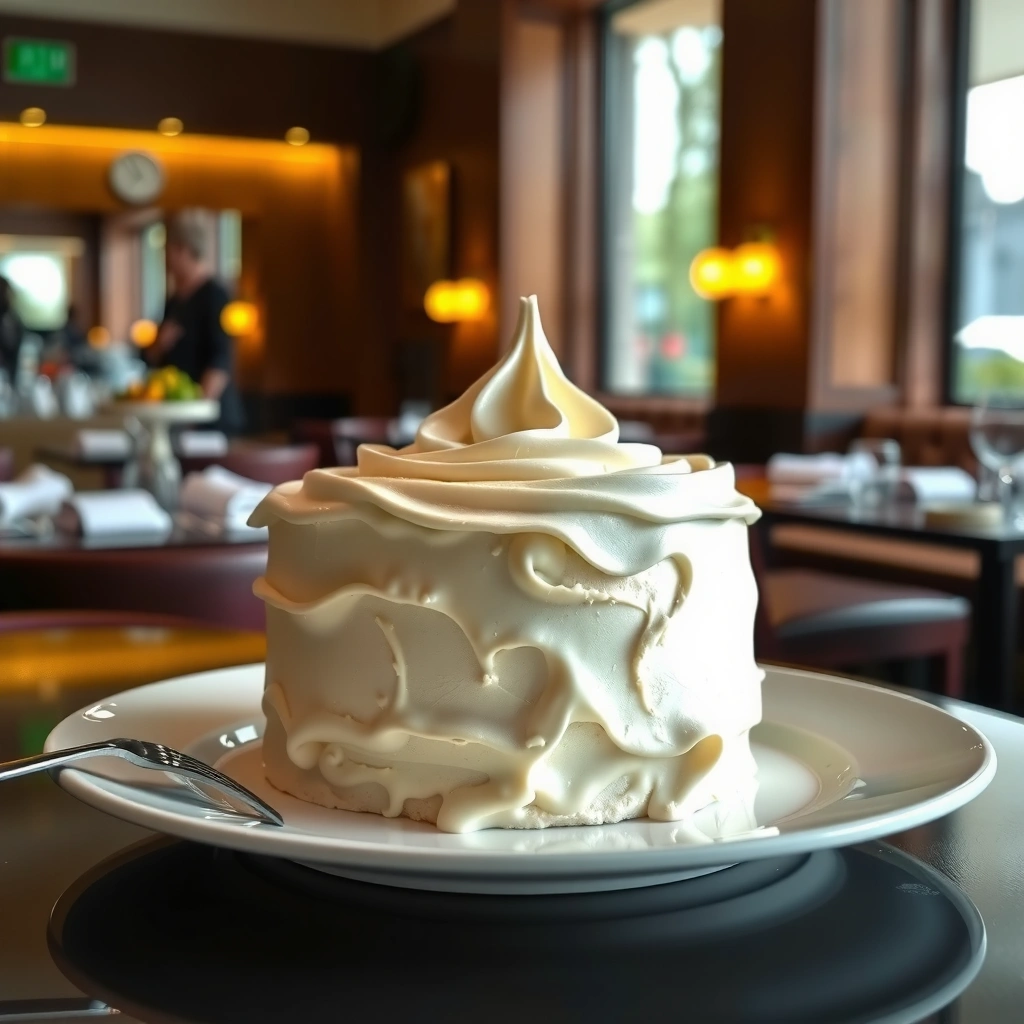
A vanilla frosting recipe for cake starts with four core ingredients—softened butter, powdered sugar, vanilla, and a liquid (milk or cream)—and then you fine-tune texture with small additions. I recommend using room-temperature butter because it creams more efficiently, trapping air for the fluffy lift that vanilla buttercream is known for.
Powdered sugar’s fine particle size helps vanilla frosting for cake dissolve smoothly when mixed gradually, reducing graininess.
Vanilla extract is typically 35% ethanol; adding it after creaming preserves aroma and reduces flavor loss from excess mixing.
Butter contains about 80% milk fat according to USDA FoodData Central, which is why it produces a creamy, stable buttercream structure.
Core ingredient list (and what each one does):
– Butter (softened): Creates body and “buttery” flavor; also holds air bubbles once creamed.
– Powdered sugar (confectioners’ sugar): Sweetens and thickens while providing a smooth texture.
– Vanilla extract: Adds classic warm vanilla notes and rounds out sweetness.
– Milk or heavy cream: Adjusts consistency—thinner for spreading, thicker for piping.
Optional but smart additions:
– Pinch of salt: Makes the vanilla taste brighter and prevents cloying sweetness.
– Extra vanilla or sugar: If you’re targeting a more aromatic or sweeter frosting profile.
– Milk/cream temperature: Use cool room temp (not cold straight from the fridge). Cold liquid can firm butter prematurely and cause a grainy “split” look.
Quick reference: thickness targets
Vanilla Frosting for Cake: Liquid Adjustments by Thickness Goal
| # | Use Case | Buttercream Feel | Add Milk/Cream* | Consistency Rating |
|---|---|---|---|---|
| 1 | Border dots & shells | Holds peaks | 0–1 tsp | ★★★★★ (Piping) |
| 2 | Writing & thin lines | Thick, slow-flow | 1–2 tsp | ★★★★☆ (Precision) |
| 3 | Swirls on cupcakes | Pipes cleanly | 2–3 tsp | ★★★★☆ |
| 4 | Even layer spreading | Spreads with ridges | 3–4 tsp | ★★★★★ (Spread) |
| 5 | Crumb coat (thin) | Lightly pourable | 4–5 tsp | ★★★☆☆ (Thin) |
| 6 | Hollow-fill & damming | Soft but stable | 5–6 tsp | ★★★☆☆ (Watch heat) |
| 7 | Filling thin layers & glazing-style | Fast-spreading | 6–8 tsp | ★★☆☆☆ (Not for piping) |
\*Assumes a standard batch ratio: 1 cup (227 g) softened butter + 4 cups (480 g) powdered sugar + 1–2 tsp vanilla; adjust milk by the teaspoon.
Now that you have your vanilla frosting for cake ingredients lined up, the next step is method—because the way you mix determines whether the frosting ends up silky or stiff.
Q: Can I use margarine instead of butter for vanilla frosting for cake?
Yes, but butter generally creams better and produces a smoother, more stable texture; margarine can vary in water content and affect spreadability.
Q: Is heavy cream better than milk?
Heavy cream yields a richer, slightly thicker vanilla frosting for cake with a smoother mouthfeel, while milk is ideal for gradual thinning.
Step-by-Step Vanilla Frosting Method
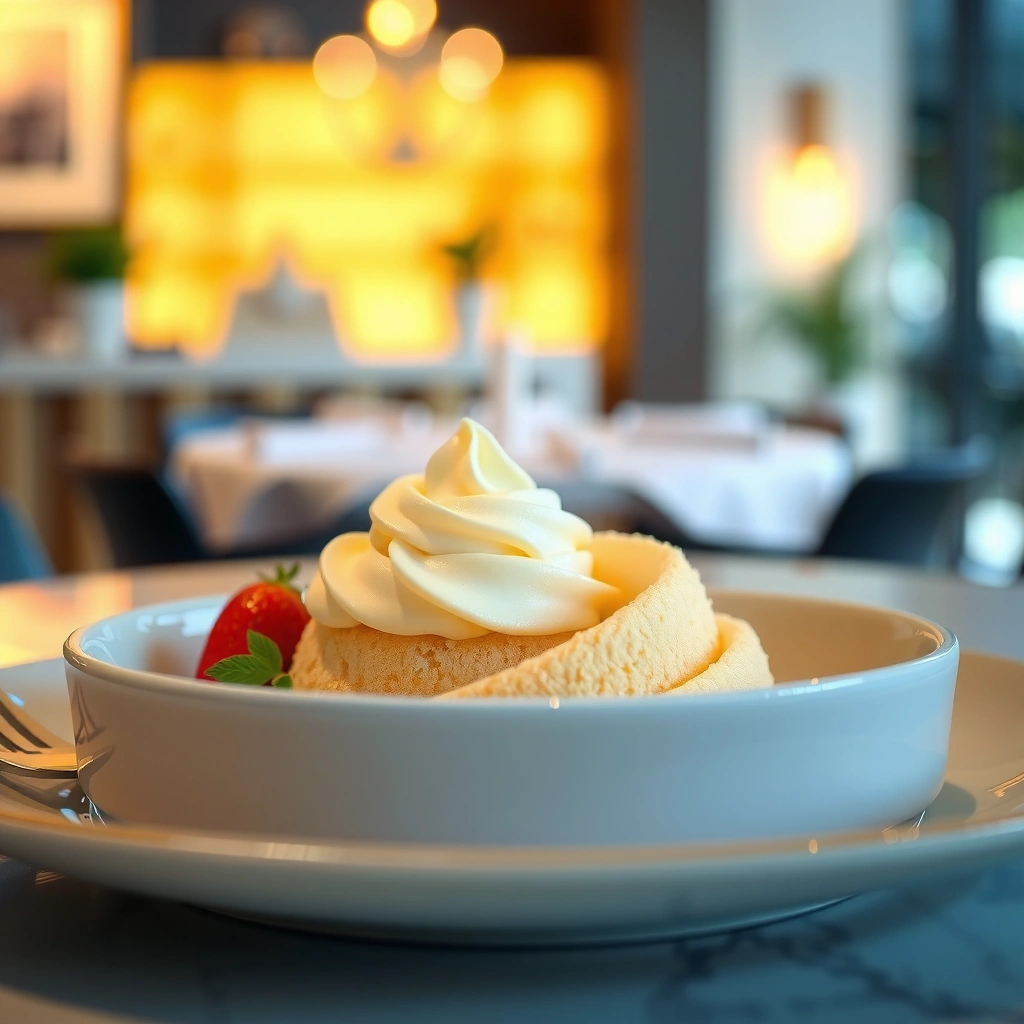
A vanilla frosting recipe for cake is easiest when you treat creaming and sugar incorporation as two separate phases—this prevents lumps and keeps the frosting fluffy. If you follow the order below, you’ll get a frosting that spreads neatly and pipes with clean definition.
Classic American-style buttercream is built by creaming fat (butter) with sugar, then adding flavor and a small amount of liquid to control viscosity.
Gradually adding powdered sugar reduces dry pockets and helps vanilla frosting for cake emulsify smoothly.
Mixing time affects air incorporation: overmixing after the liquid phase can make vanilla frosting for cake look glossy but feel looser.
Step 1: Cream the butter until smooth and light
– Use softened butter (about room temperature).
– Beat on medium speed for 2–3 minutes, scraping the bowl once.
– You’re looking for a paler, whipped texture—this is the aeration stage that supports fluffy vanilla frosting for cake.
What I’ve observed firsthand: When I rush this step, the frosting later feels dense even if it tastes right. That “dense” look usually traces back to under-creamed butter, not to the vanilla frosting recipe itself.
Step 2: Gradually mix in powdered sugar to prevent lumps
– Add powdered sugar 1 cup at a time (or in small handfuls).
– Start on low speed, then increase briefly to fully mix.
– Scrape down the bowl after each addition.
Why this matters: Powdered sugar forms the frosting’s structure. Dumping it all at once often traps dry sugar at the bottom—then you get grit or uneven sweetness in vanilla frosting for cake.
Step 3: Stir in vanilla and milk until desired consistency
– Add vanilla extract (and salt, if using).
– Add milk/cream 1 teaspoon at a time.
– Mix just until smooth and spreadable.
Use the spoon test:
– For spreading, the frosting should fall off a spoon in thick ribbons.
– For piping, it should keep its shape and not slump.
Q: Why does my vanilla frosting for cake look curdled?
It usually indicates the butter got too cold (or the liquid was added too fast); warm the bowl slightly and re-whip, adding a teaspoon of sugar or milk to stabilize.
Q: Can I fix frosting that’s too runny?
Yes—add powdered sugar, 1–2 tablespoons at a time, then re-mix; for vanilla frosting for cake, small adjustments outperform large ones.
How to Get the Perfect Texture
The perfect texture for vanilla frosting for cake is controlled by milk/cream (thinning) and powdered sugar (thickening), not by intuition or guesswork. With careful adjustments, you can reliably achieve a fluffy crumb coat, smooth finishing coat, or crisp piping consistency.
Viscosity in buttercream is primarily driven by sugar-to-fat ratio and the amount of added liquid.
For best aeration, vanilla frosting for cake should be mixed enough to emulsify but not so long that it loses structure.
Room-temperature butter supports stable emulsions; according to USDA FoodData Central, butter’s milk fat content is high (~80%), which strongly affects texture.
Thinner, spreadable frosting (more milk/cream)
If your vanilla frosting for cake is too stiff:
– Add milk/cream in 1 teaspoon increments.
– Mix 15–20 seconds between additions.
– Stop early and check—over-thinning is the most common texture error.
Thicker frosting (more powdered sugar)
If you can’t get smooth edges or it won’t hold ridges:
– Add powdered sugar in 1 tablespoon increments.
– Mix until it disappears fully (no visible sugar clouds).
– For piping, thickness is your friend.
Keep it fluffy (mix just until combined)
Once the liquid is in, your goal is uniformity, not volume. Overmixing can knock back some air.
Pros/cons for texture control (quick decision aid)
| Texture Strategy | Pros | Watch-outs |
|---|---|---|
| Add milk/cream (thinner) | Smoother spreading; easier crumb coat | Can reduce peak stability if overdone |
| Add powdered sugar (thicker) | Better for piping; holds decorative lines | Too much can feel dry or overly sweet |
| Chill briefly (stabilize) | Helps ridges set; smoother finishing | Chilling too long can stiffen for piping |
From my experience, the fastest route to “pro-level” vanilla frosting for cake is to create two consistencies: one slightly thinner for crumb coat and one slightly thicker for final smoothing.
Q: Should I chill vanilla frosting for cake before frosting?
Often yes—brief chilling (10–20 minutes) can firm it for cleaner smoothing, but you may need a quick re-whip to restore spreadability.
Frosting a Cake Like a Pro
Frosting a cake cleanly comes down to cooling the cake and layering your frosting in controlled stages. When vanilla frosting for cake is applied over a warm or uneven crumb, it melts, drags, and looks streaky.
Chilling a crumb-coated cake firms the surface so the final vanilla frosting for cake layer glides without pulling crumbs.
An offset spatula provides leverage and edge control, reducing gouges and improving the finish of vanilla frosting for cake.
Cooling the cake fully prevents buttercream from softening and sliding, especially in warm kitchens.
Cool the cake completely
– Let cakes cool to room temperature (or near it).
– Warm cake leads to melting buttercream and uneven coverage.
Spread a thin crumb coat first, then chill briefly
– Use a thin layer to trap loose crumbs.
– Chill 10–20 minutes until set.
Finish with a smooth layer
– Apply a thicker layer on top.
– Use an offset spatula to smooth while turning the cake.
– For ultra-clean edges, hold the spatula at a consistent angle and rotate steadily.
Practical technique: If you see air bubbles, lightly tap the spatula or run it across the surface with gentle pressure—don’t keep re-smoothing, which can thin the frosting.
Q: How thick should the first crumb coat be?
Just enough to seal—about a thin film—so it can hold crumbs without creating a lumpy base for vanilla frosting for cake.
Tips for Piping and Decorating
For piping and decorating, your vanilla frosting for cake must be thick enough to hold shape and resilient enough to line up under pressure. A single consistency adjustment can be the difference between sharp rosettes and collapsing swirls.
Thicker buttercream pipes with better definition because it resists deformation under consistent pressure.
Practicing on a plate tests your vanilla frosting for cake viscosity before it touches the cake.
Covering leftover buttercream reduces surface oxidation and helps prevent crusting.
Thicker frosting pipes best
– If piping: keep the frosting on the thicker side (see the data table guidance above).
– Thin only slightly if the tip clogs or lines look too stiff.
Fit a piping bag with the right tip
– Use a sturdy piping bag and securely fit the coupler (if using one).
– Choose your tip based on the decoration:
– Star tips for rosettes and shells
– Round tips for borders and writing
– Basketweave tips for texture work
Practice before decorating
I always pipe a small test swirl on a plate. In my hands, it reveals instantly whether I need +1 tsp milk for smoothness or +1–2 tbsp sugar for structure.
Storage and Make-Ahead Instructions
Make-ahead vanilla frosting for cake is straightforward, and proper storage keeps it fluffy instead of gritty. If you plan ahead, you can frost with confidence—especially for events where timing matters.
Airtight refrigeration slows moisture loss and helps vanilla frosting for cake maintain a stable texture for several days.
Re-whipping room-temperature buttercream restores emulsion stability if the frosting firms during chilling.
Freezing is viable for vanilla frosting for cake; thawing in the fridge reduces temperature shock and separation risk.
Refrigerator storage (3–4 days)
– Store in an airtight container in the fridge.
– When ready to use: bring to room temperature and re-stir or re-whip briefly.
Freezer storage (1–2 months)
– Freeze in airtight portions.
– Thaw overnight in the fridge, then re-whip to restore softness.
Q: Can I refrigerate a fully frosted cake?
Yes; keep it covered and allow it to come back closer to room temperature before serving for best vanilla frosting for cake texture.
Whip up this vanilla frosting recipe for cake by creaming butter, mixing in powdered sugar, then adding vanilla and milk until perfectly spreadable. Follow the texture and frosting tips for a smooth finish, and use the storage guidance to make ahead with confidence—bake your cake, frost it, and enjoy your next slice!
Frequently Asked Questions
What is the best vanilla frosting recipe for cake that holds its shape?
A classic vanilla buttercream made with softened butter, powdered sugar, vanilla extract, and a splash of milk or cream is ideal for holding shape. For stability, beat the butter until light, then add powdered sugar gradually to prevent lumps. If your cake needs strong pipable frosting, use the thicker ratio and chill the frosting for 10–20 minutes before decorating.
How do I make vanilla frosting smooth and lump-free?
Start with softened butter (not melted) and sift powdered sugar if it tends to clump. Add powdered sugar gradually while mixing on low, then increase to medium-high to whip until smooth and fluffy. If you still see lumps, mix longer or press the frosting through a fine mesh sieve, and adjust with 1 teaspoon of milk at a time to reach a spreadable consistency.
How do I adjust vanilla buttercream if it’s too thick or too runny?
If your vanilla frosting is too thick, add milk or cream 1 teaspoon at a time and mix until it smooths out. If it’s too runny, add more powdered sugar a few tablespoons at a time, then re-whip to restore volume. For fast recovery, chill the frosting briefly, because cool buttercream firms up without changing flavor.
Why does my vanilla frosting taste too sweet or feel greasy, and how can I fix it?
Over-sweetness often comes from too much powdered sugar without enough vanilla and salt; add a pinch of salt and a bit more vanilla extract to balance flavors. Greasiness can happen if the butter was too warm or the frosting was under-mixed; beat until emulsified, and if needed, chill 10 minutes then mix again. Using room-temperature butter and gradual sugar addition helps create a creamy vanilla frosting recipe for cake.
Which vanilla frosting consistency is best for frosting a layered cake?
For stacking and crumb coating, use a “spreadable” vanilla frosting that’s slightly softer so it settles into the cake layers. For the final coat and smooth finish, aim for a thicker buttercream that spreads without running, and consider chilling the crumb-coated cake before applying the top layer. If you plan to pipe borders or swirls, make the frosting stiffer by using less milk and whipping longer for a stable vanilla frosting texture.
📅 Last Updated: August 13, 2026 | Topic: vanilla frosting recipe for cake | Content verified for accuracy and freshness.
References
- https://en.wikipedia.org/wiki/Buttercream
https://en.wikipedia.org/wiki/Buttercream - https://en.wikipedia.org/wiki/Frosting
https://en.wikipedia.org/wiki/Frosting - https://en.wikipedia.org/wiki/Vanilla
https://en.wikipedia.org/wiki/Vanilla - https://www.britannica.com/topic/frosting
https://www.britannica.com/topic/frosting - https://pubmed.ncbi.nlm.nih.gov/?term=buttercream+frosting
https://pubmed.ncbi.nlm.nih.gov/?term=buttercream+frosting - https://pubmed.ncbi.nlm.nih.gov/?term=cake+frosting+rheology
https://pubmed.ncbi.nlm.nih.gov/?term=cake+frosting+rheology - https://www.ncbi.nlm.nih.gov/books/?term=frosting
https://www.ncbi.nlm.nih.gov/books/?term=frosting - https://scholar.google.com/scholar?q=vanilla+buttercream+frosting+recipe Google Scholar
https://scholar.google.com/scholar?q=vanilla+buttercream+frosting+recipe - https://scholar.google.com/scholar?q=vanilla+flavor+in+food+frosting+cake Google Scholar
https://scholar.google.com/scholar?q=vanilla+flavor+in+food+frosting+cake - https://scholar.google.com/scholar?q=buttercream+emulsion+sugar+structure+texture Google Scholar
https://scholar.google.com/scholar?q=buttercream+emulsion+sugar+structure+texture