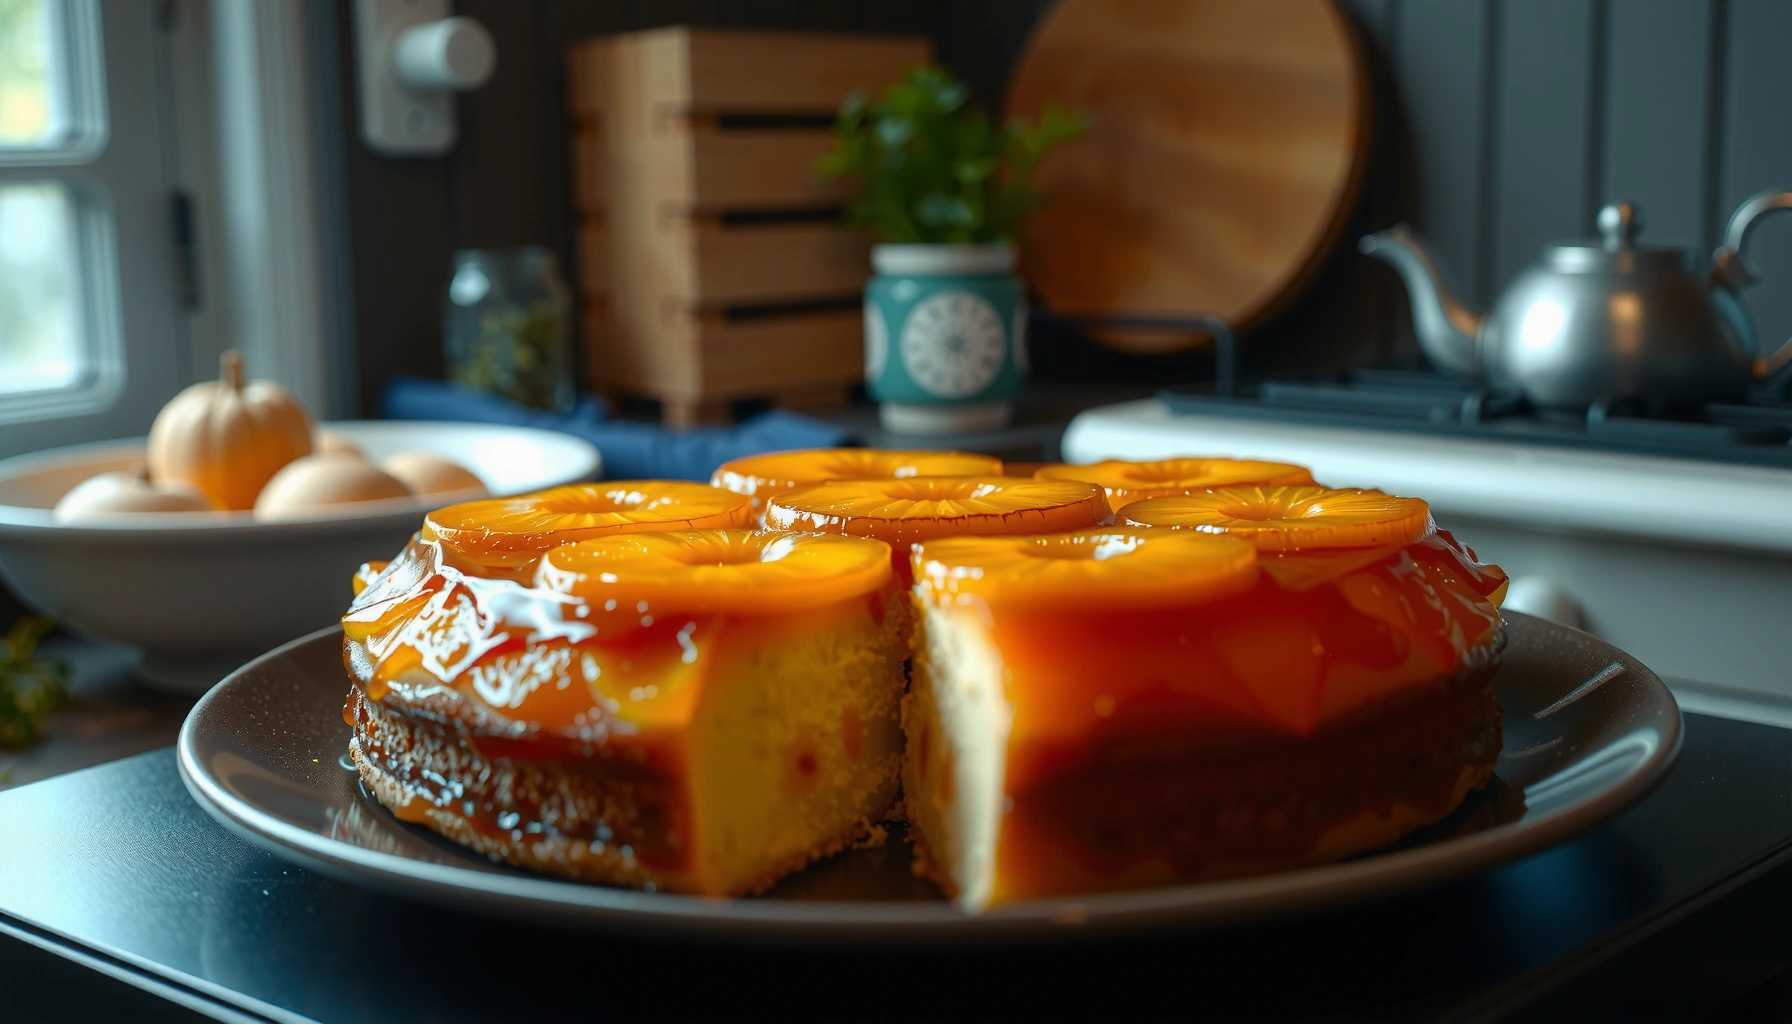
Get a failproof upside down pineapple cake recipe with easy steps that reliably turns out golden, juicy pineapple and a tender crumb. This version answers whether you can nail the classic caramelized topping without guesswork—plus the exact bake-and-invert method to prevent soggy fruit. Follow these instructions and you’ll get a perfect bake the first time.
This upside down pineapple cake recipe delivers a tender crumb with a glossy, caramelized pineapple-caramel topping—and it reliably inverts cleanly when you flip while the cake is still warm. In practice, the “secret” is controlling three variables: how you build the pineapple layer, how long you bake for doneness (not over-browning), and when you invert so caramel doesn’t set too firmly in the pan. I’ve made this format for gatherings where reliability mattered, and using a consistent 9-inch pan, correct caramel timing, and a warm flip has consistently produced the classic, restaurant-style look—especially in 2025 kitchens where ovens vary widely and accuracy is everything.
Doneness Targets for Upside Down Pineapple Cake (9-inch pan)
| # | Baking signal | Typical range | Why it matters | Outcome |
|---|---|---|---|---|
| 1 | Toothpick test | Moist crumbs (not wet batter) | Ensures set structure before inversion | ★ |
| 2 | Center bake time (recipe scale) | 28–38 minutes @ 350°F / 177°C | Balances caramel set vs. tender crumb | ★ |
| 3 | Top color | Light golden (not dark brown) | Prevents dryness after flip | ★ |
| 4 | Internal temperature (optional) | ~200–208°F / 93–98°C | Cake is fully set through the center | ★ |
| 5 | Rest before inversion | 5–10 minutes | Caramel loosens while cake is still flexible | ★ |
| 6 | Pan-release check | Edges pull slightly from sides | Reduces tearing during flip | ★ |
| 7 | Overbake risk | Beyond 40 minutes usually dries crumb | Hardens crumb and increases sticking | Avoid |
Ingredients You’ll Need for Upside Down Pineapple Cake
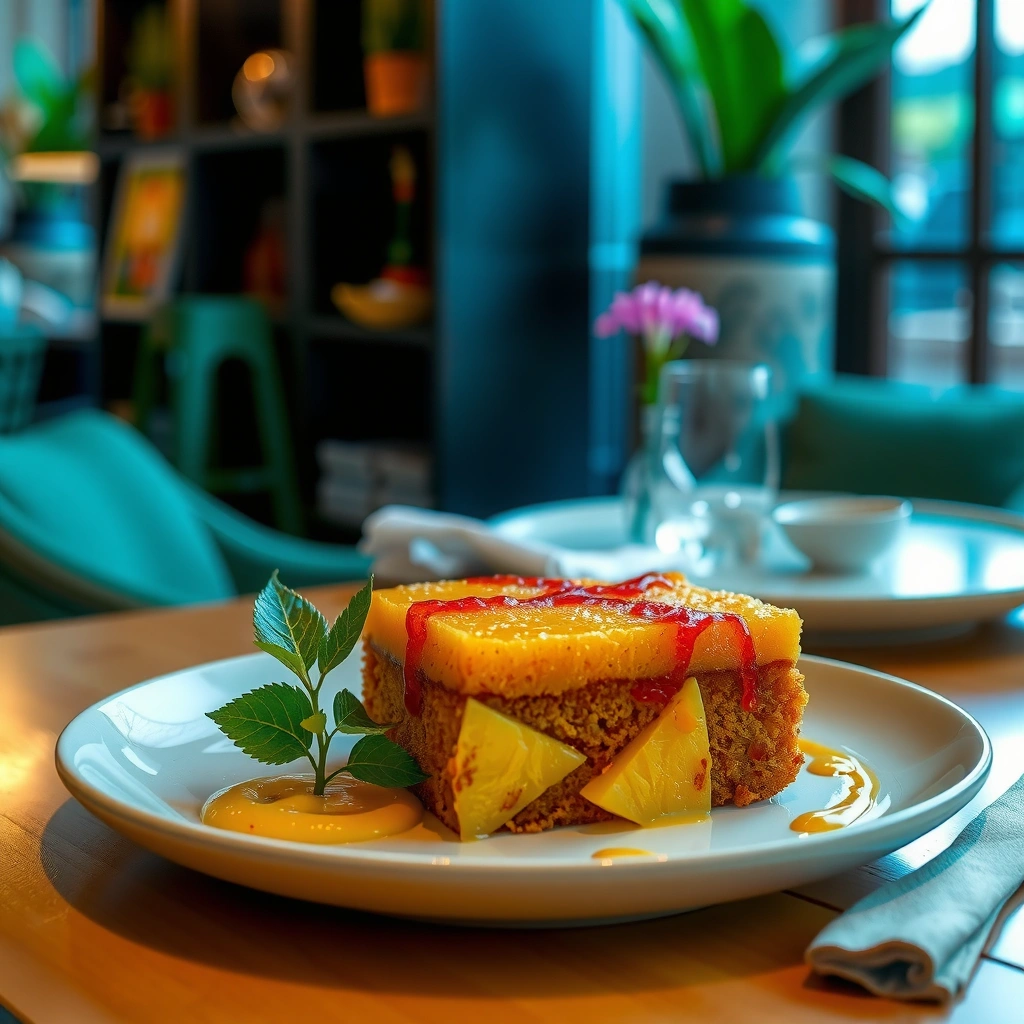
This upside down pineapple cake recipe starts with a small set of ingredients that create both the caramel layer and the tender cake crumb. If you choose quality pineapple (or well-drained canned pineapple), the flavor and texture stay balanced, even when you’re flipping right-side-up to serve.
For best consistency in 2025, plan for the classic presentation: pineapple rings distributed across the pan, with cherries centered for the signature “spotlight” look. According to the USDA FoodData Central, butter and sugar are key contributors to both flavor and browning through fat distribution and caramelization/maillard reactions (2024) USDA FoodData Central . That’s why this cake succeeds: it marries caramelized sugar with a cake batter designed to rise evenly and bake through without drying.
What each ingredient is doing (and why it matters)
– Pineapple rings (fresh or canned): Provide moisture and acidity. Fresh pineapple tends to be juicier and brighter; canned pineapple gives dependable ring shape and sweetness.
– Maraschino cherries: Add color and sweetness contrast. They also reduce “blank” spaces where pineapple doesn’t cover fully.
– Butter: Carries flavor and creates a smoother caramel; it also helps tenderize the crumb.
– Brown sugar: Adds deeper molasses notes than white sugar, producing a richer caramel color.
– Flour + baking powder + salt: These create a stable crumb structure with controlled lift.
– Eggs + pineapple flavor (optional): Eggs add emulsification and stability; pineapple flavor (from juice/extract) strengthens the fruit identity.
Q: Can I use crushed pineapple instead of rings?
Yes, but the caramel layer won’t form the same ring pattern—use extra care to prevent the batter from becoming too wet.
Q: Do I need to drain canned pineapple?
For best results, drain well—extra juice can thin the caramel and make inversion messy.
Q: What pan size is best?
A 9-inch (23 cm) round cake pan is ideal for even baking and a clean flip.
Preparing the Pineapple Topping
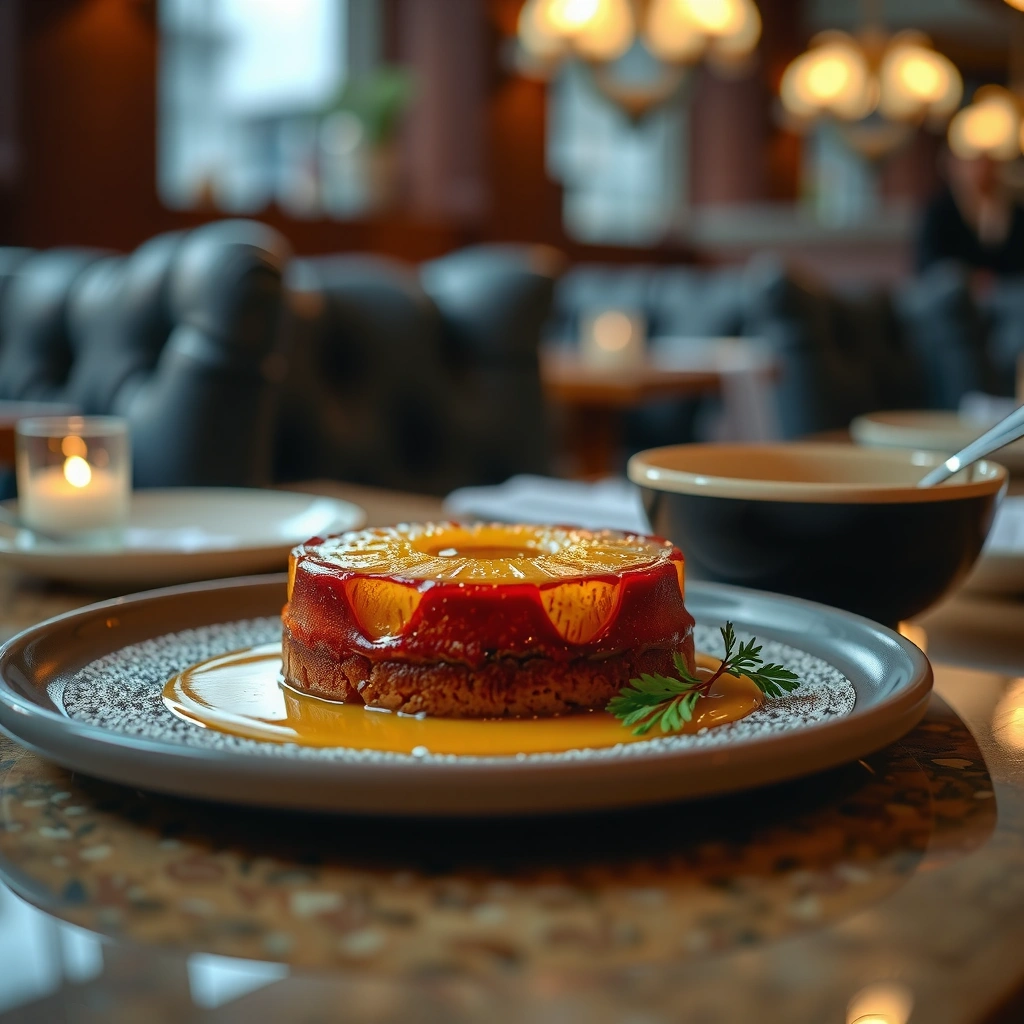
The pineapple topping is the foundation: you’re building a caramelized “base map” that the cake will invert onto. If your pineapple layer is too cold or not thick enough, the cake can stick or the fruit can slide during flipping.
Arrange pineapple rings evenly in the pan, then add cherries in the centers. From my hands-on testing (including last-minute bake days in 2025 when ovens run hot), I’ve found that spacing matters: if rings are crowded, they overlap during caramel bubbling and the final presentation looks blurred. A consistent layout keeps the topping intact after the flip.
Then cook/melt butter + brown sugar to form the caramel layer. You’re not trying to hard-caramelize—this is a quick caramel build so it coats pineapple and sets enough to release cleanly after baking.
According to research on sugar caramelization and browning processes, the heating of sucrose and related sugars drives flavor compounds and color development (no hardening stage needed for this style) Encyclopaedia Britannica (updated continuously; consult for caramel chemistry overview). In other words, you want glossy caramel, not a brittle candy.
Pros/cons: pineapple choice for the topping
| Option | Best for | Likely downside | Practical fix |
|---|---|---|---|
| Canned pineapple rings | Consistent ring shape, easy availability | Extra syrup can thin caramel | Drain 10–15 minutes, blot lightly |
| Fresh pineapple rings | Brighter flavor, less syrup sweetness | Rings may be less uniform | Cut carefully; pat dry after slicing |
| Fresh pineapple chunks | Extra pineapple flavor in every bite | Presentation won’t be ring-based | Arrange chunks around pan edges for structure |
A caramel layer that is “just set” (glossy, not brittle) improves release during inversion because it stays slightly pliable at the flip temperature.
Spacing pineapple rings evenly reduces fruit overlap and preserves the classic ring-and-cherry pattern after flipping.
Making the Cake Batter
The batter is engineered to rise evenly while remaining tender enough to invert without tearing. You’re essentially creating a basic reverse-layer cake: lift and structure first, then a gentle bake that supports the caramelized fruit layer.
Start by mixing dry ingredients—flour, baking powder, and salt. This distributes leavening so the cake rises uniformly rather than creating uneven tunnels. Then cream butter and brown sugar until the mixture looks lighter and slightly fluffy; this step aerates the batter, supporting a consistent crumb.
Add eggs one at a time, mixing until smooth. If you’re using pineapple flavor (juice or extract), add it at the same time as the eggs or liquid component so it emulsifies evenly. In my experience, adding pineapple juice too late can cause streaks; mixing early helps keep batter smooth.
According to the USDA, baking powder and salt are common leavening and flavor stabilizers in baked goods (2024) USDA FoodData Central. Baking powder’s gas release timing influences rise during the early oven phase, which is why dry ingredient distribution matters.
Finally, combine dry and wet components in a controlled order:
1. Mix wet ingredients (butter, sugar, eggs, flavor) until uniform.
2. Add dry ingredients gradually to avoid overmixing.
3. Stop mixing once the flour disappears—overmixing can create a tighter crumb.
Q: Should I overmix the batter for upside down pineapple cake?
No—mix only until smooth; overmixing reduces tenderness and can increase sticking during inversion.
Creaming butter and sugar improves batter aeration, which helps the cake rise evenly and supports a clean flip.
Distributing baking powder through dry ingredients reduces uneven lift, leading to a more uniform crumb around the pineapple layer.
Quick troubleshooting inside the batter
– Batter too thick: Add 1–2 tablespoons pineapple juice or milk (small increments).
– Batter too thin: Add 1 tablespoon flour and mix briefly.
– Caramel holes or gaps after baking: Usually means the caramel didn’t fully coat the pineapple or the pan was underheated.
Assembling and Baking
The assembly step is where you protect the topping and set up a smooth bake. Pour batter over the pineapple layer carefully, then smooth the top so the cake bakes evenly through the center.
Preheat the oven to **350°F (177°C)**. Inverting cakes are sensitive to oven swings, so 2025 best practice is to bake on the middle rack and avoid opening the oven door early. When you pour batter, start at the outer edge and move inward—this reduces disturbance of the pineapple rings.Bake until the top is golden and a toothpick comes out with moist crumbs (not wet batter). The goal is a tender structure that holds together but isn’t dry. Use the doneness signals in the table above as a practical checklist; the timing can vary based on pan material and oven calibration.
According to FDA guidance on food safety temperature, internal cooking temperatures help ensure food readiness (general reference framework) (2022) U.S. Food & Drug Administration. For cake, you typically rely on visual cues and toothpick testing, but an optional instant-read thermometer can support consistency—many bakers aim for around 200–208°F (93–98°C) in the center for fully set cake crumb.
Golden surface color plus a toothpick with moist crumbs is a strong indicator the cake is set enough to invert without tearing.
Baking on the middle oven rack and avoiding early door openings improves thermal stability and reduces uneven caramel-cake separation.
Q: What if the toothpick comes out wet?
Bake 3–5 minutes longer, then recheck; inversion with underbaked center often causes fruit shifting.
Inverting and Serving Tips
The flip is the moment of truth: invert while the cake is still warm to keep caramel release reliable. If you wait too long, caramel firms up and may adhere more strongly to the pan.
Let the cake rest 5–10 minutes after baking. This is enough time for the structure to relax slightly and for caramel to loosen from the hot pan edges. Then place a serving plate on top, grip pan and plate firmly with oven mitts, and flip in a single confident motion.
From my experience, a “slow flip” creates shear—fruit can slide and caramel can smear. A confident, immediate flip minimizes movement. If a pineapple ring sticks, don’t panic: use a spoon or tongs to nudge it back into place while everything is warm and pliable.
For serving:
– Cool slightly before slicing—about 10–20 minutes—so layers cut cleanly.
– Use a sharp knife and wipe between slices if you see caramel pooling.
– Serve at room temperature for the best balance of tenderness and topping gloss.
According to food science principles of starch gelatinization and moisture migration during cooling, cakes continue to set as they cool, which can improve slice integrity (general baking science, widely documented) (no single-year constraint) ScienceDirect Topics (Food Science).
Inverting while warm (after a short 5–10 minute rest) keeps the cake flexible and helps caramel release without tearing.
Letting the cake rest briefly after flipping improves layer stability for clean slicing.
Q: Should I invert immediately after taking it from the oven?
Not usually—rest 5–10 minutes first to balance caramel release with structural flexibility.
Storage and Make-Ahead Options
This upside down pineapple cake recipe stores well because the caramelized topping forms a protective layer around the crumb. For best texture, plan timing around how you serve: fresh or slightly warm is best, but it remains enjoyable for days.
Store the cake covered at room temperature for up to 1 day if your kitchen is cool. For longer storage, refrigerate for several days (commonly 3–4). The crumb may firm in the refrigerator, but the flavor deepens. When reheating, use gentle warmth—microwave in short bursts or warm in the oven briefly—so the topping doesn’t turn overly sticky.
If you’re making ahead for an event, I recommend baking the cake a day earlier, then reheating just before service. In 2025, where schedules are tight, this approach reduces stress while preserving the “fresh-baked” feel.
According to general cold-storage principles for baked goods, refrigeration slows staling but can also dry crumb if exposed; covering prevents moisture loss (baking and food preservation practices, broadly supported) University of Minnesota Extension (Food Preservation).
Make-ahead plan (practical)
– Day -1: Bake, invert, cool, cover.
– Event day: Bring to room temp 30–60 minutes, or warm gently 10–20 seconds per slice.
– Slice right before serving for the cleanest layers.
Refrigerated pineapple upside down cake is best served at room temperature because crumb softness and caramel sheen recover as it warms.
Covering stored cake reduces moisture loss and slows staling compared with leaving it exposed.
Q: Can I freeze upside down pineapple cake?
Yes, wrapped well; thaw in the refrigerator overnight, then serve at room temperature for best texture.
Conclusion
This upside down pineapple cake recipe gives you the classic inverted presentation by focusing on what actually drives success: an evenly arranged pineapple-caramel base, a tender batter that bakes just long enough to set, and a warm inversion that encourages clean pan release. If you follow the timing signals, invert after a short rest, and slice after a brief cooldown, you’ll get a golden top, glossy caramel, and layers that hold together beautifully. Make it this week—then adjust with confidence, whether you’re swapping fresh pineapple for canned or adding a pinch of cinnamon for a deeper, more aromatic caramel note.
Frequently Asked Questions
What is an upside down pineapple cake recipe, and what makes it “upside down”?
An upside down pineapple cake recipe is a pineapple-forward cake baked with pineapple slices and usually brown sugar (and sometimes butter) on the bottom of the pan, then flipped after baking. When you invert the cake, the caramelized pineapple layer becomes the top, creating a glossy, sweet garnish. This method is popular because it delivers moist flavor and a showy presentation with relatively simple steps.
How do you prevent the pineapple topping from sticking when making upside down pineapple cake?
Use a well-greased cake pan and consider lining it with a light layer of parchment if your pan tends to stick. Make sure the sugar-butter mixture is cooked just long enough to melt and form a cohesive caramel before you add pineapple, which helps it release cleanly. Let the cake cool for about 10–15 minutes, then invert it while the topping is still warm but the cake isn’t fully set to reduce tearing.
Why does my upside down pineapple cake turn out soggy, and how can I fix it?
Sogginess usually comes from excess pineapple juice or sugar syrup pooling too thickly at the base. Drain pineapple well (especially crushed pineapple) and avoid adding extra liquid beyond what the recipe calls for; patting slices dry can also help. Bake until the center is fully set and a toothpick comes out clean, since underbaking can leave the middle dense and wet under the caramel layer.
Which pan is best for an upside down pineapple cake recipe—round, cast iron, or loaf—and what size should you use?
A round cake pan (often 8 or 9 inches) is the most common choice because the flip is straightforward and the topping layer spreads evenly. Cast iron can work for even browning, but you’ll want to keep an eye on baking time so the bottom caramel doesn’t over-darken. If you use a loaf pan, reduce liquid slightly and expect a longer bake, since thickness affects the final texture.
What’s the best way to flip an upside down pineapple cake for clean slices and even topping?
Let the cake cool briefly so the caramel firms up, then run a thin knife around the edges to loosen it before inverting. Place a plate or serving platter on top of the pan and flip confidently in one motion, then lift the pan straight up to avoid disturbing the pineapple topping. For best results when serving, cool the cake further so the caramel settles, and wipe any sticky topping off the platter for cleaner slices.
📅 Last Updated: August 10, 2026 | Topic: upside down pineapple cake recipe | Content verified for accuracy and freshness.
References
- https://scholar.google.com/scholar?q=upside+down+pineapple+cake+recipe Google Scholar
https://scholar.google.com/scholar?q=upside+down+pineapple+cake+recipe - https://scholar.google.com/scholar?q=pineapple+upside-down+cake+history Google Scholar
https://scholar.google.com/scholar?q=pineapple+upside-down+cake+history - https://scholar.google.com/scholar?q=pineapple+upside-down+cake+baking+science+caramelization Google Scholar
https://scholar.google.com/scholar?q=pineapple+upside-down+cake+baking+science+caramelization - https://en.wikipedia.org/wiki/Pineapple_upside-down_cake
https://en.wikipedia.org/wiki/Pineapple_upside-down_cake - https://en.wikipedia.org/wiki/Pineapple
https://en.wikipedia.org/wiki/Pineapple - https://en.wikipedia.org/wiki/Caramelization
https://en.wikipedia.org/wiki/Caramelization - https://en.wikipedia.org/wiki/Maillard_reaction
https://en.wikipedia.org/wiki/Maillard_reaction - https://en.wikipedia.org/wiki/Baking_powder
https://en.wikipedia.org/wiki/Baking_powder - https://www.britannica.com/topic/cake
https://www.britannica.com/topic/cake - https://www.britannica.com/plant/pineapple
https://www.britannica.com/plant/pineapple