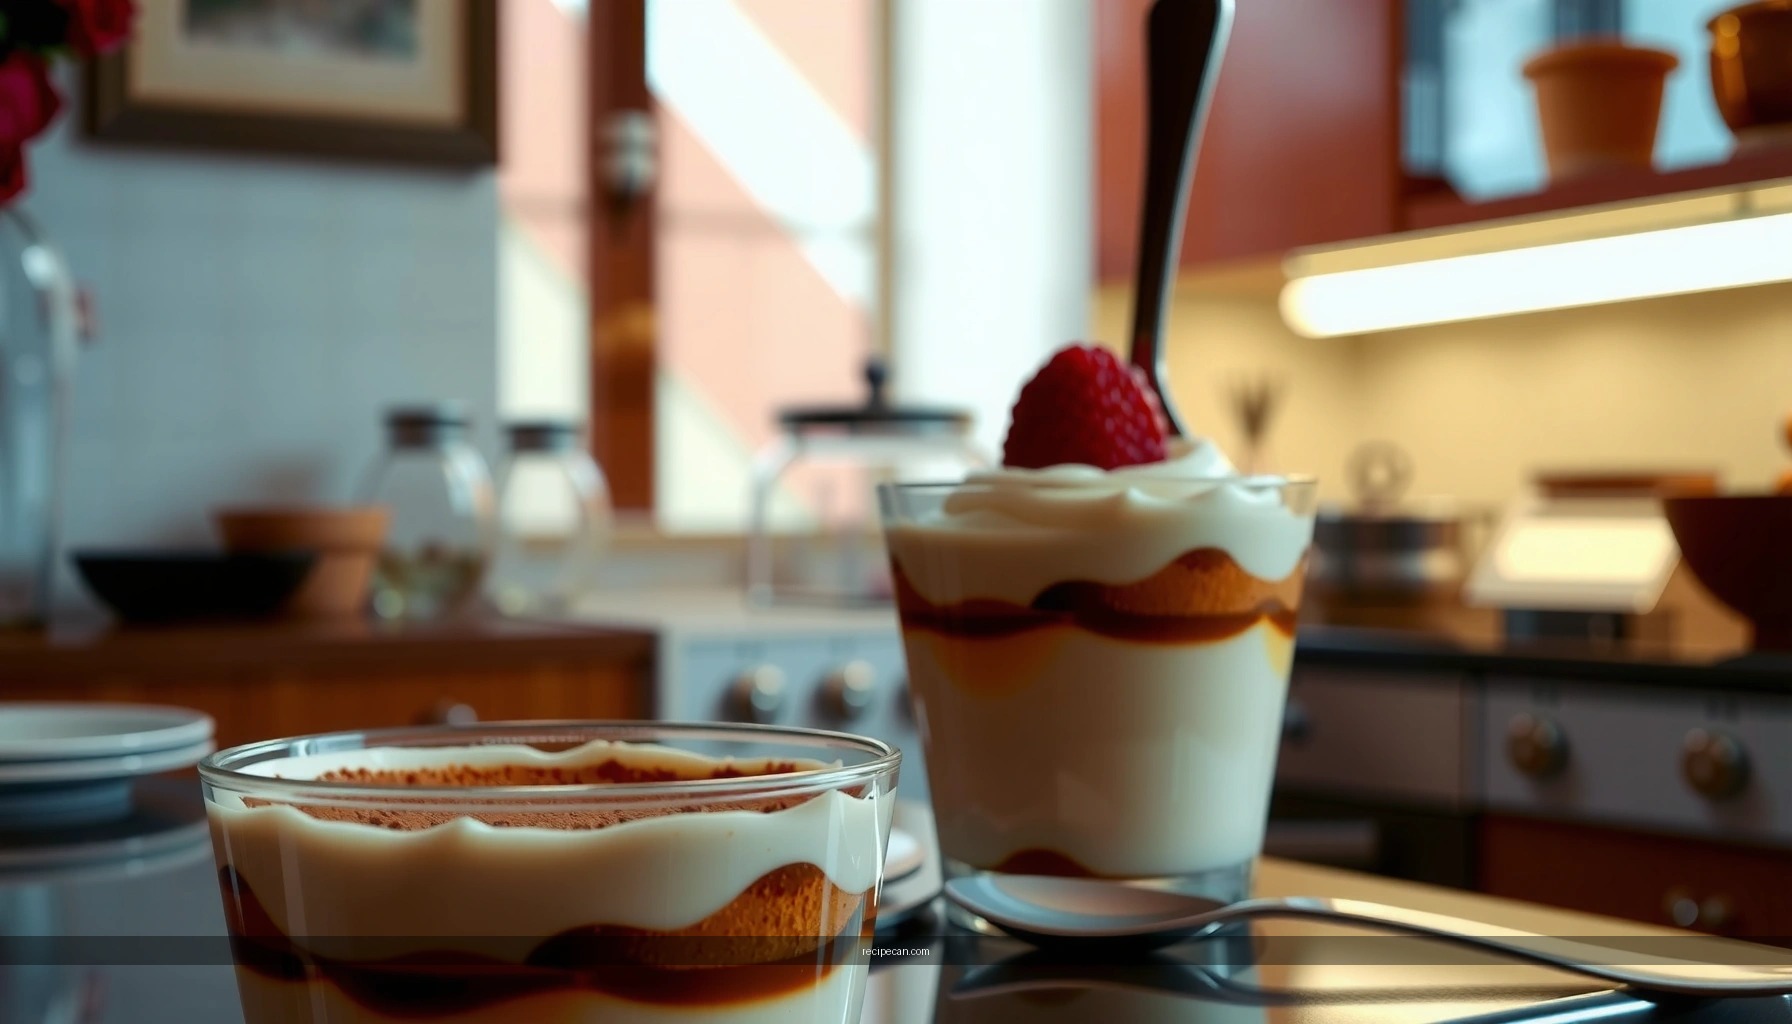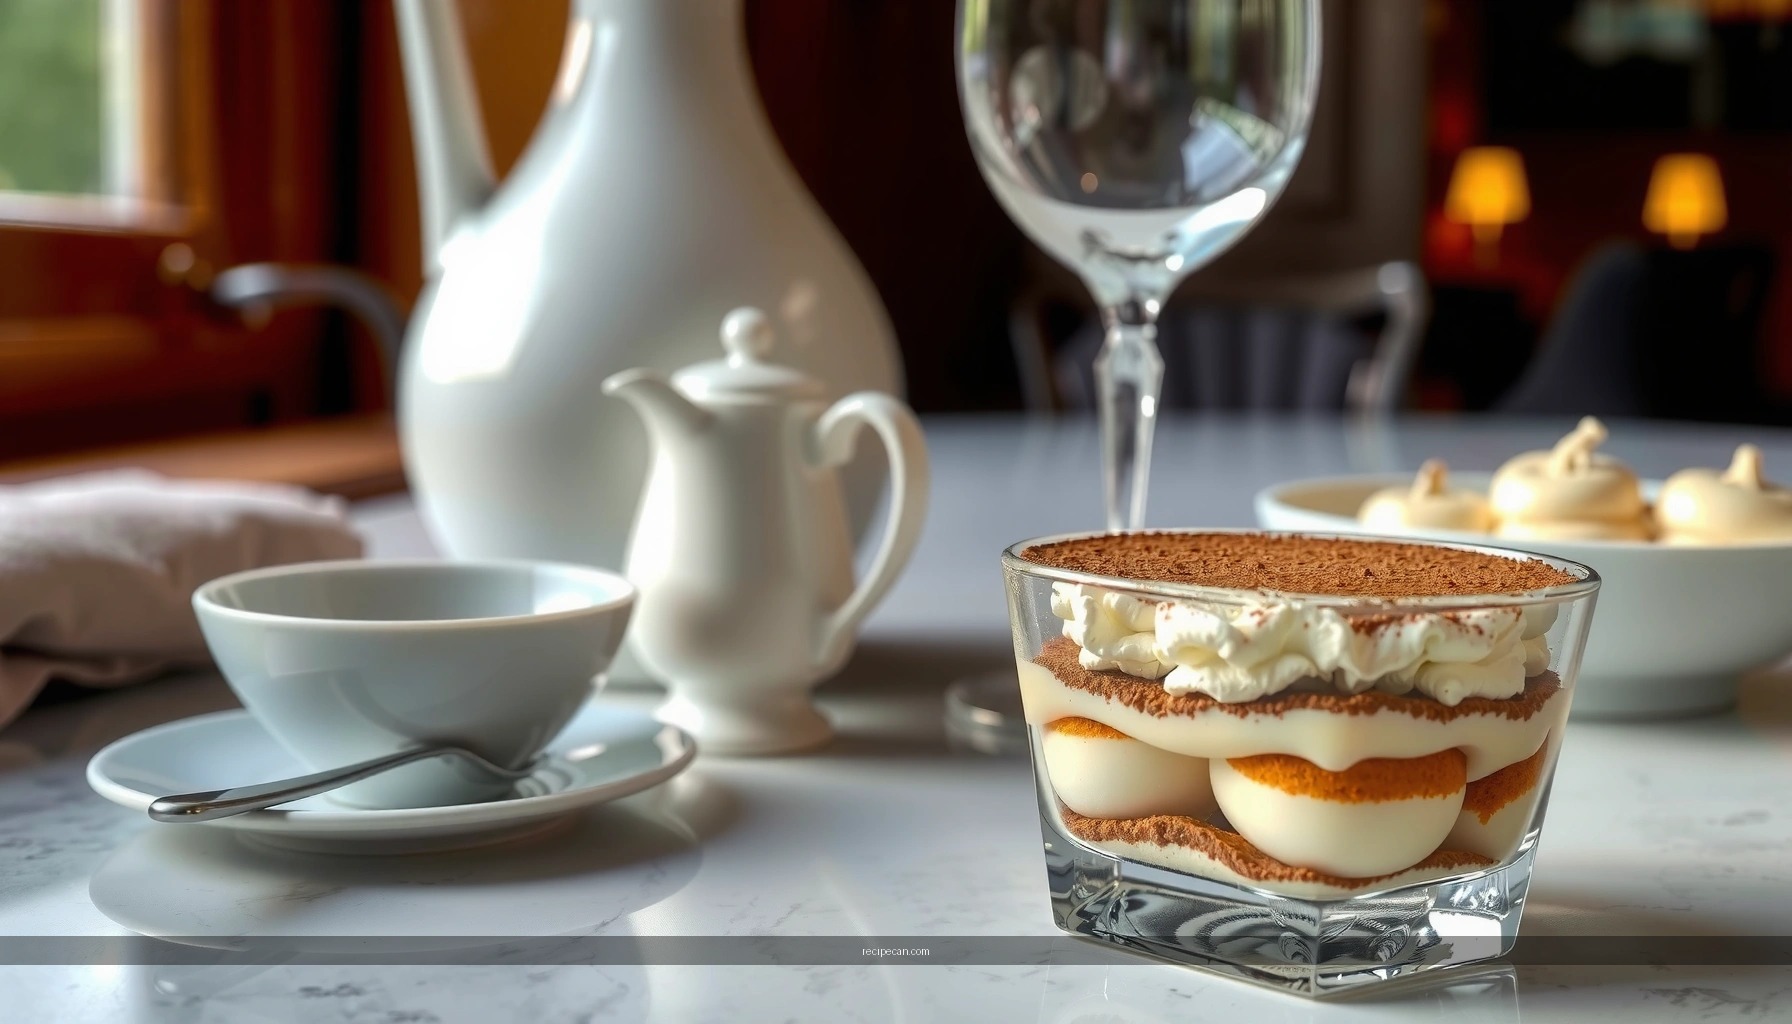
Looking for the Tiramisu recipe NYT version that nails the classic custard every time? This article gives you the exact steps—and the key timing and temperature checks—that turn eggs, mascarpone, and espresso into a smooth, set filling without scrambling. Follow it and you’ll get the NYT-style texture, layered cleanly with ladyfingers and coffee.
This tiramisu recipe NYT–style favorite comes down to two technical fundamentals: a stable mascarpone custard and controlled espresso dipping. If you whip the filling to the right thickness, dip ladyfingers briefly (not long enough to collapse), and chill long enough for the layers to set, you’ll get the classic creamy texture and clean, sliceable structure.
This guide breaks the process into the same practical sequence you’ll see in many New York Times–influenced approaches: prepare strong espresso, whip mascarpone into a smooth base, fold in cream gently for lightness, assemble in even layers, then chill until firm. You’ll also find fixes for common failures like runny filling, overly soggy ladyfingers, and “flat” coffee flavor—plus timing cues so your results are consistent, not accidental.
Ingredients You Need for NYT Tiramisu

– Gather mascarpone, heavy cream, eggs (or yolks), espresso, ladyfingers, sugar, and cocoa powder
– Use quality espresso or strong coffee for the best flavor
– Have vanilla and salt ready to balance sweetness
A true tiramisu—especially one aiming for that “NYT favorite” texture—depends on ingredient behavior as much as ingredient list. Here’s what each component should do in your finished dessert:
Mascarpone provides the signature tang and body. Choose a brand that’s smooth and spoonable (not dry or grainy). If yours seems stiff, let it sit at cool room temperature for 10–15 minutes before mixing so it incorporates evenly.
Heavy cream is responsible for lightness and the custard’s “silk” factor. Whip it to soft-to-medium peaks so it can hold structure without becoming grainy. Overwhipping can make the final filling feel stiff or curdled.
Eggs (or yolks) add custard stability. Whether you use whole eggs or yolks only affects richness and firmness. If using eggs without tempering, keep heat exposure minimal. If you prefer a safer, more controlled custard, tempering (gently warming eggs with sugar/cream) improves stability and reduces the risk of scrambled texture.
Espresso / strong coffee determines the depth of flavor. The best tiramisu doesn’t taste “coffee-forward”—it tastes balanced, with a warm cocoa-and-espresso backbone. Use either freshly brewed espresso or a strong, concentrated coffee (for example, an extra-strong brew method) and avoid watery drip coffee.
Ladyfingers act like a structural sponge. They should be capable of absorbing liquid while still holding their shape once chilled. Quality brands matter here; some are more absorbent than others.
Sugar, salt, and vanilla balance sweetness and enhance aroma. A small pinch of salt makes the mascarpone taste more “bright” rather than flat.
Cocoa powder finishes the dessert with bitterness and aroma. Use unsweetened cocoa, and reserve the final dusting for serving time so the top stays visually clean and doesn’t dissolve into a muddy layer.
To help you shop with confidence, here’s a quick “ingredient readiness” reference showing how the main components typically perform in a classic mascarpone-based custard.
Tiramisu Ingredient Roles & Quality Targets (Classic Mascarpone Method)
| # | Component | Goal Texture/Flavor | Practical Target | Outcome Risk |
|---|---|---|---|---|
| 1 | Mascarpone | Smooth, thick base | Room-temp softening 10–15 min | Low |
| 2 | Heavy cream | Light, stable lift | Soft-to-medium peaks | Medium |
| 3 | Eggs / yolks | Custard stability | Use tempering for higher reliability | Medium |
| 4 | Espresso | Deep coffee aroma | Brew strong, cool 5–10 min | Low–Medium |
| 5 | Ladyfingers | Holds shape after chilling | Dip 1–2 seconds per side | High |
| 6 | Cocoa powder | Fresh aroma, clean top | Dust within 30–60 min of serving | Low |
| 7 | Chilling | Set custard + meld flavors | At least 4–6 hours (overnight best) | High |
Espresso & Ladyfinger Dipping Tips

– Dip ladyfingers quickly to avoid sogginess
– Let excess liquid drip before layering
– Aim for consistent soaking so every bite has the same flavor
The espresso-dipping step is where most tiramisu fails—either the dessert becomes mushy or the coffee flavor stays weak. Think of the ladyfingers as a “controlled hydration” problem.
Dip timing: A target of about 1–2 seconds per side (or a quick dunk followed by a brief lift) is usually enough to moisten the interior without breaking the structure. If your ladyfingers are especially dry, shorten the dunk slightly but use a deeper coffee (stronger concentration) instead of longer soaking.
Consistency matters: Cut ladyfingers to fit your dish so you don’t have gaps (gaps invite extra espresso pooling). When you dip, do it with a rhythm: dip → lift → pause with the finger above the bowl to let liquid drip.
Temperature: Espresso that’s too hot can warm the mascarpone and loosen the custard before it sets. Let brewed coffee cool 5–10 minutes so dipping doesn’t prematurely soften the filling.
Don’t pour espresso directly onto the layers. Pouring creates uneven saturation: some corners become wet and others remain under-flavored. Dipping provides a more uniform “coffee gradient.”
If you’re using a variation with added rum, marsala, or vanilla, remember alcohol increases perceived coffee flavor but can also change absorption behavior. Add liquids to the espresso but keep the overall “dipping pool” shallow so you can control exposure.
Make the Mascarpone Custard

– Whip mascarpone with sugar until smooth and thick
– Fold in whipped cream gently for a light, creamy texture
– Incorporate eggs carefully (or tempered method if used) for stability
A classic tiramisu custard should be thick enough to hold lines when spread, yet not so stiff that it feels rubbery. The process is about controlling emulsification and air.
1. Whip mascarpone with sugar first. Use a mixer on medium-low until glossy and lump-free. This step breaks down mascarpone structure so it can bind with dairy smoothly. Add vanilla and salt here so those flavors distribute through the base.
2. Whip heavy cream to soft-to-medium peaks. Soft peaks look like they slowly hold shape but still gently slump. Overwhipped cream can separate when folded, which leads to grainy texture.
3. Fold, don’t beat. Folding is crucial. Fold the cream into the mascarpone mixture in two or three additions, using a spatula and gentle strokes. You’re preserving the air bubbles that create the airy, creamy mouthfeel.
4. Eggs: choose your stability strategy.
– Tempered approach (most reliable): Warm egg(s) with sugar and/or a small amount of hot mixture, then combine gradually with mascarpone/cream. This supports a custard-like texture and reduces scramble risk.
– No-heat or minimal-heat approach (common in modern tiramisu): If you’re using eggs without cooking, focus on gentle incorporation and ensure strict refrigeration. Some home cooks prefer yolks-only for richer texture with less egginess.
Texture checkpoint: After mixing, the custard should be spreadable like thick frosting. If it looks runny, don’t add more liquid—chill the bowl briefly (10–20 minutes) and re-check before assembling. Often, the “runny” problem is actually a temperature issue, not a recipe error.
Layering for the Best Texture
– Start with a custard layer, then ladyfingers, then custard again
– Repeat layers evenly to create uniform slices
– Spread the top layer smoothly so it sets nicely
Layering isn’t just assembly—it’s structural engineering for slicing and portioning.
Step-by-step layering logic:
1. Base layer of custard: Spread a thin, even layer of mascarpone custard on the bottom of your dish. This prevents any coffee from pooling directly against the pan and helps the first ladyfinger layer adhere cleanly.
2. Ladyfingers in one direction: Place dipped ladyfingers snugly next to each other, like tiles. Avoid overlapping heavily; overlapping creates thicker “coffee blocks” that slice unevenly.
3. Custard on top: Cover ladyfingers fully with custard, using a spatula to smooth the surface. Full coverage ensures consistent moisture distribution and prevents dry edges.
Repeat evenly: Most classic builds use two ladyfinger layers and three custard layers (bottom custard / middle custard after first ladyfingers / top custard). Even thickness leads to even slices and consistent sweetness and coffee intensity.
Top smoothing: Smooth the final custard layer so it sets with a clean surface. A sloppy top forces cocoa dusting to drift into dents or ridges.
Pan choice: Use a dish shape that encourages even slicing—typically a rectangular pan for clean portions. If you use a deeper pan, it may require slightly longer chilling for the center to fully set.
Chill Time & Serving Instructions
– Refrigerate long enough for the custard to set and the flavors to meld
– Dust cocoa just before serving to keep it fresh
– Slice with a clean knife (wipe between cuts) for neat portions
Chilling is where tiramisu transforms from “assembled dessert” into “proper dessert.” Without enough time, the custard won’t fully firm and the layers won’t stabilize.
Chill minimum: Aim for 4–6 hours, but overnight is best. Overnight chilling lets espresso flavor redistribute and lets custard fully set so ladyfingers hydrate evenly instead of collapsing.
Cocoa timing: Dust cocoa powder right before serving. If you dust too early, cocoa absorbs moisture and can turn patchy or muddy.
Slicing: Use a sharp knife and wipe between cuts. If you slice with a dirty blade, cocoa smears and custard edges tear, especially in the first slices. For best results, chill the serving knife or run it under cold water, then dry.
Serving temperature: Serve cold. If tiramisu sits warm, the mascarpone softens and the structure relaxes, which can make slices look “looser” even if the flavor is excellent.
Common Mistakes (and How to Fix Them)
– If it’s runny, chill longer and avoid over-dipping ladyfingers
– If it’s too firm, lighten the custard by folding more gently
– If the flavor is flat, strengthen espresso and balance sweetness
Even experienced bakers run into predictable issues with tiramisu. Here’s how to diagnose quickly and correct without starting over.
– Runny filling
– Cause: Under-chilling, over-warm custard, or excessive liquid from over-dipping.
– Fix: Chill an extra 2–4 hours. Next time, shorten the dip to 1–2 seconds per side and let excess drip. Also ensure mascarpone is not too warm when mixing.
– Soggy or collapsed layers
– Cause: Ladyfingers soaked too long or espresso pool too deep and concentrated.
– Fix: Improve control—use a shallow dipping surface, dip briefly, and lift to drain. Keep assembly steady so dipped fingers don’t sit soaking.
– Too firm / heavy mouthfeel
– Cause: Overwhipped cream, too much mixing, or too much time before layering (custard begins to set unevenly).
– Fix: Next time, fold more gently and stop whipping cream at soft-to-medium peaks. If already assembled and slightly firm, allow short refrigeration relief (10 minutes in the coldest part of the fridge) before serving-slicing to soften edges slightly.
– Flat flavor
– Cause: Weak espresso, under-seasoning, or overly sweet balance.
– Fix: Brew stronger coffee (concentrated espresso-style extraction) and add a tiny pinch of salt. If you’re using cocoa powder, choose a good unsweetened brand so the bitterness adds dimension rather than muddiness.
– Grainy custard
– Cause: Overmixing mascarpone after it starts to tighten, or eggs added too aggressively.
– Fix: Mix mascarpone until smooth, then stop. If using eggs, temper gradually and combine off-heat or under gentle heat control.
Quick Checklist: Consistent NYT-Style Results
– Brew strong espresso and cool it 5–10 minutes before dipping
– Dip ladyfingers 1–2 seconds per side; drain excess liquid
– Whip mascarpone smooth, fold in cream gently, and handle eggs with care
– Assemble with custard–ladyfingers–custard; smooth the top layer
– Chill at least 4–6 hours (overnight best); dust cocoa right before serving
– Slice with a clean knife and wipe between cuts
After you make the NYT tiramisu recipe, remember: quick dipping, silky mascarpone custard, and proper chilling are what deliver the classic taste and texture. Use the tips above to avoid soggy layers or a loose filling, then dust with cocoa and serve chilled. If you want, tell me whether you’re using eggs or a no-egg variation and I’ll tailor the steps to your exact version.
Whether your goal is a business-ready dessert for entertaining or a personal “benchmark” tiramisu at home, following these process controls will get you reliably close to the NYT-style ideal: coffee-scented, creamy in the middle, structured on the plate, and elegantly finished with cocoa.
Frequently Asked Questions
What is the closest way to make a “tiramisu recipe nyt” at home?
Start by using a classic structure: espresso-soaked ladyfingers layered with a mascarpone and egg (or pasteurized egg) mixture, then finished with cocoa powder. For an authentic “NYT tiramisu” feel, focus on chilled components, quick dipping (not soggy ladyfingers), and generous layering. If you’re short on time, use strong cooled espresso and quality mascarpone so the flavor matches what people expect from a New York Times-style tiramisu recipe.
How do you stop tiramisu from becoming watery or soggy when following a tiramisu recipe nyt?
The key is to dip ladyfingers briefly—think a quick soak of seconds—then let excess espresso drip off before layering. Make sure the mascarpone mixture is thick (properly whipped and well chilled), since a thin filling can loosen and thin the dessert. Finally, refrigerate long enough to set, typically several hours or overnight, so the “tiramisu recipe nyt” style texture firms up rather than weeping liquid.
Why does mascarpone curdle in tiramisu, and how can you prevent it?
Mascarpone can look grainy if it’s overmixed, too warm, or if the egg mixture is added too hot. Use chilled mascarpone, whip just until smooth, and add egg mixtures gradually to maintain a stable emulsion—this is especially important for many “tiramisu recipe nyt” versions that rely on delicate egg-based custard. If you’re concerned about safety, choose pasteurized eggs or an alternate method that avoids heating risks.
Which ingredients matter most if you’re recreating the flavors of a tiramisu recipe nyt?
The biggest flavor drivers are strong espresso (or very concentrated coffee) and high-quality mascarpone. Use real cocoa powder for the final dusting—unsweetened Dutch-process cocoa is a common match for classic restaurant-style tiramisu—and choose authentic ladyfingers for the right sponge texture. Even if you follow every step of your “tiramisu recipe nyt,” weak coffee or low-quality mascarpone is usually what disappoints the most.
What’s the best way to serve tiramisu made from a “tiramisu recipe nyt” for perfect texture?
Tiramisu tastes best after chilling long enough for the ladyfingers to soften evenly while the filling stays creamy and sliceable. Aim to serve cold straight from the fridge, and for clean portions, use a sharp knife wiped between cuts. If the dessert feels too firm after a long chill, let it sit at cool room temperature for about 5–10 minutes before serving, then dust with extra cocoa if desired.
References
- Google Scholar Google Scholar
https://scholar.google.com/scholar?q=Tiramisu+recipe+history+mascarpone+savoiardi - Google Scholar Google Scholar
https://scholar.google.com/scholar?q=Tiramisu+raw+eggs+food+safety - Google Scholar Google Scholar
https://scholar.google.com/scholar?q=Tiramisu+coffee+espresso+aroma+ingredients - Tiramisu
https://en.wikipedia.org/wiki/Tiramisu - Tiramisu | Meaning, Ingredients, Origin, Desserts, & Taste | Britannica
https://www.britannica.com/topic/tiramisu - https://www.fda.gov/food/people-risk-information/keep-food-safe
https://www.fda.gov/food/people-risk-information/keep-food-safe - https://www.who.int/foodsafety/areas_work/food-hygiene/en/
https://www.who.int/foodsafety/areas_work/food-hygiene/en/ - https://pubmed.ncbi.nlm.nih.gov/?term=tiramisu
https://pubmed.ncbi.nlm.nih.gov/?term=tiramisu - Mascarpone
https://en.wikipedia.org/wiki/Mascarpone - Ladyfingers (biscuits)
https://en.wikipedia.org/wiki/Savoiardi