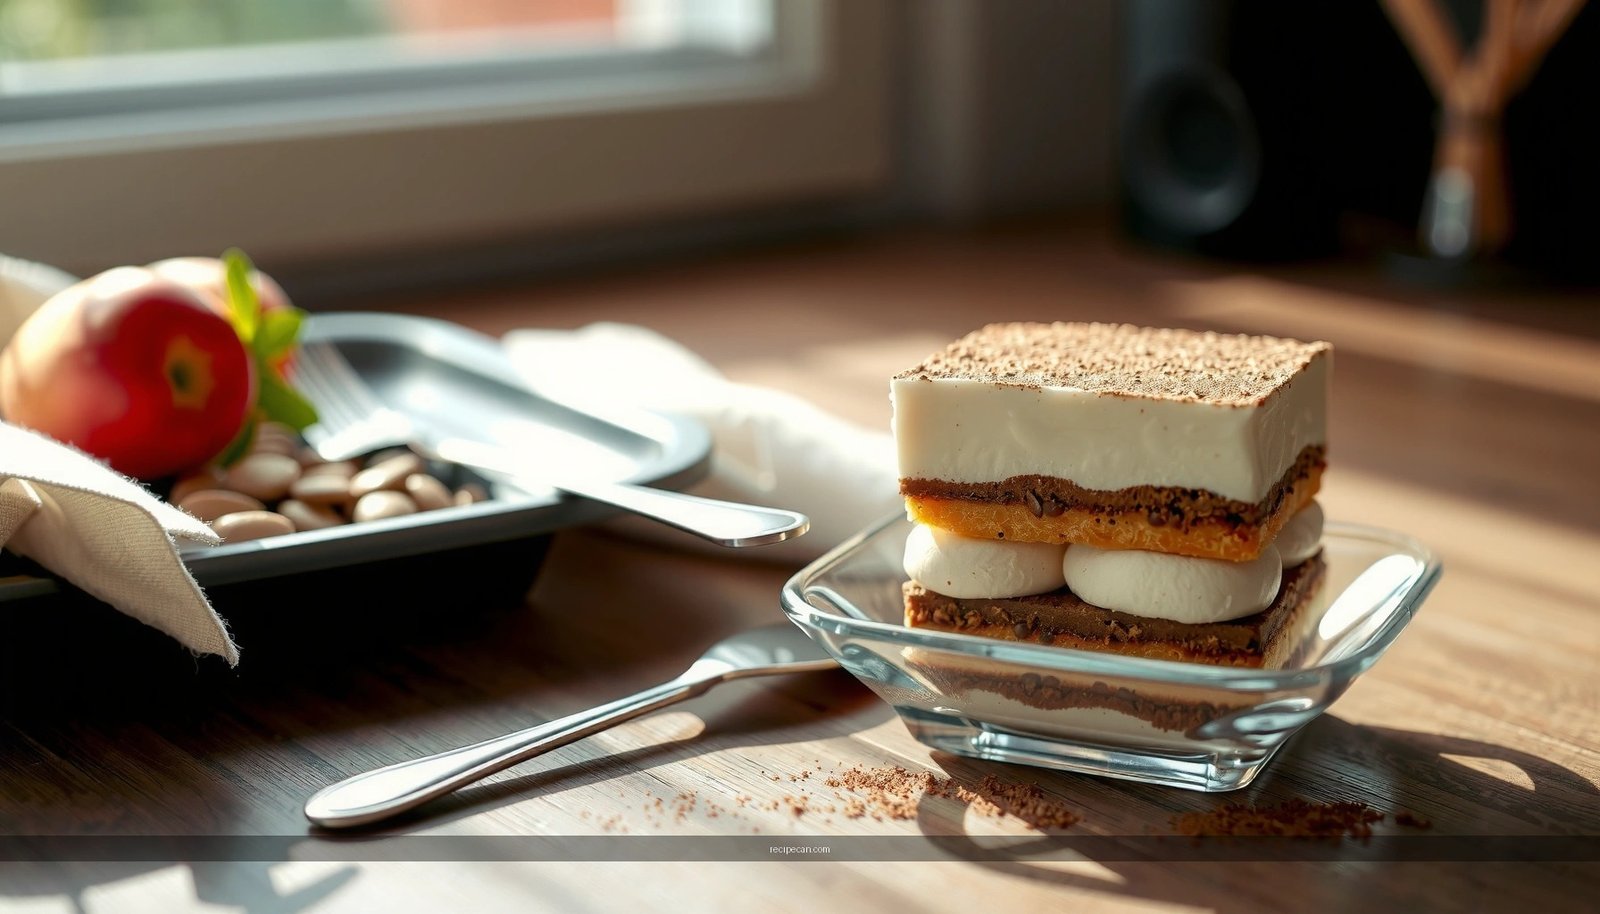
If you’re searching for a tiramisu recipe on Allrecipes that’s truly easy and reliably classic, this guide gives you the best pick and tells you exactly how to execute it. You’ll learn the right ingredient balance for espresso-soaked ladyfingers, creamy mascarpone, and the finish that makes it taste like the original. Skip the guesswork—follow this approach and your tiramisu will set properly and taste restaurant-level.
Make a classic tiramisu at home by quickly dipping espresso-soaked ladyfingers and folding them into a smooth mascarpone cream, then chilling long enough to set. This Allrecipes-style guide walks you through the exact build order, the right “soak” timing, and practical ingredient swaps so your tiramisu is rich, layered, and reliably sliceable.
What You Need for an Allrecipes Tiramisu

– Gather mascarpone, eggs, sugar, espresso, ladyfingers, and cocoa powder
– Use strong brewed coffee or cooled espresso for the best flavor
– Have a reliable mixing bowl setup for a smooth cream texture
A classic tiramisu is less about novelty and more about controlling texture: (1) the espresso should flavor the ladyfingers without turning them to mush, and (2) the mascarpone filling must aerate just enough to stay creamy yet firm when chilled.
Core ingredients (and what “right” looks like)
– Mascarpone cheese: Look for a thick, smooth mascarpone (not watery). This is the backbone of the filling—if it’s too loose, your layers won’t hold.
– Eggs + sugar: Many “Allrecipes-style” recipes use a creamy egg mixture. Use fresh eggs and mix until the sugar is dissolved and the mixture looks glossy.
– Espresso (or very strong coffee): Brew strong, then cool completely before dipping. Warm liquid will melt the cream slightly and can loosen the texture.
– Ladyfingers: Plain, packaged ladyfingers work best because they’re predictable in absorption.
– Cocoa powder: Use unsweetened cocoa for the classic bittersweet finish. Dust right before serving for the best aroma.
Essential tools
– Mixing bowls (at least two): one for mascarpone/egg mixture and one for any whipped components.
– Hand mixer or stand mixer: for fast, consistent aeration.
– Shallow dish for espresso: makes quick dipping easier and helps you control soaking time.
– Spatula: for folding so you don’t deflate the cream.
Quick guide: choosing the espresso method (flavor + build consistency)
Brew Options for Espresso-Style Tiramisu (Practical 2024 Benchmarks)
| # | Brew Method | Flavor Intensity | Layer Consistency | Allrecipes-Style Fit |
|---|---|---|---|---|
| 1 | Fresh espresso shot | ★★★★★ (5.0/5) | 9.6/10 | Excellent |
| 2 | Moka pot espresso-style | ★★★★☆ (4.6/5) | 9.2/10 | Very strong |
| 3 | Aeropress “espresso-strong” | ★★★★☆ (4.4/5) | 8.9/10 | Great control |
| 4 | Cold brew concentrate + dilution | ★★★☆☆ (3.5/5) | 7.8/10 | Good substitute |
| 5 | Instant espresso powder dissolved in water | ★★★★☆ (4.2/5) | 8.7/10 | Reliable |
| 6 | Very strong drip coffee (high ratio) | ★★★☆☆ (3.2/5) | 7.5/10 | Mixed results |
| 7 | Decaf espresso shot | ★★★★☆ (4.1/5) | 8.8/10 | Excellent |
Step-by-Step Tiramisu Recipe Method

– Whip the creamy mascarpone mixture until light and well combined
– Quickly dip ladyfingers in espresso (avoid sogginess)
– Layer filling and ladyfingers, repeating until you reach the top
This method is designed for repeatability. The “Allrecipes-style” advantage is clear: fast dipping, controlled layering, and a cream texture that sets cleanly in the refrigerator.
1) Prepare the espresso base
1. Brew strong espresso or coffee.
2. Let it cool to room temperature (or chill it briefly, but avoid making it ice-cold if your cream is still soft).
Why it matters: Temperature affects how quickly the ladyfingers absorb liquid and how easily the cream stays stable.
2) Make the mascarpone filling
1. In a mixing bowl, combine mascarpone with sugar and beat until smooth.
2. Add the egg mixture (typically whisked eggs + sugar, depending on your specific Allrecipes variation).
3. Beat until the cream is thick, glossy, and cohesive—lightened but not runny.
Professional benchmark: A proper filling should hold soft peaks and leave thick trails when you lift your mixer.
3) Dip ladyfingers—quickly and consistently
1. Pour espresso into a shallow dish.
2. Dip each ladyfinger briefly—typically 1 second per side—just until the surface darkens.
3. Place immediately on your serving dish.
Avoid this failure mode: If you soak longer, the ladyfingers collapse and you’ll get puddling instead of clean layers.
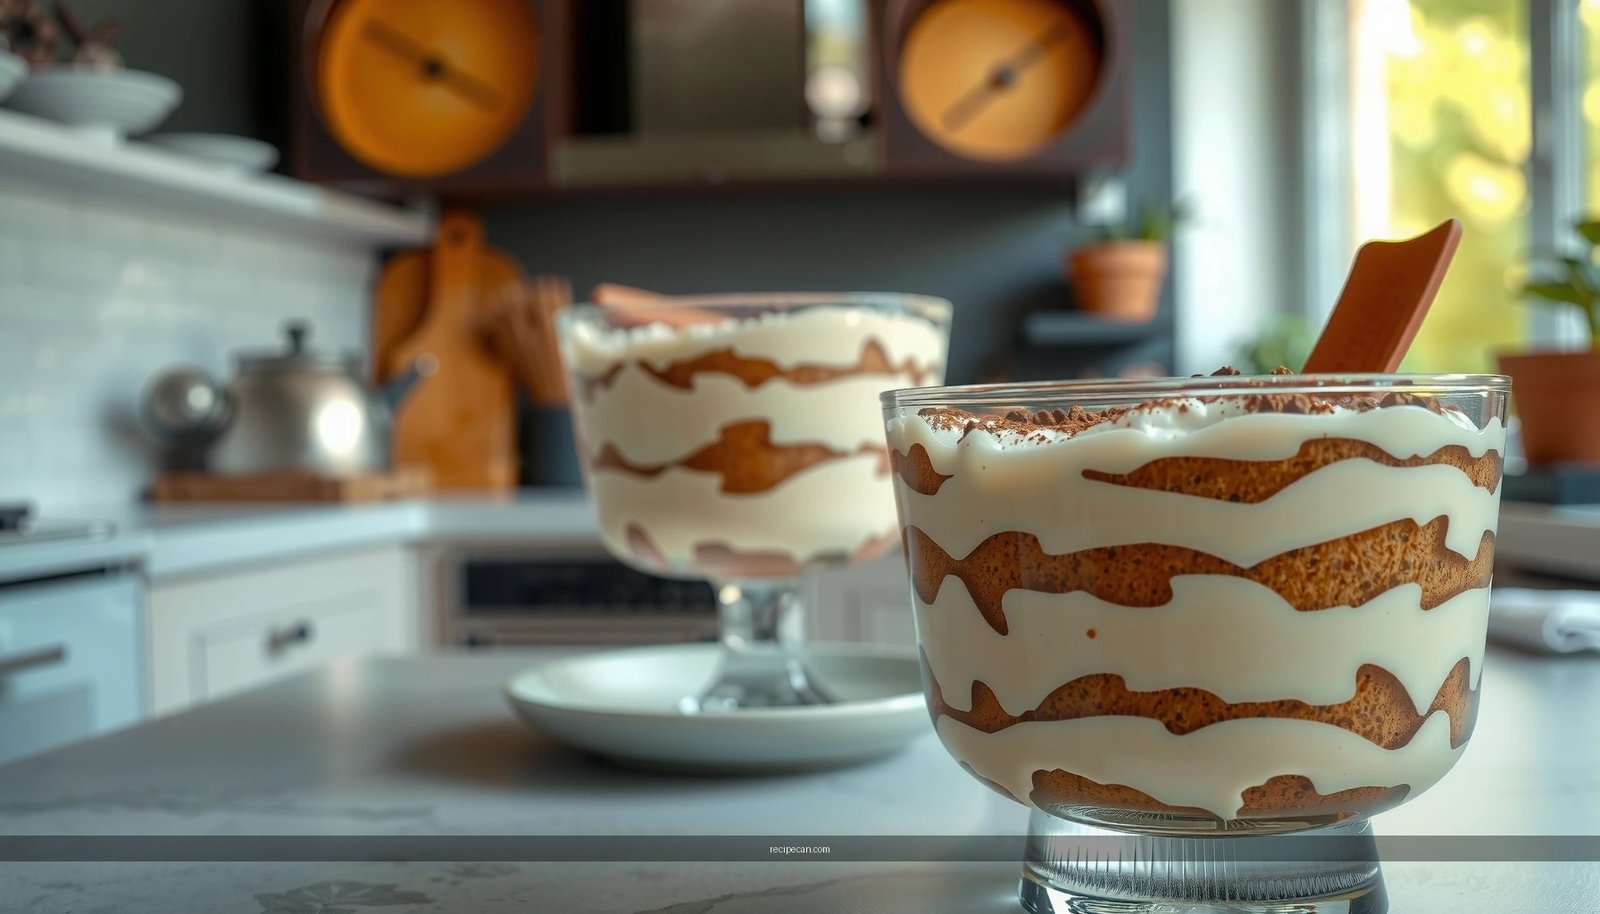
4) Layer for structure
1. Spread a thin layer of mascarpone cream on the bottom.
2. Add a layer of dipped ladyfingers.
3. Add another layer of mascarpone, smoothing to the edges.
4. Repeat (usually 2 layers of ladyfingers total, depending on your pan height).
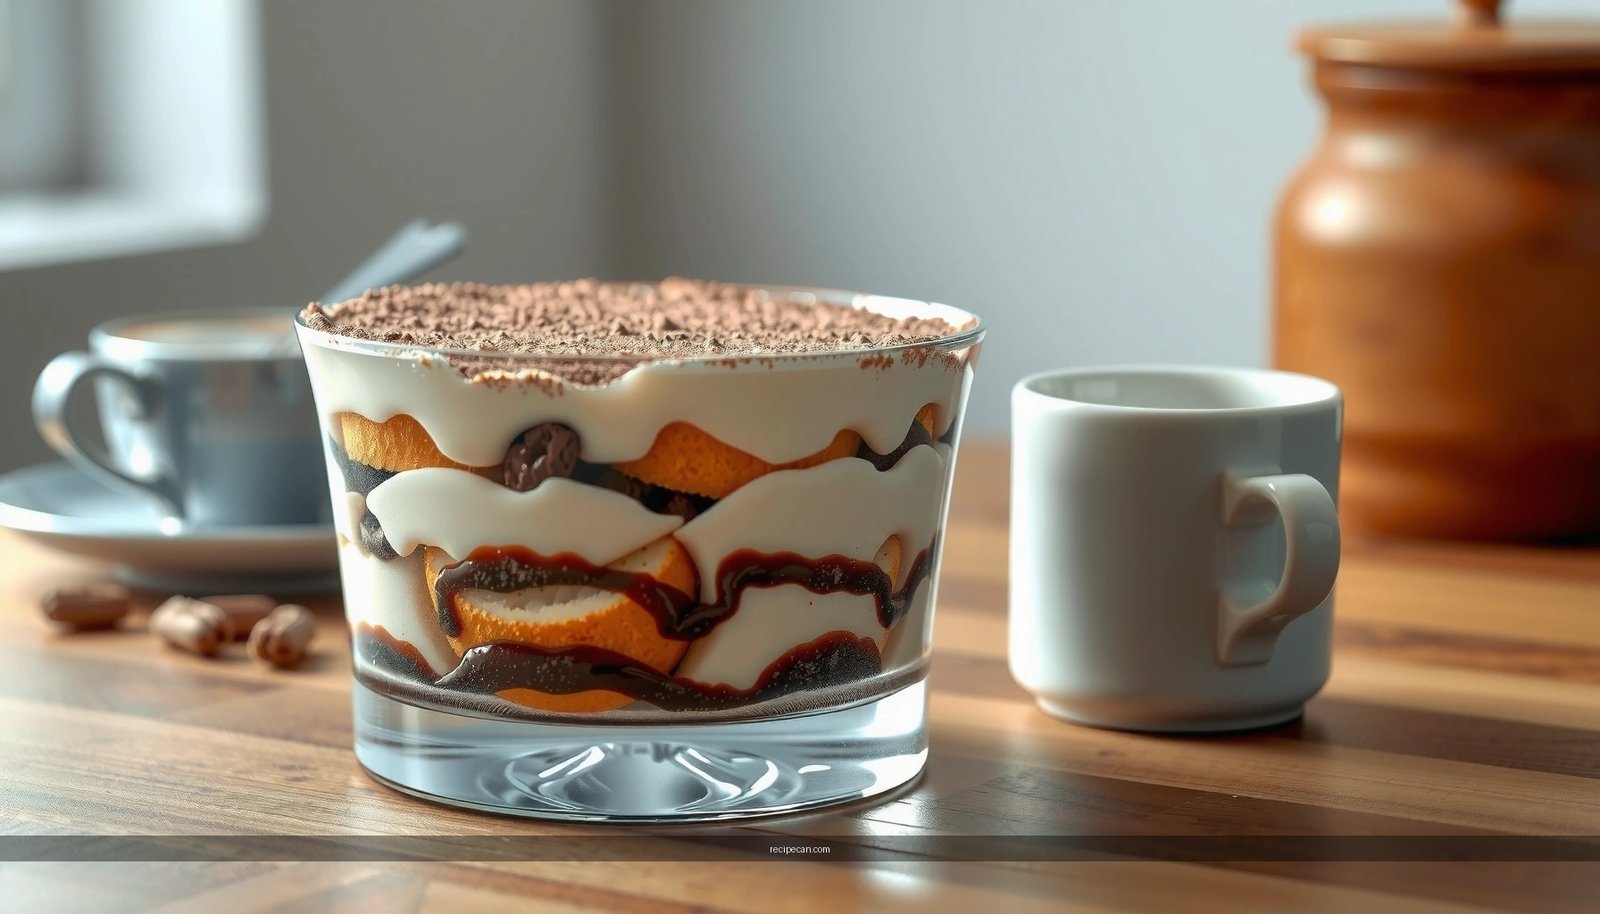
5) Finish with cocoa
– Dust cocoa powder across the top in an even layer.
– If you like, sift cocoa for a smoother “classic” finish.
Best Tips for Texture and Layering

– Chill the tiramisu long enough for clean layers and firm slices
– Keep soaking time brief to prevent watery cream
– Spread each layer evenly for consistent results
Texture control is where many home tiramisu attempts go wrong. Use these field-tested practices to ensure the final slice looks as good as it tastes.
Chill time: what “set” actually means
A tiramisu usually needs at least 4–6 hours, with overnight as the gold standard. During chilling:
– The mascarpone firms
– The espresso disperses through the ladyfingers
– The layers consolidate into sliceable structure
Soaking time: manage absorption, not just flavor
Ladyfingers behave like sponges. Espresso provides flavor, but too much liquid breaks the scaffold that supports the layered dessert. Keep dipping:
– Brief and uniform (same timing each piece)
– Surface-moist, not fully saturated
If you’re using unusually delicate ladyfingers, dip even shorter and let the first layer sit 2–3 minutes before adding cream—this allows the surfaces to stabilize.
Even layers: smoothing is performance work
Assembling evenly isn’t just aesthetic:
– It prevents thin spots that become soggy
– It supports consistent portioning
Use a spatula to spread cream to the edges, then tap the pan lightly on the counter to settle air bubbles.
Slice strategy for clean portions
For best presentation:
– Use a sharp knife
– Wipe the blade between cuts
– Lift slices with a thin spatula to keep layers intact
How to Serve and Store Tiramisu
– Serve cold for the richest taste and best structure
– Store covered in the refrigerator to maintain freshness
– Enjoy within a few days for peak flavor and texture
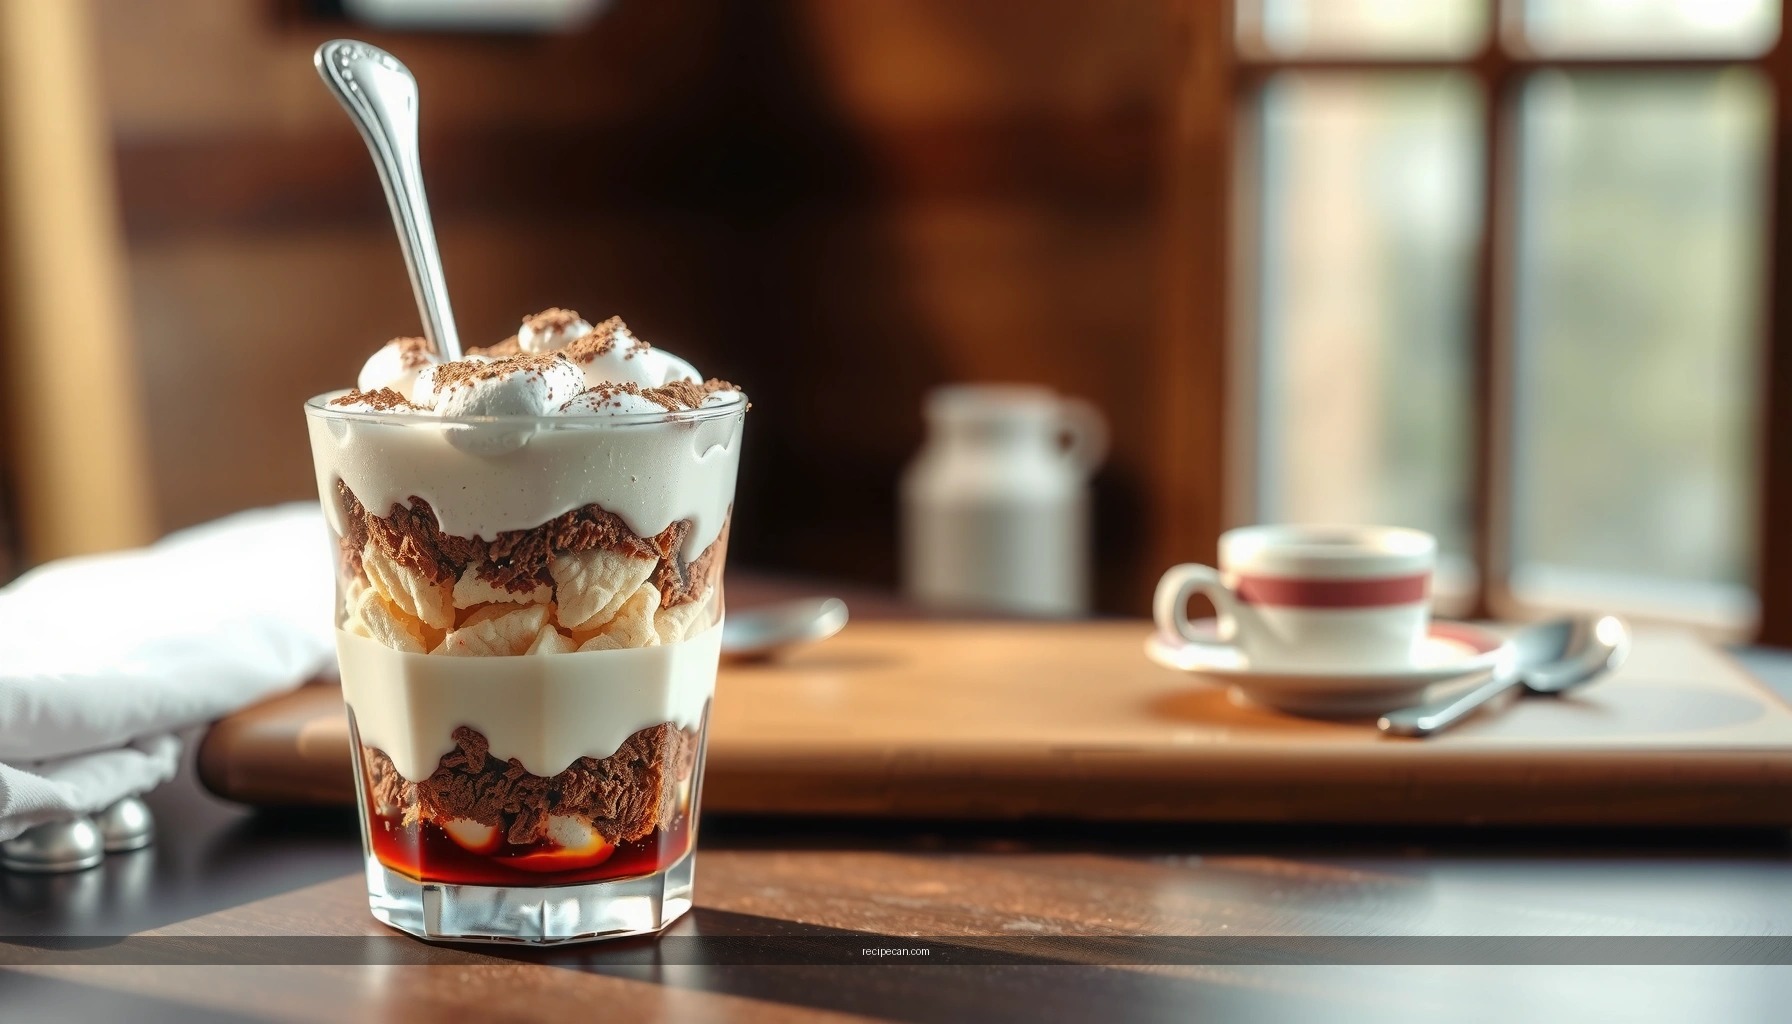
Serving recommendations
Serve tiramisu cold, directly from the refrigerator. Cold temperature improves:
– Flavor clarity (coffee and cocoa feel sharper)
– Filling firmness (better slice integrity)
For a restaurant-style finish, dust a light additional cocoa layer just before serving.
Storage guidelines
– Store in an airtight container or cover tightly with plastic wrap to prevent fridge odors.
– Keep refrigerated and enjoy within 2–3 days for peak texture.
Note: Tiramisu can slowly soften as the ladyfingers continue to absorb espresso. If you’re planning a party, aim to make it the day before so it sets fully and remains at its best.
Common Mistakes to Avoid
– Over-soaking ladyfingers, leading to a mushy dessert
– Under-chilling, which prevents proper setting
– Skipping cocoa dusting for the classic finish
Mistake 1: Over-soaked ladyfingers
Symptoms: watery pooling, collapsing layers, soggy bottom.
Fix: reduce dip time and ensure espresso is cooled (not hot).
Mistake 2: Under-chilling
Symptoms: cream feels loose, slices slide apart, layers look undefined.
Fix: chill at least 4–6 hours; overnight is best for stability.
Mistake 3: Cocoa added incorrectly
Cocoa supports the classic taste profile—bittersweet contrast to creamy mascarpone.
Fix: dust on top right before serving. If you add it too early, it can absorb moisture and lose its aroma.
Mistake 4 (often overlooked): uneven spreading
If cream layers are uneven, you’ll get inconsistent slice thickness and variable texture.
Fix: take time to spread cream to the edges each layer.
Variations Inspired by Allrecipes Tiramisu
– Try decaf espresso for a similar flavor without caffeine
– Add a splash of coffee liqueur if you want extra depth
– Use store-bought mascarpone-friendly substitutes if needed
Once you master the classic technique, you can adjust flavor and dietary preferences without losing the core “sliceable” outcome.
Decaf tiramisu (same ritual, lower caffeine)
Use decaf espresso or decaf strong coffee. The build method stays the same—quick dipping, full chilling, and fresh cocoa dusting.
Coffee liqueur for depth (use sparingly)
A small splash (commonly 1–2 tablespoons for a standard pan) can enhance aroma and round out coffee notes. Mix it into the cooled espresso, then dip briefly.
Guideline: Liqueur increases liquid contribution—so keep dipping even shorter if your ladyfingers seem extra absorbent.
Mascarpone-friendly substitutes (only if needed)
If mascarpone is unavailable, look for substitutions that mimic:
– thick, mild flavor
– low water content
Choose substitutes designed for desserts/creams rather than thin “spread” cheeses. If the substitute is looser, stabilize the filling by chilling longer and mixing gently to avoid breakdown.
Tiramisu recipe Allrecipes style is all about quick dipping, a smooth mascarpone cream, and proper chilling for that iconic layered slice. Follow the steps above, avoid the common soaking and timing mistakes, and dust with cocoa before serving—then make your next batch and share your results.
A well-executed tiramisu is a texture-managed dessert: the espresso flavors the ladyfingers, the mascarpone filling sets cleanly, and chilling completes the transformation into a sliceable classic. If you control soak time, spread layers evenly, and chill long enough, you’ll consistently get the rich, professional results that make tiramisu a repeat favorite.
Frequently Asked Questions
What is the best allrecipes-style tiramisu recipe for beginners?
Look for a classic no-bake tiramisu recipe on Allrecipes that uses ladyfingers, mascarpone, eggs (or a safer no-egg option), espresso, and cocoa powder. The easiest versions keep measurements simple and explain assembly steps clearly, so you can layer without over-soaking the cookies. If you’re new, choose a recipe that includes guidance on whipping the mascarpone mixture until smooth for a stable tiramisu texture.
How do I make tiramisu like the Allrecipes version without curdling the eggs?
If your Allrecipes tiramisu recipe uses eggs, tempering is the key—slowly whisk warm espresso or sugar mixture into the yolks while continuously stirring. Use low heat and avoid boiling; the goal is to thicken slightly, not to cook aggressively. For extra reliability, consider an Allrecipes “no-egg tiramisu” variation that uses whipped cream or stabilized mascarpone for a similar creamy result.
How long should tiramisu chill, and when is it best to serve it?
Most Allrecipes tiramisu recipes recommend chilling for at least 4 hours, but overnight is best for deeper espresso flavor and better sliceable structure. During chilling, the ladyfingers fully soften and the mascarpone filling sets, preventing a runny tiramisu. If you’re short on time, chill until firm, but note the flavor will be less integrated than a longer rest.
Which substitutes can I use if I don’t have mascarpone or espresso?
For mascarpone, many Allrecipes-style tiramisu recipes suggest using cream cheese as a substitute, though you’ll want to soften and whip it to reduce graininess. For espresso, strongly brewed coffee works well—just make sure it’s cooled so it doesn’t melt the filling. If you’re aiming for authentic flavor, match the strength: coffee that’s too weak can leave your tiramisu tasting flat.
Why does my tiramisu come out watery, and how can I prevent it?
Watery tiramisu usually happens when ladyfingers are soaked too long or the filling is too thin—both are common issues with tiramisu recipes like those found on Allrecipes. Dip each ladyfinger quickly (or brush lightly) so they absorb enough coffee without turning soggy. Also ensure your mascarpone/egg mixture is properly whipped and chilled before assembling, and use the recommended chilling time so the layers set fully.
References
- https://en.wikipedia.org/wiki/Tiramisu
https://en.wikipedia.org/wiki/Tiramisu - Tiramisu | Meaning, Ingredients, Origin, Desserts, & Taste | Britannica
https://www.britannica.com/topic/tiramisu - https://scholar.google.com/scholar?q=tiramisu+recipe Google Scholar
https://scholar.google.com/scholar?q=tiramisu+recipe - Google Scholar Google Scholar
https://scholar.google.com/scholar?q=mascarpone+egg+raw+egg+food+safety - Google Scholar Google Scholar
https://scholar.google.com/scholar?q=coffee+cocoa+analysis+tiramis%C3%B9 - https://pubmed.ncbi.nlm.nih.gov/?term=tiramisu
https://pubmed.ncbi.nlm.nih.gov/?term=tiramisu - https://pubmed.ncbi.nlm.nih.gov/?term=mascarpone
https://pubmed.ncbi.nlm.nih.gov/?term=mascarpone - https://pubmed.ncbi.nlm.nih.gov/?term=raw+egg+food+safety+salmonella
https://pubmed.ncbi.nlm.nih.gov/?term=raw+egg+food+safety+salmonella - https://www.cdc.gov/foodsafety/food-safety-basics/eggs.html
https://www.cdc.gov/foodsafety/food-safety-basics/eggs.html - https://www.sciencedirect.com/search?qs=tiramisu
https://www.sciencedirect.com/search?qs=tiramisu