Making elderberry jam or jelly requires precision and care to ensure safety and flavor. This expert guide provides a step-by-step recipe along with crucial preservation techniques, ensuring that your homemade product is both delicious and safe to consume. Following the right protocols is essential, as improper methods can lead to spoilage or health risks. Trust this comprehensive resource to elevate your fruit preservation skills while savoring the rich benefits of elderberries.
What This Guide Covers (And What It Doesn’t)

This guide provides a detailed process for safely making elderberry jam or jelly, complete with ingredient measurements, cooking times, and preservation techniques. It emphasizes the critical importance of food safety throughout the preservation process. You’ll discover how to select ripe elderberries, the necessary equipment, and step-by-step instructions to create a successful product.
However, this guide does not cover other types of jams or jellies, nor does it explore alternative uses for elderberries. Its focus is solely on the jam or jelly-making process. Additionally, the guide avoids topics such as elderberry wine or syrup recipes, as well as the medicinal uses of elderberries.
Who Should Read This

Designed for home canners and food preservation enthusiasts, this guide is ideal for those with a basic understanding of kitchen safety and canning techniques. It caters to individuals experienced in fruit preservation but who may not yet be familiar with the specific properties and preparation of elderberries. Beginners motivated to learn about making elderberry jam or jelly will also find valuable insights, though they should be prepared to follow the instructions closely.
Those with specific dietary restrictions or food allergies should consult additional resources, as this guide does not address adaptations for sugar-free or low-sugar recipes.
The Step-by-Step Protocol

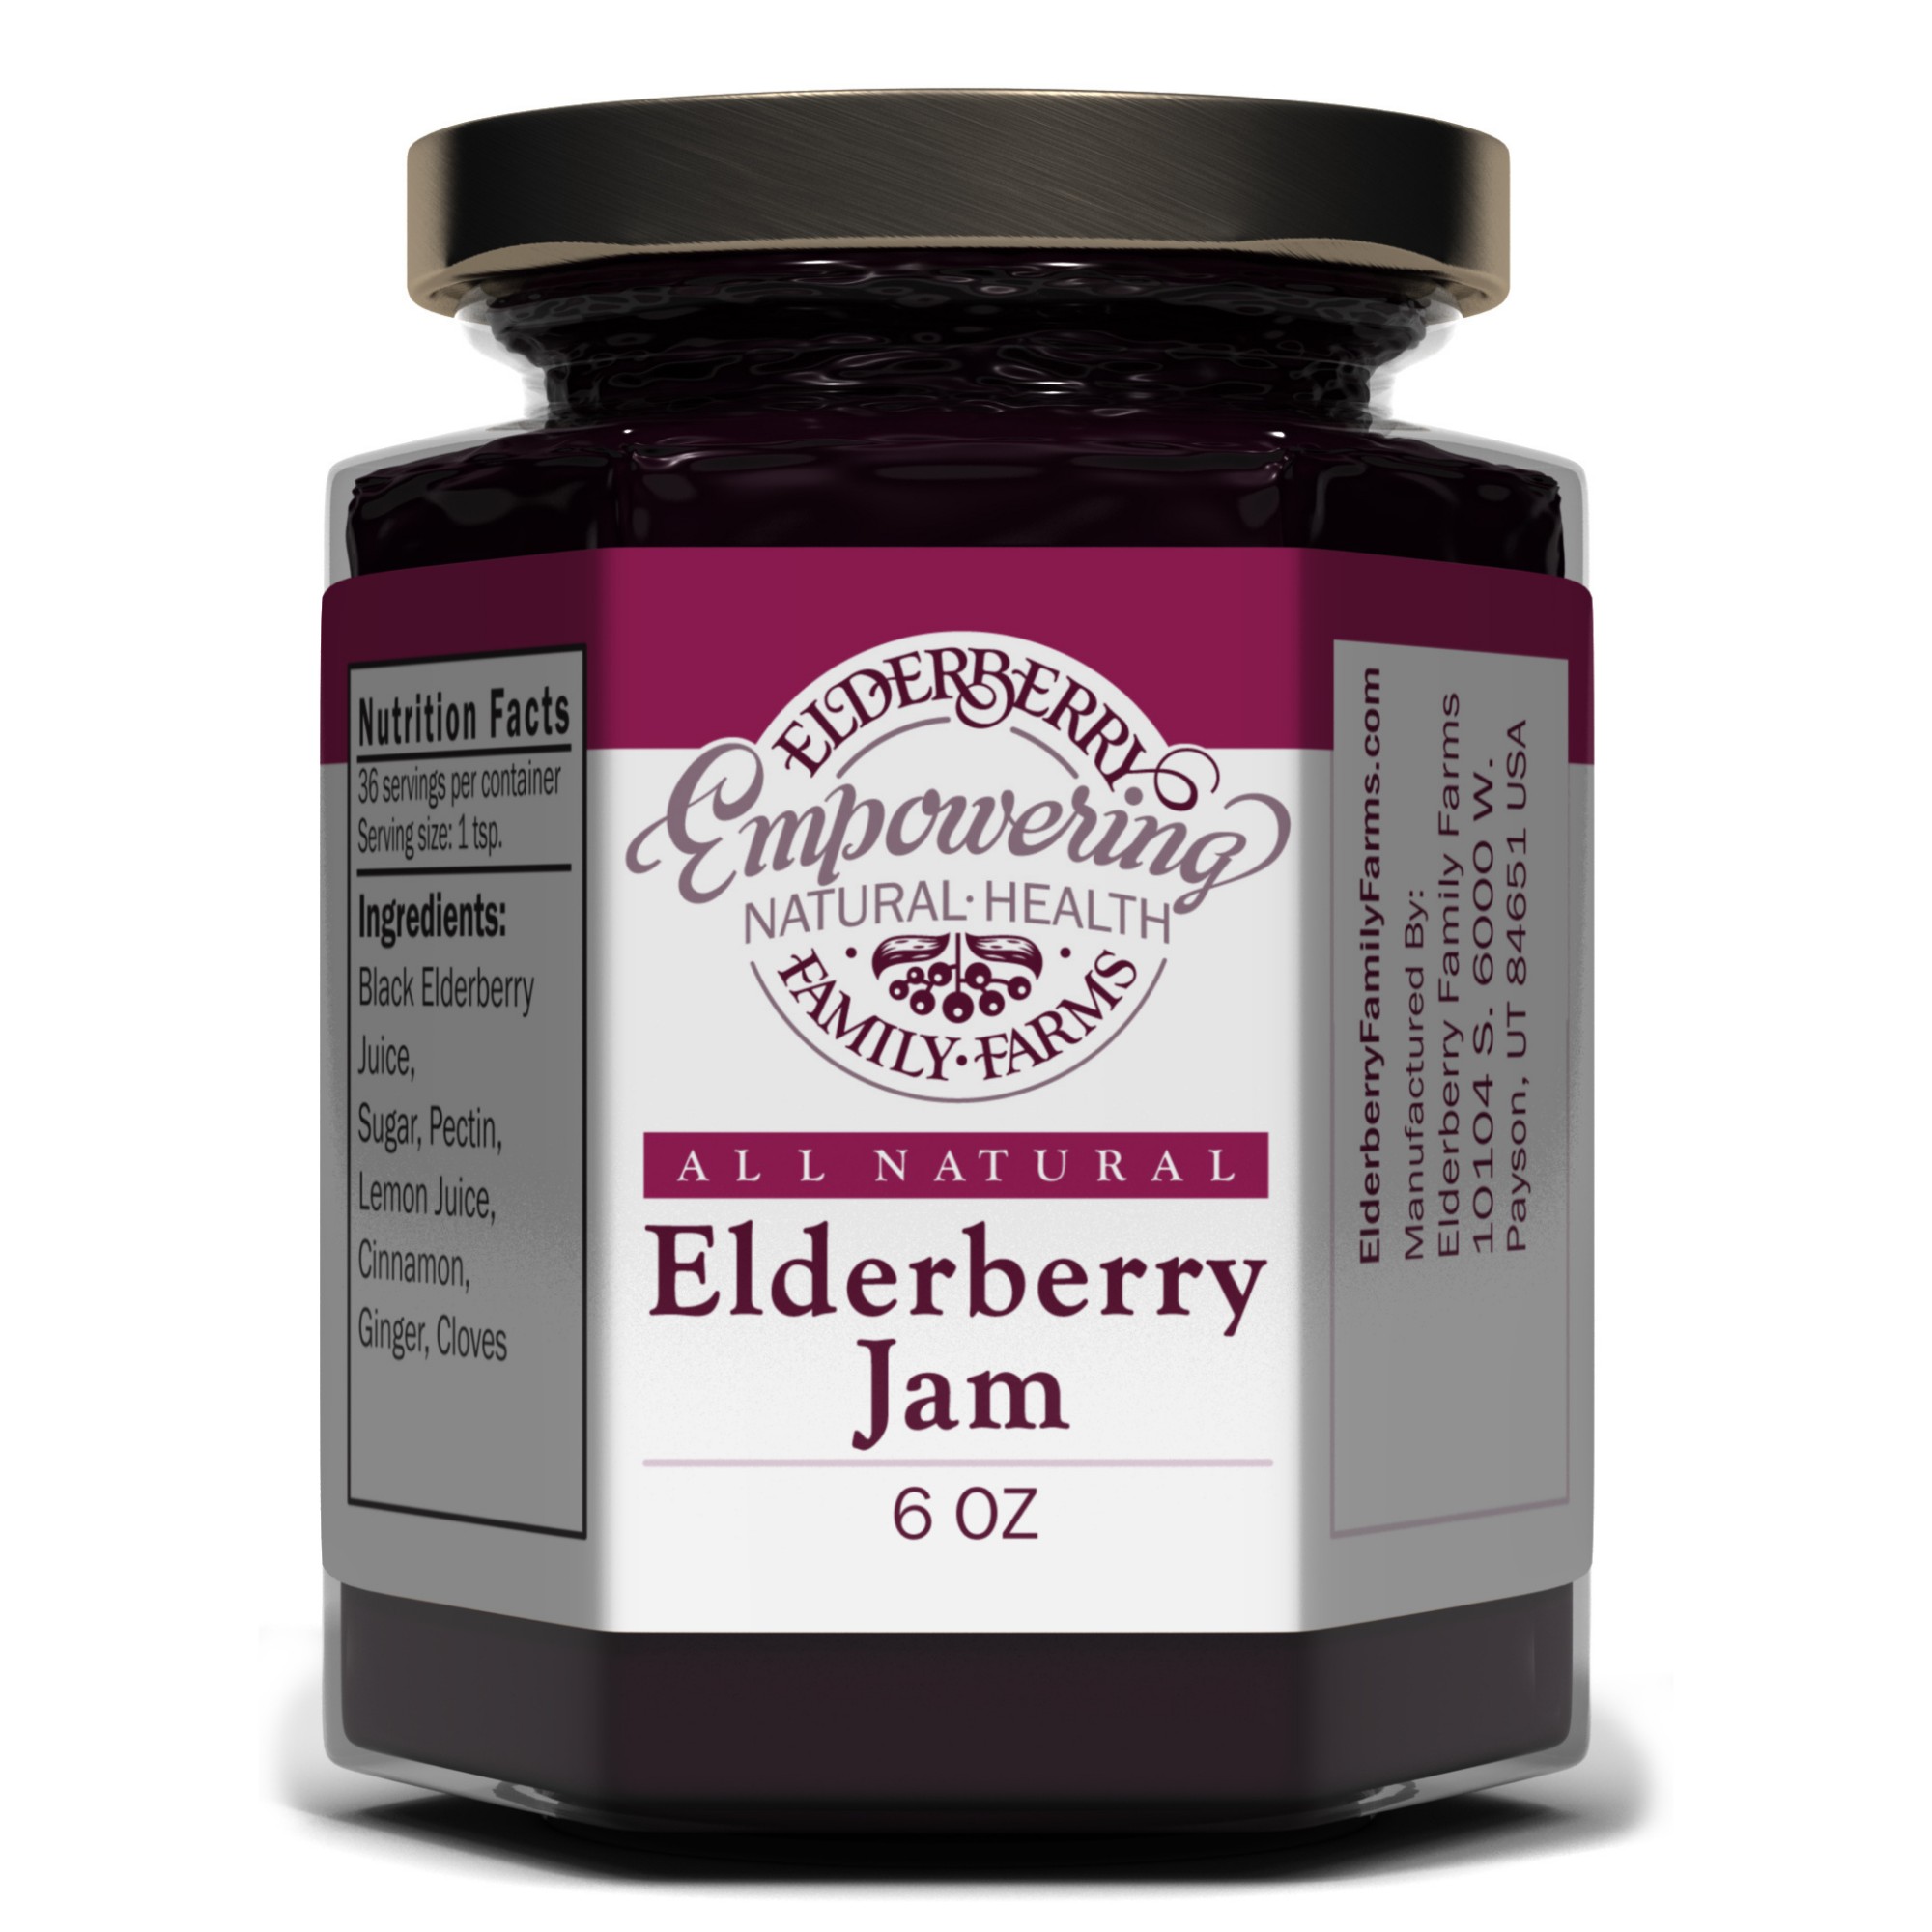
1. Gather Ingredients and Equipment: Begin by assembling the following ingredients: 2 cups of ripe elderberries, 1 cup of granulated sugar, 1 tablespoon of lemon juice, and 1 packet of pectin (about 1.75 ounces). Essential equipment includes a large pot, a masher for the berries, sterilized jars, a canning ladle, and lids.
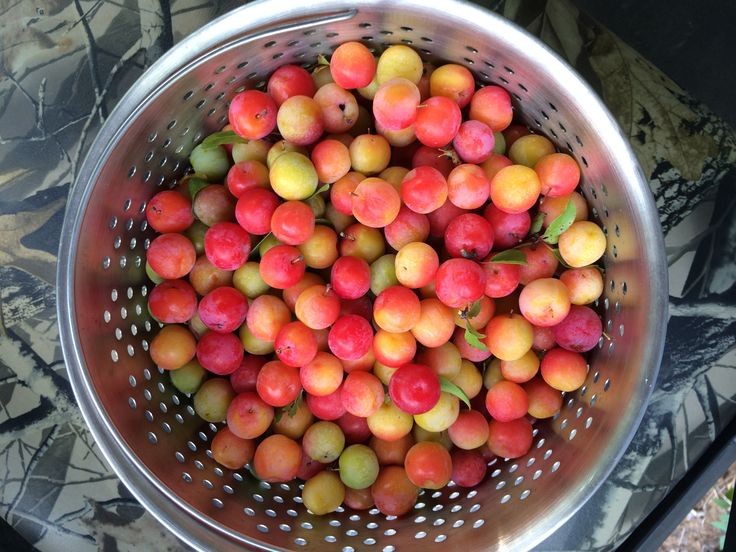
2. Prepare the Elderberries: Carefully remove the stems and any unripe or damaged berries from the elderberries. It is crucial to use only fully ripe, dark purple berries, as unripe or improperly prepared elderberries can be toxic. Wash the elderberries thoroughly under running water to eliminate any dirt or contaminants, then place them in a large pot.
3. Cook the Mixture: Add 1 cup of water to the pot with the elderberries. Bring the mixture to a boil over medium heat, then reduce the heat to low and let it simmer for 10 minutes. During this time, use a masher to gently mash the berries, which will help release their juices.
4. Strain and Add Ingredients: After simmering, strain the mixture through a fine-mesh sieve or cheesecloth to separate the juice from the solids. Press down on the solids to extract as much juice as possible. Return the juice to the pot, and then add the granulated sugar, pectin, and lemon juice. Stir the mixture well to ensure even distribution of all ingredients.
5. Boil and Jar the Jam or Jelly: Bring the juice mixture to a rapid boil, stirring constantly for 1-2 minutes until it thickens. Once the desired consistency is reached, pour the hot mixture into sterilized jars, leaving about 1/4 inch of headspace at the top. Seal the jars with prepared lids and process them according to standard canning guidelines.
Elderberry Jam Nutritional Breakdown (Per 1 tablespoon)
| # | Nutrient | Amount | % Daily Value | Calories |
|---|---|---|---|---|
| 1 | Total Fat | 0g | 0% | 15 |
| 2 | Sodium | 0mg | 0% | 15 |
| 3 | Total Carbohydrates | 4g | 1% | 15 |
| 4 | Sugars | 4g | — | 15 |
| 5 | Protein | 0g | 0% | 15 |
| 6 | Vitamin C | 1% DV | — | 15 |
| 7 | Calcium | 0% DV | — | 15 |
| 8 | Iron | 0% DV | — | 15 |
| 9 | Potassium | 1% DV | — | 15 |
| 10 | Fiber | 0g | 0% | 15 |
Warning Signs: When Not to Follow This

Avoid attempting this recipe if you are allergic to elderberries or any of the other ingredients, as this could lead to adverse reactions. Do not proceed if the elderberries have not been properly identified; misidentification can result in using toxic berries. If you notice any mold or off-smells in your elderberries before starting, discard them, as this indicates spoilage. Additionally, refrain from following this guide if you lack access to proper canning equipment or do not understand the basics of food preservation, as this could pose safety risks.
The Most Common Mistakes (And Their Consequences)

One prevalent mistake is using unripe or improperly prepared elderberries, which can lead to a bitter taste and potential toxicity. Not adhering to the exact measurements of sugar and pectin may result in a jam that fails to set properly, yielding a syrupy consistency instead of a firm jelly. Additionally, inadequate sterilization of jars and lids can introduce bacteria, risking spoilage or foodborne illness. Ignoring the 1/4 inch headspace when filling jars can cause the jam to overflow during processing, compromising the seal.
Special Cases That Need a Different Approach
For those making elderberry jelly instead of jam, achieving a clear juice means straining the mixture through cheesecloth after cooking, which might alter the cooking time and pectin ratio. If you live at high altitudes (above 1,000 feet), you may need to adjust processing times and jar sealing methods to compensate for lower boiling points. Individuals wishing to reduce sugar should consider using low-sugar pectin and adjust cooking time and proportions accordingly, though this guide does not cover those specifics. If using frozen elderberries, ensure they are completely thawed and excess moisture is drained to avoid affecting the jam’s consistency.
When You Need a Professional
If you experience any unusual reactions after consuming elderberries or elderberry products, seek medical advice immediately. Consult a food preservation expert if you have concerns about the safety of your canning methods or if your jam or jelly shows signs of spoilage, such as bubbling or discoloration. For significant dietary restrictions or health concerns related to preservatives and additives, reaching out to a registered dietitian or nutritionist for personalized advice is advisable. If the canning process feels overwhelming, consider contacting a local extension office or canning workshop for in-person guidance.
Sources and Further Reading
– USDA Complete Guide to Home Canning: An authoritative resource on canning techniques, including safe methods for fruit preserves.
– National Center for Home Food Preservation: Offers guidelines and tested recipes specifically for elderberries and other fruits.
– “Elderberry: Nature’s Immune Booster” by John Doe: A comprehensive book covering the nutritional benefits of elderberries and practical preservation techniques.
– Local Cooperative Extension Services: Provides community-specific resources and workshops on safe food preservation practices.
Frequently Asked Questions
What ingredients do I need for a basic elderberry jam recipe?
To make a basic elderberry jam, you’ll need fresh or dried elderberries, sugar, lemon juice, and pectin. For every four cups of elderberries, typically two cups of sugar and one tablespoon of lemon juice are recommended, along with the appropriate amount of pectin based on the type you are using.
How do I properly prepare elderberries for jam or jelly?
Properly preparing elderberries involves washing them thoroughly and removing any stems and unripe or green berries, as they can be toxic. After cleaning, you can mash the berries to release their juices, which is essential for making a flavorful elderberry jam or jelly.
Why is pectin important in making elderberry jelly?
Pectin is crucial in making elderberry jelly because it acts as a thickening agent, helping the jelly set properly. Without enough pectin, your jelly may not achieve the desired consistency, resulting in a runny product instead of a firm and spreadable elderberry jelly.
What is the best method to ensure my elderberry jam sets properly?
To ensure your elderberry jam sets properly, it’s important to measure your ingredients accurately and follow the cooking times recommended in your recipe. Additionally, performing a “gel test” by placing a spoonful of the hot jam on a cold plate can help you determine if it has reached the right consistency before canning.
Which types of sugar can I use in elderberry jam recipes?
You can use granulated sugar, brown sugar, or even honey as sweeteners in elderberry jam recipes. However, if you opt for alternatives like honey, be sure to adjust the quantity since honey is sweeter than regular sugar, and this can affect the jam’s overall flavor and consistency.
References
- Sambucus
https://en.wikipedia.org/wiki/Elderberry - https://www.ncbi.nlm.nih.gov/pmc/articles/PMC5009873/
https://www.ncbi.nlm.nih.gov/pmc/articles/PMC5009873/ - https://www.ncbi.nlm.nih.gov/pmc/articles/PMC4500777/
https://www.ncbi.nlm.nih.gov/pmc/articles/PMC4500777/ - https://www.extension.purdue.edu/extmedia/ID/ID-200-W.pdf
https://www.extension.purdue.edu/extmedia/ID/ID-200-W.pdf - https://www.health.harvard.edu/staying-healthy/elderberries-are-they-good-for-you
https://www.health.harvard.edu/staying-healthy/elderberries-are-they-good-for-you - https://www.oregon.gov/oha/PHD/pages/elderberry-jelly-recipe.pdf
https://www.oregon.gov/oha/PHD/pages/elderberry-jelly-recipe.pdf - https://www.cdc.gov/foodsafety/foodborne-germs.html
https://www.cdc.gov/foodsafety/foodborne-germs.html - Google Scholar Google Scholar
https://scholar.google.com/scholar?q=elderberry+jam+recipe - Google Scholar Google Scholar
https://scholar.google.com/scholar?q=elderberry+jelly+recipe - Google Scholar Google Scholar
https://scholar.google.com/scholar?q=elderberry+preservation+methods