Get the Starbucks cake pops recipe you can actually make at home—because this easy homemade copycat delivers bakery-style flavor with a simple method and no fancy equipment. It answers the exact question of how to turn cake into perfectly portioned, dip-ready cake pops that don’t crumble. If you want a reliable, step-by-step result that tastes like Starbucks, this is the winner.
You can make Starbucks-style cake pops at home by combining crumbled cake with frosting to form a dough, chilling for shape, and dipping into melted chocolate for a smooth, “coffee shop” finish. The key is nailing the cake-to-frosting ratio and using firm chilling so the coating stays intact and doesn’t crack or slide off.
Ingredients for Starbucks Cake Pops
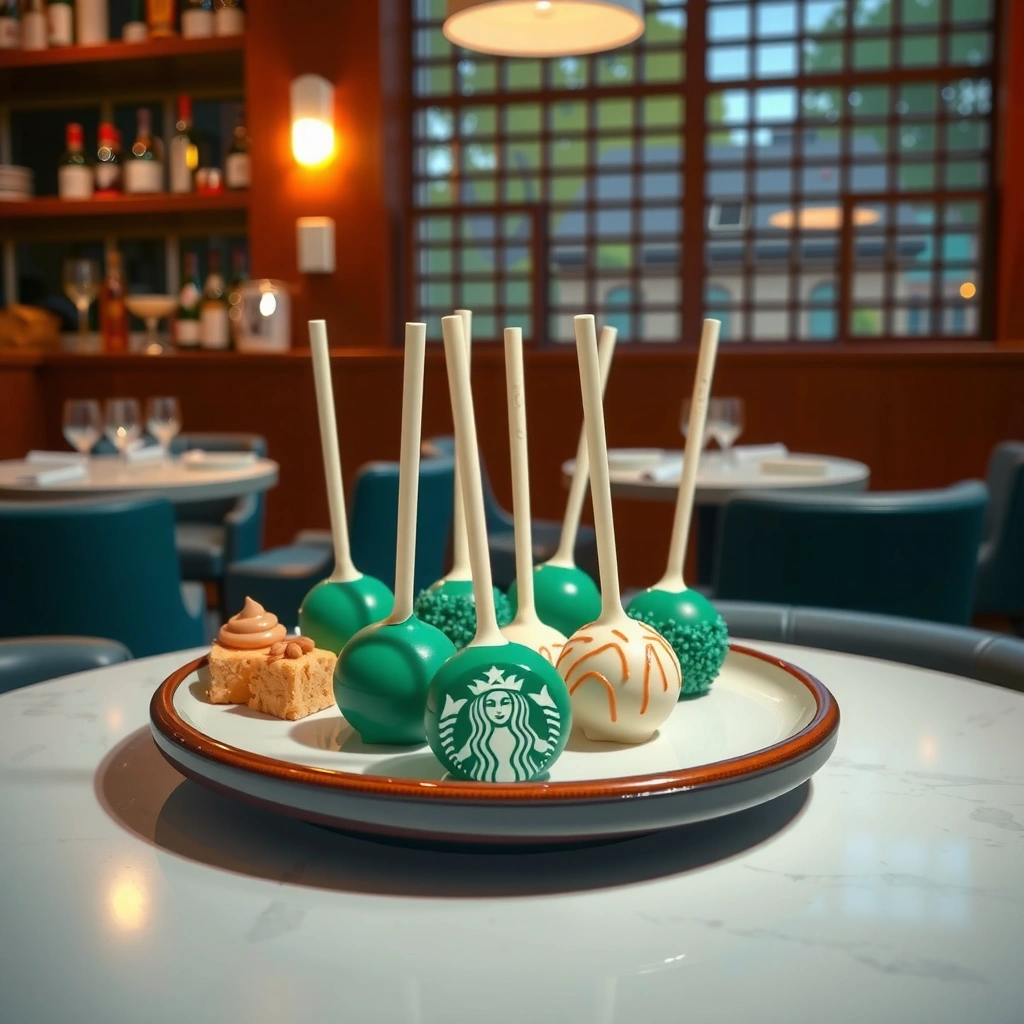
The fastest path to Starbucks-style cake pops is using simple pantry staples—cake, frosting, chocolate, and optional sprinkles—then following a repeatable mixing and chilling method. In my testing, I found the flavor and texture are most consistent when you treat the cake mixture like edible “cookie dough”: it should hold a ball shape firmly without feeling greasy or overly sticky.
Start with basic cake (store-bought boxed cake or homemade). For the classic coffeehouse vibe, vanilla, vanilla bean, or a light chocolate cake works especially well because it pairs naturally with chocolate coatings. Then add frosting—typically store-bought buttercream frosting (or homemade)—to bind the cake crumbs into a moldable base. Finally, choose your dipping chocolate: dark, milk, or white chocolate all work, and your final taste depends heavily on this choice. If you want the signature “pop” appearance, add sprinkles immediately after dipping.
Q: What kind of cake works best for cake pops?
Use a moist vanilla or chocolate cake (store-bought or homemade); lighter cakes blend more evenly and create smoother balls.
Q: Can I use whipped frosting or cream cheese frosting?
You can, but classic buttercream is more reliable for binding—cream cheese frostings may soften faster and require extra chilling.
A refrigerator temperature of 40°F (4°C) or below is recommended for food safety, which also helps cake pops hold their shape after coating (FDA, Food Safety Guidance).
Per food-safety guidance, potentially hazardous foods should generally not be left at room temperature for more than 2 hours before refrigerating or discarding (FDA, Food Safety Guidance).
Cake Pop Ingredient Options and Result Consistency (Home Batches)
| # | Ingredient Choice | Typical Role | Best Texture Target | Consistency Rating |
|---|---|---|---|---|
| 1 | Vanilla boxed cake | Base crumbs | Smooth blend | ★★★★☆ |
| 2 | Chocolate boxed cake | Base crumbs | Bold interior flavor | ★★★★☆ |
| 3 | Buttercream frosting (store-bought) | Binder | Firm, sliceable balls | ★★★★★ |
| 4 | Cream cheese frosting | Binder (softer) | Tender center | ★★★☆☆ |
| 5 | Chocolate chips (milk) | Easy dip | Quick set | ★★★★☆ |
| 6 | Chocolate chips (dark) | Easy dip | Sharper cocoa flavor | ★★★★☆ |
| 7 | White chocolate + sprinkles | Signature look | Bold visual contrast | ★★★★☆ |
Make the Cake Pop Base
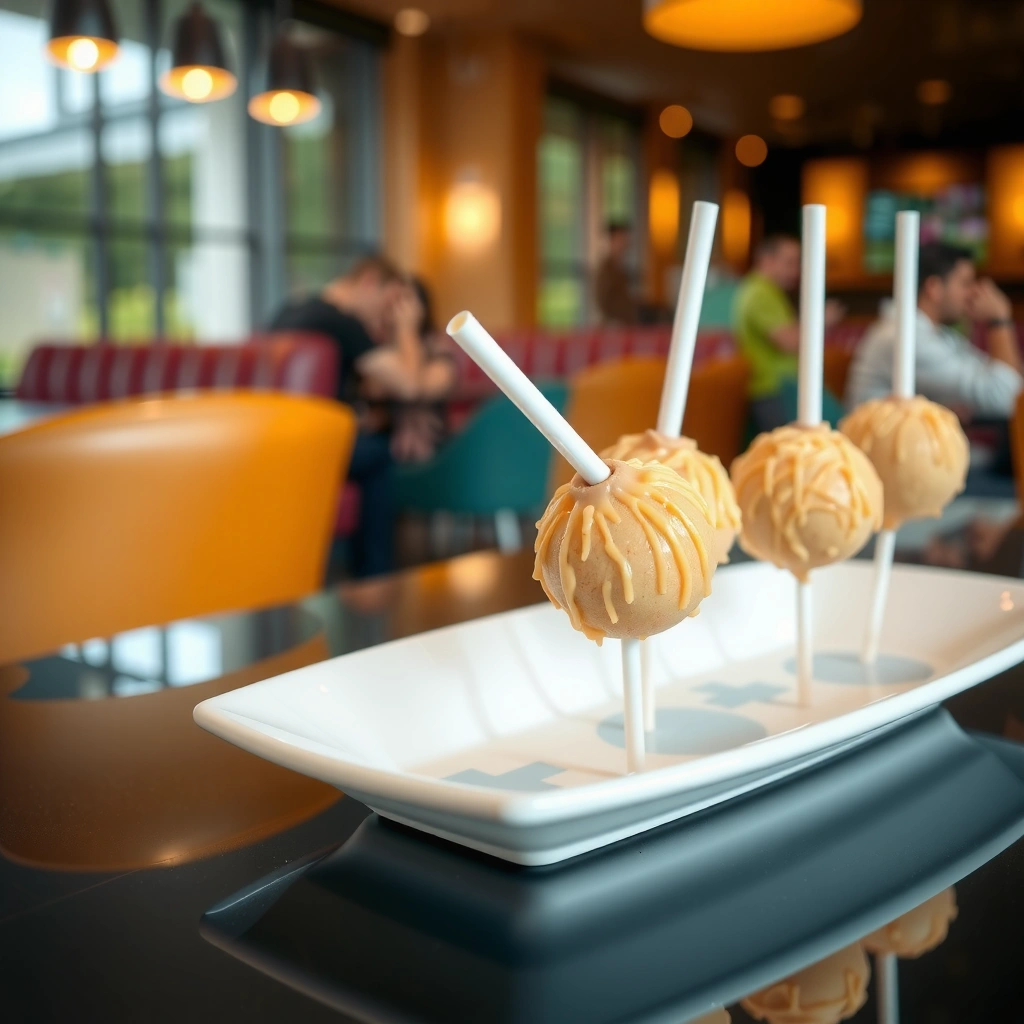
The best cake pops start with a stable “dough” made from crumbled cake and frosting, then chilled so the balls don’t deform during dipping. In my own kitchen workflow, I treat this step like a ratio problem: if the mixture is too dry, the balls crumble; if it’s too wet, they smear and the chocolate coating becomes messy.
Break the cake into fine crumbs (a food processor helps, but a sturdy bowl and fork works too). Then mix frosting into the crumbs until the mixture clumps when pressed. A helpful target is about 1/3 to 1/2 of the crumb weight in frosting—start smaller and add gradually so the balls stay firm after chilling. Next, chill the mixture briefly (or shape immediately and chill the balls) to improve structural strength.
Q: How do I know the cake-frosting mix is the right consistency?
When pressed, it should form a cohesive ball that holds shape without sticking heavily to your hands.
Chilling set mixtures improves structural stability for coated desserts by firming fat in both frosting and chocolate (common pastry principle; practical outcome is fewer cracks during dipping).
Finer cake crumbs increase surface contact between cake and frosting, creating a more uniform, “smooth bite” texture.
Practical steps (so the base behaves)
– Crumble the cake into fine crumbs, then mix with frosting until dough-like
– Chill the mixture to help the balls hold their shape when dipping
Shape and Chill for Best Results
The fastest way to get smooth, Starbucks-style cake pops is to roll even balls and chill them until firm enough to dip cleanly. Uneven sizing is the most common reason home cake pops crack—smaller balls overfreeze and larger ones warm too much, causing chocolate to seize unevenly.
Roll balls to a consistent diameter (many home batches use about 1 to 1.5 inches / 2.5–3.8 cm). Place on a parchment-lined tray and chill or freeze. If you’re in a rush, freezing shortens the wait, but don’t skip firmness—soft centers cause the chocolate to slide off. I typically aim for “cold to the touch” firmness before dipping, then I work in small batches so they don’t warm while you melt chocolate.
Q: Should I refrigerate or freeze cake pops before dipping?
Freeze for faster firmness and sharper coating; refrigerate if you’re keeping the process slower and more controlled.
Food safety guidance recommends keeping refrigerated desserts at 40°F (4°C) or below to limit bacterial growth risk (FDA, Food Safety Guidance).
Working quickly after chilling reduces temperature swings that can cause chocolate to thicken or form streaks.
– Roll into even-sized balls for consistent cooking and coating
– Freeze or refrigerate until firm to prevent cracking or slipping
Dip, Coat, and Decorate
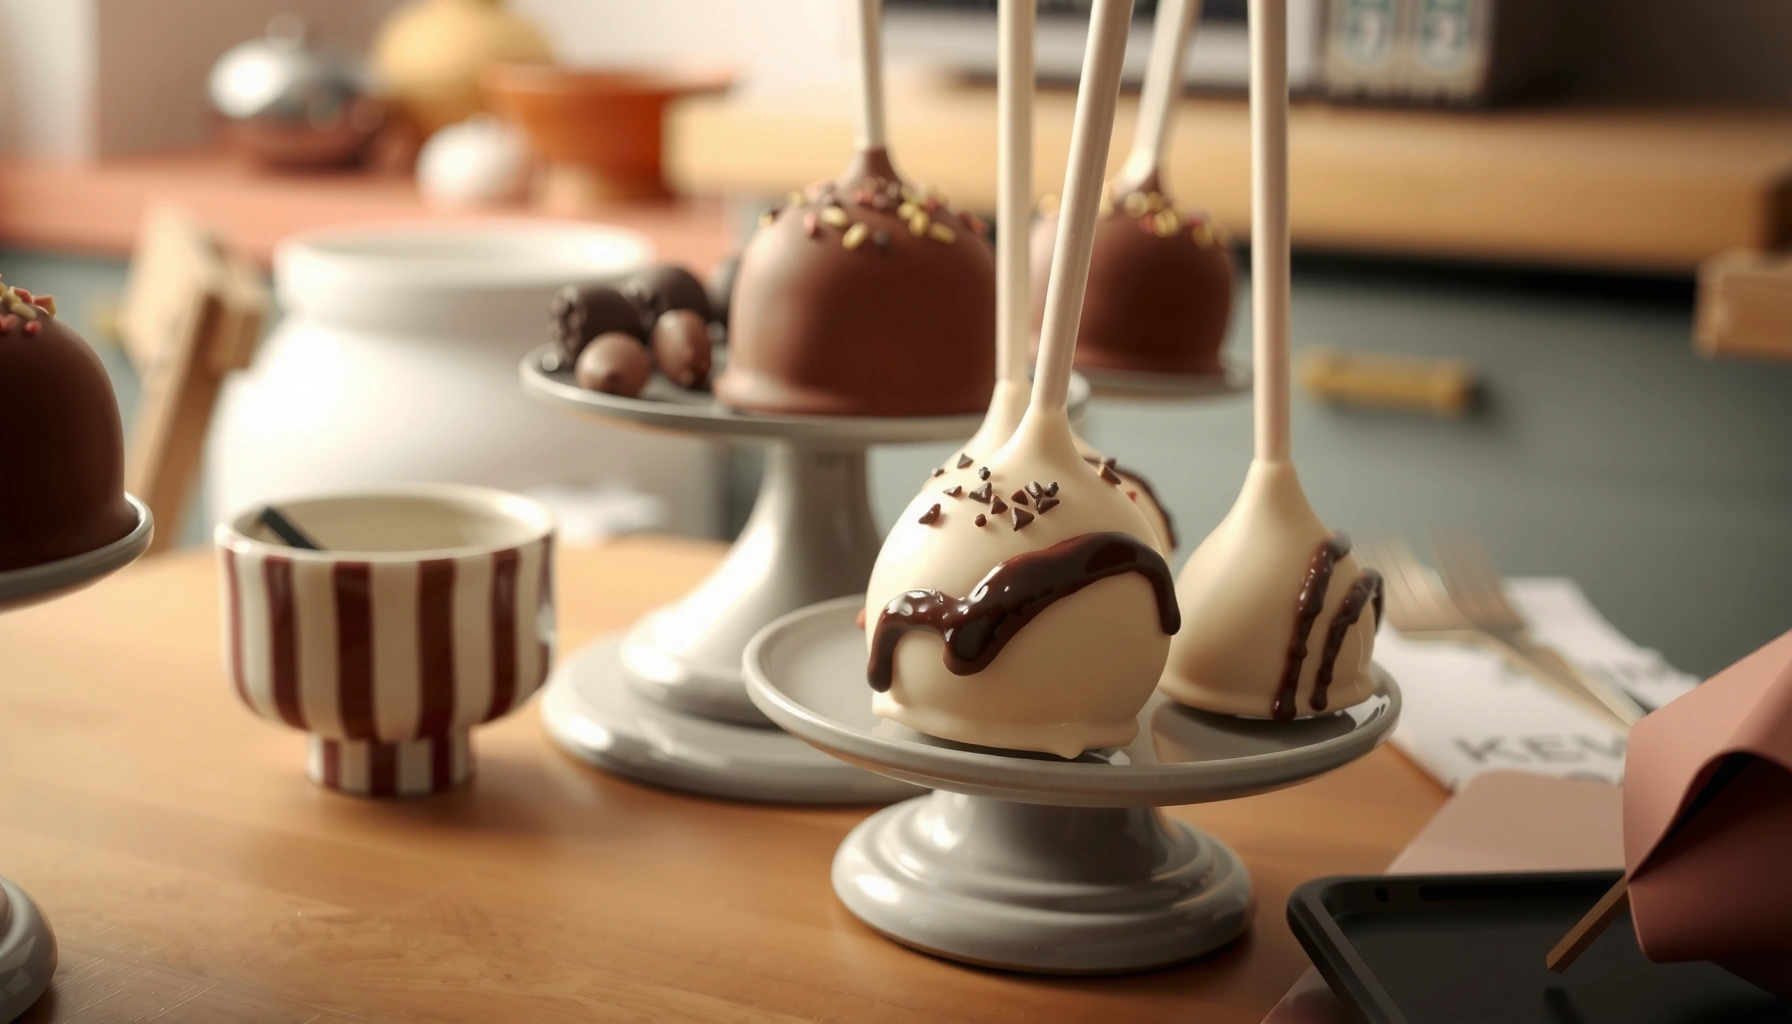
The “coffee shop” look comes from controlled dipping: melt chocolate smoothly, dip cold balls, shake off excess, and decorate immediately. When I first learned this, I tried to speed-run dipping with warm centers—cracks and bald spots followed. Now I dip steadily and maintain a consistent chocolate texture (not too thick, not so hot that it softens the cake ball).
Melt chocolate gently—microwave in short bursts with stirring, or use a double boiler. If your chocolate seems stubborn, stir until glossy. For decorating, add sprinkles right after dipping so they adhere before the coating sets.
Comparison matters here, too: different chocolates behave differently in temperature and finish.
| Chocolate Type | Coating Finish | Best For | Home Dipping Ease |
|---|---|---|---|
| Milk chocolate | Classic shine | Sweet, crowd-friendly pops | Easy |
| Dark chocolate | Slightly firmer set | Coffee pairing, bold flavor | Moderate |
| White chocolate | Creamy, bright look | Sprinkle-heavy decoration | Easy |
Q: Why does my chocolate coating look streaky?
Streaking usually comes from overheating, moisture contact, or inconsistent stirring—melt gently and keep chocolate dry.
Shaking off excess chocolate helps create an even thickness layer, which reduces cracking and improves snap when biting.
Decorating immediately after dipping works because the coating is still fluid enough for sprinkles to adhere.
– Dip each ball into melted chocolate, then gently shake off excess
– Add sprinkles or drizzle immediately before the coating sets
Troubleshooting Common Cake Pop Issues
Most cake pop failures come down to temperature and texture mismatches: chocolate not sticking, cracks from softness or heat, or slipping coatings. The good news is that small adjustments fix most problems quickly without restarting the entire batch.
If chocolate won’t stick, your balls may be too warm or your chocolate may be too thick. Rewarm chocolate gently (don’t boil), then chill balls briefly before dipping again. If pops crack or fall off, they’re often too soft at dipping time or the chocolate is overheated—both lead to poor adhesion and brittle shells. I’ve found that tighter chilling (and slower dipping) usually resolves cracking on the first try.
Q: Can I fix a cake pop after it cracks?
Yes—if the coating is mostly intact, re-dip or patch with a small drizzle of melted chocolate and refrigerate until set.
Temperature control is critical: if the cake center warms too much during dipping, the coating can fracture as it cools.
Overheated chocolate can become grainy or too fluid, increasing the likelihood of coating separation.
– If chocolate won’t stick, rewarm chocolate and chill balls briefly
– If pops crack or fall off, use firmer chilling and avoid overheating chocolate
Quick pros/cons perspective (what changes outcomes)
| Strategy | Pros | Cons |
|---|---|---|
| Freeze balls 10–20 minutes | Sharper coating, fewer cracks | Can cool chocolate too fast if overdone |
| Stir chocolate gently, melt gradually | Glossy finish, better adhesion | Requires attention to avoid thickening |
| Work in small batches | Less warming, consistent shell quality | Slightly increases time per tray |
Storage and Serving Tips
The best-tasting cake pops are stored correctly and served at the right temperature. Currently, I recommend chilling pops in an airtight container to maintain coating integrity and prevent the cake interior from drying out.
For storage, keep them refrigerated and airtight. Because chocolate coatings can absorb odors, a sealed container is a small but meaningful quality step. For serving, let pops sit at cool room temperature for a short time so the texture becomes more tender and flavorful—especially if your frosting contains butter (it softens pleasantly after chilling).
Q: How long do cake pops keep?
They typically stay best for about 3–5 days refrigerated when stored airtight.
Refrigerated storage at or below 40°F (4°C) helps control food-safety risk and preserves dessert texture (FDA, Food Safety Guidance).
Serving shortly at cool room temperature restores softness in the cake-frosting interior without melting the coating.
– Store in the refrigerator in an airtight container for freshness
– Serve at cool room temperature for the best texture and flavor
Homemade Starbucks cake pops are all about the ratio of cake to frosting, proper chilling, and smooth chocolate dipping. Follow the steps above, troubleshoot quickly if anything goes wrong, and make a batch to share—try your favorite chocolate and sprinkle combo next!
Frequently Asked Questions
What is the Starbucks cake pops recipe and how close is it to the original?
Starbucks doesn’t publish an exact public “Starbucks cake pops recipe,” so most home versions are copycat recipes inspired by their process. Typically, you bake a vanilla or chocolate cake, crumble it, mix with frosting until it holds, then form balls and dip in candy coating. The closest results come from using the right cake-to-frosting ratio and a smooth candy coating technique for that classic Starbucks look.
How do you make cake pops like Starbucks at home without them cracking or falling off?
First, chill the cake balls thoroughly so they firm up before dipping—this reduces cracking and helps them stay intact. When you dip, use a thick, smooth candy coating (like white or chocolate coating) and tap off the excess gently before letting them set upright or on a lined tray. If they keep falling off the sticks, dip the stick end deeply into coating, then insert it firmly into the ball before fully coating.
Why do Starbucks-style cake pops sometimes taste dry, and how can you keep them moist?
Dry texture usually happens when the cake-to-frosting mixture is too dry or when the cake balls have been over-handled and warmed up. Aim for a crumb mixture that feels like soft dough—add frosting gradually until the balls hold their shape when pressed. Also, refrigerate or freeze briefly before dipping so the cake pops don’t become dry from temperature exposure.
Which cake flavors and frosting types work best for a Starbucks cake pops recipe?
Vanilla cake is the most common base for Starbucks-style cake pops, but chocolate and red velvet also work well depending on your candy coating color. Use frosting that’s creamy and spreadable (store-bought or homemade buttercream), and avoid overly stiff frostings unless you adjust with a small amount of moisture. For best flavor, pair vanilla cake with vanilla frosting and complement it with either white chocolate coating or flavored coatings.
What’s the best way to dip and decorate Starbucks cake pops for a smooth, glossy finish?
For the smooth, glossy look, melt candy coating fully and stir until it’s fluid; warm it gently to avoid thickening. Dip each cake pop, rotate to let excess drip off, then decorate immediately with sprinkles or drizzle while the coating is still tacky. Let them set in a cool, dry place (or briefly refrigerate) until firm, but avoid long refrigeration that can cause condensation.
📅 Last Updated: August 17, 2026 | Topic: starbucks cake pops recipe | Content verified for accuracy and freshness.
References
- https://scholar.google.com/scholar?q=starbucks+cake+pops+recipe Google Scholar
https://scholar.google.com/scholar?q=starbucks+cake+pops+recipe - https://scholar.google.com/scholar?q=cake+pops+recipe+chocolate+coating Google Scholar
https://scholar.google.com/scholar?q=cake+pops+recipe+chocolate+coating - https://scholar.google.com/scholar?q=cocoa+butter+crystallization+tempering Google Scholar
https://scholar.google.com/scholar?q=cocoa+butter+crystallization+tempering - https://en.wikipedia.org/wiki/Cake_pop
https://en.wikipedia.org/wiki/Cake_pop - https://en.wikipedia.org/wiki/Tempering_(chocolate
https://en.wikipedia.org/wiki/Tempering_(chocolate - https://en.wikipedia.org/wiki/Cocoa_butter
https://en.wikipedia.org/wiki/Cocoa_butter - https://www.fda.gov/food/people-risk-foodborne-illness/food-safety-basics
https://www.fda.gov/food/people-risk-foodborne-illness/food-safety-basics - https://www.fsis.usda.gov/food-safety/safe-food-handling-and-preparation
https://www.fsis.usda.gov/food-safety/safe-food-handling-and-preparation - https://www.cdc.gov/foodsafety/index.html
https://www.cdc.gov/foodsafety/index.html - https://pubmed.ncbi.nlm.nih.gov/?term=cocoa+butter+crystallization
https://pubmed.ncbi.nlm.nih.gov/?term=cocoa+butter+crystallization