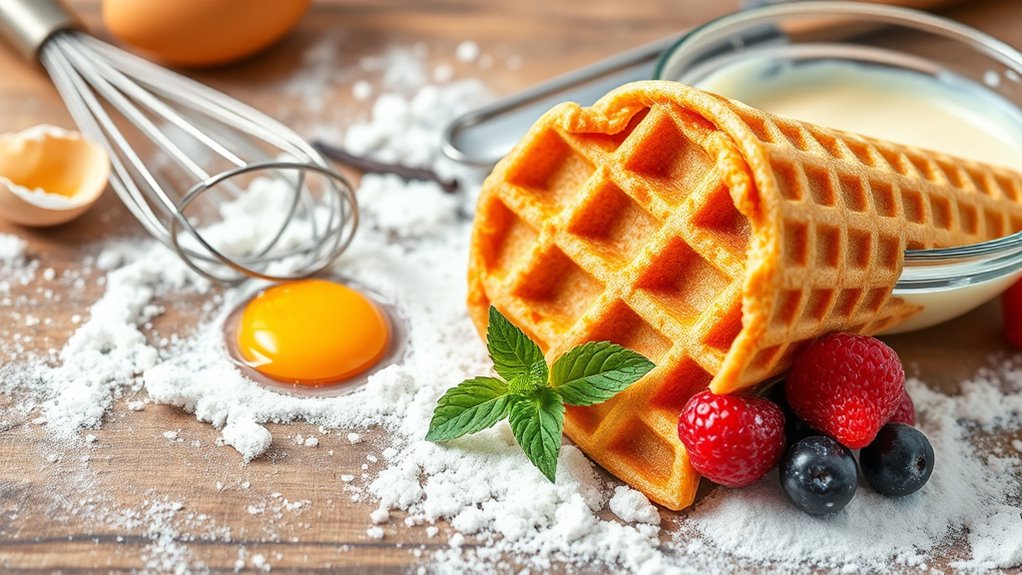
To make perfect waffle cones, start by mixing 1 cup flour, ½ cup sugar, ¼ tsp salt, 2 eggs, and ½ cup milk at room temperature. Whisk dry ingredients separately, then gradually blend in wet ones for smooth batter. Preheat your waffle cone maker, pour and evenly spread batter, cooking 1-2 minutes until golden. Quickly shape cones using a roller while warm. Serve immediately to keep crispness. Keep exploring for expert tips to master texture and presentation.
Ingredients and Quantity
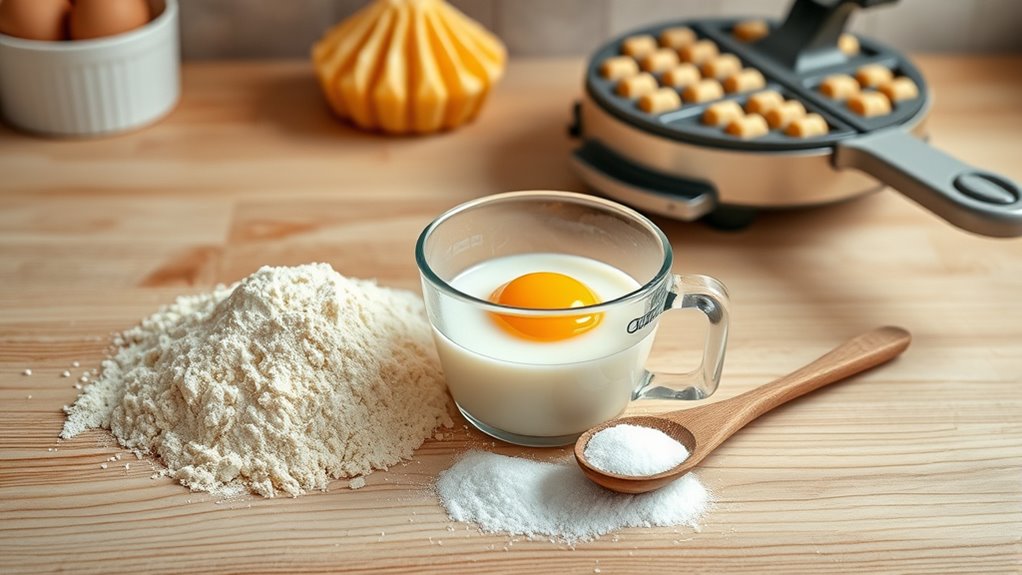
To make waffle cones, you’ll need a precise combination of ingredients: 1 cup of all-purpose flour, 1/2 cup of granulated sugar, 1/4 teaspoon of salt, 2 large eggs, 1/2 cup of whole milk, 2 tablespoons of melted butter, and 1/2 teaspoon of vanilla extract. These elements form the foundation for your waffle cone, but you can explore recipe variations to tailor texture and flavor.
| Ingredient | Quantity |
|---|---|
| All-purpose flour | 1 cup |
| Granulated sugar | 1/2 cup |
| Salt | 1/4 teaspoon |
| Large eggs | 2 |
| Whole milk | 1/2 cup |
Adjusting quantities or adding ingredients like cinnamon or cocoa powder offers freedom to innovate your waffle cone.
Preparations

Before you start mixing, make sure all your ingredients are at room temperature to promote even blending and a smooth batter. This step guarantees your waffle cone batter achieves the ideal consistency for crispness, honoring the waffle cone history rooted in perfect texture. Measure ingredients precisely; too much liquid or fat can alter the cone’s structure. If you’re exploring flavor variations, prepare any additions—like vanilla extract, cinnamon, or cocoa powder—in advance to integrate them uniformly. Whisk dry ingredients separately to aerate and prevent clumps, then gradually incorporate wet components, maintaining a balanced viscosity. Let your batter rest briefly to hydrate flour particles, enhancing elasticity and final crispness. These preparations set the foundation for a flawless cone, giving you freedom to customize while respecting the technique behind this classic treat.
Tools / Kitchenware Required
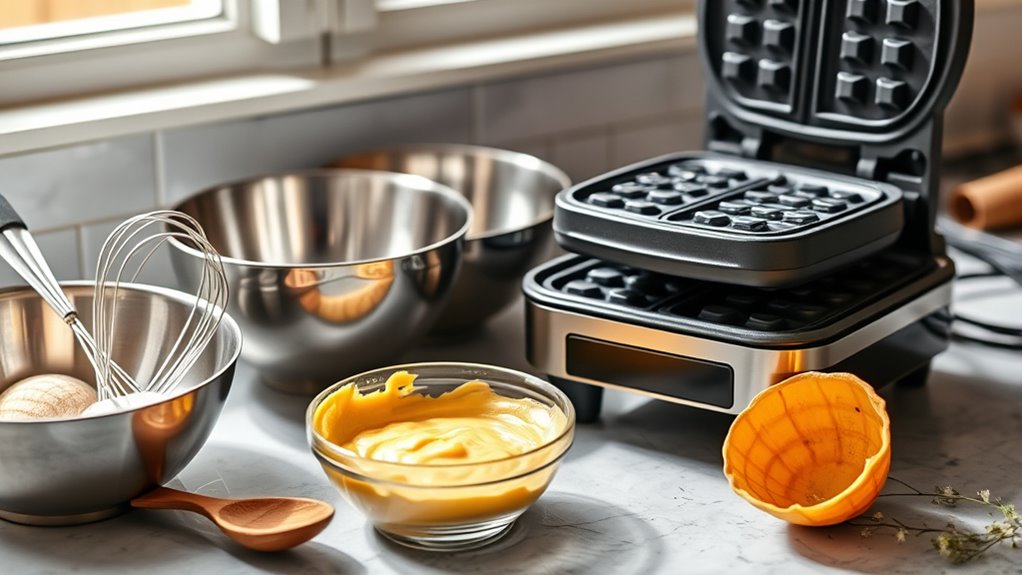
Three essential tools you’ll need for making waffle cones are a waffle cone maker or iron, a heat-resistant spatula, and a cone roller. The waffle cone maker guarantees uniform baking with precise temperature control. A mixing bowl with a smooth surface is vital for evenly blending your batter. The spatula helps you spread and remove the batter without damaging the waffle surface, while the cone roller shapes the hot waffle into a perfect cone.
| Tool | Purpose | Key Feature |
|---|---|---|
| Waffle Cone Maker | Baking uniform waffles | Adjustable temperature |
| Mixing Bowl | Batter preparation | Smooth, non-reactive |
| Cone Roller | Shaping cones | Heat-resistant material |
Having these tools lets you master the waffle cone process with freedom and accuracy.
How to Cook
- Preheat the waffle cone maker to the appropriate temperature.
- Pour the batter carefully onto the center of the preheated surface.
- Spread the batter evenly within seconds to ensure uniform coverage.
- Close the lid gently to cook the batter evenly on both sides.
- Monitor cooking time closely, typically between 1-2 minutes, depending on the machine.
- Once the waffle is golden brown, quickly remove it from the maker.
- While still pliable, shape the waffle into a cone.
- Avoid letting the waffle cool too long to prevent hardening and cracking.
- Maintain consistent temperature and timing to avoid burning or sogginess.
- Practice these steps to achieve perfect texture and flavor in your waffle cones every time.
How to Serve

How should you present your waffle cones to maximize both visual appeal and taste? Begin by selecting cone fillings that balance texture and temperature—think creamy ice cream paired with crunchy nuts or fresh fruit. To prevent sogginess, serve cones immediately after filling. Use a narrow holder or stand to keep cones upright, maintaining their shape and making them easier to handle. For serving suggestions, consider garnishing with drizzled chocolate, sprinkles, or a light dusting of powdered sugar to enhance both look and flavor. If offering multiple cones, arrange them with spacing to avoid crowding, ensuring each cone’s crispness remains intact. By controlling these variables, you maintain the cone’s structural integrity while delivering an enticing, flavorful experience tailored to your free-spirited enjoyment.
Tips
Although crafting the perfect waffle cone may seem straightforward, careful attention to batter consistency, cooking temperature, and timing is essential to achieve ideal crispness and shape. First, verify your batter is smooth and slightly runny; this promotes even spreading and prevents dense, chewy cones. Maintain your waffle iron at a steady medium-high heat—too hot burns, too cool yields soggy texture. Cook each cone for 1-2 minutes, watching for a golden-brown hue that signals the perfect texture. Immediately shape the cone while warm; cooling solidifies rigidity. For lasting crispness, store cones in an airtight container away from moisture. These waffle cone tips guarantee freedom to experiment confidently, delivering consistent results that elevate your homemade cones every time.
Food Value and Benefit
Waffle cones, made from simple ingredients like flour, sugar, butter, and eggs, provide a tasty and energy-boosting treat.
Food Value of Waffle Cones:
- Moderate source of carbohydrates and fats, supplying quick energy
- Contains protein from eggs
- Provides essential fatty acids from butter
Benefits of Eating Waffle Cones:
- Easily digestible carbohydrates provide a fast energy boost
- Butter contributes essential fatty acids, promoting satiety and enhancing flavor
- Eggs add small amounts of protein and important micronutrients
- Contains vitamins such as vitamin A (important for vision and immune function)
- Provides minerals like choline (supports brain health)
- Enjoying in moderation supports mindful eating without sacrificing pleasure
Note: Waffle cones contain gluten and added sugars, so they may not be suitable for gluten-free or low-sugar diets. Controlling portion size and ingredient quality allows for a balanced occasional treat.
Frequently Asked Questions
Can I Store Waffle Cones for Later Use?
Yes, you can store waffle cones for later use, but keep in mind that 60% of their crispness can be lost within 24 hours if not stored properly. For ideal waffle cone storage, place them in an airtight container with cone storage tips like adding silica gel packets to absorb moisture. Avoid stacking cones directly, which can cause breakage. This way, you’ll maintain their texture and enjoy free, crisp cones anytime you want.
How Long Do Homemade Waffle Cones Stay Fresh?
Homemade waffle cones maintain ideal freshness duration of about 3 to 5 days when stored properly. To maximize crispness, store them in an airtight container at room temperature, away from moisture and direct sunlight. Avoid refrigeration, as it introduces humidity that softens the cones. If you want to extend their life, consider vacuum-sealing, but consume within two weeks for best texture and flavor. Following these storage tips guarantees your cones stay delightfully crisp and ready to enjoy.
Can I Use Gluten-Free Flour for Waffle Cones?
Yes, you can use gluten-free alternatives for waffle cones, but expect some texture comparison differences. Gluten-free flours often lack the elasticity gluten provides, so your cones might be more brittle or crumbly. To improve texture, try blending rice flour, tapioca starch, or almond flour with xanthan gum to mimic gluten’s binding properties. Experimenting will give you freedom to create crispy, delicious cones that suit your dietary needs without sacrificing too much crunch or chew.
Are Waffle Cones Suitable for Vegan Diets?
You can’t judge a book by its cover—traditional waffle cones often contain eggs and butter, making them unsuitable for vegan diets. However, by using vegan substitutions like flaxseed or applesauce for eggs and plant-based oils instead of butter, you can create crisp, golden cones with that classic texture. These plant-based options maintain structural integrity and flavor, giving you freedom to enjoy delicious, cruelty-free waffle cones without sacrificing quality or taste.
What’s the Best Way to Prevent Waffle Cones From Breaking?
To prevent waffle cones from breaking, focus on cone thickness and baking time. Make sure the batter spreads evenly, creating a consistent, slightly thicker cone that offers more durability without sacrificing crispness. Avoid overbaking; too long in the oven dries out the cone, making it brittle. Bake until golden but still pliable, then shape quickly while warm. This balance gives you a strong, flexible cone ready to hold your favorite treats without cracking.
References
- https://en.wikipedia.org/wiki/Ice_cream_cone
- https://www.icecream.com/ice-cream-cone-history
- https://www.foodsafety.gov/blog/ice-cream-safety
- https://www.nationaldairycouncil.org/education/ice-cream-facts/
- https://extension.unh.edu/resource/waffle-cone-recipe
- https://www.culinarylore.com/ice-cream-history/
- https://www.sciencedirect.com/science/article/abs/pii/S0958694607000461
