Start by measuring ingredients precisely, choosing your preferred flour and sweetener. Preheat your waffle iron thoroughly to guarantee even cooking. Mix wet and dry ingredients into a smooth, slightly thick batter without overmixing. Pour batter evenly onto the iron, close the lid firmly, and cook for 3–5 minutes until golden and crisp. Use minimal oil spray to prevent sticking, store waffles warm if needed, and customize flavors as you like. Explore further for detailed techniques and expert tips.
Ingredients and Quantity
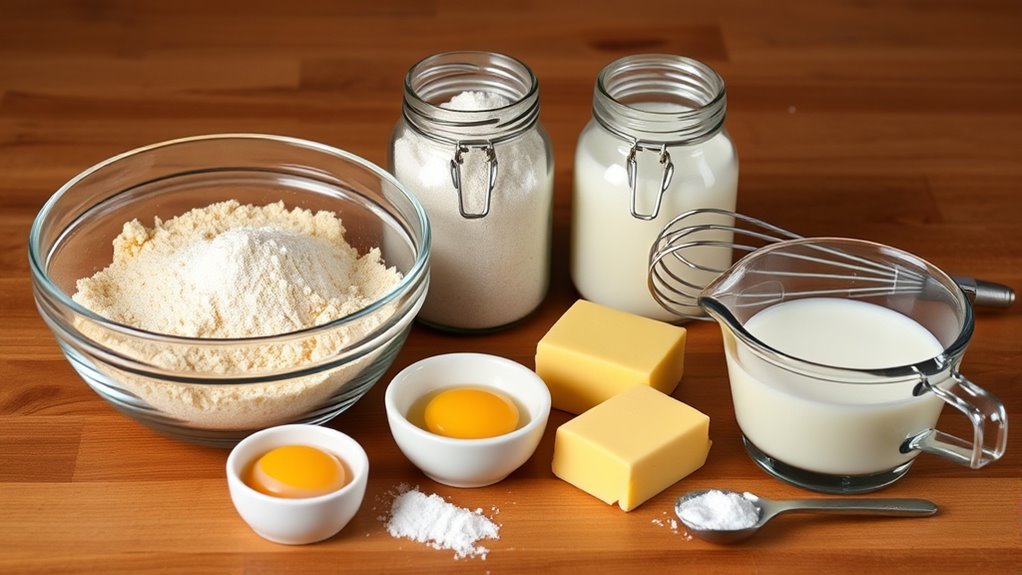
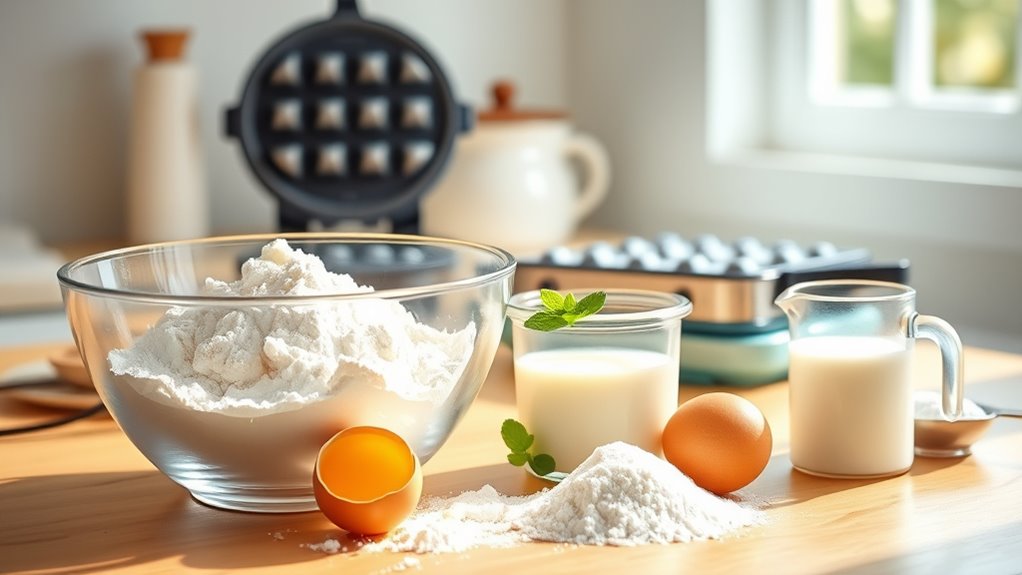
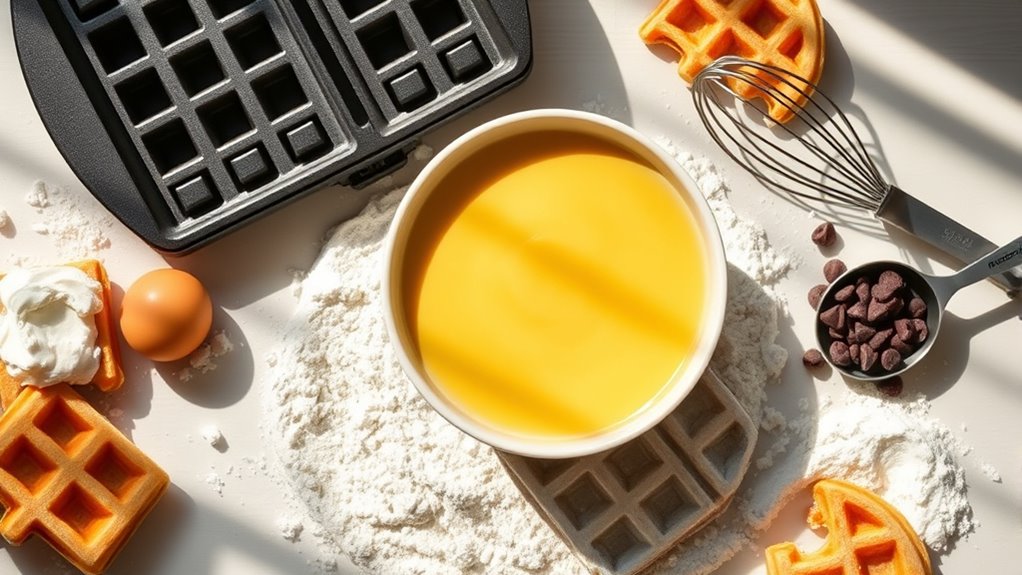
Before you begin mixing, you’ll need to gather specific ingredients in exact amounts to guarantee your waffle batter turns out perfectly. Choosing the right flour types influences texture—consider all-purpose for balance or whole wheat for nutrition. For sweeteners options, you can opt for granulated sugar, honey, or maple syrup depending on your flavor preference.
| Ingredient | Quantity |
|---|---|
| All-purpose flour | 2 cups |
| Baking powder | 2 tsp |
| Salt | 1/2 tsp |
| Sweetener (choice) | 2 tbsp |
| Milk | 1 3/4 cups |
Precision in quantity guarantees consistent results. Measure ingredients carefully to maintain freedom in flavor customization and batter consistency.
Preparations
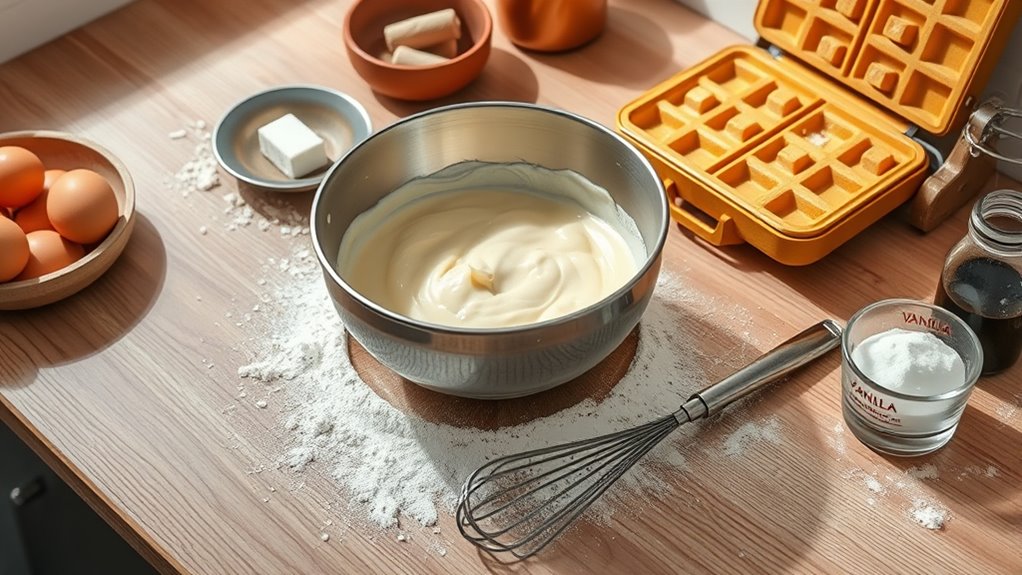
With your ingredients measured accurately, you’re ready to prepare your workspace and equipment. Begin by clearing a clean, flat surface to maintain organization and efficiency. Preheat your waffle iron, ensuring it reaches the ideal temperature to avoid batter sticking or uneven cooking. When mixing, focus on achieving the correct batter consistency—smooth and slightly thick, allowing for easy pouring yet firm enough to hold shape. This balance is essential, especially if you plan to experiment with waffle variations such as adding fruits or spices, which can alter texture. Keep utensils and bowls within reach to streamline the process. Proper preparation not only speeds up cooking but also empowers you to customize your waffles confidently, embracing the freedom to perfect your recipe with precision.
Tools / Kitchenware Required
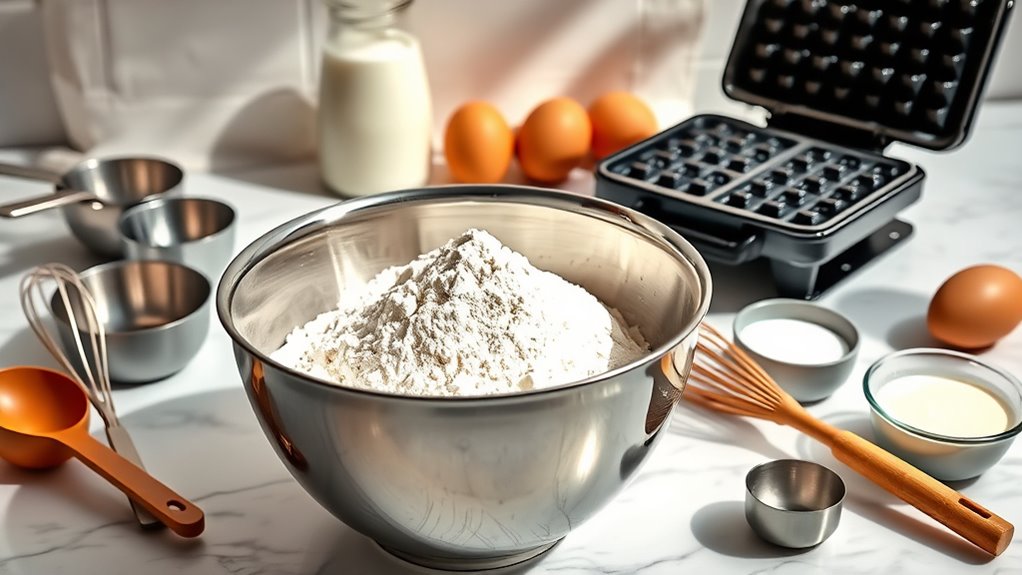
A reliable waffle iron is essential for consistent results, ensuring even heat distribution and proper browning. You’ll also need mixing bowls to combine your ingredients efficiently without spills or mess. Precise measurements and proper tools enhance your freedom to experiment confidently.
| Tool | Purpose |
|---|---|
| Waffle iron | Cooks batter evenly |
| Mixing bowls | Mix and hold ingredients |
| Whisk | Incorporates air, blends well |
| Measuring cups | Accurate ingredient portions |
| Spatula | Releases waffles, folds batter |
Each item plays a role in streamlining your process. With the right kitchenware, you maintain control and flexibility, ensuring your waffles turn out perfect every time.
How to Cook
- Preheat your waffle iron to the recommended temperature to guarantee even cooking and perfect browning.
- Pour the batter evenly onto the center of the iron, avoiding overflow.
- Close the lid firmly to guarantee consistent heat distribution.
- Cook for 3–5 minutes, depending on waffle variations and iron models.
- Avoid opening the waffle iron prematurely to prevent uneven texture or sticking.
- Use a timer for precision.
- Once done, carefully lift the lid.
- Remove the waffle with a non-metallic utensil to prevent damage.
- Experiment with batter thickness and temperature settings to customize texture and doneness.
- Master these techniques to achieve a crisp exterior and fluffy interior, allowing exploration of diverse waffle variations while maintaining excellent results.
How to Serve

Once your waffles are cooked to perfection, serving them promptly guarantees the ideal texture and temperature. To maintain crispness, avoid stacking waffles directly; instead, serve them individually or on a cooling rack briefly. Choose topping suggestions based on your preference: fresh berries, whipped cream, maple syrup, or savory options like fried chicken or avocado. For serving styles, you can plate waffles traditionally with toppings layered, or deconstruct them to offer toppings on the side, granting flexibility. Consider portion control—halving waffles for lighter servings or stacking for a decadent presentation. Use heat-resistant plates to retain warmth longer. By controlling these variables, you assure each bite delivers the perfect balance of crisp exterior and tender interior, aligned with your desired freedom in customization and presentation.
Tips
Although waffle-making seems straightforward, mastering a few key tips can drastically improve your results. First, make sure your batter is mixed just enough; overmixing creates tough waffles. Preheat your waffle iron thoroughly for even cooking and crisp edges. Experiment with waffle variations by adjusting ingredients—add cinnamon for warmth or cocoa powder for richness. For topping ideas, think beyond syrup: fresh berries, Greek yogurt, or nut butters add texture and flavor while keeping your options open. Use a light oil spray instead of butter to prevent sticking without excess greasiness. Finally, keep waffles warm in a low oven to maintain crispness if serving multiple at once. These strategies empower you to create versatile, satisfying waffles tailored to your taste and freedom.
Food Value and Benefit
Waffles made from scratch offer a balanced source of carbohydrates, proteins, and fats, providing sustained energy and essential nutrients. By using whole-grain flours and natural sweeteners, this recipe increases fiber content and reduces added sugars, promoting better digestive health. The inclusion of quality eggs and milk enhances the protein profile and supplies important vitamins and minerals.
Food Value of Homemade Waffles:
- Carbohydrates: Provide energy for daily activities.
- Proteins: Support muscle repair and growth.
- Fats: Aid in nutrient absorption and hormone production.
- Fiber: Promotes digestive health and satiety.
- Vitamins: Includes vitamin D (from milk), B vitamins (from eggs and whole grains), and vitamin A.
- Minerals: Supplies calcium (from milk), iron (from whole grains), and phosphorus.
Benefits of Eating Homemade Waffles:
- Sustained energy release due to balanced macronutrients.
- Improved digestive health through higher fiber content.
- Enhanced muscle repair and immune function from quality proteins.
- Better bone health thanks to calcium and vitamin D.
- Reduced intake of processed sugars and additives.
- Greater control over ingredient quality and nutritional composition.
Eating waffles prepared from scratch maximizes nutrient retention and supports overall wellness by offering a wholesome, customizable meal option.
Frequently Asked Questions
Can I Make the Waffle Batter Ahead and Refrigerate It?
Yes, you can refrigerate waffle batter overnight for waffle batter storage. Just cover it tightly to prevent moisture loss and absorption of fridge odors. Keep in mind, the batter may thicken as the baking powder or soda loses potency, so you might need to stir gently and adjust consistency with a splash of milk before cooking. This approach lets you prep ahead without sacrificing waffle quality, giving you freedom on busy mornings.
What’s the Best Way to Store Leftover Waffles?
For ideal waffle storage, let your waffles cool completely before placing them in an airtight container or resealable bag. Store them in the fridge for up to 2 days or freeze for up to 2 months. When reheating, use a toaster or oven at 350°F for 5-10 minutes to restore crispness. Avoid microwaving, as it can make waffles soggy. These reheating techniques preserve texture and flavor, giving you freedom to enjoy waffles anytime.
Are There Gluten-Free Alternatives for This Waffle Recipe?
Yes, you can use gluten free flours like almond, coconut, or a pre-made gluten-free blend to replace regular flour in your waffle recipe. These flours maintain texture while keeping it gluten-free. For sweetening, alternative sweeteners such as honey, maple syrup, or stevia work well, providing natural sweetness without refined sugars. This way, you enjoy delicious waffles that fit your dietary needs without sacrificing flavor or freedom in your kitchen.
Can I Substitute Milk With a Non-Dairy Option?
Think of your waffle batter as a canvas, ready to embrace colors beyond traditional milk. Yes, you can use non-dairy options like almond, soy, oat, or coconut milk substitutes with equal effectiveness. These milk substitutes maintain the batter’s fluidity and texture, ensuring your waffles stay tender and crisp. Just match the quantity one-to-one, and you’ll enjoy delicious waffles without sacrificing freedom from dairy.
How Long Can Homemade Waffles Be Frozen?
You can freeze homemade waffles for up to 2 months without sacrificing quality. For ideal waffle freezing, cool them completely before placing in airtight containers or resealable freezer bags. Use storage tips like separating waffles with parchment paper to prevent sticking. When ready, reheat directly from frozen in a toaster or oven for best texture. This approach preserves freshness and flavor, giving you freedom to enjoy waffles anytime without waste.
References
- https://www.foodsafety.gov/food-safety-charts/cooking-temperatures
- https://www.nutrition.gov/topics/food-safety/food-safety-and-your-home
- https://www.extension.harvard.edu/blog/waffles-recipe-homemade
- https://www.verywellfit.com/how-to-make-waffles-from-scratch-5112565
- https://www.bbcgoodfood.com/howto/guide/how-make-perfect-waffles
- https://www.seriouseats.com/how-to-make-perfect-waffles-5112333
- https://www.nytimes.com/2021/05/14/dining/waffle-recipe.html
- https://www.sciencedirect.com/science/article/pii/S2352914821000427
