To make perfect buttermilk waffles, first gather and measure 2 cups flour, 1¾ cups buttermilk, 2 eggs, and 2 teaspoons baking powder. Next, sift dry ingredients to avoid lumps, then whisk wet ingredients until smooth. Gradually combine them, mixing gently to keep the batter airy. Preheat and lightly grease your waffle maker, pour the batter evenly, and cook for 4–6 minutes until golden brown. Serve immediately with your favorite toppings. Keep going for more detailed tips and variations.
Ingredients and Quantity
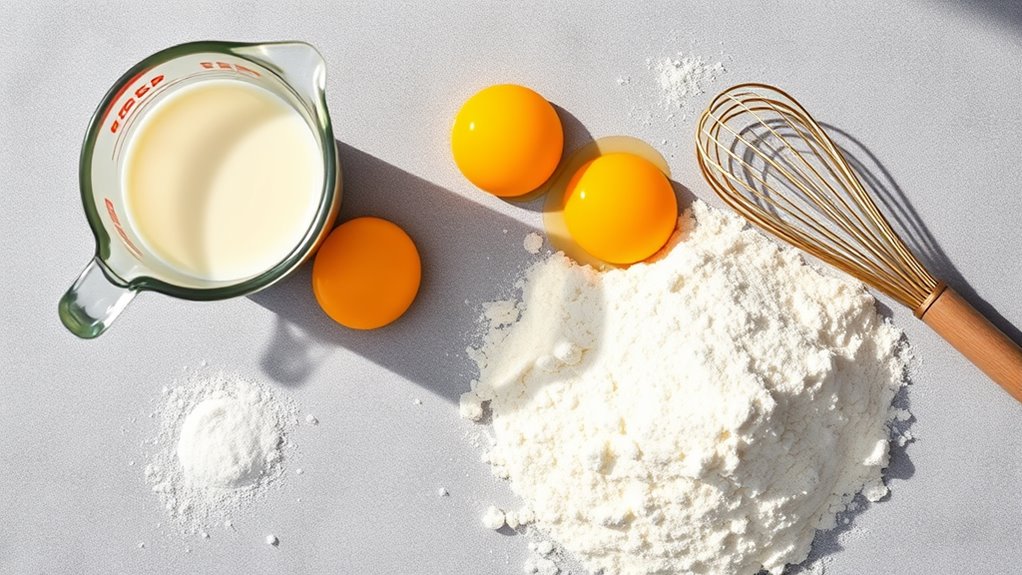
To make buttermilk waffles, you’ll need a specific set of ingredients measured accurately for ideal texture and flavor. Precise quantities guarantee each waffle variation turns out perfectly, whether you use traditional buttermilk or buttermilk substitutes like yogurt or milk with vinegar.
| Ingredient | Quantity | Notes |
|---|---|---|
| All-purpose flour | 2 cups | Provides structure |
| Buttermilk | 1 ¾ cups | Or substitute for tanginess |
| Eggs | 2 large | For binding and fluffiness |
| Baking powder | 2 tsp | Leavening agent |
This exact balance lets you experiment with waffle variations confidently, maintaining freedom to tweak flavors without compromising the core texture.
Preparations
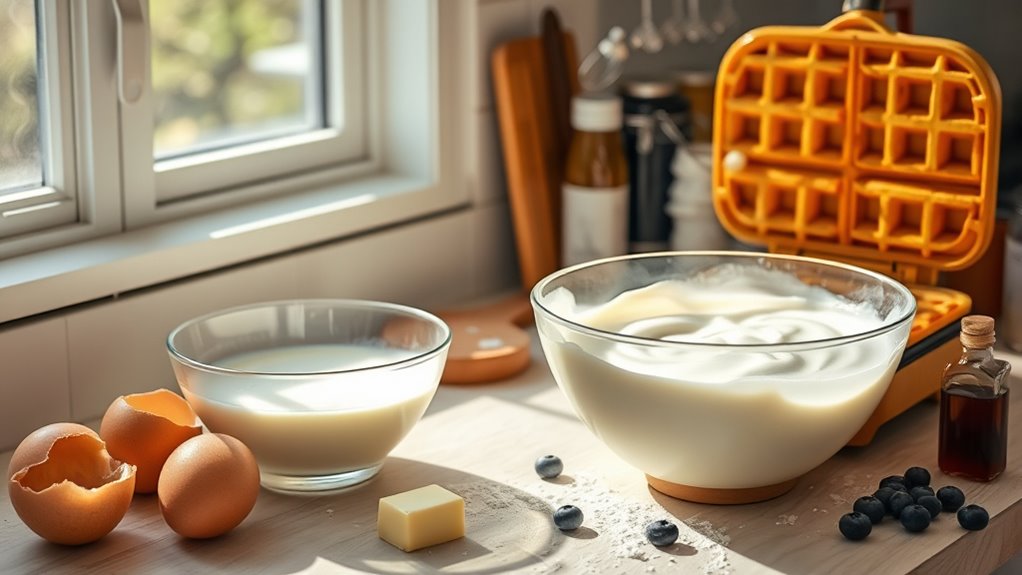
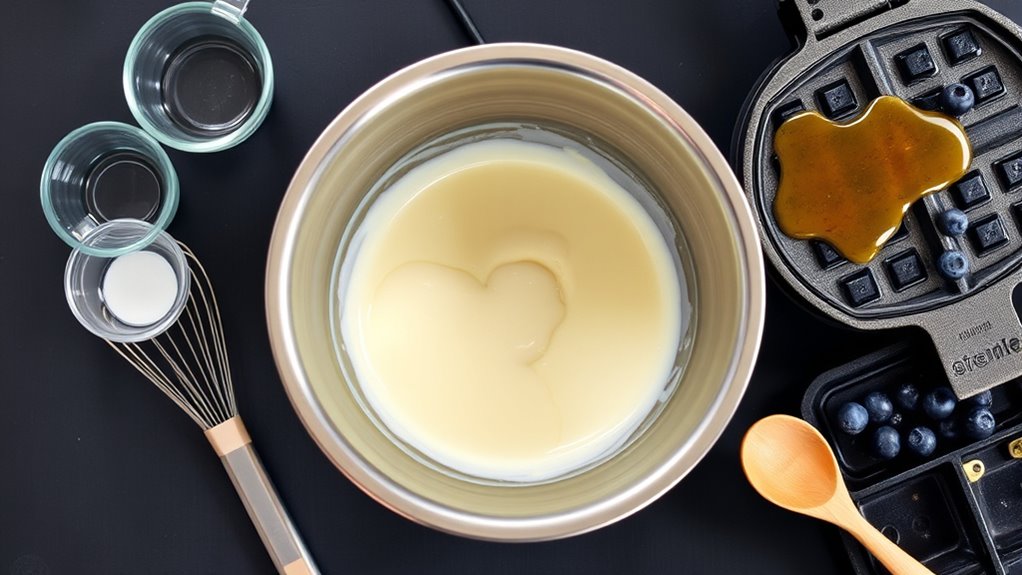
Gather all your ingredients and tools before you begin the preparation process to affirm a smooth workflow. Start by measuring each component accurately to guarantee consistent waffle batter quality. Sift the dry ingredients—flour, baking powder, and salt—to eliminate lumps and promote even mixing. In a separate bowl, whisk the wet ingredients, including buttermilk, eggs, and melted butter, until homogeneous. Gradually combine the dry and wet mixtures, stirring just until incorporated; avoid overmixing to maintain batter aeration. Maintain ingredient temperature control—room temperature eggs and buttermilk optimize chemical reactions for ideal texture. Proper ingredient preparation directly influences waffle batter consistency, resulting in light, crisp waffles. By following these steps, you’ll exercise control and freedom in your cooking process, setting the foundation for perfectly cooked buttermilk waffles.
Tools / Kitchenware Required
Several essential tools assure your buttermilk waffle-making process is efficient and precise. The primary equipment includes a reliable waffle maker that guarantees even cooking and perfect browning. You’ll also need mixing bowls of various sizes for combining wet and dry ingredients separately, promoting a smooth batter. Other tools optimize your workflow, giving you freedom to focus on technique and consistency.
| Tool | Purpose | Tip |
|---|---|---|
| Waffle Maker | Cooking waffles evenly | Preheat thoroughly |
| Mixing Bowls | Combine ingredients | Use multiple sizes |
| Whisk | Blend batter smoothly | Avoid overmixing |
| Measuring Cups | Accurate ingredient use | Level off for precision |
| Spatula | Batter transfer | Use silicone for flexibility |
How to Cook
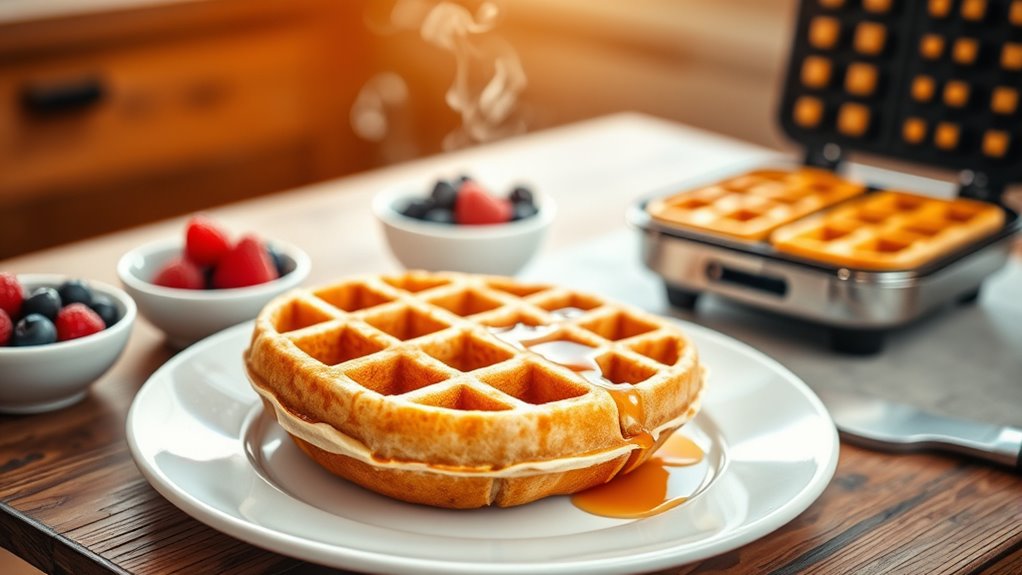
- Preheat your waffle maker thoroughly to ensure even cooking and ideal browning.
- Lightly grease the plates to prevent sticking and secure a perfect release.
- Pour the batter evenly, avoiding overfilling to maintain the waffle’s shape.
- Close the lid firmly to guarantee uniform heat distribution, critical for consistent waffle cooking.
- Use buttermilk in the batter to enhance texture and flavor; maintain batter temperature to optimize these effects.
- Cook each waffle for 4-6 minutes or until golden brown; timing may vary by machine.
- Avoid opening the lid prematurely to prevent interrupting cooking and causing tearing.
- Carefully remove the waffle using a non-metallic tool to preserve your waffle maker’s surface.
- Follow these steps to guarantee crisp, flavorful waffles every time, maximizing buttermilk’s unique advantages.
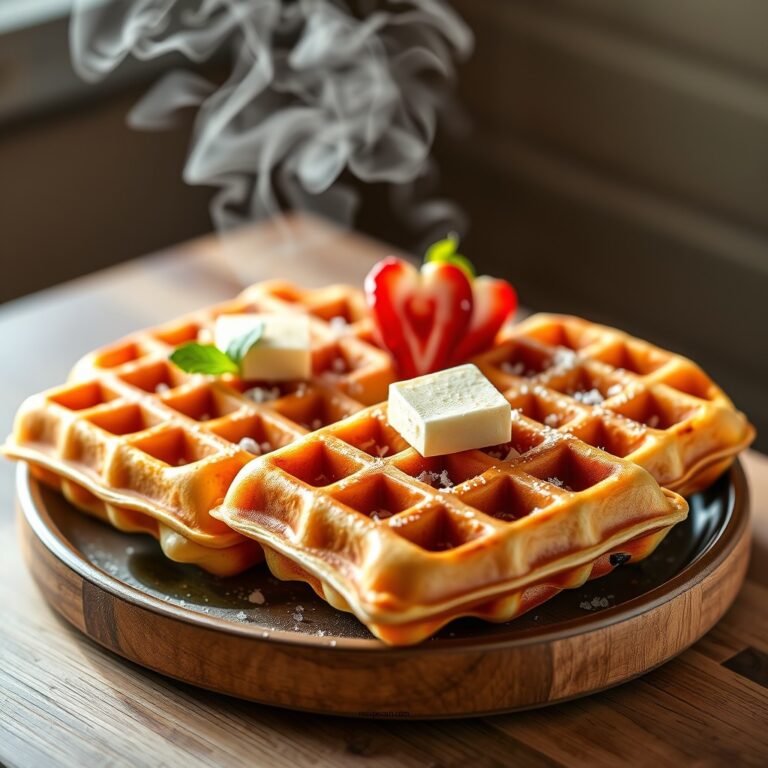
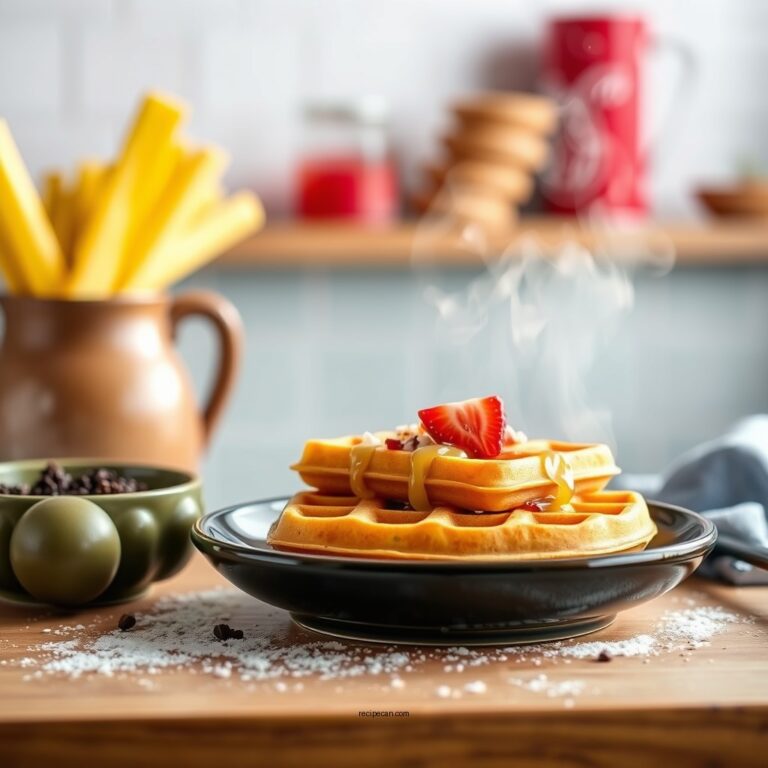
How to Serve
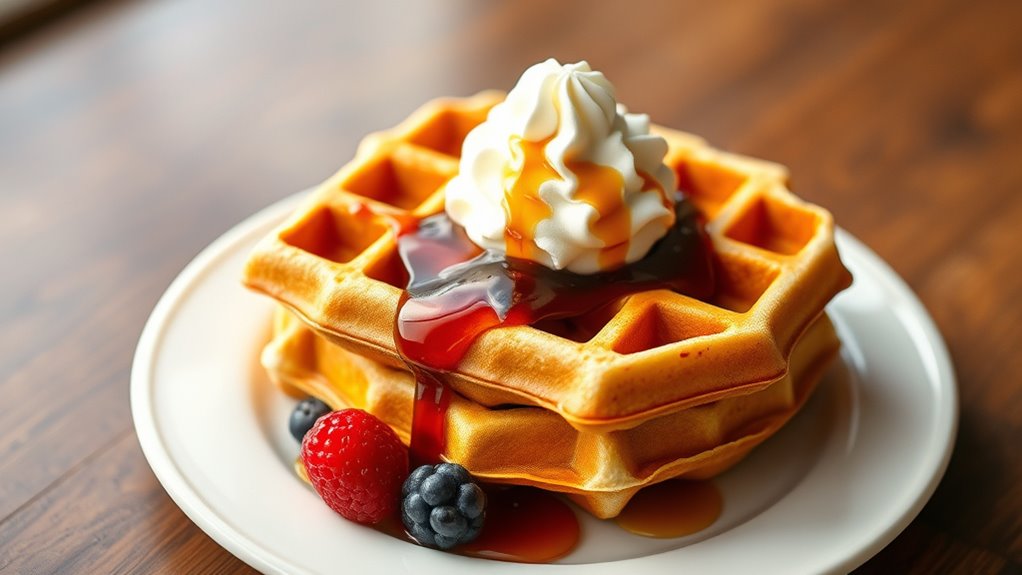
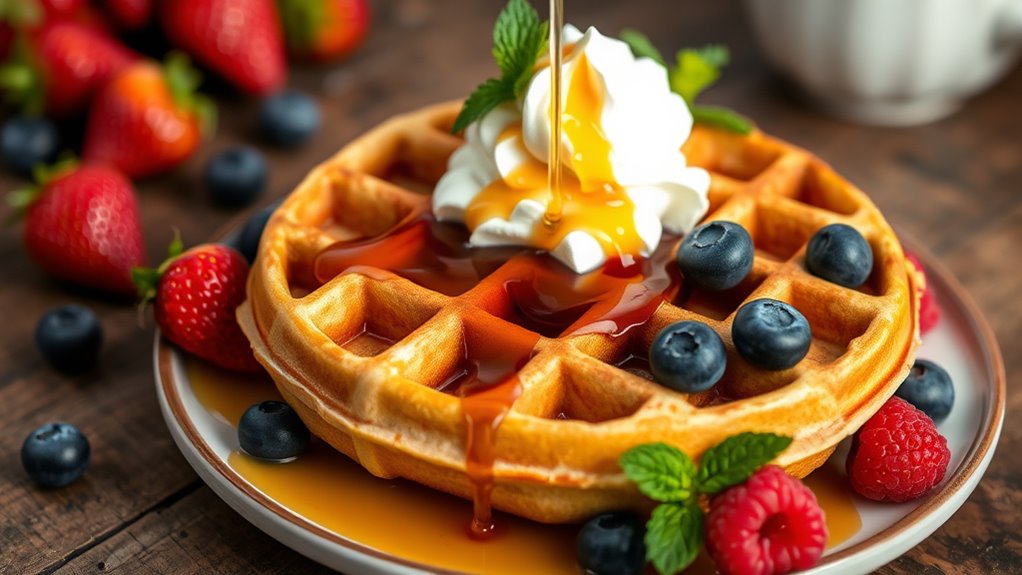
When serving buttermilk waffles, timing is essential to preserve their crisp exterior and tender interior. Serve them immediately after cooking to maintain peak texture. Consider topping suggestions that complement the waffles’ natural flavor: fresh berries, pure maple syrup, whipped cream, or a dollop of Greek yogurt provide both contrast and balance. For savory preferences, try smoked salmon, avocado slices, or a poached egg. Explore serving styles to fit your mood—stacked with layers of fruit and syrup for a classic presentation, or individually plated with minimalist garnishes for a refined look. Use pre-warmed plates to prevent temperature loss. By controlling topping moisture and heat retention, you guarantee every bite delivers the perfect harmony of texture and taste, granting you freedom in crafting your ideal waffle experience.
Tips
To maximize the quality of your buttermilk waffles, pay close attention to batter consistency and cooking temperature. A batter that’s too thick leads to dense waffles, while too thin causes spreading and uneven cooking. Maintain a medium-high heat on your waffle iron for ideal browning without burning.
Perfect batter thickness and medium-high heat are key to crispy, golden buttermilk waffles without burning.
Consider these tips to elevate your waffles:
- Preheat the waffle iron thoroughly to guarantee even cooking.
- Experiment with waffle toppings like fresh berries, nuts, or a drizzle of honey for balanced flavor and texture.
- Use precise cooking techniques: avoid opening the iron too early to prevent waffle breakage.
Food Value and Benefit
Buttermilk waffles provide a balanced combination of essential nutrients that support overall health while delivering a delicious taste. These waffles offer a good source of protein, calcium, and carbohydrates, making them a nourishing choice for any meal.
Benefits of eating buttermilk waffles:
- Supports digestive health due to probiotics found in buttermilk
- Promotes strong bones with a rich calcium content
- Aids muscle repair and increases satiety through protein
- Provides quick energy from carbohydrates to fuel daily activities
- Enhances nutrient absorption with improved texture and lower fat content compared to regular milk-based waffles
Key vitamins and minerals in buttermilk waffles:
- Calcium: essential for bone and teeth strength
- Vitamin B12: supports nerve function and red blood cell formation
- Vitamin D: helps with calcium absorption and immune function
- Riboflavin (Vitamin B2): important for energy production
- Phosphorus: works with calcium to build strong bones and teeth
Frequently Asked Questions
Can I Substitute Regular Milk for Buttermilk in the Recipe?
You might wonder if regular milk can step in for buttermilk—well, yes, it can, but with a twist. Since buttermilk’s acidity is key, you’ll need milk alternatives like milk mixed with vinegar or lemon juice as buttermilk substitutes to achieve that tang and leavening effect. Simply add 1 tablespoon of acid per cup of milk, let it sit for 5 minutes, then use it. This way, you keep your waffles fluffy and flavorful without sacrificing freedom in your kitchen.
How Do I Store Leftover Waffles to Keep Them Fresh?
To guarantee peak waffle storage and keep freshness, let your waffles cool completely before wrapping them tightly in plastic wrap or aluminum foil. For short-term storage, place them in an airtight container at room temperature for up to two days. For longer preservation, freeze them in a single layer on a baking sheet, then transfer to a freezer-safe bag. When reheating, use a toaster or oven to restore crispness without moisture loss.
Are Buttermilk Waffles Gluten-Free or Can They Be Made Gluten-Free?
Buttermilk waffles aren’t naturally gluten-free because they typically contain wheat flour. However, you can easily swap traditional flour for gluten-free flours like almond, rice, or oat flour to enjoy a safe, delicious alternative. Using these alternative ingredients requires slight adjustments to maintain texture and rise, often adding xanthan gum or extra leavening agents. This way, you retain freedom in your diet without compromising the classic waffle experience.
What Is the History or Origin of Buttermilk Waffles?
You’ll find waffle origins trace back to ancient Greece, where early historical recipes featured simple batter cooked between iron plates. Buttermilk waffles specifically emerged in America, blending European techniques with local ingredients like buttermilk for enhanced texture and flavor. This evolution gave you a richer, tangier waffle. Understanding these historical recipes lets you appreciate the freedom to customize your waffle batter, adapting tradition with your personal touch.
Can I Freeze the Waffle Batter for Future Use?
Freezing waffle batter is like pressing pause on time—it’s possible but requires care. For ideal waffle batter storage, freeze it in an airtight container or heavy-duty freezer bag, leaving room for expansion. Use freezing tips like labeling the date and thawing overnight in the fridge. Avoid freezing for more than one month to maintain leavening power. When ready, stir gently before cooking to preserve your batter’s texture and rise.
References
- https://en.wikipedia.org/wiki/Waffle
- https://www.foodsafety.gov/food-safety-charts/food-safety-when-cooking
- https://www.extension.purdue.edu/extmedia/FNR/FNR-264-W.pdf
- https://www.mayoclinic.org/healthy-lifestyle/nutrition-and-healthy-eating/in-depth/buttermilk/art-20045580
- https://www.cdc.gov/foodsafety/food-safety-education-month.html