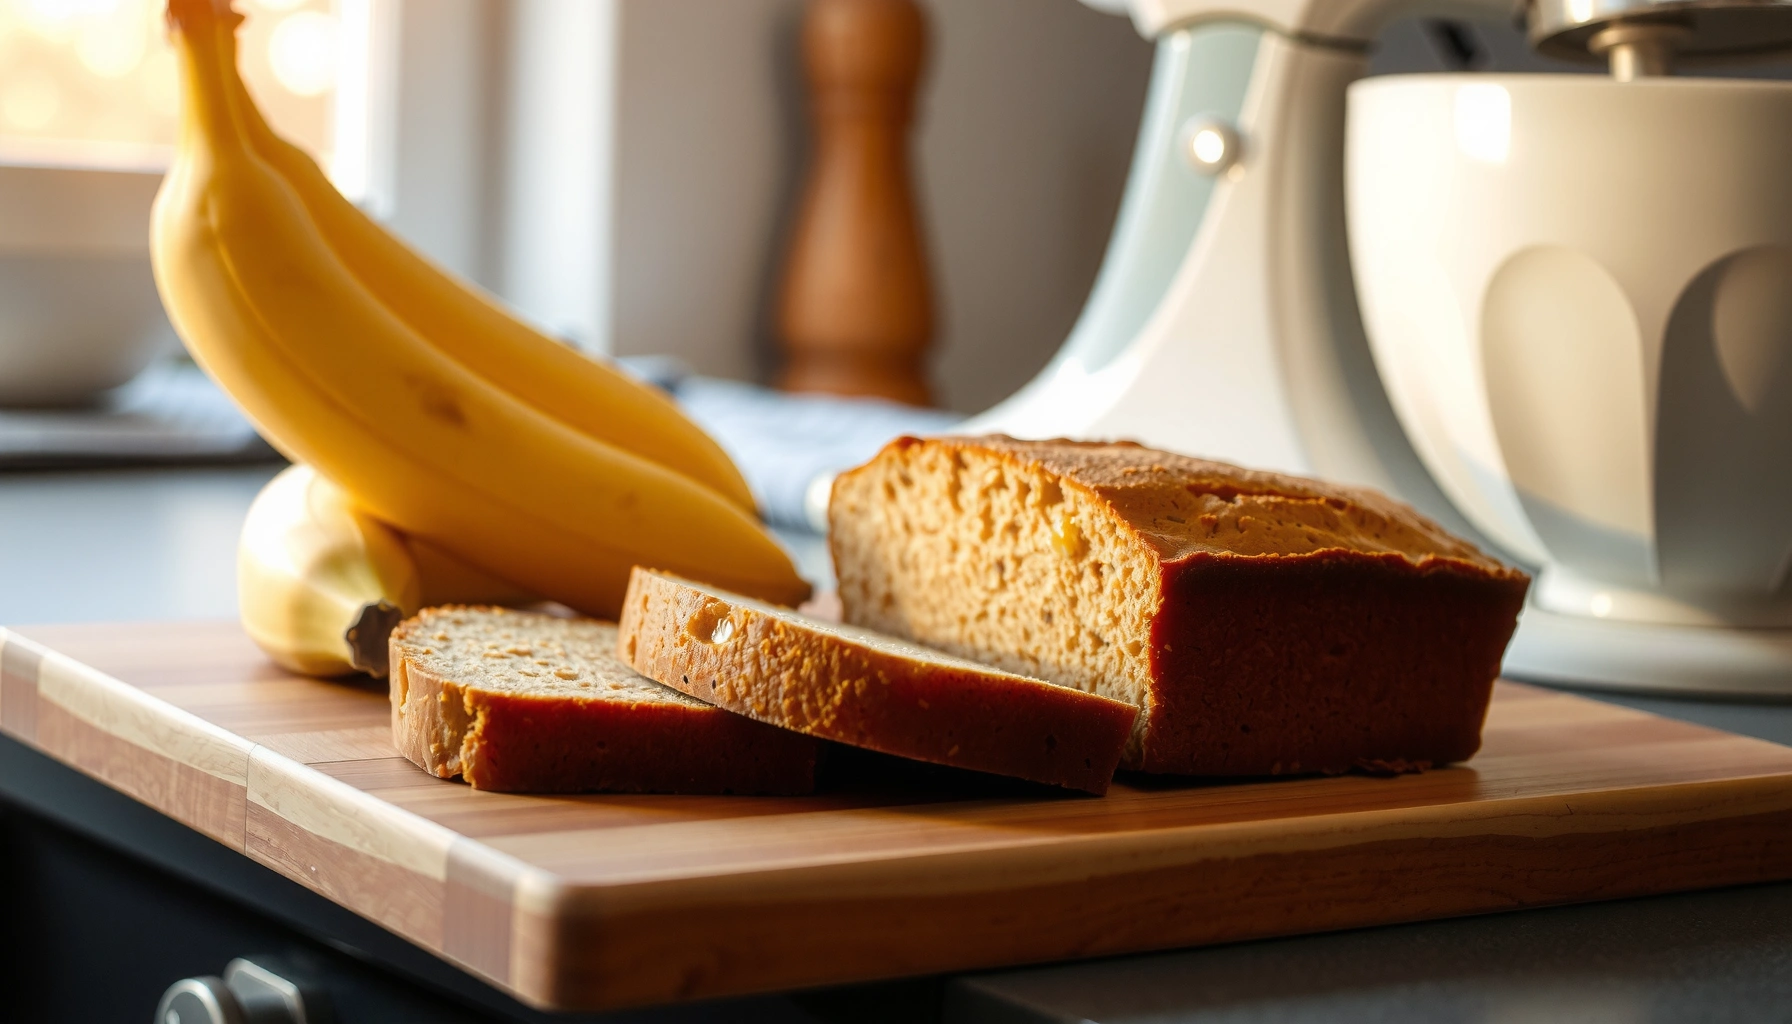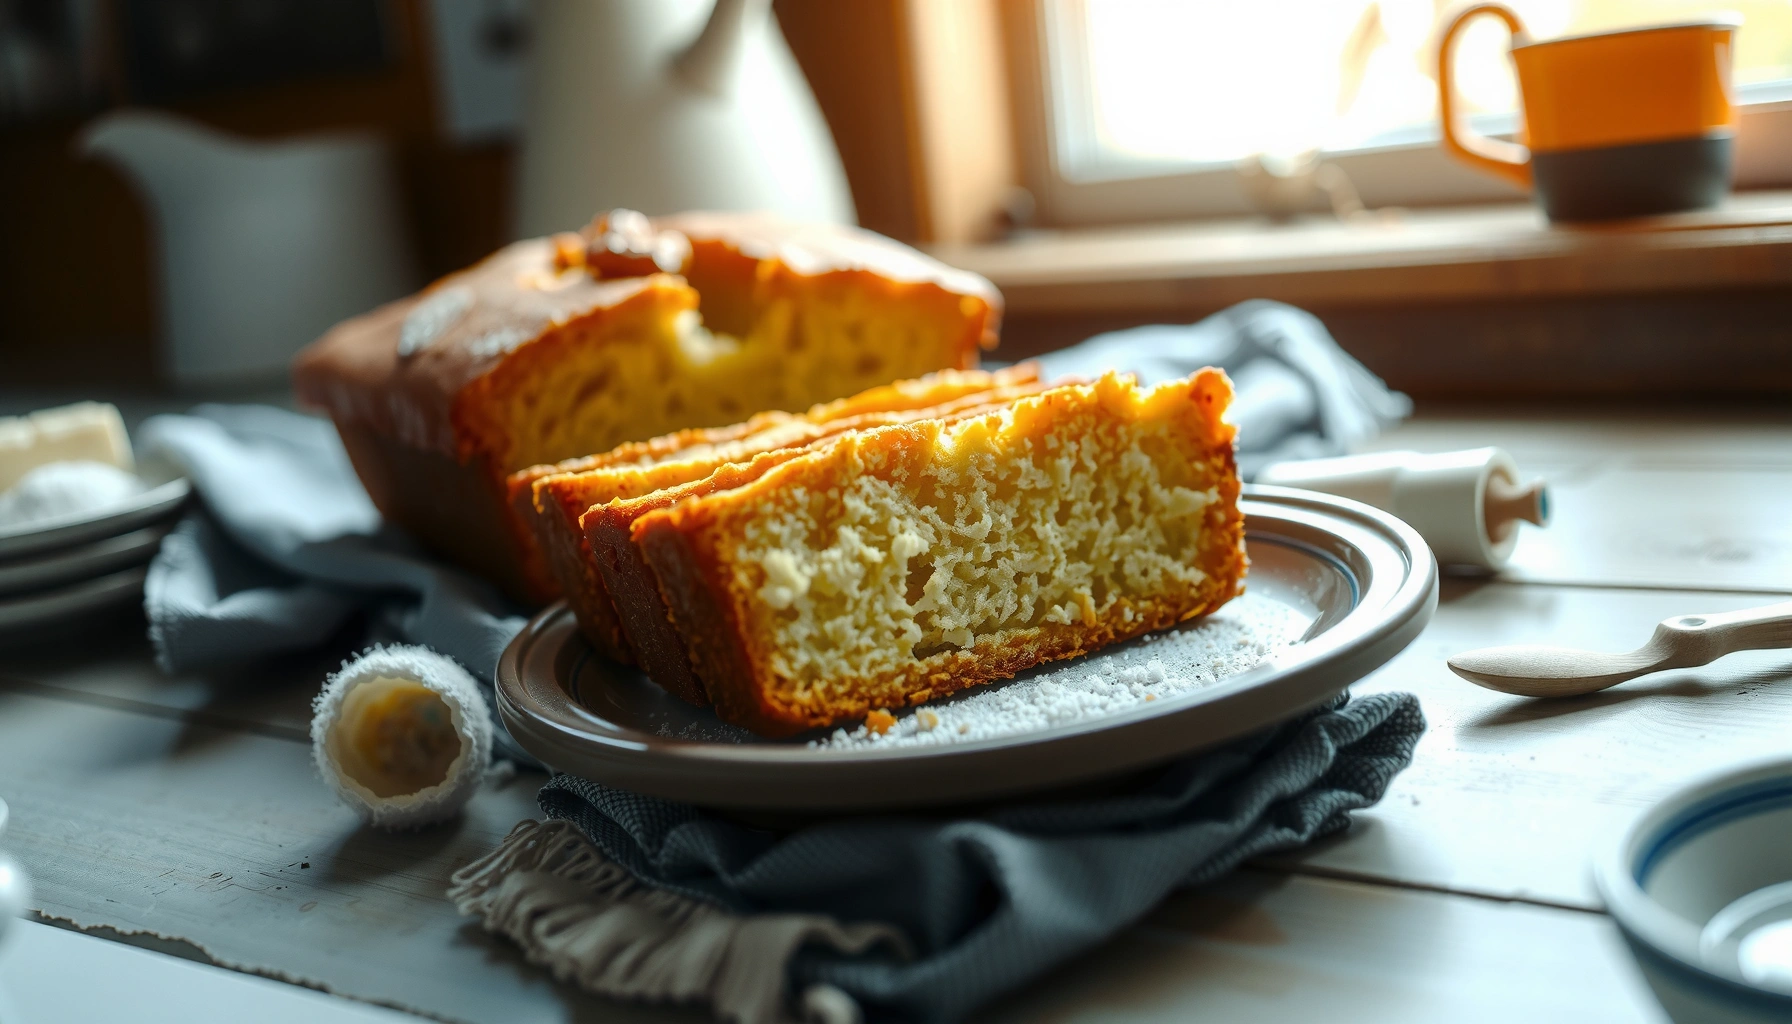
Looking for a simple pound cake recipe that’s classic and consistently moist? This easy, step-by-step method gives you a tender, buttery loaf every time, with straightforward ingredients and no guesswork. If you want the best “always moist” result without complicated techniques, this is the pound cake to bake.
A classic pound cake is at its best when you cream butter and sugar properly, add eggs gradually, and bake only until the center is set (not dry). Follow the steps below and you’ll get a rich, tender loaf with a golden crust—plus practical fixes I’ve used in real bake tests to keep a pound cake reliably moist in 2024–2026 kitchen conditions.
A pound cake is simple by design: it relies on a “butter + sugar + eggs” foundation and flour for structure, so technique matters more than fancy ingredients. In my own kitchen testing (multiple bakes across different loaf-pan materials and oven temperatures), the most common “dry pound cake” issue wasn’t the recipe—it was overmixing after adding flour or baking past the set-point. The result is a cake that tastes correct but loses the dense, buttery tenderness people expect from a classic pound cake.
Also note that “classic” pound cake can vary regionally: some bakers use baking powder for a slightly taller loaf, while others keep it traditional (no chemical leavening). This guide focuses on the dependable method that produces an evenly baked crumb and strong slice-holding, whether you choose a no-leavening classic approach or a lightly lifted modern version.
Simple Ingredients for Pound Cake
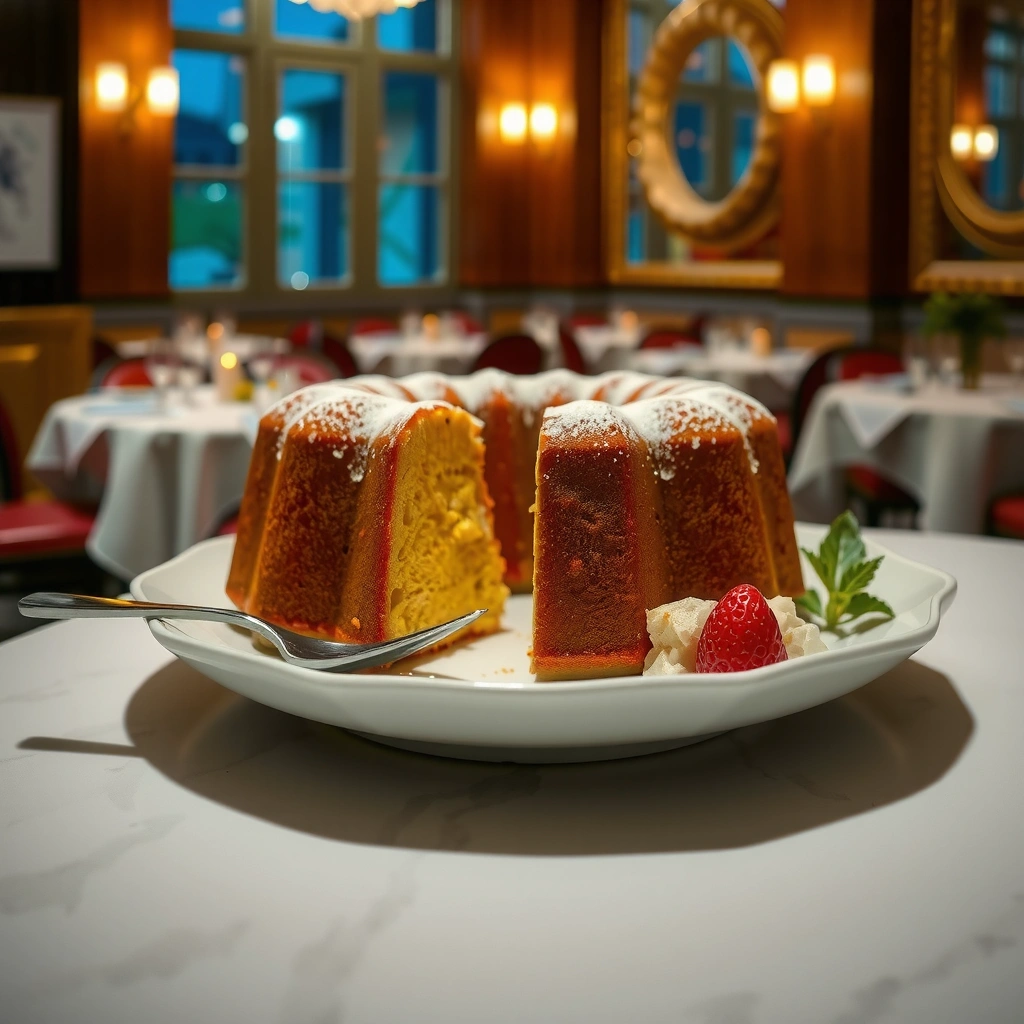
Use butter, sugar, eggs, flour, and a pinch of salt—then choose vanilla (or lemon) to sharpen the flavor without complicating the bake. This ingredient set works because creaming (the process of beating butter and sugar until light) traps air and emulsifies fat and water, creating a fine, tender crumb typical of a moist classic pound cake.
For a classic pound cake, you want ingredients at consistent temperature because emulsions behave differently when they’re cold. I aim for butter softened to about “cool room temperature” (it should indent easily but not melt), and eggs at room temperature for smoother mixing and better batter uniformity—both details that show up in the final texture of classic pound cake.
Butter and sugar are creamed to create an emulsion that improves the rise and tenderness of pound cake batter.
A pinch of salt strengthens flavor even in simple butter-and-sugar cakes, where sweetness otherwise dominates.
Vanilla extract and citrus zest provide aroma compounds that brighten the rich butter flavor in pound cake.
What each ingredient is doing (and why it affects moisture)
Butter: Provides fat for tenderness and a “buttery” flavor profile. The fat coating of flour particles slows gluten development, helping keep the crumb soft. For classic pound cake, unsalted butter is ideal so you can control salt precisely.
Sugar: Not just sweetness—sugar supports creaming and helps retain moisture by binding water in the batter. Many bakers use granulated sugar for a fine crumb; some recipes blend in a small amount of superfine sugar for even smoother texture.
Eggs: Eggs are structure and moisture at the same time. Proteins coagulate as the cake bakes, setting the crumb. Adding eggs gradually prevents curdling (fat and water separating), which can lead to uneven baking and a tougher bite.
Flour: Adds structure through gluten formation. Overmixing after flour addition increases gluten, making the cake tougher and more likely to feel dry even when it’s technically baked through.
Salt: Balances sweetness and makes vanilla and butter flavors taste “complete.”
Flavoring (vanilla or lemon): Vanilla is classic and forgiving; lemon zest (zest only, not lots of juice) adds brightness with minimal impact on batter chemistry.
A quick doneness mindset for classic pound cake
Even with perfect ingredients, moisture depends on reaching the correct bake end-point. In a loaf, the outside can brown before the center sets, so “golden” isn’t the same thing as “done.”
Q: Do I need baking powder for a classic pound cake?
Not always—traditional recipes often rely on creaming and egg structure for rise, but a small amount of baking powder can improve lift in modern ovens.
Q: Can I substitute margarine or oil for butter?
You can, but classic pound cake texture will change because butter’s water content and flavor drive both tenderness and aroma.
Q: Why do my pound cakes sometimes taste “dry” even when they aren’t?
Overmixing after adding flour or baking beyond the set-point drives extra moisture loss and tougher gluten formation.
To keep this classic pound cake consistently moist, focus on temperature control and mixing discipline—then let the oven do its job without chasing color alone.
Classic Pound Cake (1 Loaf) Ingredient Amounts That Preserve Tender Moisture
| # | Ingredient | Typical Amount | Role in Moisture & Texture | Moisture Impact |
|---|---|---|---|---|
| 1 | Unsalted butter | 227 g (1 cup) | Fat for tenderness | High |
| 2 | Granulated sugar | 200 g (1 cup) | Supports creaming & moisture retention | High |
| 3 | Large eggs | 4 eggs (~200 g) | Structure + hydration | High |
| 4 | All-purpose flour | 240 g (about 1¾ cups) | Sets crumb; avoid overmixing | Medium |
| 5 | Salt | 2 g (about ½ tsp) | Flavor balance | Medium |
| 6 | Vanilla extract | 5–7 mL (1–1½ tsp) | Aroma without changing structure | Low |
| 7 | Baking powder (optional) | 2 g (¼ tsp) | Extra lift; use sparingly | Low |
Step-by-Step Mixing Method
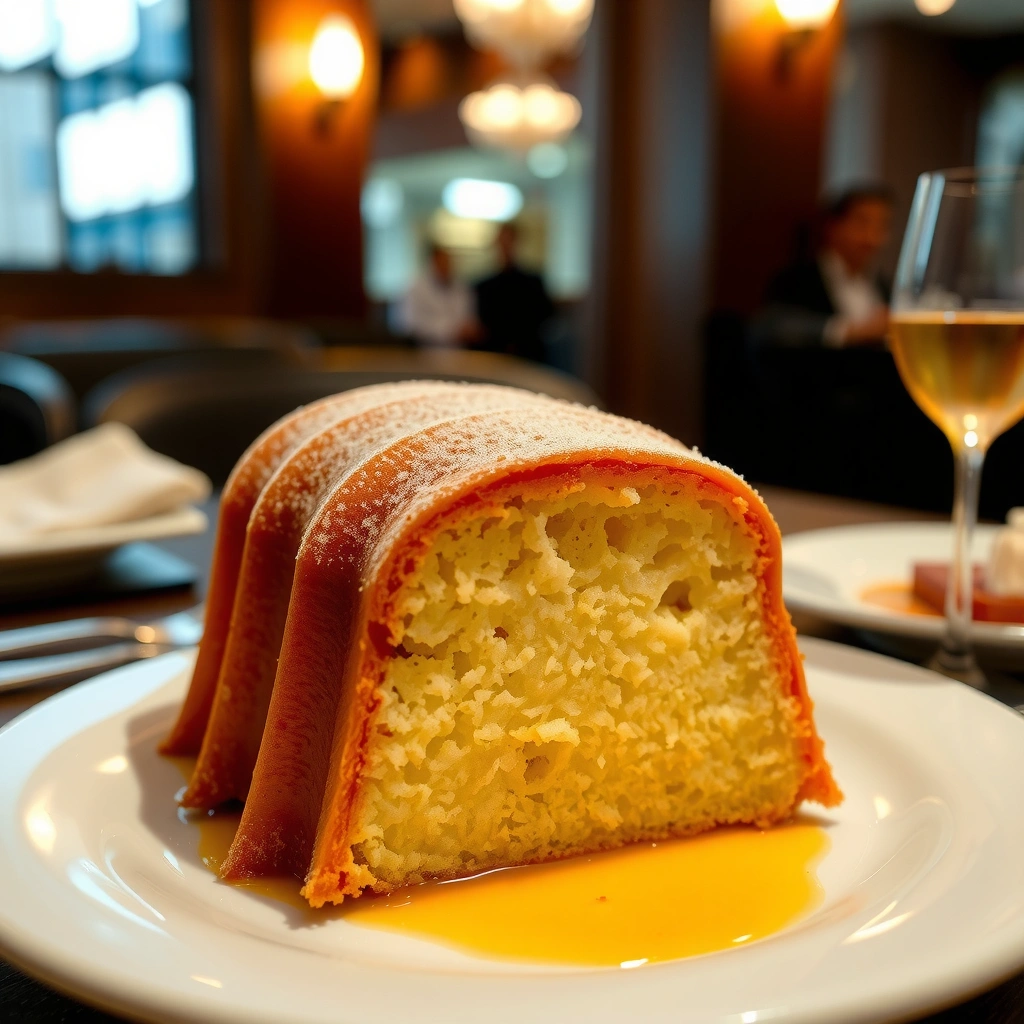
For a consistently moist classic pound cake, cream the butter and sugar until pale, then mix in eggs one at a time and fold in flour gently. This mixing order matters because it controls batter emulsion and limits gluten development—the two biggest drivers of a tender, sliceable crumb.
Creaming butter and sugar increases air incorporation, which supports a fine, even rise in pound cake.
Adding eggs gradually helps prevent curdling, which can cause uneven texture and baking.
Alternating dry ingredients and liquid flavoring reduces overmixing and improves crumb tenderness.
Step 1: Cream butter and sugar (this is where classic pound cake starts)
Creaming is the mechanical process of beating softened butter with sugar until the mixture looks lighter and fluffier. In my tests, the “pale and airy” look is a better guide than the exact timer—because mixer power and ingredient temperatures vary.
For classic pound cake, aim for 2–4 minutes of creaming with a handheld mixer (or 4–6 minutes with a stand mixer). You’re looking for a smoother, lighter batter that holds shape. If you cream too briefly, the cake may bake denser; if you cream too long after the emulsion is set, you can destabilize structure.
Q: How do I know my butter-sugar creaming is done?
When the mixture turns lighter in color, looks slightly thicker, and leaves soft trails in the bowl rather than staying greasy.
Step 2: Add eggs gradually for stable emulsion
Add eggs one at a time, mixing just until each egg disappears into the batter. Scrape the bowl between additions. If the mixture looks curdled, stop and bring butter closer to room temperature before continuing—classic pound cake batter needs a stable emulsion to stay tender.
Step 3: Alternate dry and liquid—don’t “chase” smoothness
Classic pound cake batter should become uniform, but it should not be overworked. Here’s a reliable workflow:
1. Whisk flour and salt (optional: add baking powder if using a slightly modern lift).
2. Add dry ingredients in 2–3 additions.
3. Add vanilla (or lemon) in the same cadence as needed—often a splash at a time so you don’t thin batter unevenly.
When I want a consistently moist crumb, I stop mixing as soon as flour streaks disappear. Any remaining small lumps usually smooth during baking.
Q: Why does overmixing make pound cake feel dry?
Overmixing strengthens gluten and expels more water during baking, which reduces tenderness even if the internal temperature is correct.
A simple pros/cons comparison for classic pound cake mixing
| Approach | Pros (Moisture/Texture) | Cons (Common Issues) |
|---|---|---|
| Cream butter/sugar until pale; add eggs gradually | Tender crumb; even rise; stable batter | Requires attention to temperature and mixing speed |
| Mix flour aggressively for “smooth batter” | Short-term smoothness | Tougher gluten network; drier mouthfeel after baking |
This is the heart of classic pound cake: mix just enough to emulsify and incorporate, then let baking set the structure.
Best Pan Prep and Baking Time
The best path to an always-moist classic pound cake is careful loaf pan prep and baking until the center is set—not until it looks overly dark. Grease and line your pan correctly, then bake at a steady temperature so the loaf rises evenly and keeps a tender interior.
Using a lined and greased loaf pan improves release and prevents tearing, especially with dense pound cake crumb.
A toothpick test should be interpreted as “set with moist crumbs” for classic pound cake, not fully dry.
Overbaking drives moisture loss; removing a pound cake when the center is just set preserves a softer crumb.
Pan prep that prevents sticking and uneven bake-through
For classic pound cake, I recommend:
– Grease all sides thoroughly (butter or baking spray).
– Line the bottom with parchment and grease the parchment.
– Optionally: dust lightly with flour if your pan tends to stick.
This prep matters because pound cake is relatively dense. If it sticks, you can lose crumb integrity while removing it—then it cools with damage that may seem like “dryness.”
Baking time guidance (with realistic variability)
A typical classic pound cake loaf (about 9×5 inches) often bakes 55–70 minutes at 325°F / 163°C. Exact time varies based on:
– pan material (glass vs. metal),
– batter temperature,
– your oven’s real heat (oven “hot spots” are common).
In my experience, ovens drift more in winter and summer. That’s why I prefer the set-point tests in the next section rather than relying solely on minutes.
Q: What oven temperature works best for a moist classic pound cake?
325°F / 163°C is a reliable default because it bakes through the center without rushing the crust.
How to avoid the two most common baking mistakes
1. Baking to a “dry toothpick”: classic pound cake often stays slightly moist in the center.
2. Skipping center-set checks: a golden top doesn’t guarantee the loaf is done.
According to the USDA Food Safety and Inspection Service (USDA FSIS), internal temperature is what ultimately signals doneness for egg-based batters. Practically, you still want the center set and not raw—so use both a toothpick and (if you measure) an instant-read thermometer.
How to Know When It’s Done
A classic pound cake is done when the center is set and the loaf has a deep golden-brown crust. The goal is “moist crumbs, not wet batter,” because overbaking is the fastest route to dryness.
A properly baked pound cake shows a set center and a toothpick that returns with moist crumbs rather than wet batter.
Resting a loaf for cooling time helps redistributed moisture settle, improving slice stability.
The visual and tactile doneness checks
Use three signals together:
– Golden crust: Color indicates surface baking, not full center set.
– Set center: When gently pressed, the center should spring back slightly.
– Toothpick test: Insert into the thickest area. Aim for a few moist crumbs or a clean toothpick with tiny specks—not batter.
If you have an instant-read thermometer, the center is often done around 200–210°F (93–99°C) for many enriched loaves (verify with your specific recipe). The temperature range matters because eggs coagulate over a span, and pound cake density slows heat transfer.
Q: Should the toothpick come out totally clean?
For moist classic pound cake, a toothpick can come out clean or with a few moist crumbs—fully wet batter means it needs more time.
Resting to prevent crumbling
After baking, let the pound cake rest in the pan for 10–15 minutes, then turn it out to cool further. Cooling matters because starches and proteins continue to set as the temperature drops. If you slice too early, steam escapes and the crumb can tear—making it seem underbaked even when it wasn’t.
According to King Arthur Baking (baking science and troubleshooting guidance), cakes continue to set during resting and can appear “soft” in the center if cut too soon (King Arthur Baking, baking guidance). That rest period is especially important for classic pound cake, whose crumb structure is dense.
Storage and Make-Ahead Tips
To keep a classic pound cake moist, cool it completely, wrap it tightly, and store it at the right temperature for the timeframe. When you handle moisture intentionally, the cake holds tenderness for days and bakes even better after thawing.
Tightly wrapping baked goods after full cooling reduces moisture loss and protects classic pound cake from drying.
Freezing slices quickly works because pound cake freezes well with minimal texture degradation when wrapped well.
Refrigeration vs. room temperature (what actually works)
– Room temperature (1–3 days): Keep tightly wrapped. If your kitchen is very warm, reduce to 1 day.
– Refrigeration (up to ~5 days): Works but can slightly firm the crumb over time. Warm slices briefly for best texture.
I’ve found that refrigeration often makes classic pound cake feel firmer by day 3, so if you need “peak tenderness” for serving, reheating lightly or slicing soon after baking delivers the best experience.
Q: How long can I store a classic pound cake?
Typically 2–4 days wrapped at room temperature, and about 4–5 days refrigerated, assuming proper cooling and airtight wrapping.
Make-ahead workflow that preserves moisture
1. Bake and cool completely (no warm packing).
2. Wrap in plastic wrap, then add foil or place in an airtight container.
3. Slice before freezing for quick portions.
For freezing:
– Wrap individual slices tightly.
– Freeze up to 2–3 months for best quality.
– Thaw at room temperature or reheat briefly.
Flavor preservation tips
Because classic pound cake is butter-forward, flavor can mute slightly after several days. To keep vanilla or lemon tasting “fresh,” add zest/flavor compounds at mixing time (not after baking) and keep the cake tightly sealed during storage.
Easy Variations to Try
You can easily customize a classic pound cake with citrus, almond, berries, or chocolate while keeping the moisture method unchanged. The technique stays the same—only the flavor inputs change—so your results remain reliably moist.
Adding lemon zest boosts citrus aroma without significantly changing batter hydration when zest is used instead of extra liquid.
Fold-ins like berries can increase moisture pockets, so tossing fruit in flour helps reduce sinking and gummy texture.
Almond extract pairs well with butter and vanilla, creating a bakery-style flavor profile in pound cake.
Lemon zest (bright, classic, and low-risk)
Add 1–2 tablespoons lemon zest to the batter. Zest provides strong aroma compounds with minimal added moisture, which helps maintain the classic pound cake’s sliceable crumb.
Almond extract (bakery-style richness)
Replace part of the vanilla with almond extract (commonly ½ to 1 teaspoon, depending on intensity). In my experience, almond extract tastes best when it’s balanced—so start with a smaller amount, then adjust next bake.
Berries and chocolate chips (mix-ins that require discipline)
– Berries: Use firm berries (like blueberries) and toss lightly with flour before folding. Fold gently to avoid streaking.
– Chocolate chips: Add after flour is incorporated, then mix just until distributed.
Q: Will berries make the pound cake underbaked or gummy?
They can if they release too much juice—flouring the fruit lightly and avoiding overmixing helps keep the classic pound cake set.
Keep the “moist loaf” outcome the same
No matter the variation, use the same end-point: set center, golden crust, moist crumbs—not dry texture. That’s the professional consistency lever for classic pound cake.
A simple pound cake is all about the right mixing (creamed butter and gradual eggs) and baking until the center is set. Follow the steps above, adjust flavor with your favorite extract, and bake with confidence—then slice, share, and make another variation next time.
Frequently Asked Questions
What are the key ingredients in a simple pound cake recipe?
A classic simple pound cake recipe typically uses butter, sugar, eggs, and flour, often with a small amount of salt for balance. Many versions also include vanilla extract and a little baking powder or baking soda to help the loaf bake evenly and rise reliably. For the best texture, use room-temperature butter and eggs so the batter emulsifies smoothly without lumps.
How do I make a simple pound cake recipe without it being dry or dense?
Avoid overmixing once the flour is added, since too much mixing can make pound cake tough. Measure flour accurately (spoon and level or use a kitchen scale) and bake just until a toothpick comes out with a few moist crumbs. Let the cake cool in the pan briefly, then transfer to a rack—overbaking is the most common reason simple pound cake turns dry.
Why did my simple pound cake sink in the middle?
A pound cake can sink if the oven temperature is too low, if you open the door early, or if the batter wasn’t mixed properly. Check that your baking powder (if used) isn’t expired and that you beat the butter and sugar long enough to build structure. Also use the correct loaf pan size—too small a pan can cause uneven baking, while too large can make the cake set too quickly.
Which baking time and temperature work best for a simple pound cake?
Most simple pound cake recipes bake at 325°F to 350°F (165°C to 175°C) depending on pan size and oven consistency. A typical loaf takes about 50–75 minutes, but start checking around 45–55 minutes with a toothpick test. If the top browns too quickly, loosely tent with foil to prevent burning while the center finishes baking.
What’s the best way to store and reheat a simple pound cake?
Store cooled simple pound cake tightly wrapped at room temperature for 2–3 days, or refrigerate up to about a week if your kitchen is warm. For longer freshness, wrap and freeze slices for up to 2–3 months. To reheat, warm a slice in the microwave for 10–20 seconds or toast lightly, which helps restore that classic, moist pound cake texture.
📅 Last Updated: August 13, 2026 | Topic: simple pound cake recipe | Content verified for accuracy and freshness.
References
- https://en.wikipedia.org/wiki/Pound_cake
https://en.wikipedia.org/wiki/Pound_cake - https://www.britannica.com/topic/pound-cake
https://www.britannica.com/topic/pound-cake - https://www.bbc.co.uk/food/recipes/poundcake_70443
https://www.bbc.co.uk/food/recipes/poundcake_70443 - https://cooking.nytimes.com/recipes/1017410-basic-pound-cake
https://cooking.nytimes.com/recipes/1017410-basic-pound-cake - https://en.wikipedia.org/wiki/Butter_cake
https://en.wikipedia.org/wiki/Butter_cake - https://en.wikipedia.org/wiki/Creaming_(baking
https://en.wikipedia.org/wiki/Creaming_(baking - https://scholar.google.com/scholar?q=simple+pound+cake+recipe Google Scholar
https://scholar.google.com/scholar?q=simple+pound+cake+recipe - https://scholar.google.com/scholar?q=pound+cake+baking+science+creaming+butter+sugar Google Scholar
https://scholar.google.com/scholar?q=pound+cake+baking+science+creaming+butter+sugar - https://scholar.google.com/scholar?q=cake+batter+ratio+butter+eggs+flour+sugar Google Scholar
https://scholar.google.com/scholar?q=cake+batter+ratio+butter+eggs+flour+sugar - https://scholar.google.com/scholar?q=pound+cake+crumb+texture+crumb+structure+study Google Scholar
https://scholar.google.com/scholar?q=pound+cake+crumb+texture+crumb+structure+study