Looking for a simple cheese balls recipe that delivers big flavor with minimal effort? This easy, crowd-friendly version answers whether you can make creamy, golden cheese balls fast without complicated steps. Expect clear instructions, reliable results, and a dependable snack that works for parties, game days, or last-minute guests.
This simple cheese balls recipe delivers creamy, well-seasoned flavor in under an hour—then you just chill, coat, and serve for a guaranteed hit at any gathering. With a quick mix-and-roll method using cream cheese, bold shredded cheeses, and easy coatings, you can produce a professional-looking appetizer that scales effortlessly for parties, holidays, and office events.
If you’ve ever found cheese balls intimidating, the good news is that this version is deliberately streamlined: minimal steps, forgiving texture, and a “build-your-flavor” approach. The key is understanding the role of each component—cream cheese for structure, shredded cheese for taste, seasonings for depth, and chilling for shape—so your results are consistently creamy on the inside and crisp or flavorful on the outside.
Cheese Ball Ingredients: Common Flavor Roles & Practical Impact
| # | Ingredient / Component | Recommended Use in This Recipe | Typical Texture Role | Flavor Strength | Best When |
|---|---|---|---|---|---|
| 1 | Cream cheese | Base (typically 8 oz) | Binds + smooth creaminess | ★★★☆☆ | Best for structure and tang |
| 2 | Cheddar (shredded) | Mix-in (typically 1–1.5 cups) | Savory, slightly firm texture | ★★★★☆ | Best for crowd-pleasing flavor |
| 3 | Garlic powder | Seasoning (about 1–2 tsp) | Boosts aroma without moisture | ★★★★☆ | Best for baseline “from-scratch” taste |
| 4 | Onion powder | Seasoning (about 1 tsp) | Sweet-savory depth | ★★★☆☆ | Best for balanced flavor (not harsh) |
| 5 | Black pepper | Seasoning (1/2–1 tsp) | Light heat + contrast | ★★★☆☆ | Best for making cheese taste “bolder” |
| 6 | Toasted breadcrumbs | Coating (about 1–2 cups) | Crisp exterior, absorbs surface moisture | ★★☆☆☆ | Best for clean, neutral party texture |
| 7 | Crushed nuts (or bacon bits) | Coating add-on (optional) | Crunch + high-impact flavor | ★★★★★ | Best for “wow” first bite |
Gather Ingredients and Choose Your Cheese

Start with the right cheese base, because your cheese balls recipe will only be as good as the balance of tangy creaminess and assertive, melt-friendly flavor.
– Use cream cheese as the creamy base
Cream cheese is the structural backbone. Choose one that’s at room temperature so it mixes smoothly—cold cream cheese tends to clump, which creates inconsistent seasoning and makes shaping harder. Aim for a consistent, spreadable texture before you combine anything.
– Add shredded cheese for bold flavor (cheddar works great)
– Pick add-ins like garlic powder, onion powder, or spices
Dry seasonings are especially useful in a no-fuss cheese ball because they don’t add excess moisture. A typical flavor foundation might include garlic powder, onion powder, black pepper, and optional cayenne for warmth. If you want a fresher profile, consider chopped fresh herbs, but add them only if you keep them finely chopped and relatively dry.
A practical budgeting tip for parties: if you’re serving 10–12 people, plan on making enough for 2–3 balls per typical small-group bite (or one larger, shareable log/ball). The thicker your coating and the more add-ins you use, the more cheese ball “surface area” you’ll distribute per serving—meaning a little goes a long way.
Make the Cheese Ball Mixture
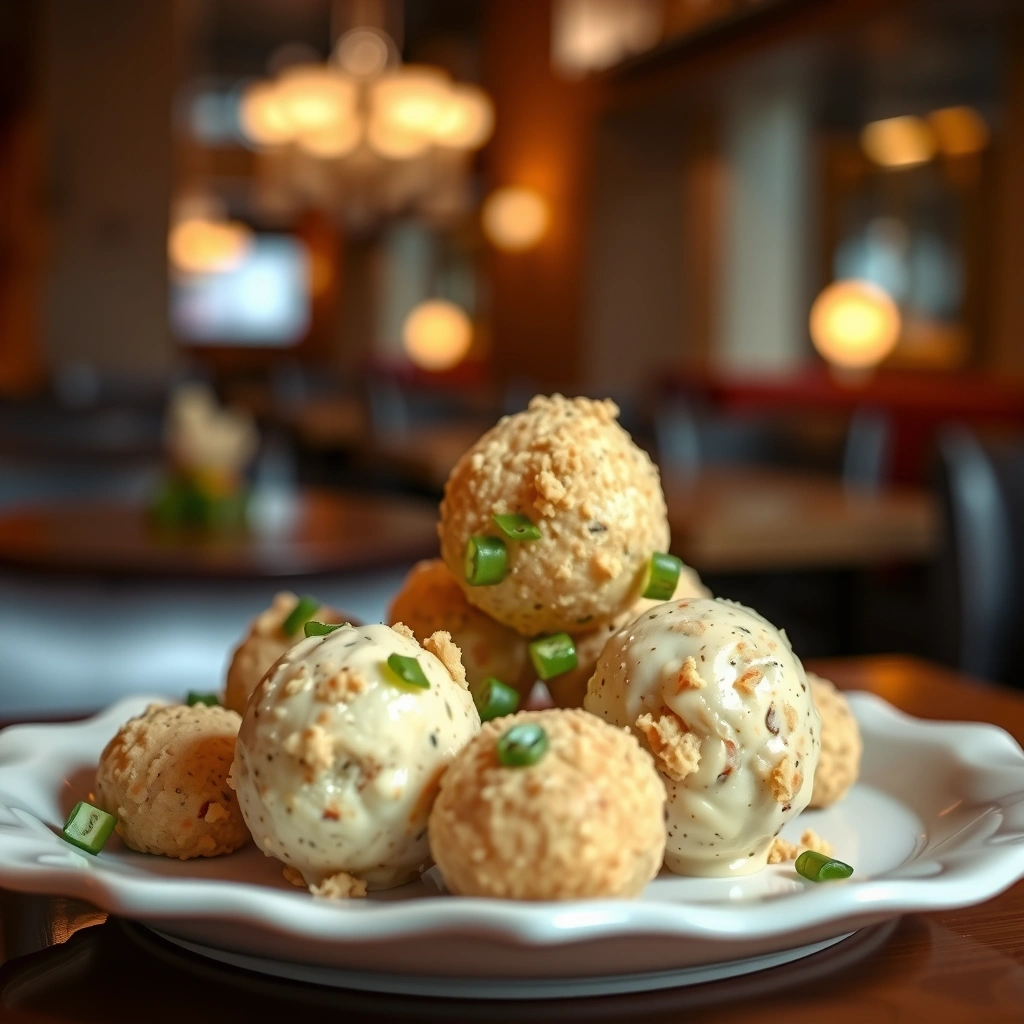
This step is where the recipe becomes “easy” in a real-world sense: you mix, season, and briefly chill so the mixture firms enough to roll cleanly.
– Mix cheeses until smooth and evenly combined
Combine cream cheese and shredded cheese until there are no visible lumps. Mix thoroughly, but don’t overwork—your goal is uniformity. Even distribution matters because cheese balls are bite-based: if seasoning isn’t evenly mixed, some bites taste bland while others are overly strong.
– Fold in seasonings and any chopped add-ins
After the base is smooth, add your garlic powder, onion powder, pepper, and any spices. If using chopped add-ins (like finely diced green onion or jalapeños), fold them in gently to avoid breaking down the mixture. For a consistent texture, keep wet ingredients minimal—excess moisture can cause the coating to fall off or make the outside soggy.
– Chill the mixture briefly to firm up for easier shaping
Chill the mixture for about 20–30 minutes (or up to an hour if your kitchen is warm). This quick chill prevents sticking and helps the balls hold shape. If you skip this step, your cheese ball may still taste great, but it can be difficult to roll neatly and may spread on the plate.
Analytical note: chilling improves both texture and handling. Cream cheese sets when cold, which makes it less sticky and more moldable—so your shaping becomes faster and cleaner. That’s why this cheese ball recipe is best described as “make, chill, serve,” rather than “just mix and roll.”
Shape and Roll Your Cheese Balls

Shaping is where good technique turns an average appetizer into a polished one. Fortunately, the method is simple and forgiving.
– Scoop and roll into bite-size or larger balls
Use a spoon or cookie scoop to portion consistently. Bite-size balls are ideal for casual gatherings because they minimize mess and encourage fast tasting. Larger balls work well for formal serving platters—especially if you’re cutting them into pieces or using a “one centerpiece” approach.
– Tightly form the balls so they hold their shape
Press and roll with intent. The tighter the ball is packed, the more it will maintain its round form after coating and chilling. If you notice cracks, that usually means the mixture needs either a slightly longer chill or a gentler hand technique.
– Keep hands cool (or lightly damp) to prevent sticking
Sticky hands slow you down. Keep a chilled bowl or small plate nearby, or lightly wet your hands with water (a minimal amount—don’t splash the mixture). Cool fingers help the surface set just enough to reduce sticking while you roll.
For time efficiency: line a baking sheet with parchment, then place completed balls on it. You can prep several at once, coat later if needed, and keep the sequence controlled—especially helpful when you’re serving during a busy event.
Coat for Crunch and Flavor
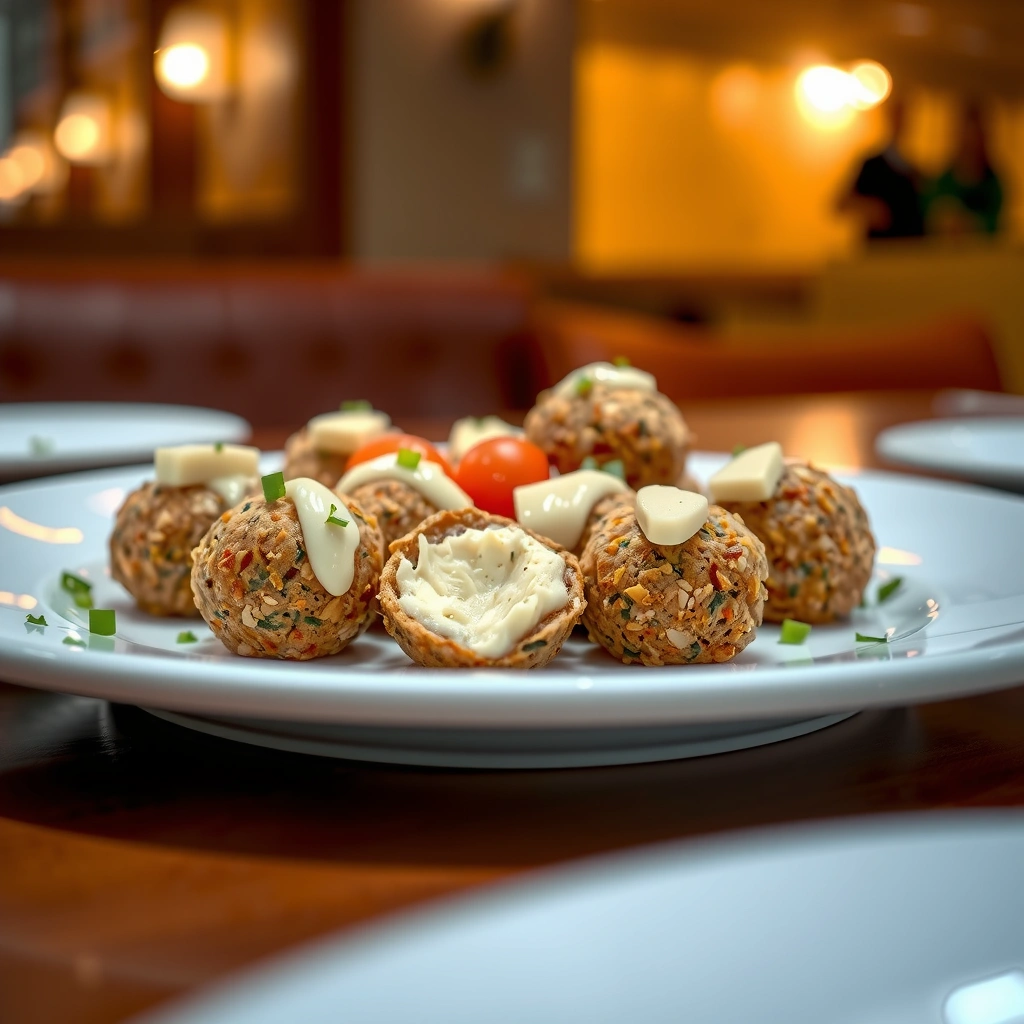
Coating is where your cheese balls recipe becomes visually appealing and taste-driven. You’re not just covering the outside—you’re adding texture contrast and an extra flavor layer.
– Roll in crushed nuts, bacon bits, or toasted breadcrumbs
Choose one primary coating for uniform appearance, or mix two for “party platter” variety. Nuts add crunch and buttery notes; bacon bits add savory intensity; toasted breadcrumbs add reliable crispness.
– Add herbs or seasoning to coatings for extra punch
Take coatings from “good” to “great” by seasoning them. For example, mix dried parsley or Italian seasoning into breadcrumbs, or add smoked paprika to crushed nuts to amplify roasted flavors.
– Try a mix of toppings for the best texture contrast
A two-coating approach can be especially effective: one batch coated in nuts and another in breadcrumbs, or half-and-half on separate batches. Guests are more likely to sample when there’s a clear visual variety—plus you can match flavors to dietary preferences (where applicable).
Best Coatings for Different Crowd Preferences
| # | Coating | Flavor Style | Crunch Level | Works Best With | Guest Appeal |
|---|---|---|---|---|---|
| 1 | Toasted breadcrumbs | Classic savory | ★★★☆☆ | Garlic & onion seasoning | ★★★★★ |
| 2 | Crushed walnuts or pecans | Buttery, nutty | ★★★★☆ | Smoked gouda or aged cheddar | ★★★★☆ |
| 3 | Bacon bits | Smoky & salty | ★★★☆☆ | Black pepper & cayenne | ★★★★★ |
| 4 | Dried Italian seasoning + breadcrumbs | Herb-forward | ★★★★☆ | Garlic + pepper base | ★★★★☆ |
| 5 | Paprika + cracked pepper | Spiced, bold | ★★☆☆☆ | Pepper jack or extra-sharp cheddar | ★★★★☆ |
| 6 | Crushed pretzels | Salty, snackable | ★★★★☆ | Dill or garlic seasoning | ★★★★☆ |
| 7 | Toasted sesame seeds | Savory, aromatic | ★★★☆☆ | Soy-leaning spice blends (optional) | ★★★☆☆ |
Chill, Serve, and Store Properly
Timing and storage make a noticeable difference with a make-ahead cheese ball recipe. Chilling doesn’t just help with shaping—it improves flavor integration.
– Chill at least 1–2 hours for best flavor and texture
After you coat the balls, refrigerate them long enough for the flavors to meld and for the exterior to set. For best results, give them at least 1–2 hours before serving—overnight is also fine if covered well.
– Serve with crackers, bread, or fresh veggies
Choose dippers that complement the texture and saltiness. Crackers and toasted bread work well because they’re sturdy. Fresh veggies like cucumber slices or bell pepper strips add a crisp contrast and help balance the richness of the cheeses.
– Store covered in the fridge and keep from drying out
Store cheese balls in an airtight container or tightly covered with plastic wrap. Moisture management matters: if they dry out, the flavor becomes less vibrant and the coating can feel less crisp.
Best practice: pull the cheese balls from the refrigerator about 10–15 minutes before serving. Slightly softening improves spreadability and flavor release—especially with cheddar-based mixtures.
Simple Variations to Match Any Taste
One of the biggest strengths of this simple cheese balls recipe is that it’s adaptable without becoming complicated. Swap flavor direction by adjusting seasonings and coatings.
– Make it spicy with cayenne, jalapeños, or hot sauce
For controlled heat, start with a pinch of cayenne and taste. If you add chopped jalapeños, drain them well to prevent excess moisture. A few drops of hot sauce can work in small quantities, but keep it limited so your mixture doesn’t loosen.
– Go herb-forward with dill, parsley, or Italian seasoning
Herbs pair naturally with dairy and brighten the flavor profile. Dill is especially effective if you want a classic “bright” taste. If using fresh herbs, chop finely and use a moderate amount to avoid wateriness.
– Create a “party platter” with multiple coating options
The simplest way to impress a mixed crowd is to provide variety—at least two different coatings and, if you’d like, two seasoning profiles. A nut-coated batch signals richness, while breadcrumbs or herbs signal classic comfort. Guests can mix and match flavors without you doing anything extra at serving time.
From an operational standpoint, this is ideal for catering or office hospitality: you can pre-portion everything, coat batches separately, label them if needed, and keep the fridge organized. The result looks intentional and high quality, even if you’re working from a single base recipe.
This simple cheese balls recipe delivers a fast, crowd-friendly appetizer with creamy center and flavorful coating—no complicated steps. Make a batch, chill before serving, and try one variation so your next cheese board is a guaranteed hit.
References
- Cheese ball
https://en.wikipedia.org/wiki/Cheeseball - Cheese
https://en.wikipedia.org/wiki/Cheese - Hors d’oeuvre
https://en.wikipedia.org/wiki/Appetizer - Meze
https://en.wikipedia.org/wiki/Meze - Google Scholar Google Scholar
https://scholar.google.com/scholar?q=simple+cheese+ball+recipe - Google Scholar Google Scholar
https://scholar.google.com/scholar?q=cheese+ball+appetizer+recipe+history - Google Scholar Google Scholar
https://scholar.google.com/scholar?q=cheese+ball+food+safety+listeria+preparation - About Listeria Infection | Listeria Infection | CDC
https://www.cdc.gov/listeria/index.html - https://www.fda.gov/foodborneillnesses/listeria-infection
https://www.fda.gov/foodborneillnesses/listeria-infection - Cheese | Description, Types, & Production | Britannica
https://www.britannica.com/topic/cheese