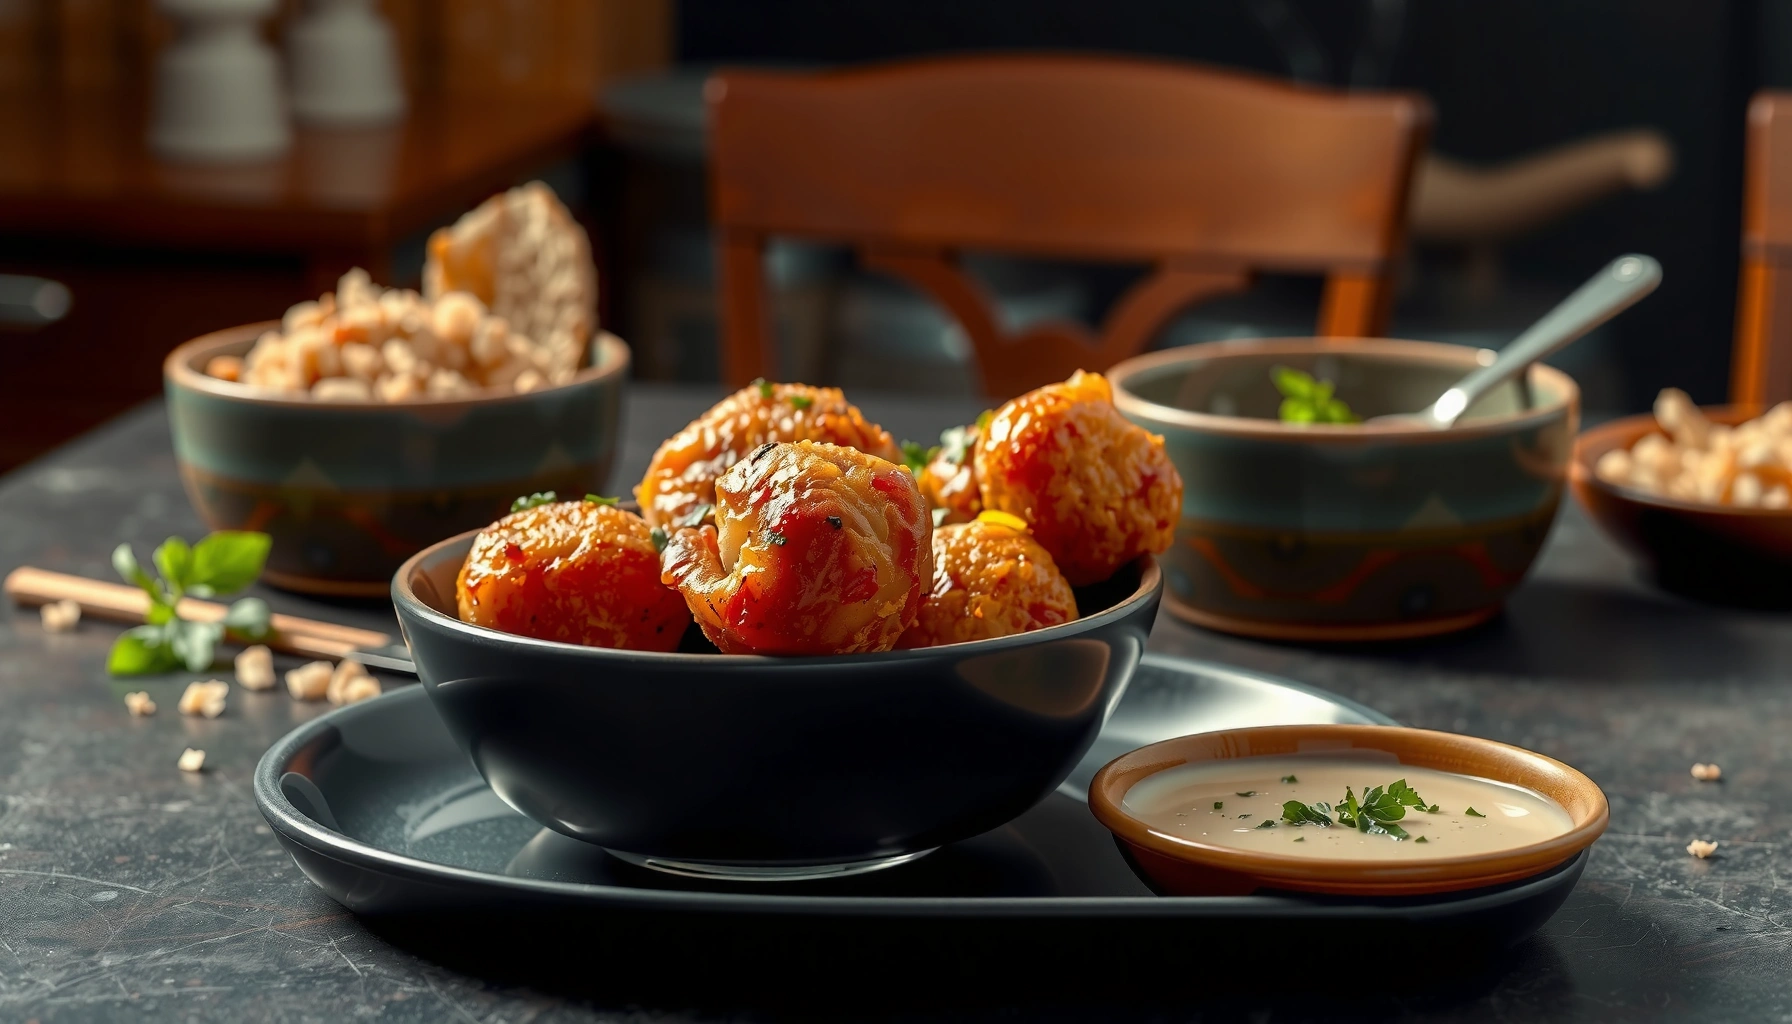
This shrimp ball recipe delivers the crispy, flavorful shrimp balls you want—golden outside, tender inside—without guesswork. You’ll learn the exact ingredients and seasoning, the right mix-and-shape method, and the best way to fry (or bake) so they don’t turn rubbery. Get ready for a reliable batch that’s built to crisp and pack serious shrimp flavor.
Shrimp ball recipe success is simple: season the shrimp well, bind it correctly so it holds together, and cook until golden and fully done for that signature crispy exterior and tender inside. In this guide, you’ll learn how to choose the right ingredients, follow an easy step-by-step process, and use practical frying vs. baking strategies to get shrimp balls that are crisp on the outside (not greasy) and juicy within.
In other words, this isn’t just “make shrimp balls”—it’s how to consistently make restaurant-style texture at home with clear ratios, reliable technique, and troubleshooting tips you can apply every time.
Ingredients for a Shrimp Ball Recipe
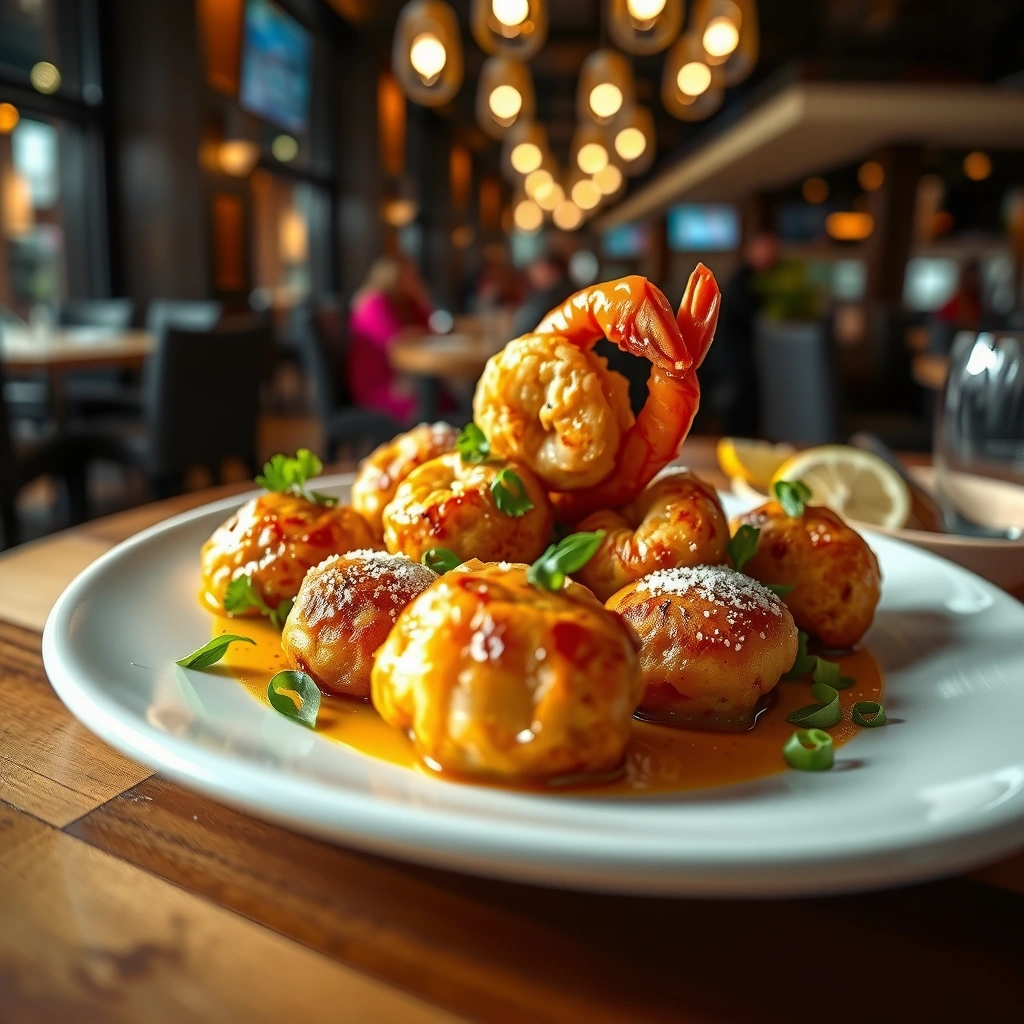
Shrimp balls are essentially a shrimp-based filling held together by a binder, then coated and cooked until crisp. The ingredient choices you make here determine everything: tenderness, flavor depth, and how well they hold their shape during frying or baking.
– Use ground or finely chopped shrimp plus a binder (like egg and starch)
For best texture, use peeled shrimp that you grind lightly or chop very fine so the mixture stays cohesive. A binder helps the protein set evenly rather than turning crumbly. Typical binders include:
– Egg (binds and adds structure)
– Cornstarch or potato starch (absorbs moisture and improves “crispability”)
– Optional: a small amount of neutral oil to reduce dryness and help the mixture stay workable
– Add aromatics and seasonings for bold flavor (garlic, ginger, salt, pepper)
Shrimp has a delicate flavor, so you need seasonings that “stand up” to the crisp coating:
– Garlic and ginger (grated or very finely minced)
– Salt (starts the flavor building and improves binding)
– Black pepper (small amount—enhances without overpowering)
– Optional enhancements: white pepper, scallions, a splash of soy sauce, or a pinch of sugar to round out savory flavors
– Choose your coating method (breadcrumbs or batter) for extra crunch
Your coating determines the crunch profile:
– Breadcrumbs (Japanese panko or regular): more “craggy” crunch and better browning
– Batter + breadcrumbs: thicker coating, more crunch, and a more “snack” texture
– For baking, choose coatings that tolerate oven heat without getting soggy (panko is often the most forgiving)
Practical ingredient ratio (works for ~20 medium balls):
– Shrimp: 1 lb (450 g) peeled/shrimp, finely chopped
– Binder: 1 large egg + 2–3 tbsp starch
– Seasonings: 1 tsp salt (adjust to taste), 1–2 cloves garlic (minced), 1 tsp ginger (minced/grated)
– Coating: 1 to 2 cups panko (or breadcrumb of choice) + optional flour/dry batter for better crust
To make the “binder choice” less guesswork, here’s a data-based look at how common binders affect shrimp ball texture and cooking behavior:
Binder Effects for Shrimp Balls (Typical Results)
| # | Binder choice | Best texture outcome | Hold during shaping | Crisp after cooking | Chef rating |
|---|---|---|---|---|---|
| 1 | Egg + cornstarch | Juicy interior, elastic bite | Excellent | High | ★★★★☆ |
| 2 | Egg only | Softer interior, slightly less “snap” | Good | Medium | ★★★☆☆ |
| 3 | Potato starch + egg | Tender center, slightly lighter coating | Very good | High | ★★★★☆ |
| 4 | Breadcrumbs in the mix | More “meatball-like” density | Good | Medium | ★★★☆☆ |
| 5 | Cornstarch only | Can be crumbly without enough moisture control | Fair | High (if it holds) | ★★☆☆☆ |
| 6 | No binder (structure reliant on shrimp) | Likely fragile, inconsistent texture | Poor | Variable | ★☆☆☆☆ |
| 7 | Egg + tapioca starch | Crisp, slightly chewy exterior bite | Very good | High | ★★★★☆ |
Step-by-Step Instructions
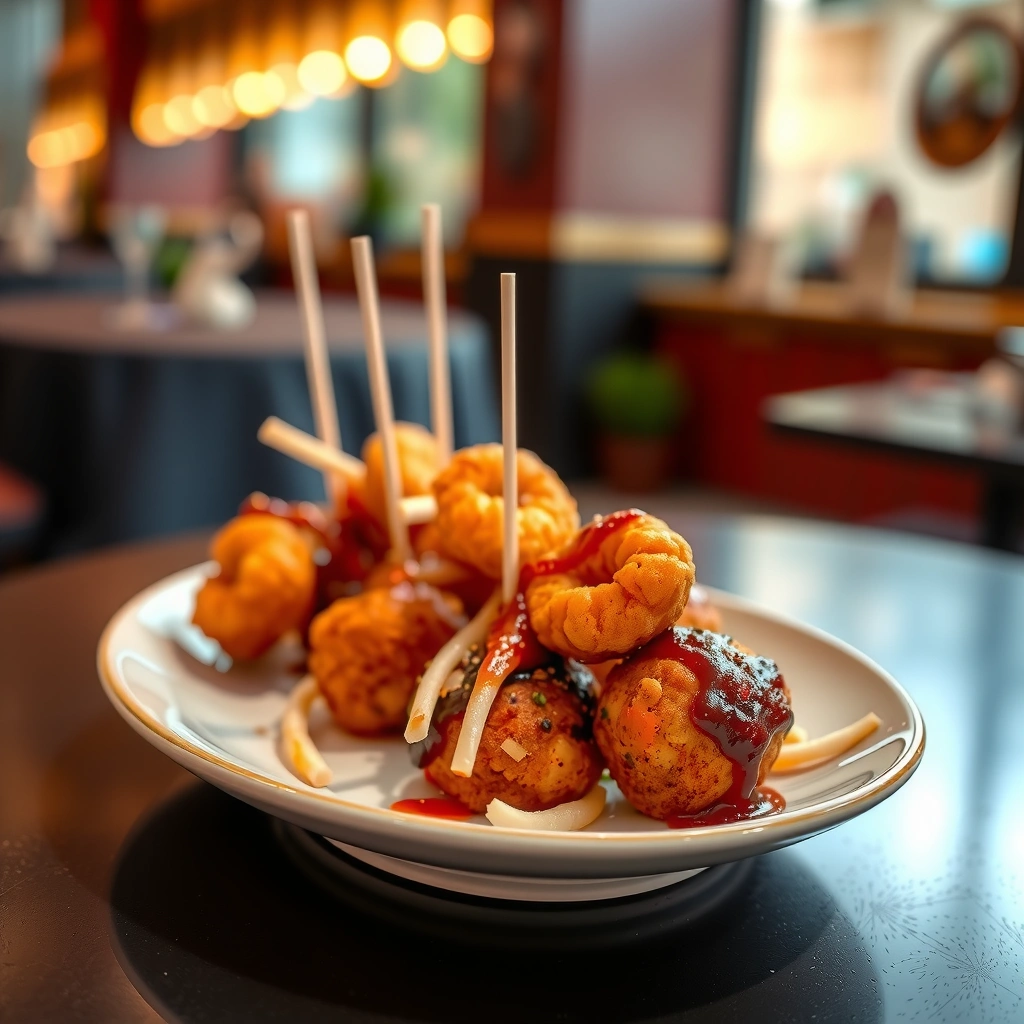
This shrimp ball recipe is straightforward—what matters is the order of operations and how you handle the mixture.
– Mix shrimp, binder, and seasonings until the mixture holds together
1. Pat shrimp dry (or thaw fully and drain well). Excess water is a major cause of broken balls.
2. In a bowl, combine chopped shrimp with egg, starch, salt, garlic, and ginger.
3. Mix just until the mixture becomes cohesive. If it’s too wet, add a little more starch; if it’s too dry, add a teaspoon of cold water or a touch of oil.
– Shape into uniform balls for even cooking
Aim for consistency—shrimp balls cook quickly. A practical size is 1.5–2 inches (about 4–5 cm).
– Wet your hands lightly to reduce sticking.
– Roll gently—uniform thickness helps the interior cook at the same rate as the crust.
– Coat each ball and get them ready for frying or baking
Coat each ball thoroughly:
– Breadcrumb method: roll in panko until fully covered.
– Batter method (optional): dip in a quick batter (flour + water + pinch of salt), then coat with panko for a thicker shell.
– Place coated balls on a tray with space between them so air can circulate.
Chef tip: If you want maximum crunch, do a two-step coating: light flour (or starch) → egg dip → panko.
Frying vs. Baking: Best Cooking Method
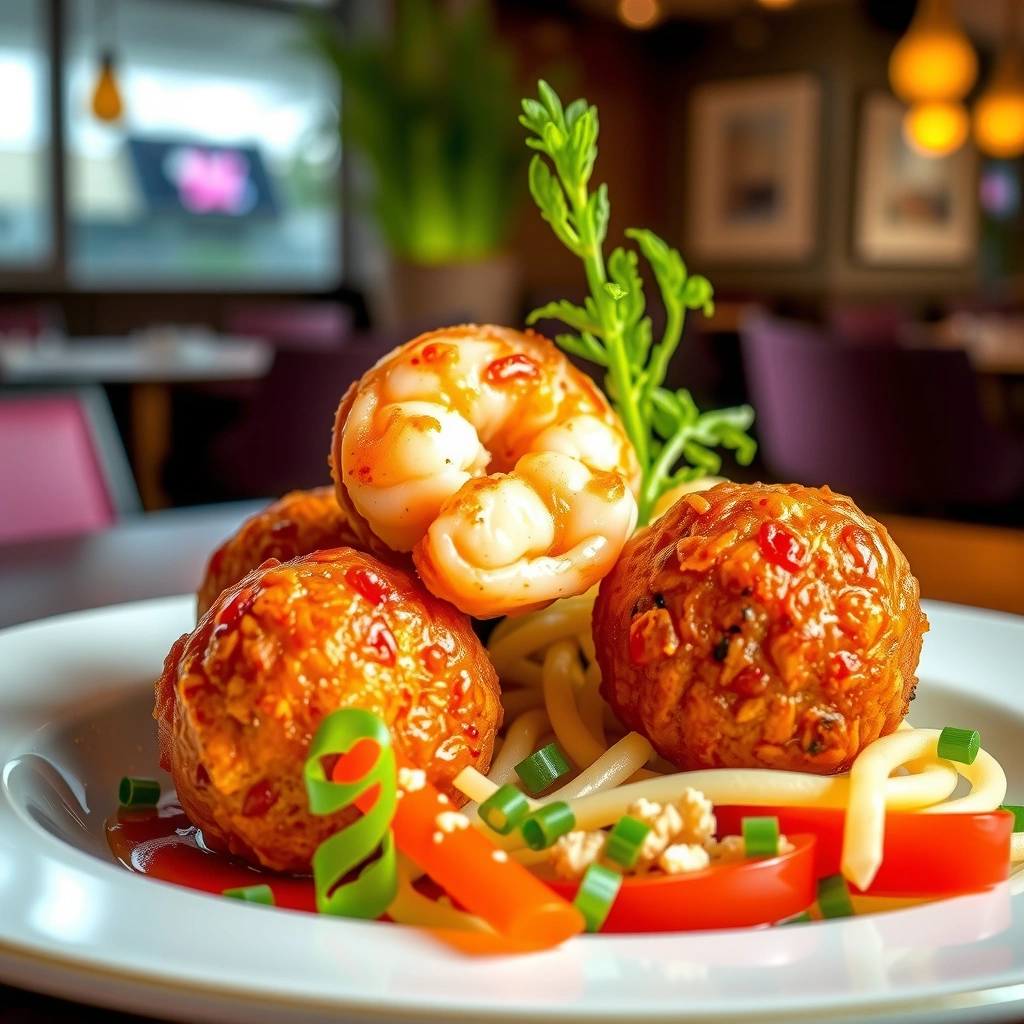
Both methods work; they just deliver different trade-offs. The best choice depends on your equipment, time, and preference for oil level vs. crisp intensity.
– Frying: achieves the crispiest exterior and fast results
Fry at a stable temperature (commonly 350°F / 175°C). Frying creates rapid browning and a shattering crust because moisture evaporates quickly and fat promotes browning.
Cook in batches to avoid lowering the oil temperature. Remove when shrimp balls are deep golden and the coating looks crisp, not pale.
– Baking: lower oil, easier cleanup, and still great texture with the right heat
Baking requires more attention to temperature and airflow:
– Preheat thoroughly (a hot oven helps set the coating quickly).
– Use wire rack on a sheet pan so hot air reaches the underside.
– Lightly spray oil on top and flip once for even browning.
Typical bake time ranges from 12–18 minutes, depending on size and oven. The key is doneness: shrimp cooks fast, and you should cook until the balls are fully opaque inside (not translucent).
– Cook until cooked through and browned, not just “set”
The most common mistake is stopping when the mixture “looks firm.” Shrimp needs full heat penetration. A reliable approach is to cook until:
– coating is golden-brown, and
– interior texture is springy and opaque, with no raw-looking center.
Tips to Keep Shrimp Balls Tender and Not Rubbery
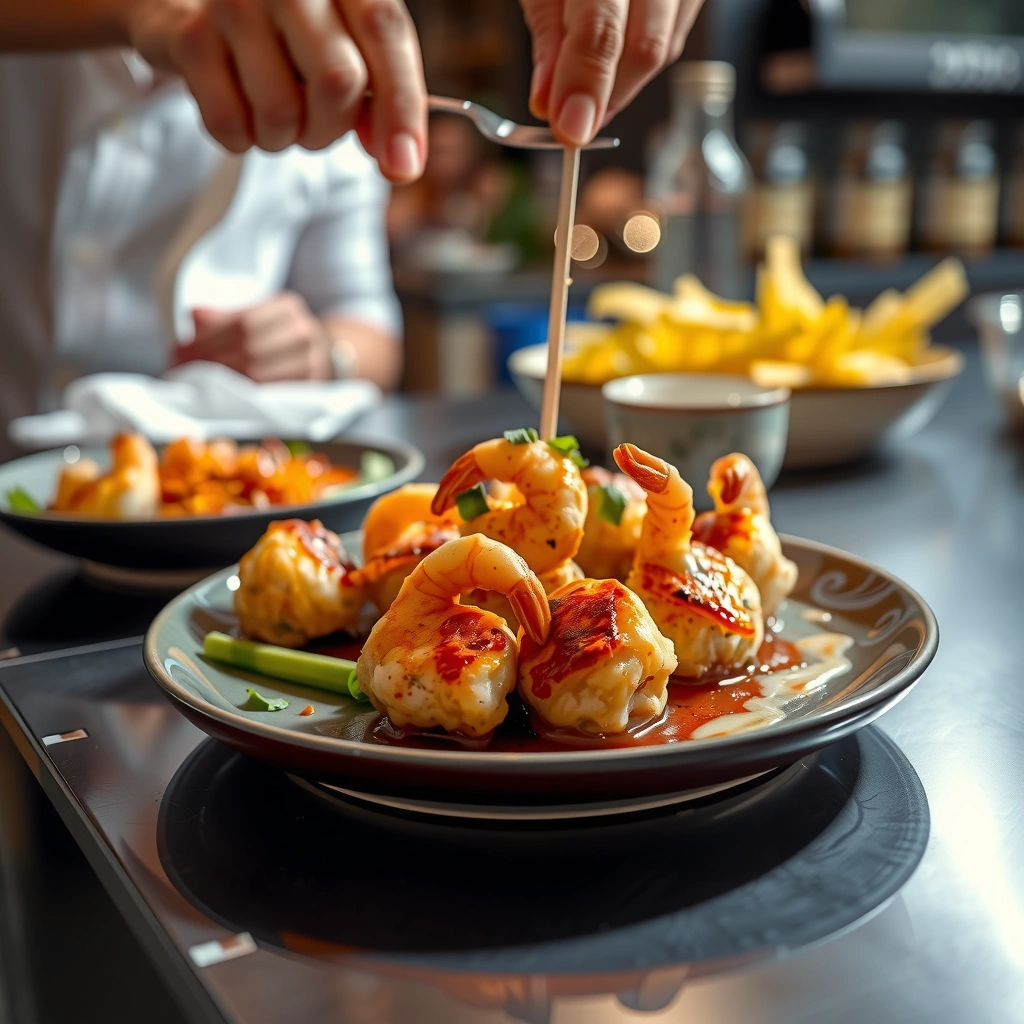
Shrimp is lean and can turn rubbery quickly. The goal is tenderness with structure—achieved through proper moisture control, gentle handling, and precise cooking time.
– Avoid overmixing or pressing too hard while forming balls
Overmixing can make the texture tight. When you combine shrimp with binder, mix only until cohesive. During shaping, roll gently—pressure should be enough to form a ball, not compact it like a burger.
– Chill the mixture briefly to improve texture and shaping
Chill the mixture 15–30 minutes before shaping if it feels loose or if you want cleaner edges. Chilling firms the binder, reduces spreading, and helps the balls retain shape in the fryer or oven.
– Don’t overcook—shrimp dries out quickly
Shrimp balls can go from perfectly cooked to dry fast. To reduce risk:
– Use correct temperatures (oil too low leads to greasy, undercooked centers; oil too high can brown outside before inside warms).
– If baking, don’t rely only on “time”—check early and look for golden color plus opaque centers.
Troubleshooting quick fixes
– Balls falling apart: binder too low or mixture too wet; ensure shrimp is drained and increase starch slightly.
– Balls are hard or tough: overmixed or overcooked; chill mixture, mix less, and pull from the pan when golden.
– Crust not crisp: coating uneven or oily; use panko, ensure full coverage, and don’t overcrowd the tray.
Serving Ideas and Dipping Sauces
Shrimp balls are versatile—think snack, appetizer, or meal component. Pair them with sauces that balance sweetness, heat, and acidity.
– Serve with steamed rice, noodles, or a fresh salad
– Rice: keeps it comforting and helps absorb sauce
– Noodles: adds slurp-friendly balance and textural contrast
– Fresh salad: cuts richness and refreshes the palate
– Try sweet chili sauce, garlic mayo, or soy-based dipping sauce
Choose based on your flavor direction:
– Sweet chili sauce: bright, slightly tangy, and crowd-pleasing
– Garlic mayo: creamy and savory; add lemon juice if you want more lift
– Soy-based dipping sauce: stir together soy sauce, a touch of rice vinegar, and optional chili oil
– Garnish with green onions or sesame seeds for extra flavor
Garnishes aren’t just decorative—they add aroma and a fresh finishing note. A light sprinkle of sesame seeds and chopped scallions makes shrimp balls look and taste more “finished.”
Storage and Reheating
If you want shrimp balls for quick lunches or easy dinners, storage and reheating are crucial—crispy shells are fragile until reheated correctly.
– Store leftovers in an airtight container in the fridge
Let shrimp balls cool completely before sealing. Refrigeration helps prevent coating from turning soggy, but it will still soften slightly over time.
– Reheat in an oven/air fryer to restore crispness
Avoid the microwave if you can—it steams the crust. Instead:
– Air fryer: reheat at 350–380°F (175–193°C) for a few minutes until crisp again
– Oven: use a preheated oven and consider a wire rack for best airflow
Reheat until hot throughout and the crust regains crunch.
– Freeze shaped (uncooked) balls for easy later frying or baking
Freezing is ideal for meal prep:
1. Shape and coat the balls.
2. Freeze on a tray until solid.
3. Transfer to a freezer bag/container.
When ready, cook directly from frozen (you may add a couple minutes to the cooking time). This approach reduces waste and preserves quality.
Shrimp ball recipe success comes down to proper seasoning, the right binder, and cooking just until golden and fully cooked. Follow the steps above, choose frying or baking based on your preference, and enjoy crispy shrimp balls with your favorite dip—then make a bigger batch for quick reheats all week.
References
- Fish ball
https://en.wikipedia.org/wiki/Fish_ball - Surimi
https://en.wikipedia.org/wiki/Surimi - Tempura
https://en.wikipedia.org/wiki/Tempura - Shrimp
https://en.wikipedia.org/wiki/Shrimp - https://www.foodsafety.gov/keep-food-safe/food-safety-basics/
https://www.foodsafety.gov/keep-food-safe/food-safety-basics/ - https://www.fda.gov/food/consumers/what-you-need-know-about-seafood-and-shellfish-safety
https://www.fda.gov/food/consumers/what-you-need-know-about-seafood-and-shellfish-safety - Food safety
https://www.who.int/news-room/fact-sheets/detail/food-safety - https://pubmed.ncbi.nlm.nih.gov/?term=shrimp+surimi+gel+formation
https://pubmed.ncbi.nlm.nih.gov/?term=shrimp+surimi+gel+formation - Google Scholar Google Scholar
https://scholar.google.com/scholar?q=shrimp+ball+recipe - Google Scholar Google Scholar
https://scholar.google.com/scholar?q=shrimp+surimi+fish+balls+recipe