To make royal icing with cream of tartar, you’ll whisk together 4 cups powdered sugar, 2 tablespoons meringue powder or 4 egg whites, and 1/4 teaspoon cream of tartar for stability. Add 5–6 tablespoons water gradually, testing thickness as you go. Aim for a glossy, stable sheen; adjust with small amounts of water or sugar. Keep tools sanitized and work cool to prevent bloom. With precise control, you’ll achieve flawless piping and decorative gloss, and you’ll uncover more techniques next.
Ingredients and Quantity
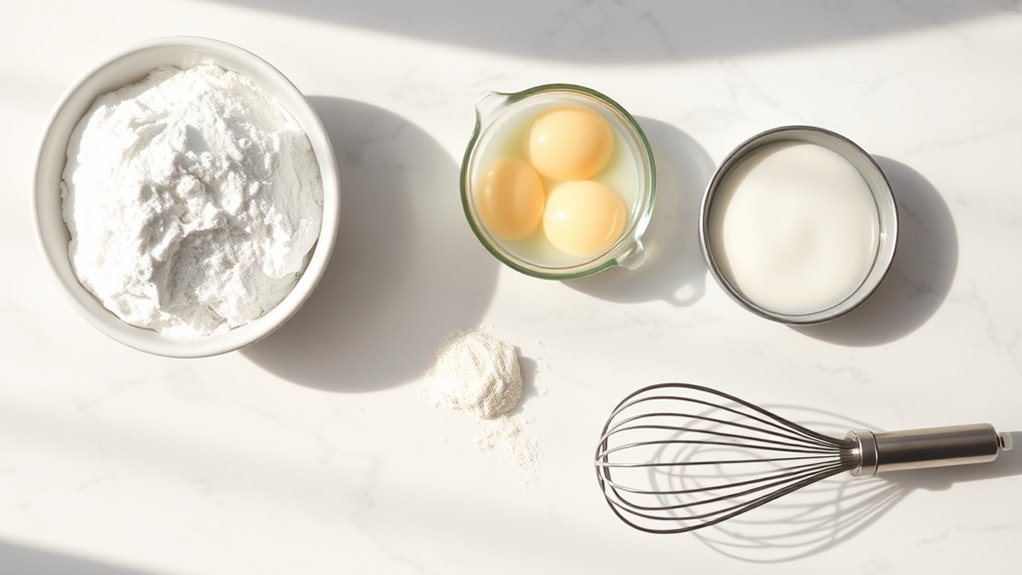
To make royal icing, you’ll need the following ingredients in precise quantities: powdered sugar, meringue powder or egg whites, water, and cream of tartar (optional for stability).
| Ingredient | Amount |
|---|---|
| Powdered sugar | 4 cups |
| Meringue powder or egg whites | 2 tablespoons / 4 egg whites |
| Water | 5-6 tablespoons |
| Cream of tartar | 1/4 teaspoon (optional) |
You control icing consistency by weighting water against sugar. Add water gradually, test stiffness with a clean spatula, and record adjustments. Precision guides your technique; freedom means you adapt within targets. Cream of tartar stabilizes structure without glazing excess. Maintain a cool mixing environment to prevent runaway viscosity. Your method remains scientific: measure, mix, observe, adjust. This foundation supports decorative precision while honoring expressive, deliberate design.
Preparations
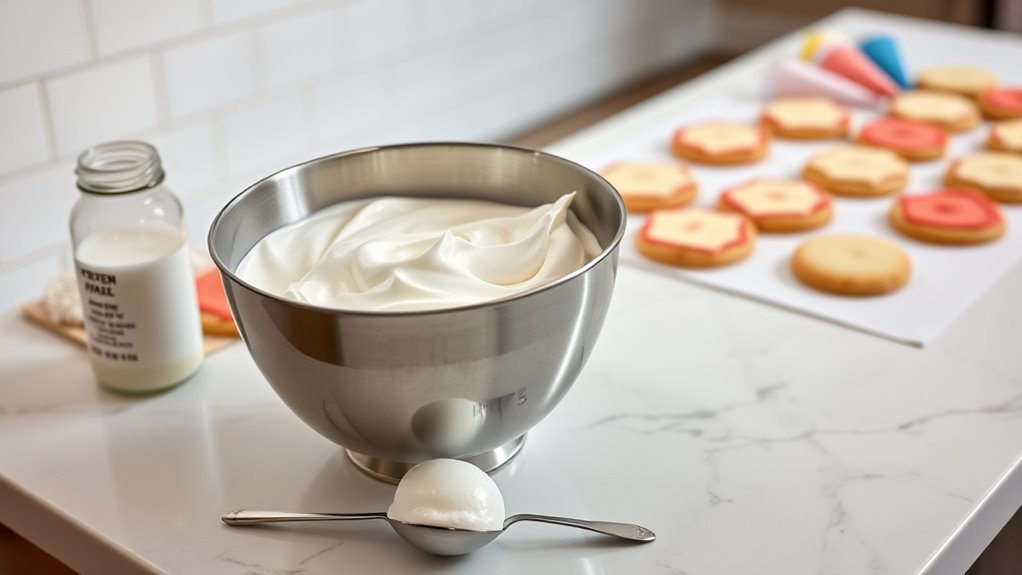
With the ingredients measured, you’re ready to prepare your workspace and components for royal icing. Begin by sanitizing surfaces and tools to minimize contamination, then lay out a clean, flat workstation with good lighting. Gather the equipment needed: a stand mixer or hand mixer, a medium bowl, a spatula, a thermometer gun, and airtight containers for storage. Use a calm, deliberate tempo to prevent air incorporation that will thicken the sugar syrup prematurely. Measure cream of tartar precisely, since its acidity stabilizes the icing’s structure. Pre-soften butter or shortenings if used, and verify piping bags, tips, and couplers are clean and dry. Maintain consistent speeds during mixing, and document temperature ranges for future reference in your preparation techniques.
How to Cook
- Begin by warming your mise en place: confirm your ingredients are measured, containers labeled, and tools at hand to ensure the cooking process proceeds without interruption.
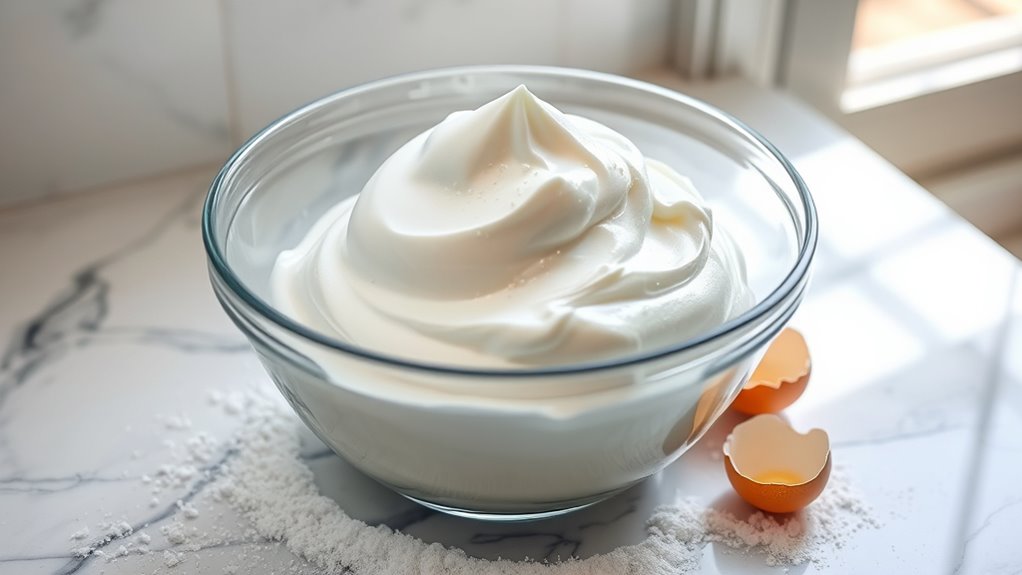
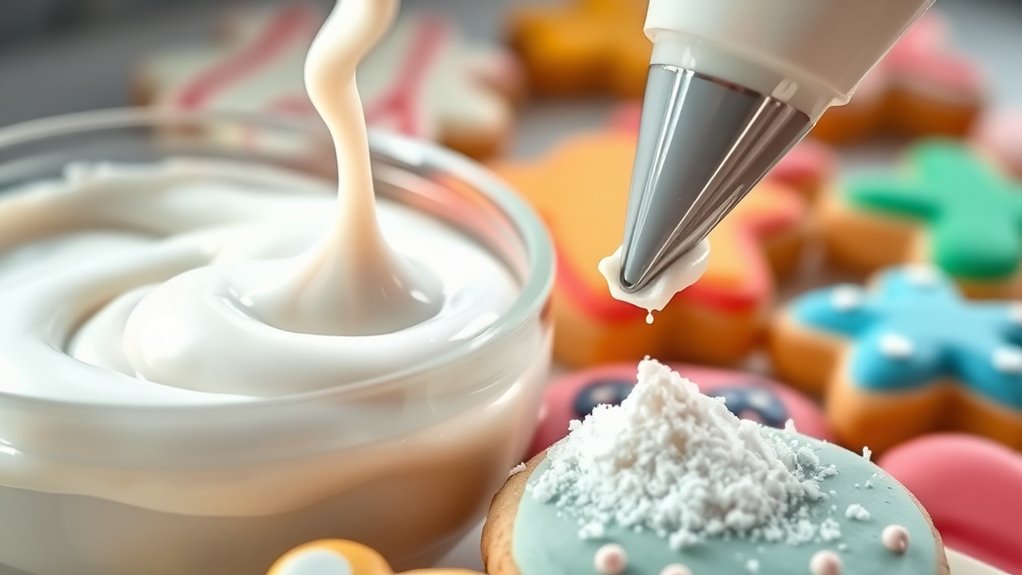
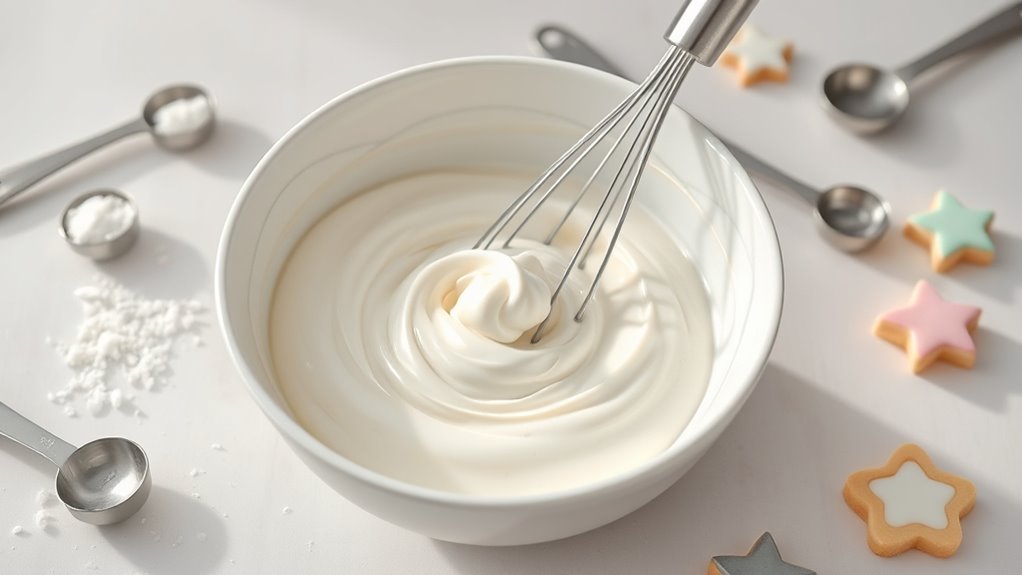
- Whisk royal icing to a stable, glossy sheen.
- Adjust viscosity with small additions of water or sugar, tracking changes carefully.
- Maintain a cool, clean workspace to prevent sugar bloom and ensure crisp textures for decoration.
- Beat the icing until air is incorporated without overworking.
- Test flow with a royal icing consistency draw.
- Use piping bags with fine tips for controlled icing techniques.
- Layer thin outlines before flooding the cookies.
- Keep icing at consistent temperatures to avoid separation.
- For decorating cookies, plan detailing in advance.
- Allow edges to set before handling decorated cookies.
- Apply precision, timing, and calm control to elevate your cookie decorating results.
How to Serve
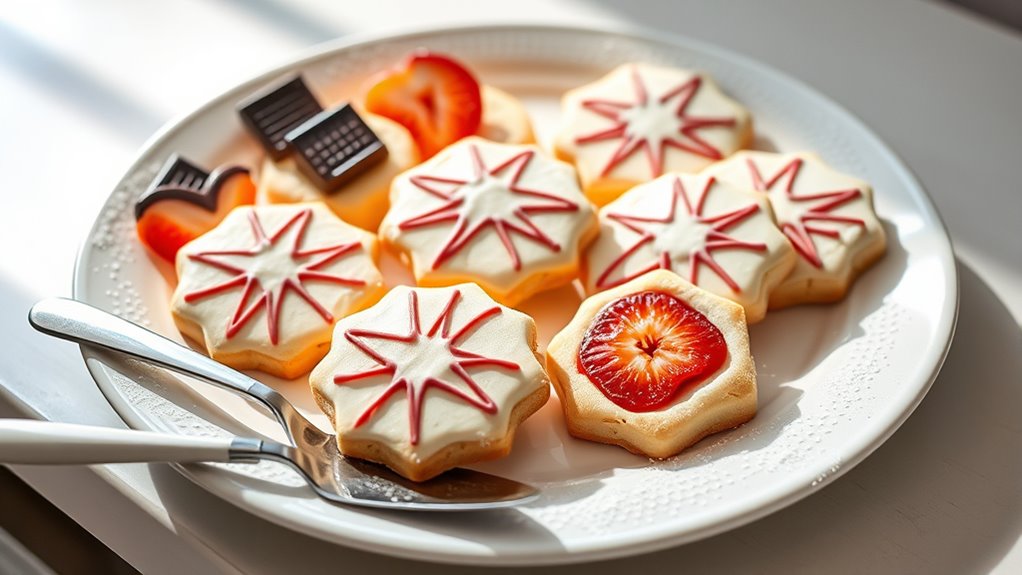
After the icing has set and you’ve finished any detailing, focus on presentation and serving. You’ll plate with clean edges and even surfaces, ensuring a solid base for any garnish. Use a sharp spatula or palette knife to lift decorated cookies without smudging. For serving, arrange on a cool platter away from direct sunlight to preserve gloss and color stability. Offer serving suggestions that highlight contrast: dark chocolate accents, fruit slices, or powdered sugar halos that don’t disrupt the coating’s integrity. For decoration ideas, position cookies in geometric grids or fan patterns to emphasize symmetry. Maintain a steady tempo: allow cutting edges to release cleanly, then present immediately. Document preferences for texture and sweetness to tailor future batches.
Tips
If you want sharp, glossy royal icing, start by loosening or thickening to the exact drop you need, then test on a parchment square before applying to cookies. You’ll calibrate icing consistency with small adjustments, noting how sugar crystals dissolve and glaze forms. Focus on steady whisking, controlled humidity, and steady airstream during drying. Document how decorating techniques respond to thickness, and how tiny air bubbles vanish with a gentle tap. Precision matters: measure, mix, and monitor until the finish mirrors your design intent. Use this mindset to plan outlines, flood fills, and piped details, ensuring clean edges and crisp texture.
- Control icing consistency with incremental changes
- Match flooding and outline thickness to design
- Keep a clean workflow for consistent results
- Drying times guide layering and shading
- Practice with test cookies before final projects
Food Value and Benefit
Royal icing provides both aesthetic and practical value in cookie decoration through its stable, glossy surface that dries hard for precision and durability.
Royal icing adds a glossy, durable finish that elevates cookie decorating with precision.
Food Value of Royal Icing:
- Primarily composed of sugar, egg white (or powder), and a binding agent.
- Contains small amounts of protein from egg whites.
- Provides energy mainly from carbohydrates (sugar).
Benefits of Eating Royal Icing:
- Enhances the visual appeal of baked goods, making treats more enjoyable.
- Offers controlled portioning and reduced spoilage, promoting efficient sharing.
- Using pasteurized egg whites or powdered alternatives reduces contamination risk.
- Contains cream of tartar, which stabilizes acidity and improves texture.
- Supplies trace amounts of vitamins and minerals, including:
- Vitamin B2 (Riboflavin) from egg whites, supporting energy metabolism.
- Small amounts of calcium and potassium from cream of tartar.
While the nutritional benefits are modest due to the high sugar content, royal icing adds decorative value and contributes minimal protein and micronutrients when included in baked treats.
Frequently Asked Questions
Can I Substitute Almond Extract in Royal Icing?
Yes, you can substitute almond extract in royal icing. Substituting flavors, use 1/4 to 1/2 teaspoon per batch, adjust to taste. Alternative extracts effect tastes; document results methodically, noting aroma, color, and stability for future batches.
How Long Does Royal Icing With Cream of Tartar Last?
30 seconds ago, you’ll be fine for up to a week in the fridge. Royal icing storage favors airtight containers; icing shelf life extends to about 1–2 weeks refrigerated, or 1 month frozen, depending on moisture control and sugar concentration.
Can I Tint the Icing With Gel Colors?
Yes, you can tint it with gel colors. Use tinting techniques like careful dispersal, mix gradually, and avoid overworking. Compare gel color brands, test shade first, and document your gel color brands for repeatable results.
Is Cream of Tartar Essential for Stability?
Yes, cream of tartar helps stability, but it isn’t essential. You’ll still get glossy sugar glue by beating properly. Cream of Tartar benefits include smoother peaks; explore Royal Icing alternatives if you skip it, adjusting acidity and texture.
What Surfaces Can Royal Icing Be Used On?
You can apply royal icing to cake decorating surfaces like cookies, gingerbread, and fondant—smooth, sealed, and dries hard. You’ll use it for edible projects on clean, non-porous bases, ensuring precise adhesion and crisp, lasting details.
Frequently Asked Questions
What is royal icing and why is cream of tartar used in the recipe?
Royal icing is a smooth, hard icing made primarily from egg whites or meringue powder, powdered sugar, and sometimes cream of tartar. Cream of tartar is used to stabilize the egg whites or meringue powder, helping the icing hold its shape and achieve a glossy finish. It also helps prevent sugar crystallization, making for a smoother icing when decorating cookies or cakes.
How do I make royal icing with cream of tartar?
To make royal icing using cream of tartar, you’ll need 2 large egg whites (or 2 tablespoons of meringue powder), 4 cups of powdered sugar, and 1 teaspoon of cream of tartar. Begin by beating the egg whites in a mixing bowl until frothy. Gradually add the powdered sugar and cream of tartar, mixing on low speed until combined, then increase the speed and beat until the icing forms stiff peaks. This process typically takes about 5-7 minutes.
How should I store royal icing made with cream of tartar?
Royal icing can be stored in an airtight container at room temperature for up to 2 days. If you need to store it for a longer period, consider refrigerating it for up to a week. Be sure to cover the surface with plastic wrap to prevent it from drying out. If the icing becomes too stiff after storage, you can add a few drops of water and re-whip it to restore the desired consistency.
What can I use royal icing for?
Royal icing is incredibly versatile. It’s commonly used for decorating cookies, cakes, and cupcakes. You can pipe intricate designs, create borders, or flood the surface of cookies for a smooth finish. Additionally, it can be used for gingerbread houses, as it acts like glue when constructing the walls and roof. Royal icing is also perfect for adding embellishments like flowers or details that need a firm hold.
Can I use a substitute for cream of tartar in royal icing?
While cream of tartar is recommended for stabilizing royal icing, if you don’t have it on hand, you can use an equal amount of lemon juice or white vinegar as a substitute. These acidic ingredients will help stabilize the egg whites similarly. Just keep in mind that substitutions may slightly alter the flavor and texture of the icing.
References
- https://en.wikipedia.org/wiki/Royal_icing
- https://www.extension.purdue.edu/extmedia/FS/FS-35-W.pdf
- https://www.foodnetwork.com/recipes/articles/what-is-royal-icing
- https://www.seriouseats.com/royal-icing-recipe-5110955
- https://www.bhg.com/recipes/how-to/bake/royal-icing/
- https://www.cooksinfo.com/royal-icing
- https://www.kingarthurbaking.com/recipes/royal-icing-recipe