This classic homemade recipe liver pudding delivers the best balance of creamy texture and rich, savory flavor—so you can confidently make liver pudding that sets properly and tastes traditional. If you’re searching for the exact method, ingredients, and timing that prevent grainy filling and rubbery results, this guide answers them step by step. Expect a straightforward walkthrough from prepping the liver to assembling and cooking, with practical tips to get the finish right every time.
Yes—liver pudding is straightforward to make at home if you finely chop the liver and onions, season properly, add the right binder, and cook gently until the center is fully set; then cool before slicing. In this classic homemade guide, you’ll learn a reliable liver pudding recipe, why texture matters, and how to avoid the common pitfalls that lead to graininess, softness, or unsafe undercooking.
Liver pudding is easy to make at home when you balance finely chopped liver with seasoning, binder, and gentle cooking. In this guide, you’ll learn a classic recipe for liver pudding plus tips for the right texture and safe, delicious results.
Ingredients for Liver Pudding

– Choose fresh liver (beef or pork) and quality onions
– Add seasonings like salt, pepper, and herbs to taste
– Use a binder such as breadcrumbs or oats for proper set
A classic liver pudding recipe is built on three pillars: good liver, aromatic onions, and a binder that sets without drying the mixture out. For best results, use fresh beef or pork liver (not freezer-burned or old stock). Pork liver tends to be milder and slightly creamier; beef liver can taste deeper and more robust.
What to buy (and why)
– Liver (500 g / ~1.1 lb): Choose firm, fresh liver with a clean smell. Remove any tough membranes for a smoother final texture.
– Onion (1 large, finely diced or grated): Onion provides sweetness and moisture balance—crucial for countering liver’s mineral flavor.
– Binder (breadcrumbs or quick oats): A binder helps the pudding hold together when sliced. It also absorbs excess moisture so the loaf sets cleanly.
– Fat (optional but recommended): A small amount of fat—either rendered suet, butter, or even a spoon of chicken stock—helps deliver the traditional silky mouthfeel.
– Seasoning: Salt and black pepper are non-negotiable; herbs like thyme or marjoram are typical in traditional variations. A touch of nutmeg is optional but often elevates the flavor.
Binder selection: practical guidance
If you want a classic sliceable pudding, breadcrumbs generally deliver a firmer set. Oats produce a slightly more tender result and can help if your mixture seems watery. Whichever you choose, keep ratios steady and avoid “eyeballing” too much.
To help you plan your batch and target texture, here’s a practical comparison of binder choices based on typical outcomes in homemade liver pudding:
Homemade Liver Pudding Binder Outcomes (Typical Results)
| # | Binder choice | Best set style | Cook time guide | Slice cleanliness | Cooked texture rating | Safety note |
|---|---|---|---|---|---|---|
| 1 | Fine breadcrumbs | Firm loaf | 55–70 min | High | ★★★★★ | Check center is fully set |
| 2 | Regular breadcrumbs | Traditional set | 60–75 min | Medium-High | ★★★★☆ | Avoid underbaking |
| 3 | Quick oats | Tender loaf | 60–80 min | Medium | ★★★★☆ | Rest fully before slicing |
| 4 | Steel-cut oats | Hearty texture | 75–95 min | Medium | ★★★☆☆ | Extra bake time required |
| 5 | Flour (plain) | Softer set | 50–65 min | Medium | ★★★☆☆ | May taste “starchy” if heavy |
| 6 | Milk-soaked bread | Creamy mouthfeel | 60–85 min | Medium-High | ★★★★☆ | Squeeze well to avoid too much liquid |
| 7 | No binder (thin mix) | Spoonable only | Varies | Low | ★☆☆☆☆ | Risk of loose center if undercooked |
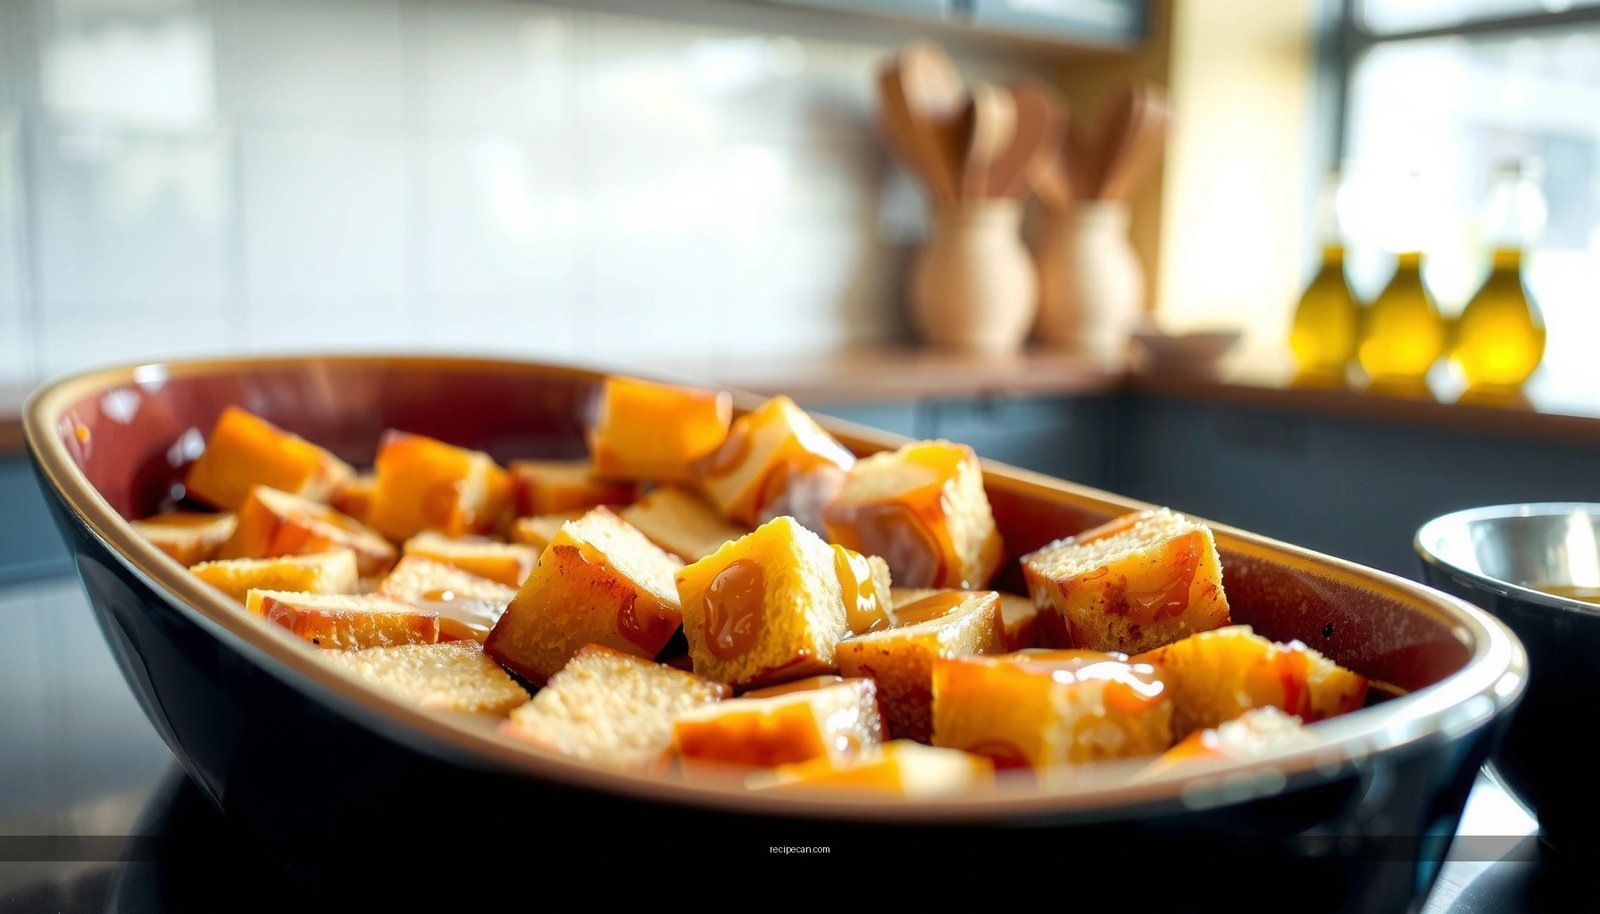
Prep the Liver Mixture

– Finely chop or blend liver and onions for a smooth texture
– Mix in seasonings and binder until evenly combined
– Rest the mixture briefly to help flavors meld
This stage determines whether your liver pudding turns out smooth and cohesive—or grainy and crumbly. Traditional methods often use finely chopped liver (sometimes even minced) to maintain a classic texture, while modern recipes may blend briefly for a smoother, more uniform set.
Step-by-step prep approach (classic, consistent)
1. Prep the liver: Trim connective tissue and membranes. Cut liver into small pieces so the chop/blend is even.
2. Process liver and onions:
– For “classic chop” texture: finely chop by hand or use a food processor in short pulses.
– For smoother pudding: blend liver and onions until evenly minced, not whipped.
3. Season early, not at the end: Salt and pepper should be distributed throughout the meat mix. Typical starting point for a 500 g batch is about 1 to 1½ teaspoons salt (adjust based on dietary preference and whether your stock/fat is salted).
4. Add binder gradually: Add breadcrumbs or oats and mix until the binder disappears into the mixture. If it looks excessively wet, allow the mixture to rest—binder hydrates and thickens as it sits.
5. Rest the mixture (10–20 minutes): This short rest helps the binder absorb moisture and lets the onion flavor mellow into the liver base.
Avoid overmixing
Liver contains proteins that tighten with aggressive handling. Overprocessing can make the pudding tough. Mix just until uniform; the oven or simmering method will do the rest of the work.
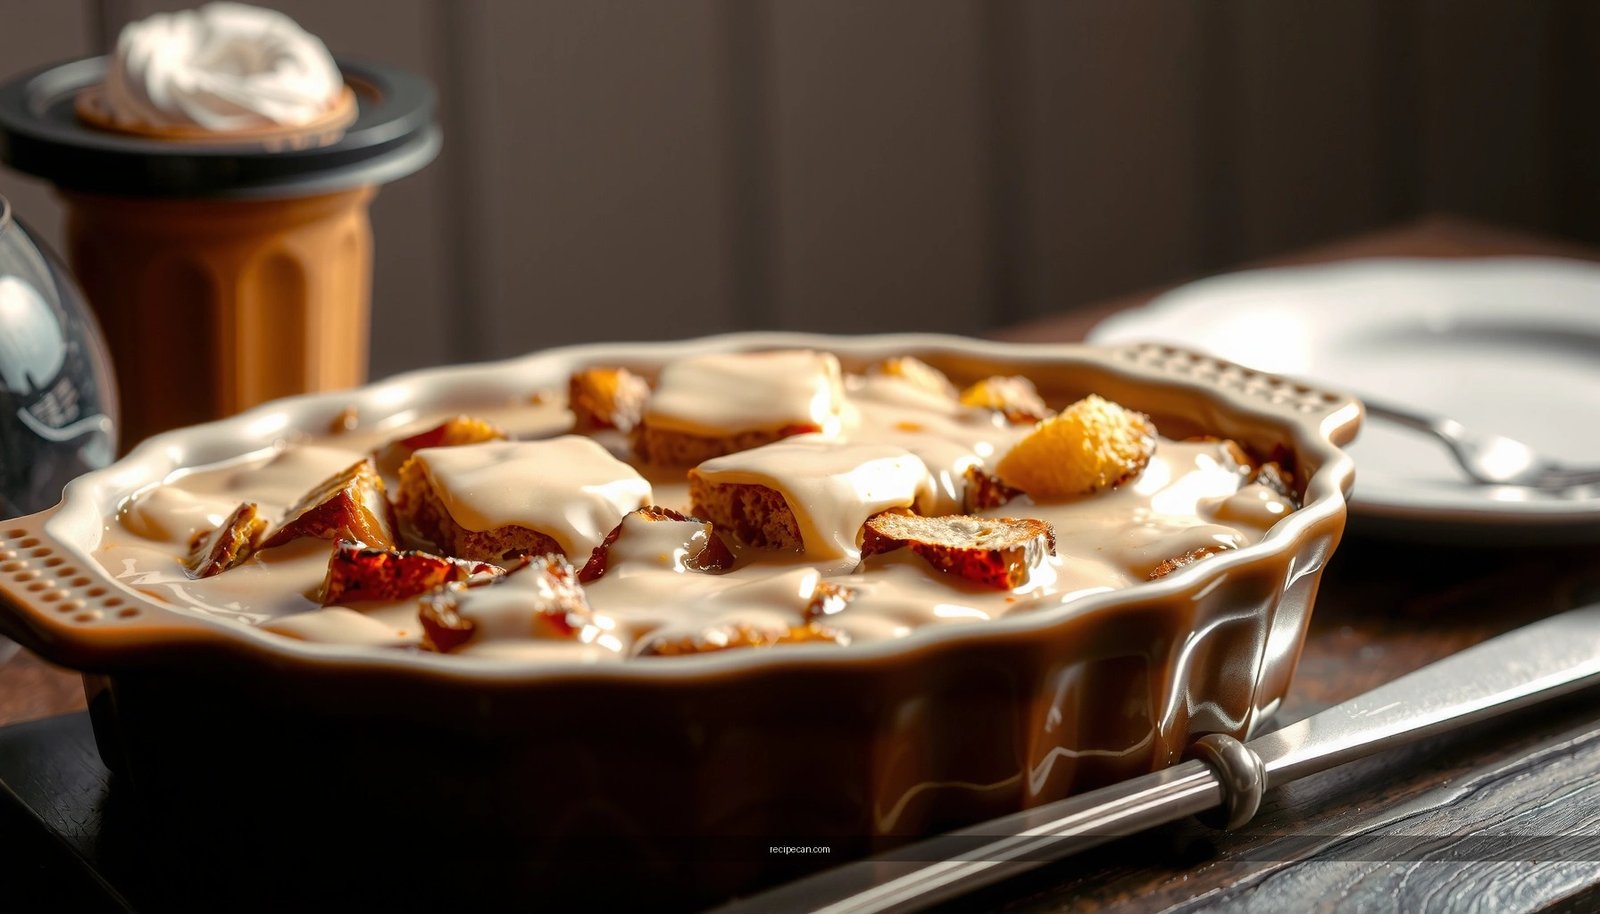
Cooking Methods for Liver Pudding

– Bake in a loaf tin or dish for a steady, even set
– Or simmer using a pudding basin for a traditional result
– Cook until the center is fully done (no raw liver)
Two reliable cooking routes are standard for homemade liver pudding: baking or gentle simmering. Both can yield excellent results if temperature control and doneness checks are respected.
Option A: Bake for easy, even results
– Preheat oven to 160–175°C (325–350°F).
– Place mixture into a greased loaf tin or baking dish.
– Cover loosely with foil to prevent excessive browning.
– Bake until the pudding is set in the middle. A key indicator: the center should no longer look wet or translucent.
Why baking works: It gives stable, dry-heat cooking, helping the binder set and slice cleanly after cooling.
Option B: Simmer in a pudding basin for tradition
– Fill a greased pudding basin and cover with a lid or foil.
– Place in a pot with hot water (a gentle bain-marie).
– Simmer steadily without aggressive boiling.
Why simmering works: Gentle moist heat minimizes surface drying and supports a traditional, tender set.
Doneness is non-negotiable (food safety)
Liver must be cooked thoroughly. Even if the edges are set, the center may lag. If you use a thermometer, aim for internal doneness until the mixture is fully cooked through—when in doubt, cook longer. The “no raw liver” rule is both a safety standard and a texture requirement.
Getting the Best Texture
– Avoid overmixing to prevent a tough or grainy pudding
– Let it cool before slicing for cleaner cuts
– Add a little stock or fat if it seems too firm
Texture in liver pudding is where most home cooks either “nail it” or miss. The goal is a loaf that slices neatly yet remains tender and not dry.
Common texture problems—and fixes
– Grainy or dry: Usually caused by overmixing, too much binder, or baking too hot/too long.
– Fix: reduce processing time, lower oven temperature slightly, and consider adding a small spoon of stock or fat next batch.
– Soft or loose: Often from insufficient binder, underbaking, or not resting/cooling long enough.
– Fix: bake longer until the center is fully set; also cool fully before slicing (set continues as it cools).
– Watery mix: Happens when onions release excess liquid and binder wasn’t adjusted.
– Fix: drain grated onions if very wet, or allow rest time so oats/breadcrumbs hydrate.
Cooling improves slicing
Even when cooked, liver pudding needs time to firm up. Cool at room temperature, then refrigerate briefly before slicing. This yields clean edges and less crumble.
A practical “consistency check”
Before cooking, the mixture should hold together when spooned but not be rubber-stiff. If it seems overly firm, add 1–2 tablespoons of stock, broth, or melted fat. Mix once, rest 5 minutes, then bake or simmer.
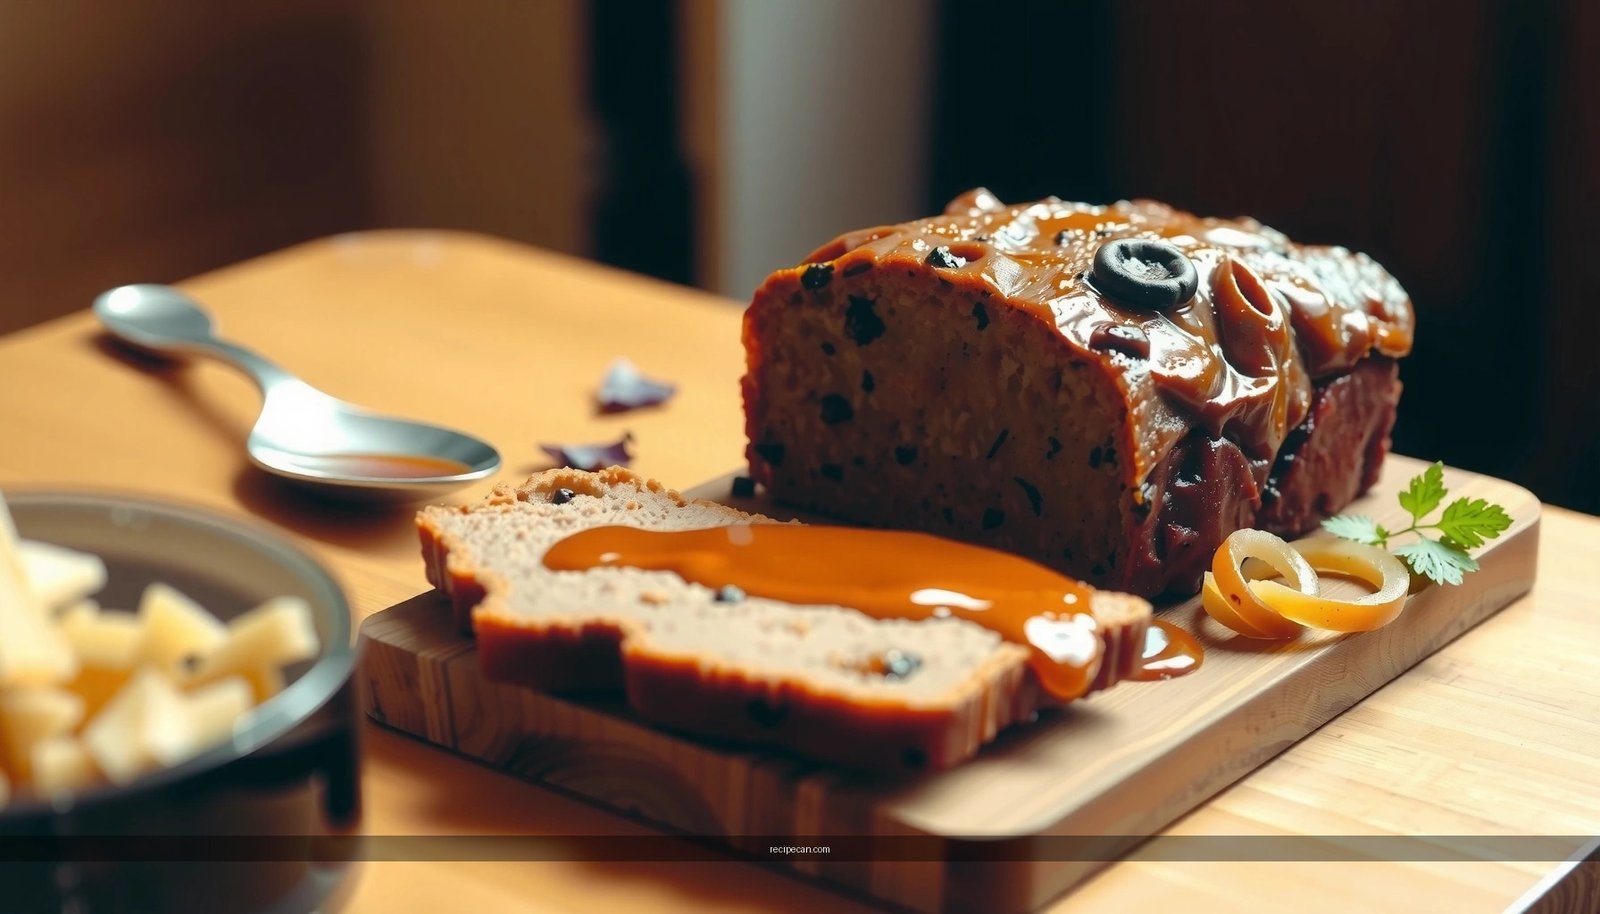
Serving Suggestions and Pairings
– Serve with mash, roasted potatoes, or crusty bread
– Pair with onion gravy or tangy sauces
– Garnish with fresh herbs for a brighter finish
A well-made liver pudding is rich, savory, and deeply satisfying. The best sides and sauces cut through that intensity and keep the meal balanced.
Classic plating ideas
– With mashed potatoes: Creamy mash and a spoonful of onion gravy create a traditional comfort plate.
– With roasted potatoes: Crispy edges contrast nicely with the tender slice.
– With crusty bread: Great for a lighter meal, especially with a drizzle of gravy or a side of pickles.
Best sauce partners
– Onion gravy: Sweet-savory depth complements onion-liver flavors.
– Tangy sauces (e.g., mustard-based): A mild tang lifts richness without overpowering.
– Chutney or pickled garnish: Adds brightness and cuts fat.
Garnish for freshness
Finish with fresh parsley, thyme leaves, or chives. The herbs don’t just look good—they help aromatics stand out against the mellow meat flavor.
Storage and Reheating Tips
– Refrigerate promptly in a covered container
– Reheat gently (oven or pan) to keep it tender
– Freeze portions if you want to save time later
Homemade liver pudding keeps well, and it often tastes even better the next day because flavors settle and the binder fully firms.
Storage
– Refrigerate promptly in a covered container. Aim to cool quickly and keep chilled.
– Use within a safe time window (follow general refrigerated leftovers guidance and any food safety advice from your region).
Reheating without drying
– Oven: Cover with foil and warm at a moderate temperature until heated through.
– Pan: Use low-to-medium heat and add a splash of stock or a small dab of butter to prevent drying.
Avoid aggressive high heat, which can toughen liver proteins and make the pudding taste drier.
Freezing for convenience
Freeze in portion-sized slices. Wrap tightly to reduce freezer burn, then thaw in the fridge and reheat gently. This makes liver pudding a reliable meal-prep option for busy schedules.
Liver pudding comes out best when your liver mixture is well-seasoned, cooked gently until fully set, and cooled before slicing. Follow the steps above for a classic, homemade batch—then make it your own with favorite seasonings and sides. Try this recipe today and save any leftovers for an easy next-day meal.
Frequently Asked Questions
What is the best way to make liver pudding without it turning out grainy or rubbery?
Start by soaking or rinsing the liver (if using fresh) and then blending until very smooth to improve texture. Cook the filling gently and avoid high heat, since liver pudding can become rubbery if it boils hard. If you’re adding a casing or baking, use a water bath (or steam) so the internal temperature rises slowly and evenly for tender liver pudding results.
How do I prevent liver pudding from tasting bitter?
Bitterness usually comes from older liver or excess blood, so use fresh liver and soak it in milk or salted water for 30 minutes to 2 hours before preparing. Trim off any connective tissue, and keep seasoning balanced with aromatics like onion, thyme, and pepper rather than relying only on strong herbs. Cooking thoroughly helps mellow flavors—undercooked liver can taste sharp and metallic.
Why does my liver pudding crack or separate during cooking?
Cracking or separation often happens when the mixture is too hot, too thin, or not bound well. Make sure the liver pudding base is blended thoroughly and has the right ratio of binder (commonly suet, fat, breadcrumbs, or oats depending on your recipe). Also avoid rapid boiling—use low simmering, gentle steaming, or a covered bake to keep the mixture stable.
Which liver is best for a traditional recipe liver pudding—beef, chicken, or pork?
Many cooks prefer chicken or pork liver for a milder, less intense flavor, while beef liver tends to be stronger and more pronounced. If you want a classic, rich taste, beef liver pudding can be excellent, but it benefits especially from soaking to reduce any bitterness. Choose liver that is deep-colored and firm with minimal odor for the best results in your homemade liver pudding recipe.
How should I store and reheat liver pudding so it stays moist and flavorful?
Let the liver pudding cool completely, then refrigerate in an airtight container for up to 3–4 days. For reheating, warm it gently—microwaving at high power can dry it out, so use a low setting or reheat in a covered pan with a splash of stock or gravy. If freezing, wrap tightly and thaw in the fridge before reheating to preserve the texture of your liver pudding.
References
- Livermush
https://en.wikipedia.org/wiki/Liver_pudding - Blood pudding
https://en.wikipedia.org/wiki/Blood_pudding - Black pudding
https://en.wikipedia.org/wiki/Black_pudding - Liverwurst
https://en.wikipedia.org/wiki/Liver_sausage - Offal
https://en.wikipedia.org/wiki/Offal - Pudding
https://en.wikipedia.org/wiki/Pudding - Suet
https://en.wikipedia.org/wiki/Suet - Google Scholar Google Scholar
https://scholar.google.com/scholar?q=liver+pudding+recipe - Google Scholar Google Scholar
https://scholar.google.com/scholar?q=meat+and+offal+casing+pudding+formulation+traditional+recipe - Google Scholar Google Scholar
https://scholar.google.com/scholar?q=hot+water+crust+plum+pudding+liver+%22pudding%22+recipe