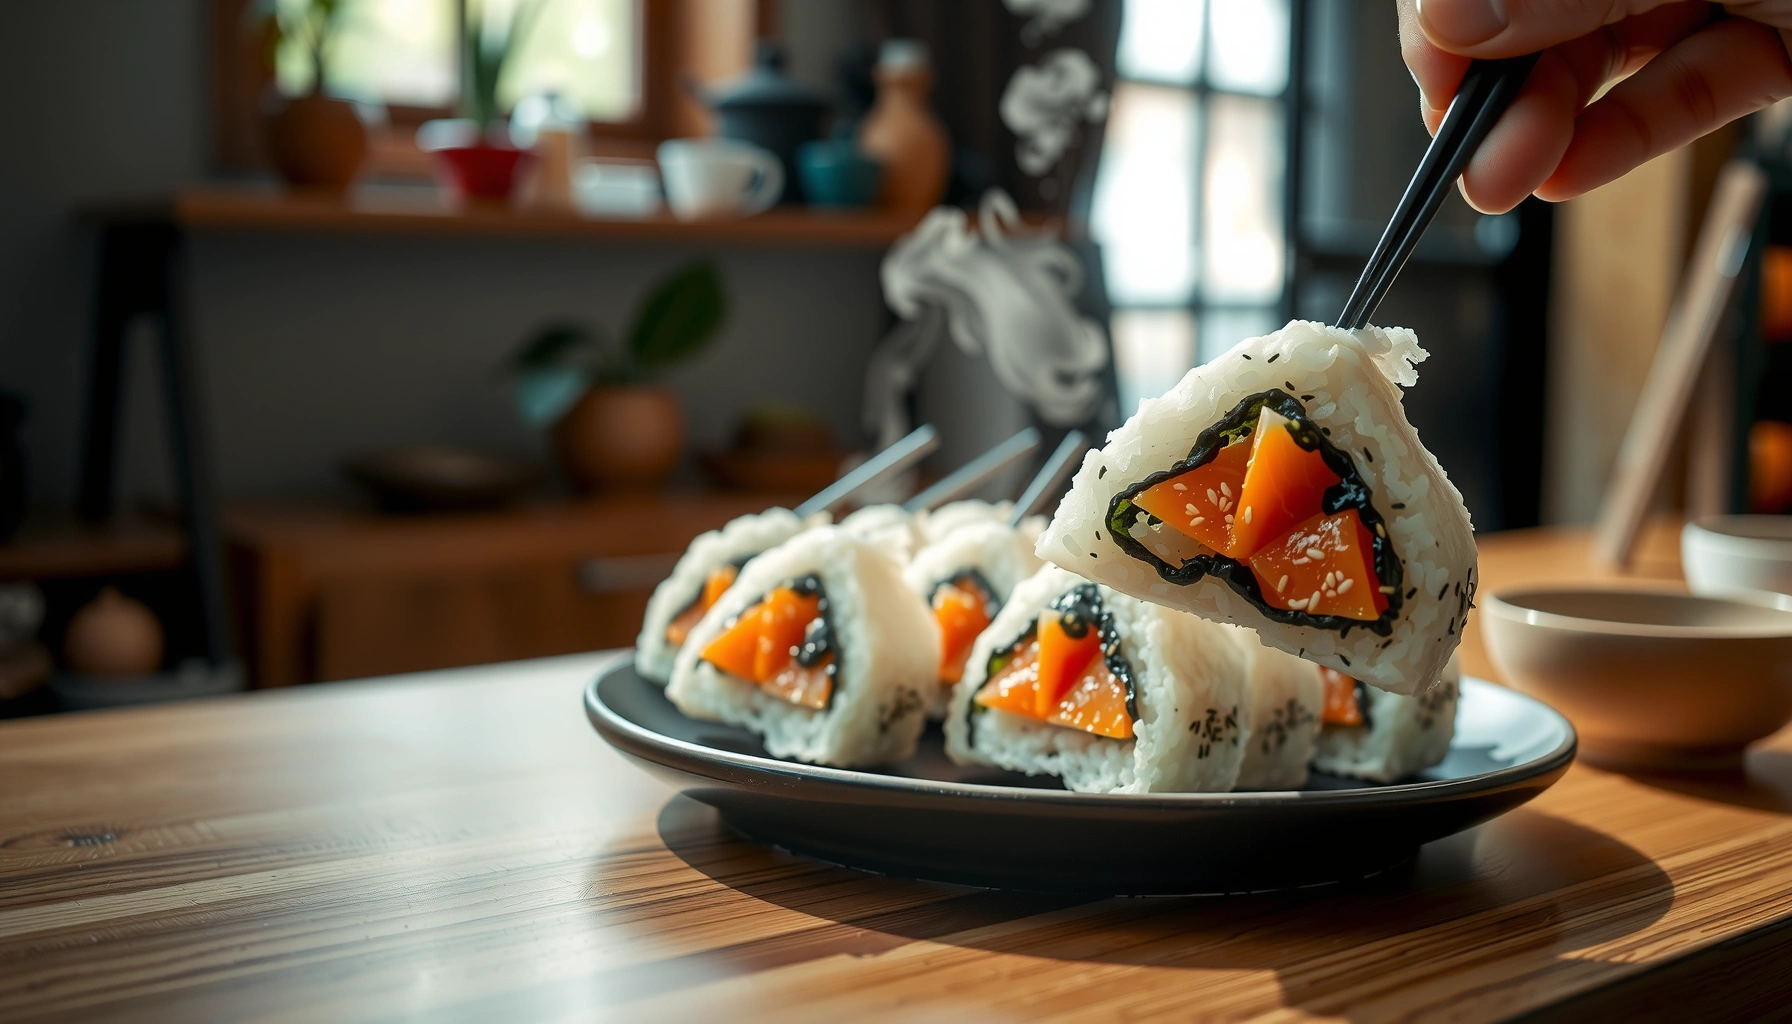
This recipe for onigiri Japanese rice balls gives you the fastest path to flawless, restaurant-style triangular rice that holds together every time. You’ll learn the exact rice-to-water method, how to season and bind it, and the best way to form the shape without mush or cracking. If you want onigiri at home with a clean technique and reliable results, this is the one to follow.
Onigiri Japanese rice balls are easiest to make at home when you start with warm, sticky seasoned sushi rice, add a compact savory filling, and shape tightly using wet hands (or a simple mold) so the triangles hold together. This guide walks you through rice seasoning, filling choices, and the most reliable triangle method—plus practical storage tips so you can enjoy crisp nori and perfectly set centers.
Onigiri Basics: What You Need
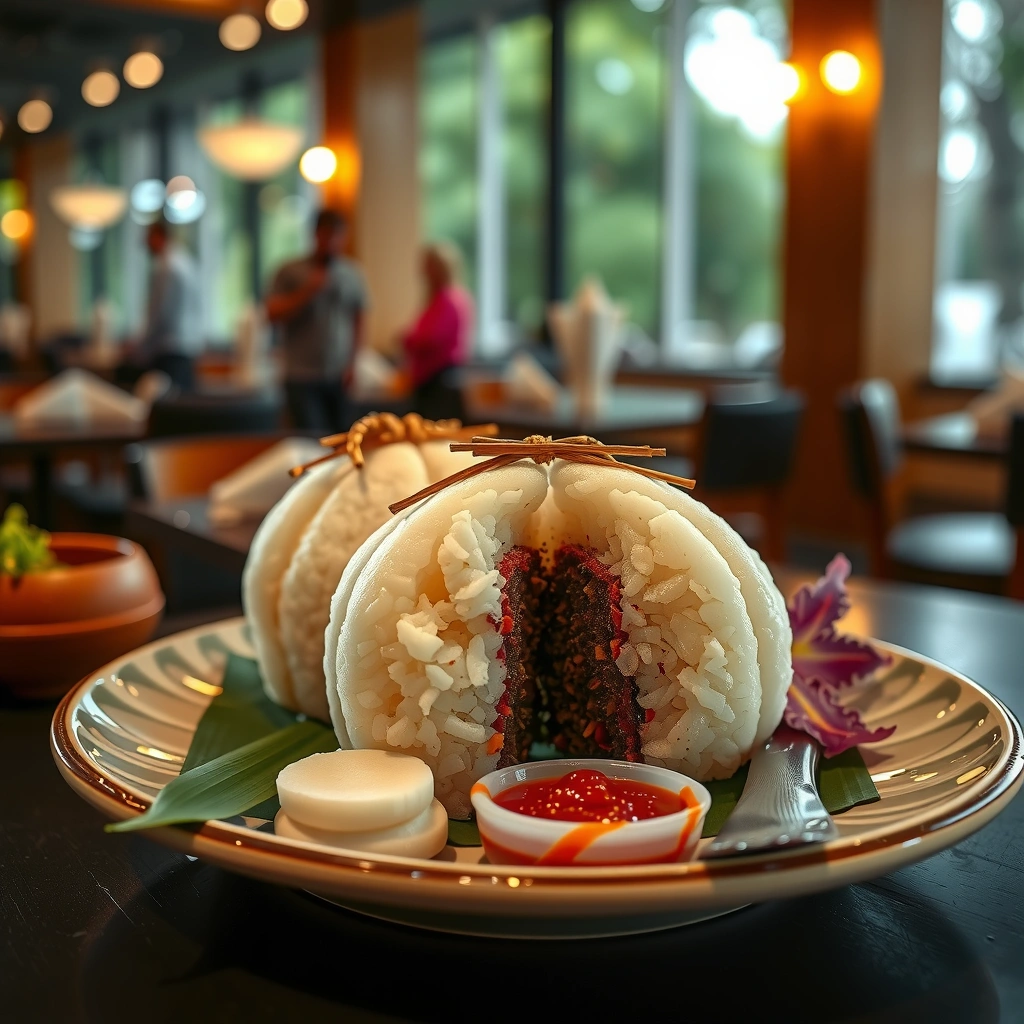
Onigiri (おにぎり) are rice balls traditionally made with Japanese short-grain rice, lightly seasoned, and formed into triangles or other shapes. The goal is texture control: the rice must be cohesive enough to “lock” the filling, but not so dry that it crumbles.
Core equipment and supplies
– Japanese short-grain rice (sushi rice): This is non-negotiable for true onigiri texture. Its starch content creates the stickiness needed to bind grains into a firm ball.
– Nori (seaweed sheets): You’ll wrap onigiri with a strip of nori right before eating for best crispness.
– A small bowl of water + optional salt: Wet hands prevent the rice from sticking; a tiny pinch of salt can also help with seasoning and shaping grip.
– A mold (optional): A triangle or block mold makes consistent shapes quickly, but you can absolutely shape by hand.
Filling categories (pick one to start)
– Umeboshi (pickled plum): Bright, tangy, and salty—classic and very beginner-friendly because it’s compact.
– Salmon or tuna-based fillings: Great for rich flavor; just keep the filling moist enough to spread slightly but firm enough not to leak.
– Seasoned vegetables: Often the easiest vegetarian direction—think sautéed mushrooms, simmered carrots/daikon, or seasoned spinach.
– Furikake-forward centers: If you love savory, sprinkle-on flavor, furikake mixed with a little mayo or soy-sugar glaze works well.
A practical mindset: treat onigiri like a “sealed bite.” Your rice acts as the structural shell; your filling is the flavor core.
7 Popular Onigiri Fillings: Texture Fit, Time, and Beginner Ease
| # | Filling | Flavor profile | Center size | Prep time | Beginner ease |
|---|---|---|---|---|---|
| 1 | Umeboshi (pickled plum) | Tangy, salty | 1–2 plum halves | 2–3 min | ★★★★★ |
| 2 | Salmon floss (shio-sake style) | Savory, smoky | 2 tbsp packed | 5–8 min | ★★★★☆ |
| 3 | Tuna mayo (light) | Creamy, umami | 1.5–2 tbsp | 8–10 min | ★★★★☆ |
| 4 | Teriyaki chicken (minced) | Sweet-savory | 2 tbsp | 15–20 min | ★★★☆☆ |
| 5 | Furikake + sesame (dry mix) | Roasted, ocean-salty | 2 tbsp | 3–5 min | ★★★★★ |
| 6 | Seasoned shiitake (chopped) | Earthy umami | 2 tbsp | 12–15 min | ★★★★☆ |
| 7 | Spicy mayo (strictly portioned) | Spicy, creamy | 1 tbsp max | 6–8 min | ★★☆☆☆ |
Cook and Season the Japanese Rice
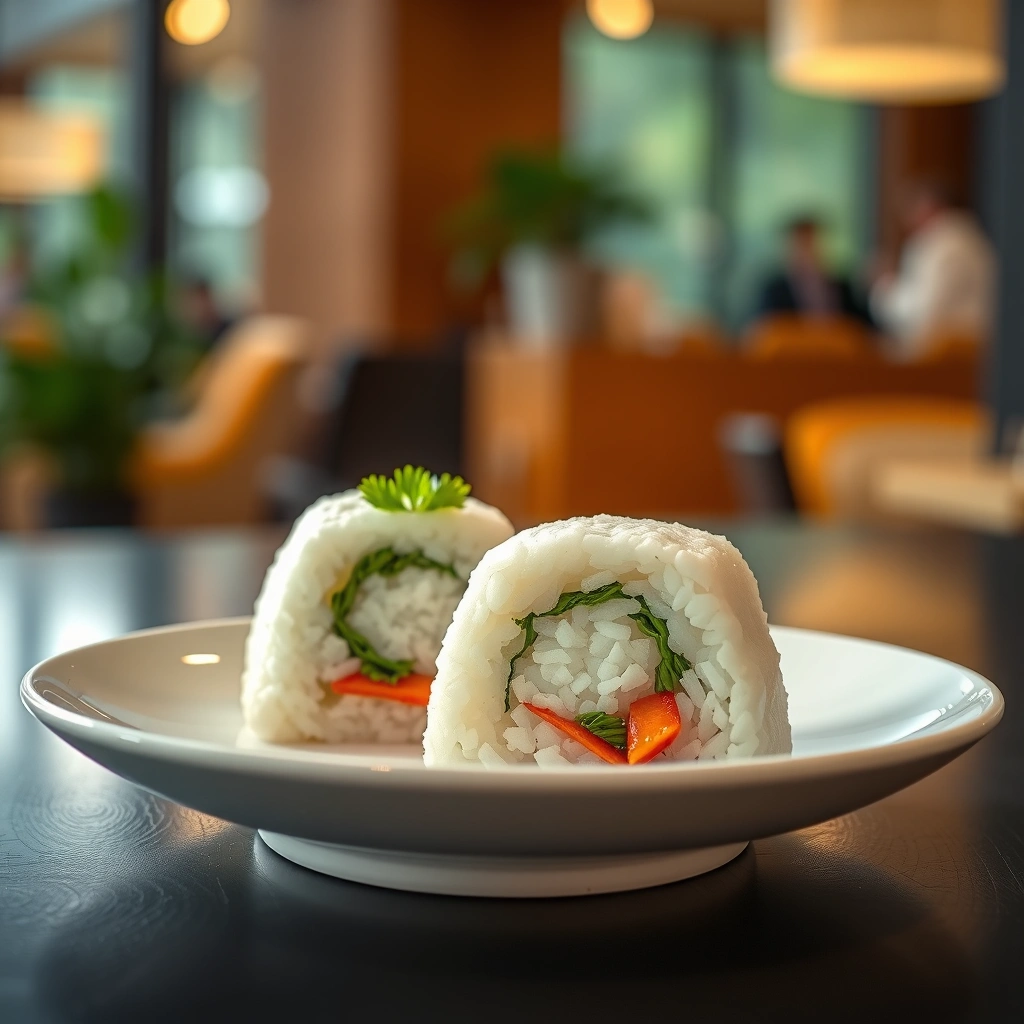
The backbone of onigiri is rice that is warm, cohesive, and lightly seasoned. Onigiri is not sushi, but it uses the same foundational rice style: short-grain sushi rice cooked to a tender, clingy texture.
1) Cook to the right hydration and doneness
– Use Japanese short-grain rice and follow your cooker’s ratio.
– After cooking, let the rice steam briefly (about 5–10 minutes) with the lid on. This sets the grains so they bind better when you shape.
2) Season lightly—think “accent,” not “sauce”
A common home approach is:
– A pinch of salt (or a salt-water seasoning) mixed into warm rice.
– Optional: a small amount of rice vinegar if you like a gentle tang. Keep it subtle; too much acidity can interfere with the rice’s binding behavior and make grains feel too loose.
3) Keep rice warm for tight shaping
If the rice cools down, it may still taste good but won’t mold as reliably. For best results:
– Work in batches and re-cover rice to retain heat and moisture.
– If needed, briefly warm rice (covered) before shaping—avoid over-steaming, which can make rice gummy.
Why warmth matters (the analytical point): binding comes from surface starch and moisture balance. Warm rice has the right tackiness so grains fuse under pressure; cooled rice loses that tack.
Onigiri Fillings and Flavor Ideas
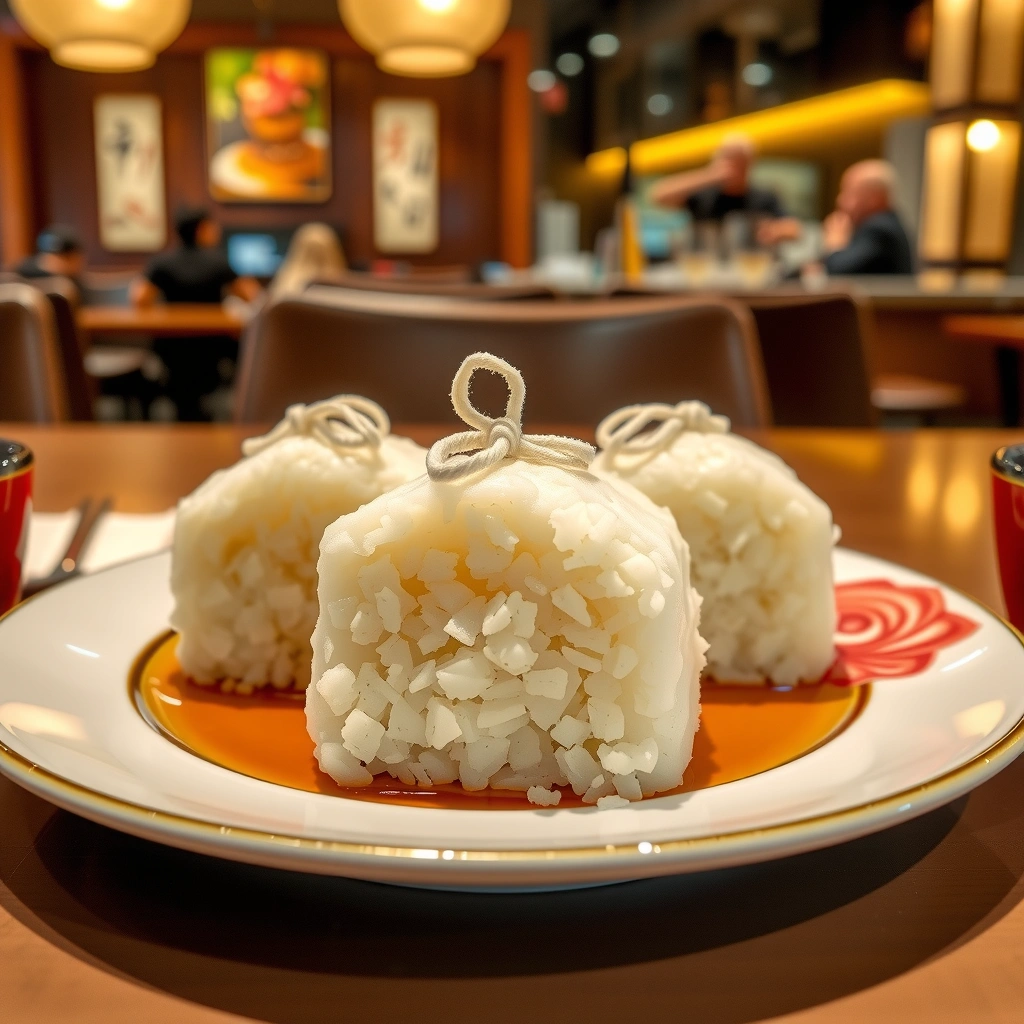
Choosing a filling isn’t just about taste—it’s about texture compatibility. The filling must be:
– Moist enough to be flavorful
– Compact enough to stay centered
– Not too wet, or it can leak and loosen the rice seal
Classic umeboshi
– Umeboshi works because it’s firm, salty, and bright.
– Try it with plain seasoned rice so the sour-tang is the star.
Savory, umami-forward fillings
– Salmon (flaked) or salmon floss: Ideal if you want minimal moisture and maximum cohesion.
– Furikake centers: Furikake already contains seasoning, so you can create flavor depth without complex cooking. Mix furikake with sesame or a tiny amount of mayo for binding.
– Teriyaki chicken: Delicious, but more moisture can make sealing harder—mince finely and reduce any sauce until it clings.
Mayo-based fillings (use restraint)
– Tuna mayo: Works well if it’s not overly runny. If your tuna mixture feels loose, drain it slightly or increase tuna/furikake so it forms a dense mound.
– Spicy mayo and saucy fillings can be tasty, but they’re the most likely to spill—portion them smaller and add a thickener like crushed sesame or furikake.
Seasoned vegetables
– Cook vegetables until excess liquid evaporates, then chop and season.
– Mushrooms and sautéed greens are strong choices because their moisture cooks down and they blend into the rice without causing leaks.
Tip for businesslike consistency: build a small “filling workflow” so every batch has the same density. Scoop, portion, and pack fillings before you start shaping rice.
How to Shape Onigiri (Triangles Made Easy)
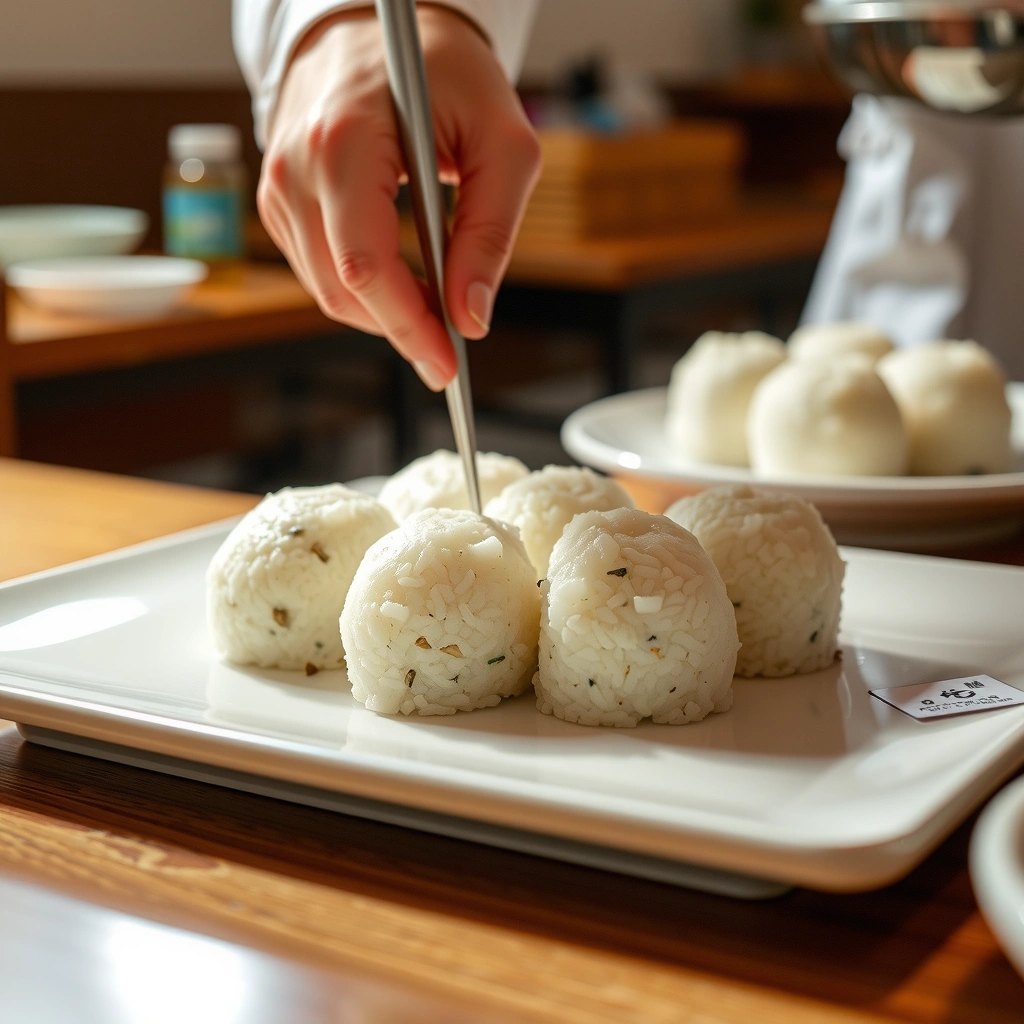
The triangle is iconic, but the true secret is the pressure and sealing technique. A firm hand mold helps standardize shape; wet hands help ensure the rice releases cleanly.
Triangle method (works by hand or with a mold)
1. Wet your hands (and add a tiny pinch of salt if you like). Water prevents sticking without washing away seasoning.
2. Press a base layer of warm rice into a mold (or form a small mound in your palm).
3. Add the filling in the center—aim for a compact dollop.
4. Cover with more rice and press firmly to eliminate air gaps.
5. Seal the edges: take extra time compressing the perimeter. This prevents filling seepage and keeps the triangle intact.
Hand-only technique (no mold)
– Form a rice “disk,” place filling in the middle, then fold rice around it.
– Continue pressing and rolling slightly until you achieve a clean triangle.
– The triangle should feel dense, not soft or crumbly.
Nori timing for crispness
– Wrap with a strip of nori right before eating.
– If you wrap too early, moisture from rice will soften nori, turning it chewy rather than crisp.
Quality check (fast): pick up one onigiri. It should hold its form when gently squeezed, and the rice should not fall apart or feel wet.
Wrapping, Serving, and Storage Tips
Onigiri is best served soon after shaping, but it can be prepared ahead with the right storage strategy.
Serving
– Serve with extra nori or furikake sprinkled on top.
– Pair with miso soup, pickles, or a simple cucumber salad for balance—onigiri is filling, so bright sides help.
Cooling and re-heating
– If you’re batch-making, chill shaped onigiri briefly to firm them up, then bring back toward room temperature before eating.
– For best texture, avoid microwaving wrapped-onigiri with nori. Reheat rice gently, then add fresh nori at the last moment.
Storage
– Store in the fridge in a covered container to prevent drying.
– To reduce the chance of soggy nori, store onigiri unwrapped, and wrap right before serving.
Practical takeaway: moisture control is the difference between “restaurant-quality” and “okay leftovers.”
Common Mistakes to Avoid
Even skilled cooks run into consistency issues with onigiri. These are the most frequent causes and how to correct them:
– Using cold rice: Cold rice doesn’t bind well. Keep rice warm and work efficiently; portion and shape in rounds.
– Overfilling: Too much filling creates weak sealing and can create gaps. Use smaller, denser filling portions (especially for mayo-based or saucy fillings).
– Not pressing firmly enough: The onigiri should feel compact. Press the base, cover, and perimeter intentionally so grains compress into a cohesive structure.
– Over-seasoning the rice: Onigiri should taste seasoned, not heavily flavored like a stew. Salt/vinegar should support, not dominate.
– Wrapping with nori too early: Nori should be added right before eating for crisp texture.
Onigiri Japanese rice balls are simple: cook sticky rice, season it lightly, add a savory filling, and shape tightly with wet hands. Follow this recipe, try one classic filling first, and then experiment—grab nori and make your next batch today.
References
- Onigiri
https://en.wikipedia.org/wiki/Onigiri - Onigiri | Meaning, History, Ingredients, & Japan | Britannica
https://www.britannica.com/topic/onigiri - https://www.bbc.co.uk/food/recipes/onigiri_74328
https://www.bbc.co.uk/food/recipes/onigiri_74328 - Japanese rice
https://en.wikipedia.org/wiki/Japanese_rice - Sushi
https://en.wikipedia.org/wiki/Sushi_rice - Furikake
https://en.wikipedia.org/wiki/Furikake - Umeboshi
https://en.wikipedia.org/wiki/Umeboshi - Nori
https://en.wikipedia.org/wiki/Nori - Google Scholar Google Scholar
https://scholar.google.com/scholar?q=onigiri+recipe+japanese+rice+ball - Google Scholar Google Scholar
https://scholar.google.com/scholar?q=how+to+make+onigiri+rice+ball+technique