To create the delicious Olive Garden Black Tie Mousse Cake, you’ll need a combination of rich chocolate cake, a creamy mousse filling, and a decadent ganache topping. This recipe will guide you through the steps to achieve this indulgent dessert that resembles the beloved restaurant favorite. The result is a multi-layered cake that balances textures and flavors, making it a delightful centerpiece for any special occasion or a lavish treat for a quiet evening at home.
Ingredients You’ll Need

For the Olive Garden Black Tie Mousse Cake, gathering high-quality ingredients is essential to achieving the rich flavors and textures characteristic of this dessert. Here’s what you will need:
For the Chocolate Cake:
– 1 ¾ cups all-purpose flour
– ¾ cup unsweetened cocoa powder
– 2 cups granulated sugar
– 1 ½ teaspoons baking powder
– 1 ½ teaspoons baking soda
– 1 teaspoon salt
– 2 large eggs
– 1 cup whole milk
– ½ cup vegetable oil
– 2 teaspoons vanilla extract
– 1 cup boiling water
For the Dark Chocolate Mousse:
– 8 ounces dark chocolate (minimum 60% cocoa)
– 2 cups heavy cream
– ½ cup powdered sugar
– 1 teaspoon vanilla extract
– 3 large egg whites
For the White Chocolate Mousse:
– 8 ounces white chocolate
– 2 cups heavy cream
– ½ cup powdered sugar
– 1 teaspoon vanilla extract
– 3 large egg whites
For the Ganache Topping:
– 8 ounces semi-sweet chocolate
– 1 cup heavy cream
– 2 tablespoons unsalted butter
Using high-quality chocolate is crucial as it directly influences the flavor and texture of both the mousse and ganache. Opt for brands known for their rich, complex profiles to elevate your cake.
Preparing the Chocolate Cake

Begin by preheating your oven to 350°F (175°C). Grease and flour two 9-inch round cake pans.
1. Mix Dry Ingredients: In a large bowl, whisk together the flour, cocoa powder, sugar, baking powder, baking soda, and salt.
2. Combine Wet Ingredients: In another bowl, beat the eggs, milk, oil, and vanilla extract until well combined.
3. Combine and Add Boiling Water: Pour the wet ingredients into the dry ingredients and mix just until combined. Then, carefully stir in the boiling water; this step ensures a moist cake.
4. Bake: Divide the batter evenly between the prepared pans and bake for 30-35 minutes or until a toothpick inserted in the center comes out clean.
Tips for Ensuring Even Baking and Moisture Retention:
– Room Temperature Ingredients: Ensure your eggs and milk are at room temperature to help the batter mix evenly.
– Check for Doneness: Use a toothpick inserted into the center to check for doneness; avoid over-baking, as this can dry out the cake.
– Cool Properly: Allow the cakes to cool in the pans for 10 minutes before transferring them to a wire rack to cool completely.
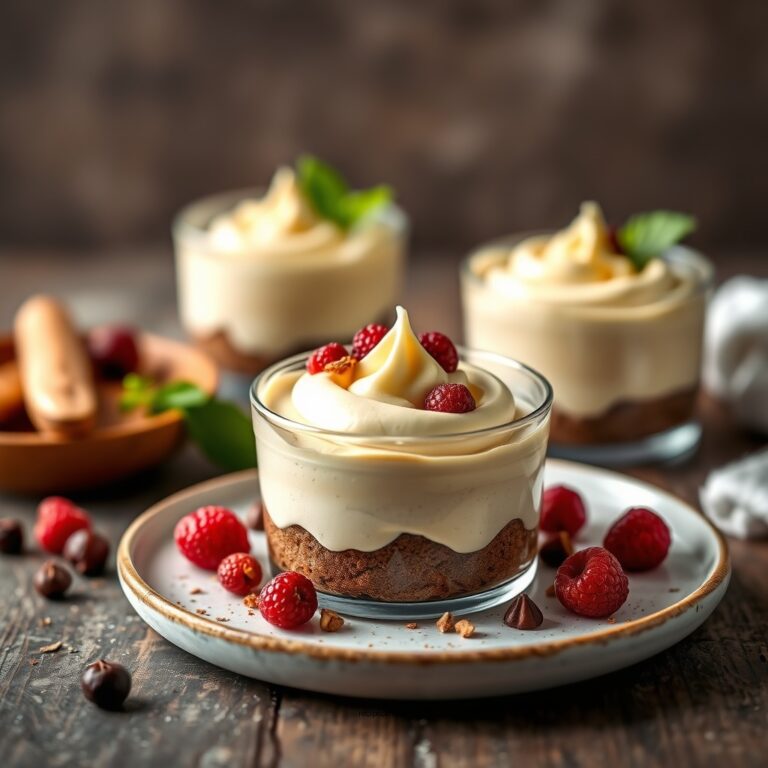
Making the Mousse Filling

The mousse filling is the heart of the Black Tie Mousse Cake. You’ll be preparing both dark and white chocolate mousses.
Dark Chocolate Mousse:
1. Melt Chocolate: In a double boiler, melt the dark chocolate until smooth. Allow it to cool slightly.
2. Whip Cream: In a mixing bowl, beat 1 cup of heavy cream with ½ cup powdered sugar and vanilla until stiff peaks form.
3. Whip Egg Whites: In a separate bowl, whip egg whites until soft peaks form.
4. Combine: Gently fold the melted chocolate into the whipped cream, then fold in the whipped egg whites. This technique helps achieve a light, airy texture.
White Chocolate Mousse:
1. Melt Chocolate: Repeat the melting process with the white chocolate.
2. Whip Cream and Egg Whites: Follow the same process as for the dark mousse: whip cream and egg whites separately.
3. Combine: Fold the melted white chocolate into the whipped cream and then fold in the whipped egg whites.
Chocolate Types Comparison
| # | Chocolate Type | Cocoa Percentage | Flavor Profile |
|---|---|---|---|
| 1 | Dark Chocolate | 60-85% | Rich, Bitter |
| 2 | Milk Chocolate | 10-50% | Creamy, Sweet |
| 3 | White Chocolate | 0% | Sweet, Creamy |
| 4 | Ruby Chocolate | 30-40% | Fruity, Tangy |
| 5 | Bittersweet Chocolate | 60-90% | Bold, Intense |
| 6 | Semisweet Chocolate | 40-60% | Sweet, Well-balanced |
Assembling the Cake
Once both the chocolate cake and the mousse fillings are prepared, it’s time to assemble this masterpiece.
1. Layering: Start with one layer of the chocolate cake on a serving plate. Spread a generous layer of dark chocolate mousse on top. Place the second layer of cake on top of the mousse and press down gently.
2. Add White Chocolate Mousse: Spread the white chocolate mousse over the second layer. You can alternate layers based on your preference, but generally, the dark mousse goes first.
3. Chill: Allow the assembled cake to chill in the refrigerator for at least 2 hours to help the mousse set.
Tips for Achieving a Clean, Professional Finish:
– Trim Cake Layers: If the cake layers have domed tops, level them with a serrated knife for an even stack.
– Use a Cake Ring: If you have a cake ring, use it to help mold the layers perfectly.
– Chill Between Layers: After each layer of mousse, chill the cake for 15-30 minutes to help set and make it easier to spread the next layer.
Creating the Ganache Topping
The ganache is the final touch that adds a glossy finish and rich flavor to the cake.
1. Heat Cream: In a saucepan, heat the heavy cream until it just begins to simmer.
2. Add Chocolate: Pour the hot cream over the semi-sweet chocolate in a mixing bowl and let it sit for a few minutes. Stir until smooth and fully combined.
3. Add Butter: Stir in the butter until melted and the ganache is glossy.
Tips for Consistency:
– Thicker Ganache: For a thicker consistency, let the ganache cool slightly before pouring it over the cake.
– Thinner Ganache: If you prefer a thinner pour, keep it warm when applying.
Pouring and Setting the Ganache:
– Pour the ganache over the chilled cake, allowing it to drip down the sides for a beautiful finish. You can use a spatula to help spread it evenly.
– Let the ganache set at room temperature for about 30 minutes before serving.
Ganache Consistency Based on Ratios
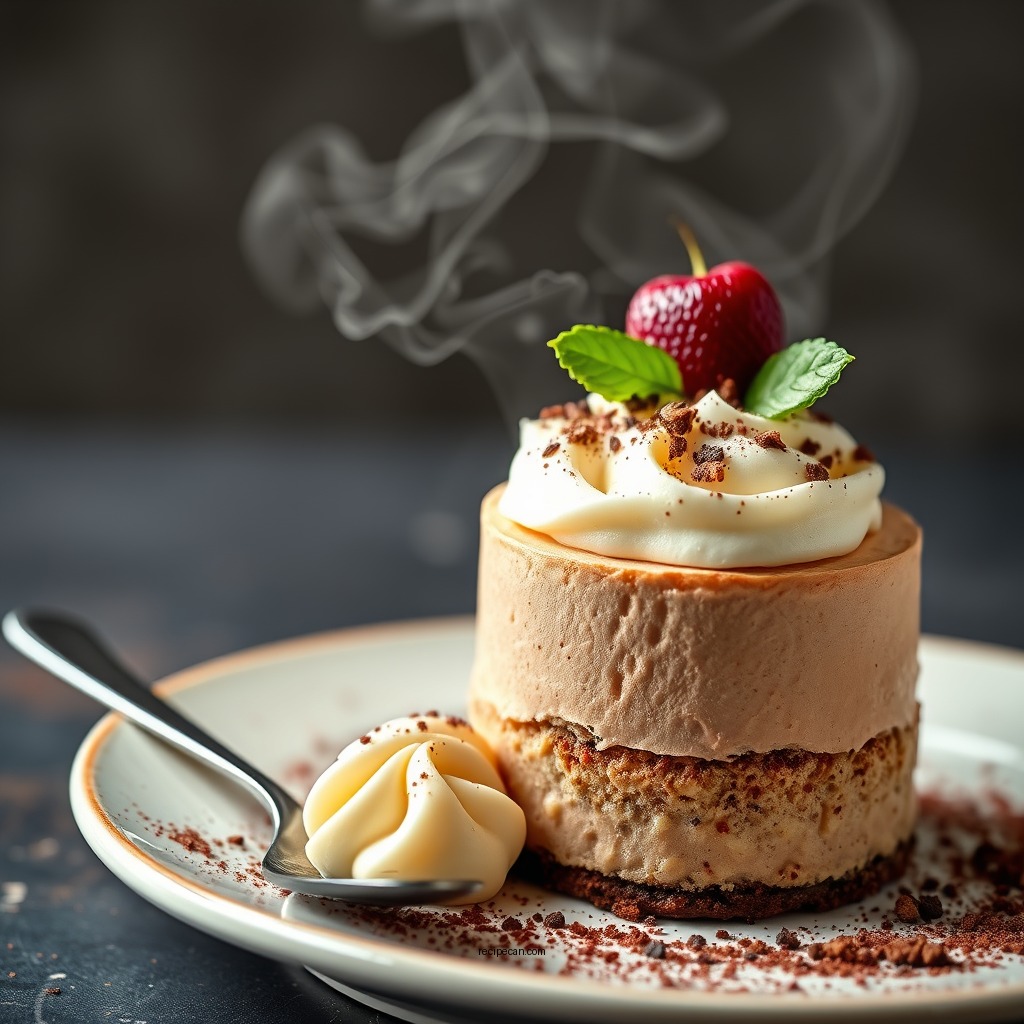
Decorating Your Black Tie Mousse Cake
Decoration is key to making your Black Tie Mousse Cake visually stunning.
– Garnishes: Consider topping the cake with chocolate shavings, fresh berries, or a dusting of cocoa powder for an elegant touch.
– Presentation: Use a cake stand or a decorative plate to elevate the cake. A simple drizzle of ganache around the base can add sophistication.
Storage and Serving Suggestions
To maintain the freshness and flavor of your Black Tie Mousse Cake, follow these best practices:
– Storage: Keep the cake refrigerated in an airtight container. It can last for up to 5 days, but it’s best enjoyed within the first few days.
– Serving Sizes: A rich cake like this is best served in smaller slices, about 1-2 inches wide. Pair it with a strong coffee or a dessert wine to enhance the chocolate flavors.
By following these steps, you can recreate the delightful Olive Garden Black Tie Mousse Cake at home. This rich and decadent dessert is perfect for special occasions or simply as a treat for yourself. Gather your ingredients, follow the outlined steps, and enjoy impressing your friends and family with this restaurant-style dessert. Indulge in the layers of rich chocolate and creamy mousse, and savor each delightful bite.
Frequently Asked Questions
What are the main ingredients needed for the Olive Garden Black Tie Mousse Cake?
The main ingredients for the Olive Garden Black Tie Mousse Cake include chocolate cake layers, a rich chocolate mousse made from semi-sweet chocolate, and a creamy white chocolate mousse. Additionally, you’ll need eggs, heavy cream, sugar, and vanilla extract to enhance the flavors and create the signature textures of this decadent dessert.
How do I make the chocolate mousse for the Olive Garden Black Tie Mousse Cake?
To make the chocolate mousse for the Olive Garden Black Tie Mousse Cake, start by melting semi-sweet chocolate and letting it cool slightly. Then, whip heavy cream until soft peaks form and fold it gently into the melted chocolate along with some whipped egg whites for a light and airy texture. This combination creates the rich and smooth mousse that defines this cake.
Why is my Olive Garden Black Tie Mousse Cake not setting properly?
If your Olive Garden Black Tie Mousse Cake is not setting properly, it could be due to insufficient chilling time or incorrect ratios of ingredients. Make sure to chill the cake layers and mousse for at least 4-6 hours, or overnight, to allow the mousse to firm up. Additionally, ensure that the whipped cream is adequately whipped to stiff peaks, as this helps the mousse maintain its structure.
What is the best way to serve Olive Garden Black Tie Mousse Cake?
The best way to serve Olive Garden Black Tie Mousse Cake is chilled, with a dusting of cocoa powder or chocolate shavings on top for garnish. Pair it with a dollop of whipped cream or fresh berries to complement the rich chocolate flavors, making for an impressive presentation. Slicing the cake with a warm knife ensures clean cuts for a beautiful serving.
Which kitchen tools do I need to make the Olive Garden Black Tie Mousse Cake?
To make the Olive Garden Black Tie Mousse Cake, you will need essential kitchen tools such as mixing bowls, a hand mixer or stand mixer for whipping cream and egg whites, and a double boiler for melting chocolate. Additionally, a 9-inch round cake pan and an offset spatula for spreading the mousse layers will be helpful, along with parchment paper for easy cake removal.
References
- Mousse
https://www.wikipedia.org/wiki/Mousse - Google Scholar Google Scholar
https://scholar.google.com/scholar?q=olive+garden+black+tie+mousse+cake - https://www.ncbi.nlm.nih.gov/pmc/articles/PMC6772543/
https://www.ncbi.nlm.nih.gov/pmc/articles/PMC6772543/ - Google Scholar Google Scholar
https://scholar.google.com/scholar?q=mousse+cake+recipe - https://www.sciencedirect.com/topics/food-science/mousse
https://www.sciencedirect.com/topics/food-science/mousse - https://www.bbc.com/food/recipes/mousse_2307
https://www.bbc.com/food/recipes/mousse_2307 - https://www.nytimes.com/2010/06/09/dining/09mousse.html
https://www.nytimes.com/2010/06/09/dining/09mousse.html - https://www.theguardian.com/food/2020/may/07/how-to-make-a-perfect-chocolate-mousse
https://www.theguardian.com/food/2020/may/07/how-to-make-a-perfect-chocolate-mousse - Mousse | Definition, Ingredients, & Flavors | Britannica
https://www.britannica.com/topic/mousse - https://www.reuters.com/article/us-foods-mousse-idUSKBN2A10VR
https://www.reuters.com/article/us-foods-mousse-idUSKBN2A10VR