This recipe for a malted milkshake delivers the creamy, classic version you want—thick, sweet, and deeply malty—in minutes. You’ll follow simple steps to blend malted milk powder, vanilla ice cream, and milk into a perfectly spoonable shake. If you’re after the truest old-school malt flavor, this is the clear winner.
A classic malted milkshake is simple to make—blend vanilla ice cream, malt powder, and milk until thick, frothy, and spoonable. The key is getting the ratio right: use just enough milk to loosen the mixture while keeping the shake airy and creamy, then finish with thoughtful toppings for a true malt-forward flavor.
A malted milkshake (often associated with old-school soda fountains) combines the nostalgic, toasted malt character with the richness of ice cream. In practical terms, it’s also a high-control recipe: if you measure consistently and adjust milk gradually, you can reliably produce the same texture every time—whether you prefer a dense, spoon-thick shake or a more pourable classic.
Ingredients for a Classic Malted Milkshake

– Vanilla ice cream, malt powder, and milk as the core base
– Optional vanilla extract and extra malt for deeper flavor
The base of any classic malted milkshake is straightforward: vanilla ice cream for body and sweetness, milk for blendability, and malt powder for that signature caramel-to-nutty “toasted grain” profile. Because malt powder can vary by brand (some are darker, some blend more finely), your best approach is to start with a measured amount and then fine-tune.
Core measurements (1 to 2 servings)
– Vanilla ice cream: ~3 cups (about 24 oz / 680 g total, depending on scoop size)
– Malted milk powder: ~2 to 3 tablespoons
– Milk: ~1/2 to 3/4 cup (adjust to reach your thickness preference)
– Optional vanilla extract: 1/2 teaspoon (for rounder flavor)
If you want a “soda fountain” style drink, don’t rush to add extra milk. Instead, lean on ice cream and malt as your structure, then increase milk only as needed for blending.
What malt powder actually does in the shake
Malt powder isn’t only flavor; it influences texture. Malt can slightly thicken and “set” the shake as it absorbs moisture, which means if you add too much milk at the start, the final result may taste thinner than expected. For a consistently creamy malted shake, blend long enough to fully dissolve malt and then evaluate thickness before adding more liquid.
Data snapshot: What different malt levels do to flavor intensity
Malted Milk Powder Level vs. Expected Flavor & Texture (Per ~3 cups vanilla ice cream)
| # | Malt Powder | Milk Needed | Taste Profile | Texture Expectation | Best For | Rating |
|---|---|---|---|---|---|---|
| 1 | 1 tbsp | 0.65 cup | Light malt, vanilla-forward | Spoonable to lightly pourable | First-timers | ★★★☆☆ |
| 2 | 2 tbsp | 0.60 cup | Balanced malt, classic sweetness | Thick, frothy, stable | Classic “go-to” shake | ★★★★☆ |
| 3 | 3 tbsp | 0.55 cup | Distinct malt depth, caramelized notes | Thicker mouthfeel, bold finish | Malt lovers | ★★★★★ |
| 4 | 4 tbsp | 0.50 cup | Strong malt presence, toasted intensity | Very thick; blends slowly | Spoon-thick style | ★★★★☆ |
| 5 | 5 tbsp | 0.45 cup | Very bold, potential dryness | May feel pasty if under-blended | Experimental batches | ★★★☆☆ |
| 6 | 6 tbsp | 0.40 cup | Extreme malt; can overpower vanilla | High resistance, needs more blending power | Not for most tastes | ★★☆☆☆ |
| 7 | 2.5 tbsp (compromise) | 0.575 cup | Near-classic with extra malt depth | Evenly thick, consistently smooth | “Best of both” option | ★★★★☆ |
Step-by-Step Instructions

– Add ice cream, malt powder, and milk to a blender
– Blend until smooth and thick, scraping down as needed
A malted milkshake is a blending exercise as much as it is a recipe. Since malt powder can clump if it isn’t hydrated quickly, start by combining your ingredients in a sequence that encourages even mixing.
Step-by-step (replicable method)
1. Add ice cream to the blender first. Place the measured vanilla ice cream into the jar so it acts as the primary base.
2. Add malt powder next. Sprinkle it evenly over the ice cream. This helps prevent dry pockets.
3. Pour in milk gradually. Start with about 1/2 to 2/3 of the milk you plan to use. You can always add more, but you can’t easily remove it without thinning the texture.
4. Blend on medium-high for 20–30 seconds. Stop once the shake looks uniformly thick and the malt appears fully dissolved.
5. Scrape down the sides, then blend briefly again (5–10 seconds). This ensures a consistent froth and avoids unmixed malt streaks.
6. Taste and adjust.
– If you want more malt, add a small additional pinch and blend for 5 seconds.
– If you want thinner, add 1–2 tablespoons milk at a time and blend between additions.
Professional texture indicator: “smooth, not watery”
A well-made malted milkshake should look glossy and cohesive, not foamy-separated or watery. If the shake separates quickly, you likely added too much milk or blended insufficiently for your blender’s power.
How to Get the Right Thickness

– Use less milk for a thicker shake; add gradually for creamier consistency
– Aim for a spoonable, thick texture—stop blending once frothy
Thickness is where malted milkshakes differentiate from other milk-based desserts. The goal is a spoonable consistency with a frothy top—thick enough to hold its shape for a moment, but fluid enough to pour slowly in a ribbon.
Practical thickness targets
– Thick & classic: Stands up slightly when spooned; slowly levels out in the glass.
– Creamy but pourable: Pours more easily; still leaves a thick coating on the glass.
– Too thin: Looks like sweetened milk; malt flavor feels muted because the palate is diluted.
How to adjust without ruining the batch
– Start with less milk than you think you need. You can always add milk, but over-thinning is the most common failure mode.
– Add milk in small increments: 1–2 tablespoons at a time.
– Blend only until frothy: Over-blending can incorporate too much air and make the texture feel lighter or less dense than desired.
A useful operational cue: if your blender requires repeated stops to scrape, you likely need a little more milk—because the ingredients aren’t cycling efficiently.
Toppings and Serving Ideas

– Classic: whipped cream and a sprinkle of malt powder
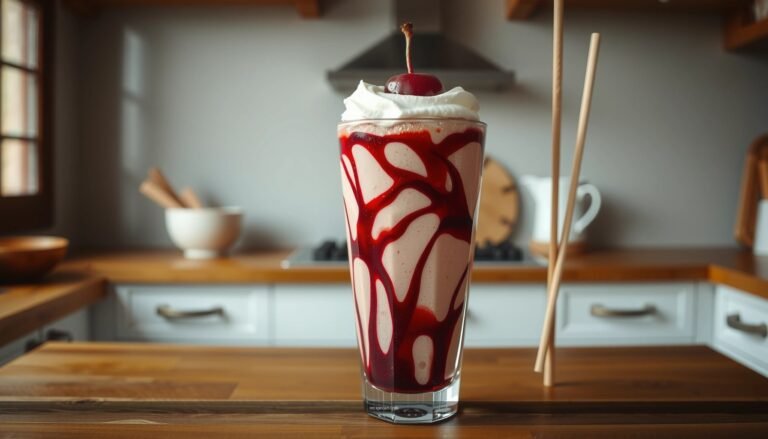
– Optional: crushed cookies, chocolate syrup, or a maraschino cherry
Toppings are not just decoration; they modulate texture (crunch vs. cream) and amplify flavor notes (chocolate, caramel, vanilla). For a classic malted milkshake presentation, keep toppings simple and malt-forward.
Classic topping formula (high consistency)
– Whipped cream: a generous dollop for visual appeal and a lighter mouthfeel
– Malt powder sprinkle: lightly dust the top to reinforce the base flavor
Optional add-ons (choose one direction)
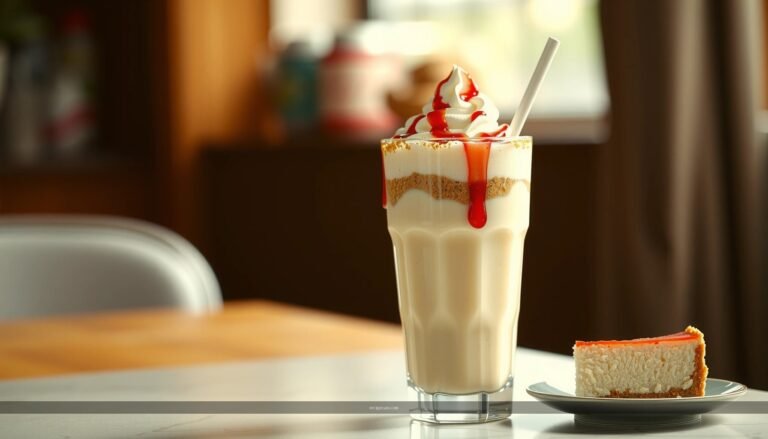
– Crushed cookies (like chocolate sandwich cookies or vanilla wafers): adds crispness that contrasts with the shake’s smooth texture
– Chocolate syrup: intensifies chocolate notes and creates a “root beer float” style richness without changing the foundational recipe
– Maraschino cherry: provides a nostalgic finishing accent and a pop of sweetness
Serving best practices
Serve immediately in chilled glasses. Temperature affects viscosity and froth retention—cold shake = thicker perception and better foam stability.
Flavor Boosters and Variations
– Try chocolate ice cream with malt for a richer malted shake
– Add a pinch of salt to make the malt flavor pop
If you’re optimizing for taste depth, two of the most reliable levers are ice cream choice and micro-seasoning (salt).
Chocolate variation (richer, more dessert-like)
Swap vanilla ice cream for chocolate ice cream, keep the malt powder, and blend as usual. The result is a richer, darker malt profile—more like toasted cocoa and caramel grains.
When using chocolate ice cream:
– Consider using 2 tbsp malt if the malt is strong (so it doesn’t become overly intense).
– Or use 3 tbsp malt for a bold “malt cocoa” profile.
Salt to enhance (small amount, big impact)
Add a pinch of salt (about 1/16 to 1/8 teaspoon) to make the malt flavor pop. This isn’t about making it salty—it’s about improving perceived sweetness balance and highlighting the toasted grain character. Salt also rounds off any sharpness from the malt powder.
Optional enhancements for experimentation
– Vanilla extract: 1/2 teaspoon for extra aroma, especially if your ice cream is “plain vanilla”
– Extra malt dust on top: a finishing touch that reinforces flavor in the first sip
Storage and Making Ahead Tips
– Best enjoyed immediately for maximum froth and texture
– If preparing in advance, chill and re-blend briefly before serving
A malted milkshake is at its best when served right after blending. That’s when the froth is densest and the texture is most integrated. If you must prepare ahead, the approach is to restore blend quality before serving.
If you’re making it now (recommended)
– Blend and serve immediately.
– Expect the foam and thickness to gradually settle over time—this is normal for ice-cream-based shakes.
If you’re preparing in advance (workable plan)
1. Blend as directed.
2. Pour into a container and chill.
3. Before serving, re-blend for 10–15 seconds (you may need a tablespoon of milk if it thickened too much).
This quick re-blend redistributes air and re-suspends malt powder that may have settled slightly. It also improves mouthfeel consistency for a “freshly made” experience.
Quality warning: freezing is not advised
Don’t freeze a malted milkshake. Once frozen, the texture changes significantly—malt powder can taste gritty, and the ice cream loses its blendable creaminess.
A perfect recipe for malted milkshake comes down to the right blend of ice cream, malt powder, and milk—then adjusting milk for your preferred thickness. Start with a classic ratio (vanilla ice cream + malt + modest milk), blend until fully smooth and frothy, and fine-tune texture by adding milk gradually. Once you nail the base, make it yours with classic whipped cream and malt dust—or explore chocolate variation and a pinch of salt for deeper, more confident flavor. Make yours today, and treat each batch like a controllable process you can perfect over time.
References
- Milkshake
https://en.wikipedia.org/wiki/Milkshake - Malted milk
https://en.wikipedia.org/wiki/Malted_milk - https://www.britannica.com/food/milkshake
https://www.britannica.com/food/milkshake - https://scholar.google.com/scholar?q=malted+milkshake+recipe Google Scholar
https://scholar.google.com/scholar?q=malted+milkshake+recipe - Google Scholar Google Scholar
https://scholar.google.com/scholar?q=malted+milk+powder+milkshake - Google Scholar Google Scholar
https://scholar.google.com/scholar?q=milkshake+ice+cream+blending+technique - https://pubmed.ncbi.nlm.nih.gov/?term=malted+milk+powder
https://pubmed.ncbi.nlm.nih.gov/?term=malted+milk+powder - https://www.sciencedirect.com/search?qs=malted%20milk%20powder%20milkshake
https://www.sciencedirect.com/search?qs=malted%20milk%20powder%20milkshake - milkshake – Search Results – PMC
https://www.ncbi.nlm.nih.gov/pmc/?term=milkshake - Search: malted milk powder – NLM
https://www.ncbi.nlm.nih.gov/search/all/?term=malted+milk+powder