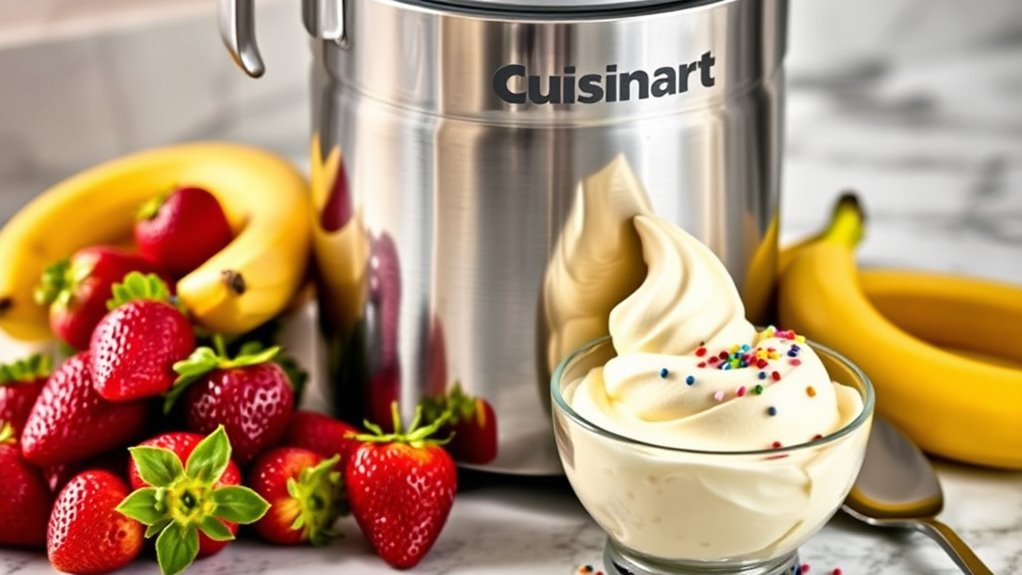
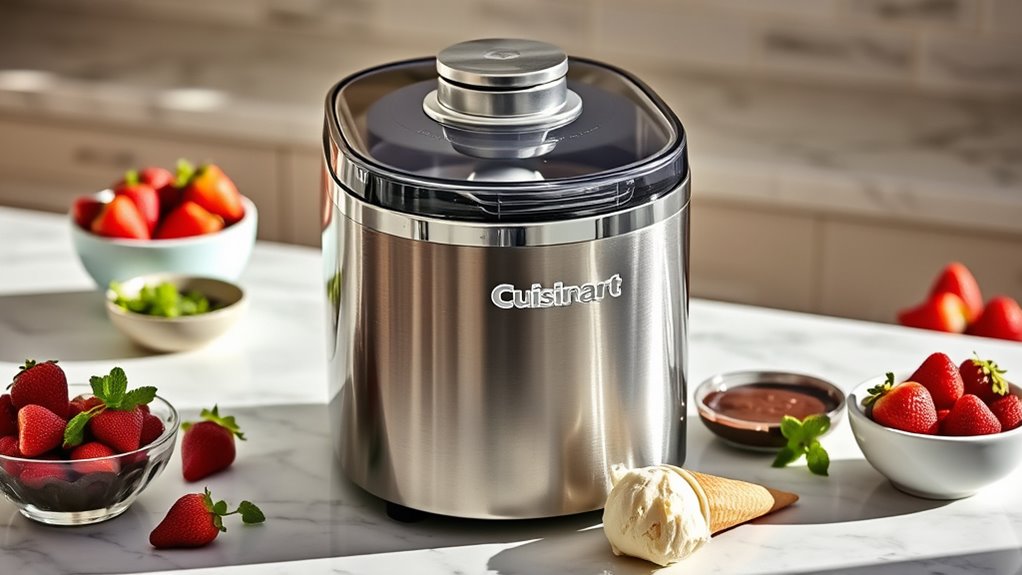
To make a creamy vanilla in your Cuisinart, start with a chilled bowl and beaters, then whisk together 2 cups heavy cream, 1 cup whole milk, 3/4 cup sugar, and 2 tsp vanilla extract. Pour the mix into the ice cream maker, churn until thick and coats a spoon, about 20–25 minutes. Don’t overbeat, taste as you go, and serve with berries or caramel. Keep notes; you’ll reveal even bolder flavors as you go beyond this basic guide.
Ingredients and Quantity
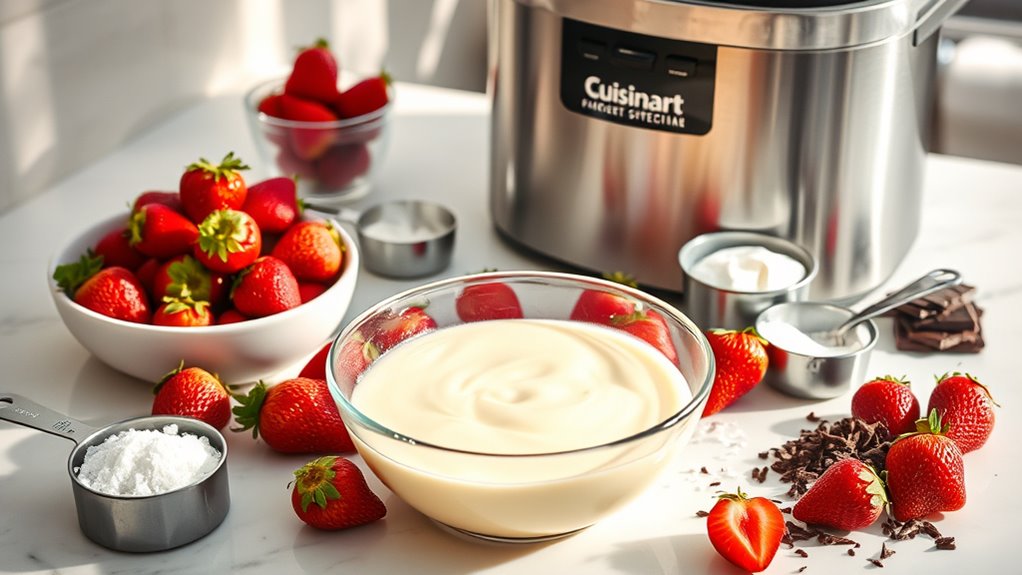
To make Cuisinart ice cream, gather these core ingredients: heavy cream, whole milk, sugar, and vanilla extract. You’ll balance fat, sweetness, and aroma to set your base free. Flavor combinations sprout from these, while ingredient substitutions let you tailor texture and richness without losing soul. Keep measurements tight and intentional, so your mix stays smooth.
| Item | Purpose |
|---|---|
| Heavy cream | Rich base for body and tenderness |
| Whole milk | Lightness and scoopability |
| Sugar | Sweetness and freezing point control |
| Vanilla extract | Lift and warmth, any style |
Flavor combinations you can chase next time: add cocoa, fruit purée, or espresso. Substitutions: dairy-free milks, or alternative sweeteners, still keep the spirit.
Preparations
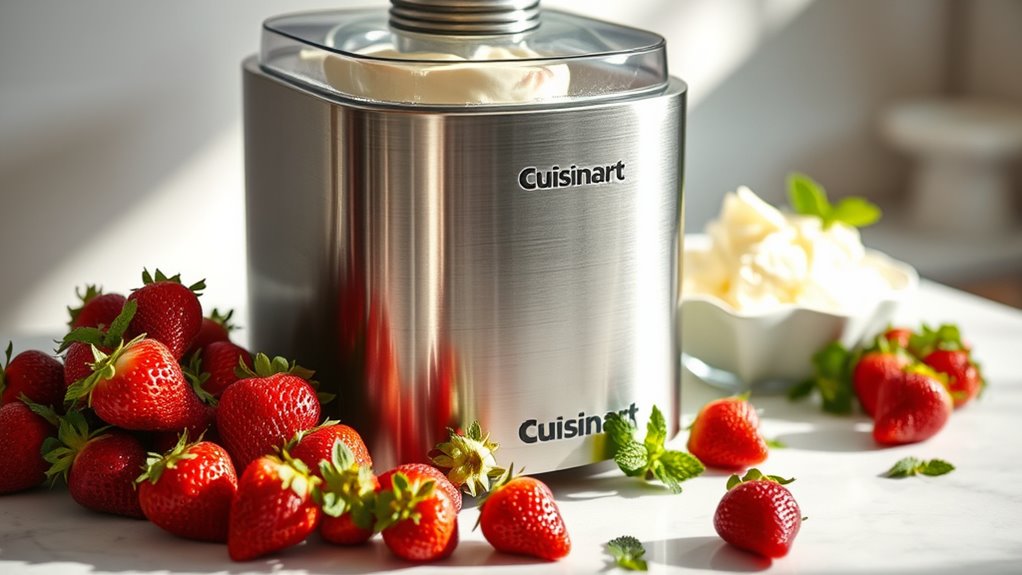
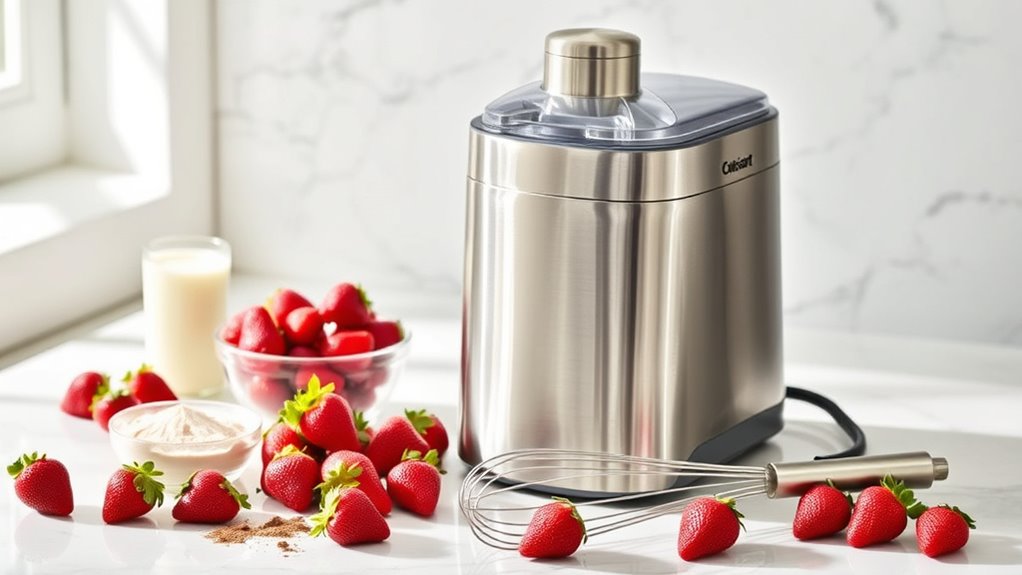
Gather your mise en place: chill the bowl and beaters, have your measured ingredients ready, and set up a clean workspace. In this phase, you focus on preparation techniques that keep momentum, not delays. Align your ingredients with your plan, label containers, and confirm that the freezer is at peak readiness. Inspect the ice cream maker’s lid, seal, and cord for safety, then position the machine on a stable surface. Measure liquids and solids precisely, because accuracy speeds freeze time and reduces waste. Pre-assemble paddles if your model requires it, and confirm timer settings before you begin. With equipment setup secured, you remove guesswork from the process, letting you proceed with confidence and the freedom to improvise flavor profiles as you see fit.
How to Cook
- Temp the ingredients to their ideal temperatures.
- Pour the ingredients into the churn with confident timing.
- Lock in the run and listen for the hum.
- Trust the machine to do the rest.
- Select your cooking techniques with intention.
- Whisk thoroughly.
- Chill mixtures as needed.
- Monitor viscosity until it coats a spoon.
- Avoid overbeating; aim for a smooth, velvety texture, not airiness.
- Pace your rhythm.
- Taste as you go to confirm balance—sweet, salty, or bold.
- Focus on ice cream flavors that excite you, from classic vanilla to adventurous cacao-chili.
- Make scooping a ritual: churn, pause, taste, adjust.
- When the timer ends, finish with a soft scoop.
- Freeze to your preferred firmness.
- Enjoy the freedom of homemade dessert.
How to Serve

Once you’ve churned and softened the ice cream to your liking, serve it with intention: scoop generous rounds into warmed bowls or cones, then pair each serving with a simple, complementary topping—bright berries, a drizzle of caramel, or a dusting of cocoa. Keep portions generous but manageable, allowing the flavors to speak without crowding the plate. For presentation ideas, arrange scoops in a tidy row or stack in miniature tubs for a rustic charm. Consider a contrasting texture: a crisp wafer, a sprinkle of toasted nuts, or a mint leaf for color. Serving suggestions lean into contrast—hot sauce or salted caramel for bold, or citrus zest for brightness. Present with confidence, inviting curiosity and savor.
Tips
Getting the most from your Cuisinart ice cream maker means thinking ahead. You’ll save time and reveal bolder results by prepping smart. Chill the mix thoroughly before churning, but don’t overthink it—cold is key, not rigid. For texture, aim for a smooth base, not a slush. While you churn, keep a steady pace and avoid overmixing, which muddies flavor.
Tips sharpen your craft: chill the container’s bowl as recommended, and clean as you go to prevent buildup. When it’s time for flavor, trust bold choices rather than loud gimmicks. Try flavor combinations that surprise you—salted caramel with espresso, vanilla with raspberry, or coconut with lime. Maintain balance by tasting in small batches, adjusting sweetness or acidity. Freedom thrives in experimentation, so record what works and repeat the wins.
Food Value and Benefit
Homemade ice cream offers a delicious and nutritious dessert option with controlled ingredients and enhanced health benefits.
Food Value of Homemade Ice Cream:
- Made with lower-fat bases or plant alternatives
- Contains real fruit, providing natural sweetness and fiber
- Includes protein-rich mix-ins for added nutritional value
- Fresh dairy or plant-based ingredients deliver essential nutrients
Benefits of Eating This Recipe:
- Supports calorie-conscious eating with mindful portion control
- Provides vitamins such as Vitamin A, Vitamin D, and B vitamins from dairy or fortified plant bases
- Supplies minerals like calcium, potassium, and magnesium essential for bone health and muscle function
- Reduces intake of additives and artificial ingredients, promoting better digestion
- Encourages creativity and balance in diet without deprivation
- Helps maintain energy levels and mood through nutrient-rich ingredients
- Enhances satisfaction and enjoyment, contributing to overall well-being
Frequently Asked Questions
How Long Does the Motor Freeze Before Churning Begins?
The motor freeze duration varies, but you typically wait about 15 to 20 minutes before the churning process begins. Keep the bowl firmly cold; when it thickens, switch on and let the churn do its thing. Enjoy your freedom.
Can I Use a Non-Dairy Milk for This Ice Cream?
Can you use non-dairy milk for this ice cream? Yes, you can, with non dairy options like almond, oat, or coconut milks. Milk substitutes work best when balanced with a touch of extra fat and flavor.
What’s the Scoop Time Once Freezing Starts in the Machine?
You’ll see scoop consistency after about 20–30 minutes, depending on batch size and freezer temperature. Keep it steady, monitor texture, and extend by 5–10 minutes if needed; freezing duration matters, not rushing the scoop.
Is There a Preferred Vanilla Extract Strength for Recipes?
Yes—start with a typical 1 teaspoon per two cups, then adjust for vanilla extract flavor intensity. You’ll savor stronger notes by halving the sugar slightly and adding a touch more vanilla to taste, embracing your preferred balance.
How Should I Store Leftovers After Churning?
Store leftovers in airtight ice cream containers, chill promptly, and freeze for best texture. Label dates, keep plastic or metal containers clean, and resist repeated thaw/freeze cycles. You’ll access smooth scoops, freedom in every bite.
References
- https://en.wikipedia.org/wiki/Ice_cream
- https://www.nytimes.com/2019/07/17/dining/ice-cream-maker-recipe.html
- https://www.cooking.nytimes.com/recipes/1020832-basic-vanilla-ice-cream
- https://www.seriouseats.com/how-to-use-an-ice-cream-maker-5119797
- https://www.foodsafety.gov/food-safety-charts/ice-cream-safety.html
- https://www.extension.iastate.edu/foodsource/recipes/ice-cream-recipes
- https://www.nationaldairycouncil.org/recipe/vanilla-ice-cream/
