Grab your Cuisinart and gather: whole milk, heavy cream, sugar, and egg yolks for a silky custard. Warm the milk and cream, whisk in sugar and yolks until it coats the spoon, then gently temper and simmer to perfume the air with vanilla. Chill, churn until lush, then scoop into warm bowls. Iced cream pairs with fudge, berries, or coffee—finish with a whisper of salt. Want more tips to perfect every batch? Keep going.
Ingredients and Quantity
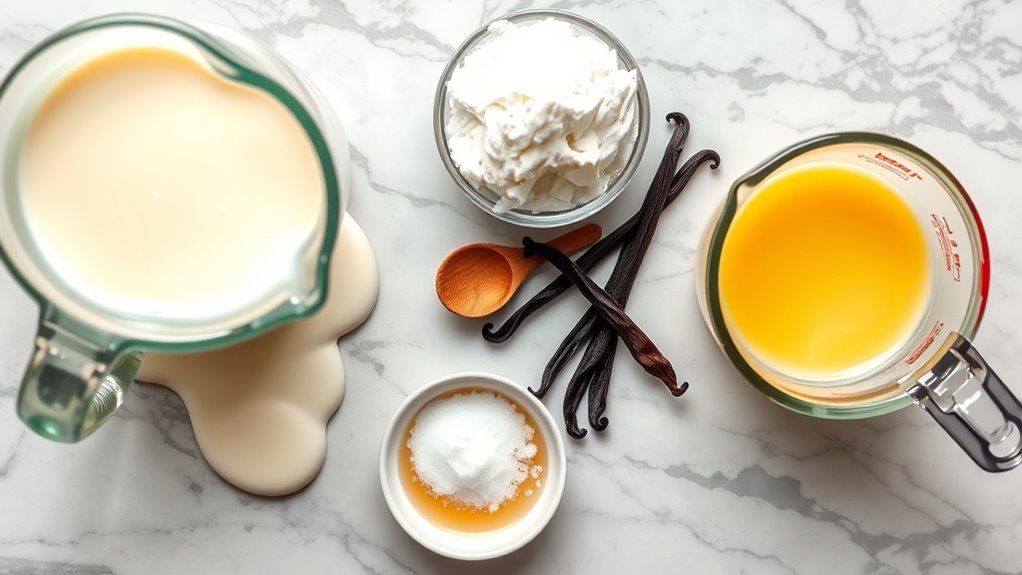
Here are the key ingredients and their quantities for a classic Cuisinart ice cream recipe: you’ll gather dairy, sweetness, and a touch of vanilla to begin your frozen voyage. In this space, precision meets possibility, so measure calmly and trust your palate.
| Item | Quantity |
|---|---|
| Whole milk | 2 cups |
| Heavy cream | 1 cup |
| Sugar | 3/4 cup |
| Egg yolks | 4 |
As you pour, smell the cream’s clouded sweetness and listen to the whisk sigh. You’ll explore ice cream flavors, then note ingredient substitutions—swap coconut milk for dairy or honey for sugar—to keep your freedom intact while maintaining creaminess. Your choices shape texture, mouthfeel, and memory, so tailor with intention.
Preparations
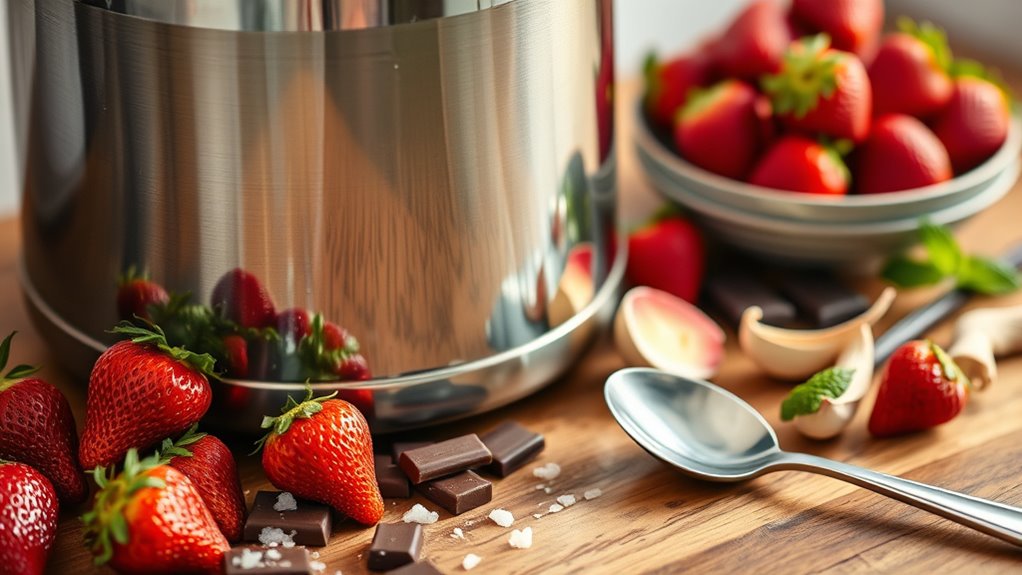
As you’ve gathered the ingredients, it’s time to prep with intention: set up your workstation, pull out the measuring spoons, and line up a clean bowl for the egg yolks. You’ll feel the cool air of anticipation as you organize, hear the clink of utensils, and smell vanilla waking the senses. This is ice cream basics in action, a ritual of preparation that honors the process. Focus on the rhythm of your movements, steady and sure.
Ice cream basics begin with a calm, intentional mise en place.
- Clear counters, gather tools, and wipe surfaces for a confident start.
- Pre-measure liquids, so your mix flows smoothly.
- Set up the ice cream maker and funnel in the chiller-ready ingredients.
- Ready the timer, so every moment stays precise.
How to Cook
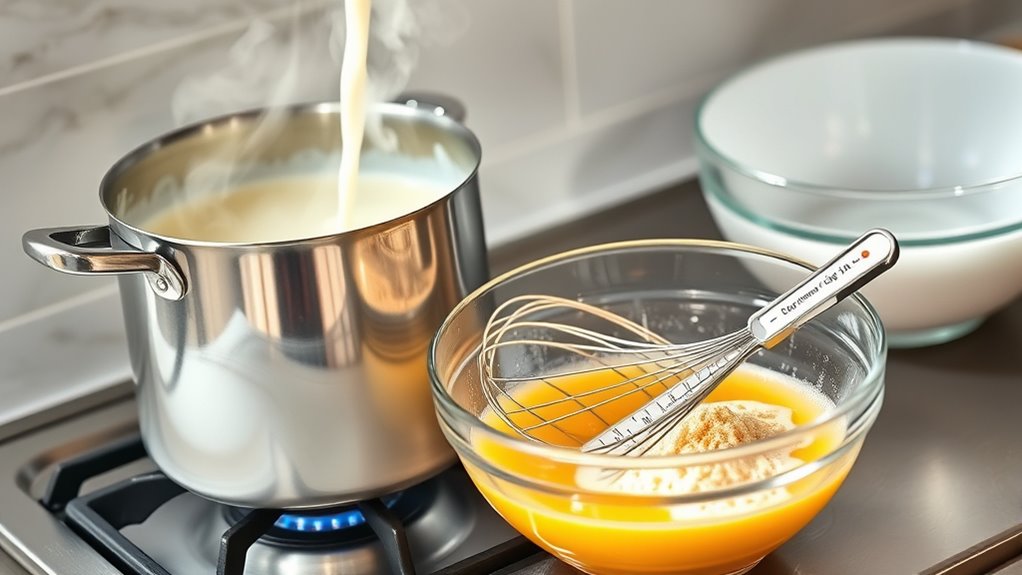
- Simmer milk and cream together until warm and fragrant.
- Whisk in sugar and egg yolks until the mixture thickly coats the back of a spoon.
- Heat gently to develop flavors without rushing, ensuring the yolks are tempered to prevent curdling.
- Notice the aroma sweeten as the custard base thickens.
- Use trusted kitchen tools like a whisk, thermometer, and sturdy saucepan throughout the process.
- Chill the custard thoroughly before churning.
- Churn the custard until it becomes thick and creamy.
- Taste for flavor balance and allow the cold to complete the texture and finish.
How to Serve
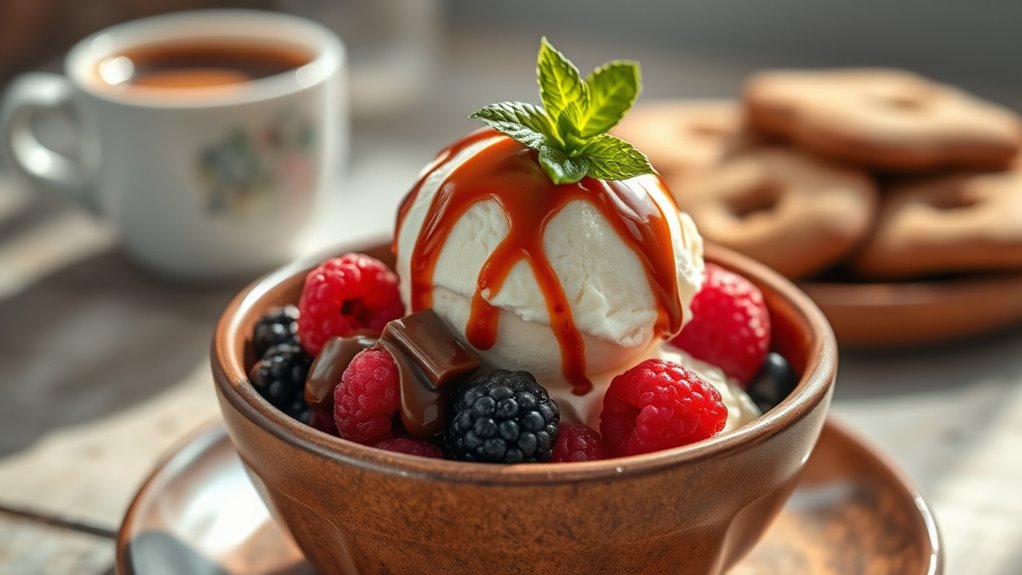
After you’ve churned to a thick, creamy texture, the moment to serve arrives with a soft sigh of anticipation. You’re ready to cradle flavor and freedom in each spoonful, letting aroma guide your guests’ senses. Here’s how you play it:
After churning to a thick, creamy crest, serve with warmth, letting aroma guide guests and flavors unfold.
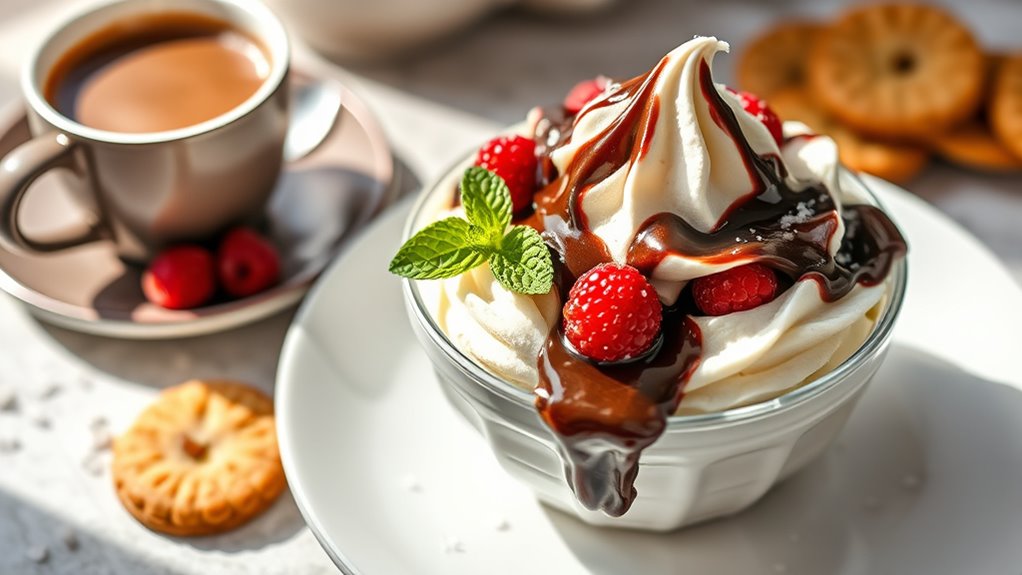
- serving suggestions: present scoops in warm bowls, drizzled with homemade fudge or fresh berries to spark color and contrast.
- presentation ideas: pair with coffee, cookies, or a mint leaf flourish for a gallery of textures.
- texture tips: soften briefly for a silkier bite, then relight the glow with a tiny pinch of sea salt.
- serving rituals: let textures speak—offer single scoops or a shared trio, inviting curiosity and connection.
Tips
If you’re chasing scoop-worthy texture, start with quality ingredients and precise timing, because small tweaks can transform a batch from good to glorious. In tips, you’ll savor balance: chill your mix, moderate sweetness, and taste as you go so each bite sings. Keep ice cream flavors distinct by washing your scoop of the palate with clean, cold bites between tests. Maintain that crisp melt by avoiding overrun; let the churn do the work, then rest briefly for a smoother freeze. For machine maintenance, rinse and dry the dasher, wipe the bowl, and protect seals from stuck dairy. A well-kept machine gives you consistent texture, quicker turnaround, and the freedom to experiment with fearless, delicious combinations.
Food Value and Benefit
From the first creamy bite, this dish combines real dairy and pure vanilla to deliver a smooth, satisfying richness that is both comforting and indulgent. Enjoying this recipe provides not only delicious flavor but also valuable nutritional benefits that support your overall wellness.
Food Value and Benefits of this Recipe:
- Rich in calcium, supporting strong bones and teeth.
- Provides high-quality protein to aid muscle repair and growth.
- Contains vitamin D, which helps the body absorb calcium effectively.
- Supplies energy through balanced carbohydrates and fats to fuel daily activities.
- Made with minimal additives, ensuring cleaner ingredients and authentic taste.
- Suitable options for those with dairy sensitivities allow continued enjoyment without discomfort.
- Portion-controlled servings help maintain a balanced diet and support weight management.
This recipe is a nourishing choice that combines flavor and wellness, making each serving both a treat and a boost to your health.
Frequently Asked Questions
Can I Use a Non-Dairy Substitute With the Cuisinart?
Yes, you can. You’ll explore non dairy options with creamy textures, then chase flavor variations as you churn, savoring vanilla, chocolate, or fruit. You’ll feel freedom in customizing, tasting silky outcomes and bold, personal flavor adventures.
How Long Does Churned Ice Cream Need to Rest?
Chill out, rebel: resting time for churned ice cream isn’t long—about 2–4 hours for scoopable, custard-like texture. You’ll notice ice cream consistency firms, flavors bloom, and you savor the silken, sensory bite you craved. Enjoy the freedom.
What Seed-Free Vanilla Extract Is Best for Flavor?
You’ll want vanilla extract brands with high flavor intensity, so you taste true vanilla without seeds, and you feel free to savor. Choose rich, pure options, and let aroma awaken your senses as you whisk creamy dreams.
Can I Freeze Without an Ice Cream Maker?
Yes, you can freeze without an ice cream maker. Use freezing alternatives like whisking every 30 minutes, and implement ice-bath chilling; you’ll feel creamy texture emerge through constant stirring and patient ice cream techniques, savoring freedom in frozen dessert creation.
How Do I Fix Grainy Texture in Frozen Cream?
Creamy it can be, if you compensate for ice cream texture by whisking gently as it thaws, then churns anew. You’ll banish grainy consistency, feel smooth, silken ice cream texture, and savor freedom in every spoonful.
References
- https://en.wikipedia.org/wiki/Ice_cream
- https://www.cooking.nytimes.com/recipes/1019899-vanilla-ice-cream
- https://www.extension.purdue.edu/extmedia/FNR/FNR-450-W.pdf
- https://www.foodsafety.gov/keep/charts/icecream.html
- https://www.cooksillustrated.com/recipes/11189-vanilla-ice-cream
- https://www.ncbi.nlm.nih.gov/pmc/articles/PMC6456946/
- https://www.verywellfit.com/how-to-make-ice-cream-5185710