You’ll need ½ cup flour, ⅓ cup milk (or almond), a small egg, and ½ tsp baking powder. Mix dry ingredients in one bowl, whisk wet in another, then combine gently. Preheat your waffle maker and pour in the batter evenly. Close the lid and cook until golden and crispy, usually 3-5 minutes. It’s quick, straightforward, and perfect for a tasty solo waffle breakfast. Keep going to discover tips for perfect texture and flavor boosts.
Ingredients and Quantity
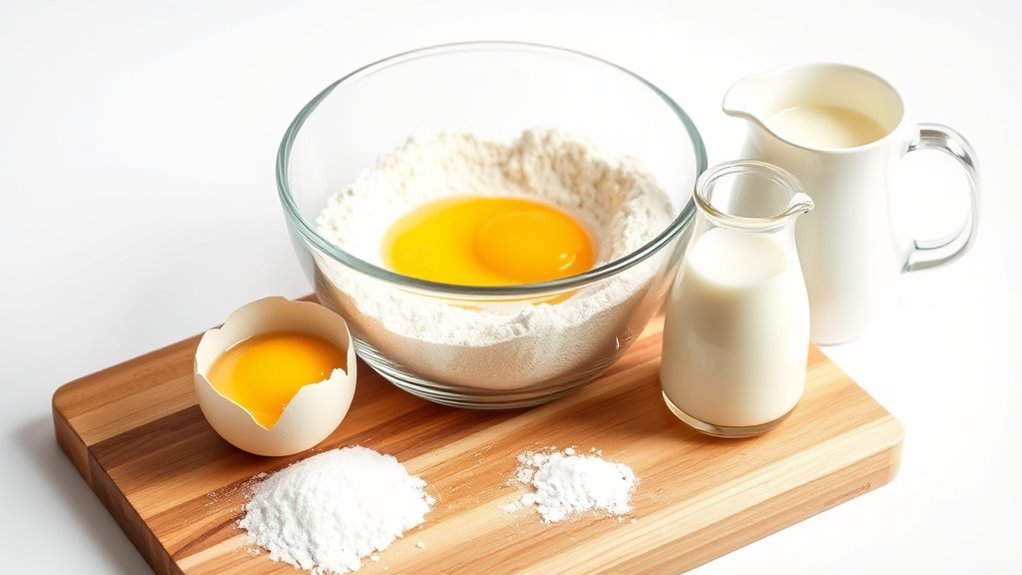
Before you start mixing, you’ll want to gather just the right ingredients and amounts to make a single, perfect waffle. This guarantees you enjoy the nutritional benefits without waste. If you need ingredient substitutions, don’t worry—there’s flexibility to suit your taste and dietary freedom.
| Ingredient | Quantity |
|---|---|
| All-purpose flour | ½ cup |
| Milk (or almond) | ⅓ cup |
| Egg | 1 small |
| Baking powder | ½ tsp |
You can swap milk for almond or oat milk to keep it dairy-free, or use coconut oil instead of butter for a healthier fat. These small changes let you tailor your waffle to your lifestyle, nourishing both body and soul.
Preparations
Now that you’ve gathered your ingredients, it’s time to get everything ready for mixing. Start by measuring each component precisely to maintain balance—this guarantees your waffle turns out just right. Whisk the dry ingredients separately to distribute leavening agents evenly, setting the stage for a perfect rise. Next, gently combine wet ingredients without overmixing; a few lumps won’t hurt and keep your waffle tender. If you’re feeling adventurous, consider experimenting with waffle variations by adding spices, extracts, or even fruit to your batter. Remember, mastering basic cooking techniques like controlling batter consistency and heat will elevate your waffle game. Preparing thoughtfully allows you to embrace freedom in the kitchen, tweaking flavors and textures to suit your cravings. Get ready—your delicious, personalized waffle is moments away!
Tools / Kitchenware Required
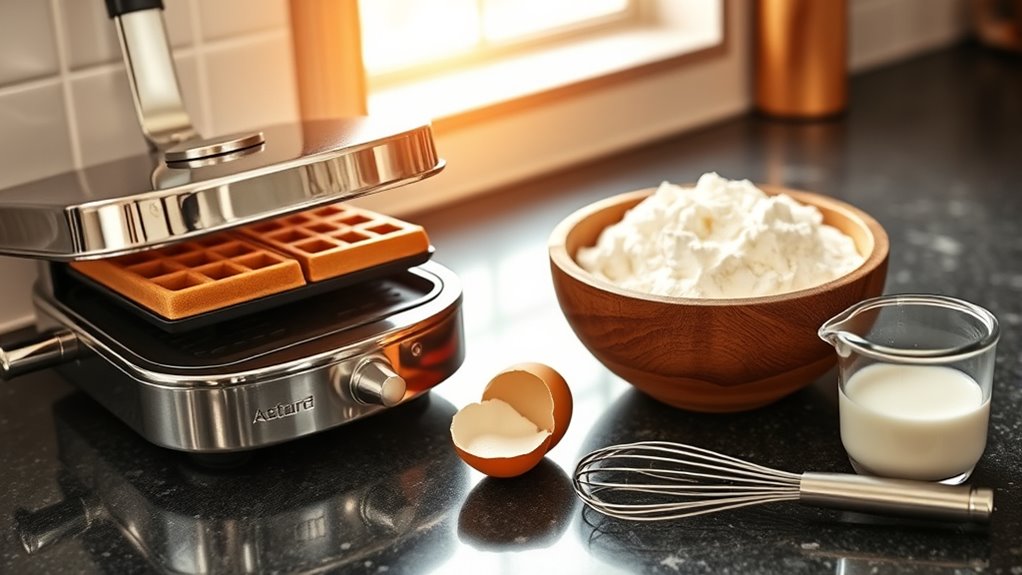
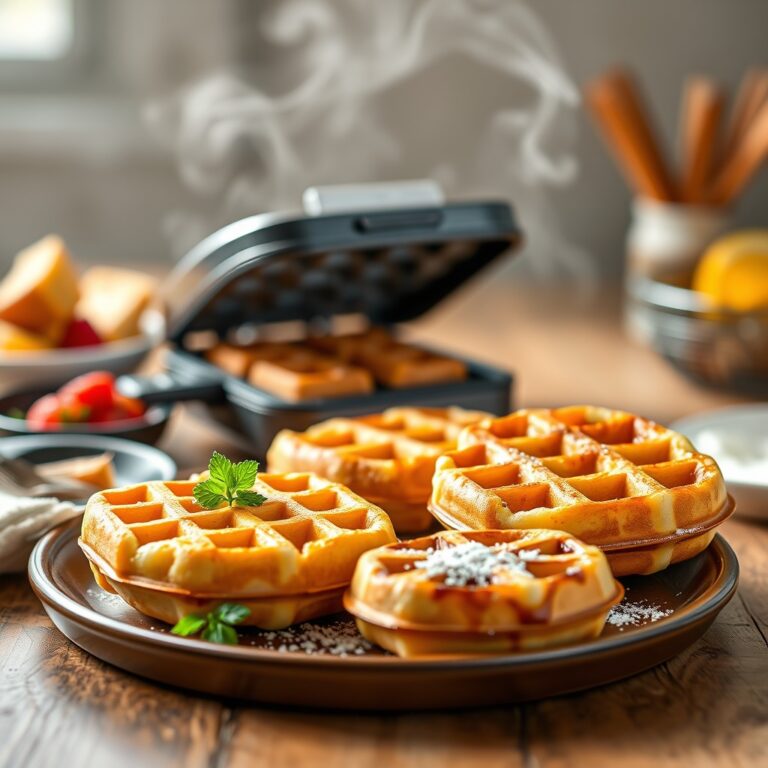
Though you might think you only need a waffle iron, having the right tools at hand will make your waffle-making process smoother and more enjoyable. Beyond your waffle maker, a few essential kitchen gadgets can simplify mixing, pouring, and cleaning up. Here’s a quick guide to your must-haves:
| Tool | Purpose | Tip |
|---|---|---|
| Waffle maker | Cooks the waffle | Preheat fully for crispness |
| Mixing bowl | Combine ingredients | Use a medium size for ease |
| Whisk or fork | Mix batter thoroughly | Avoid lumps for fluffiness |
| Measuring cup | Accurate ingredient amounts | Guarantees perfect batter consistency |
With these tools, you’re all set to enjoy your freedom in the kitchen and whip up waffles effortlessly.
How to Cook
- Preheat your waffle maker to ensure waffles turn out crisp and golden.
- Pour the batter evenly into the waffle maker to avoid overflow.
- Use simple cooking techniques; be patient to achieve a fluffy inside and crunchy exterior.
- Close the lid gently and avoid opening it too soon to let the waffles cook properly.
- Handle the hot waffle maker with care to ensure kitchen safety.
- Use tongs or a heatproof spatula to remove the waffle safely.
- Unplug the waffle maker after cooking to prevent accidents.
- Enjoy making waffles as a quick, delicious treat and embrace the freedom of cooking in your kitchen.
How to Serve
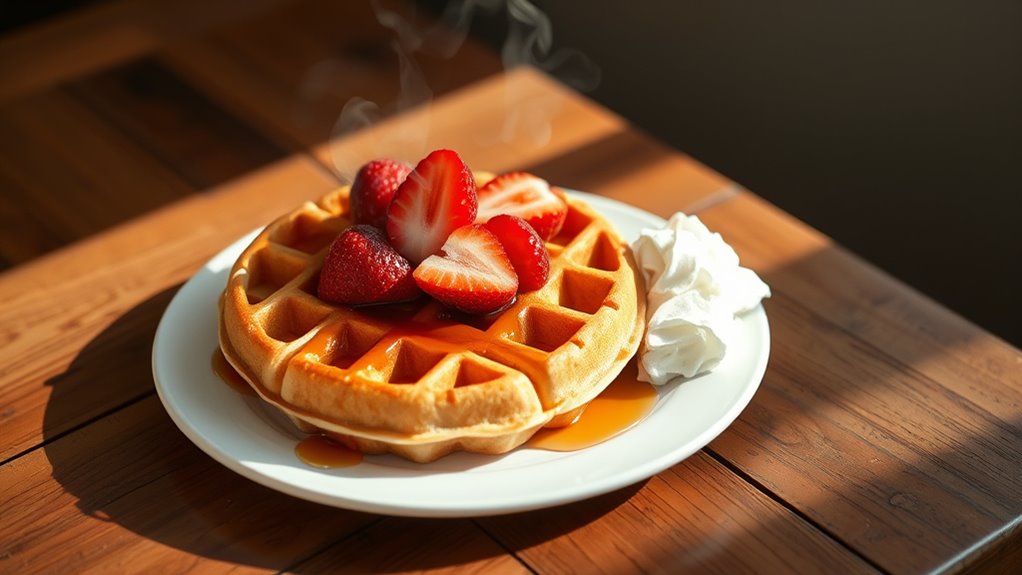
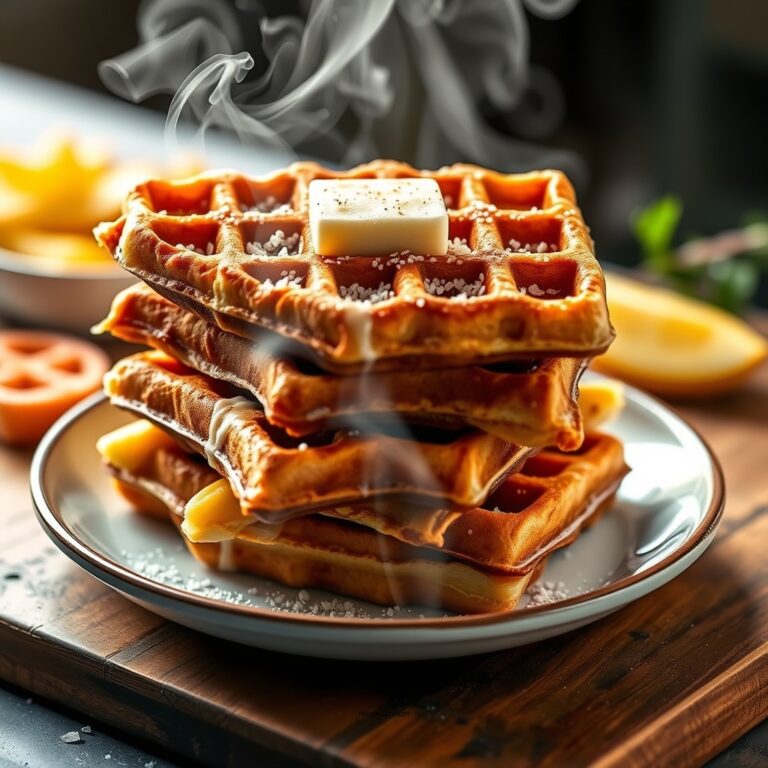
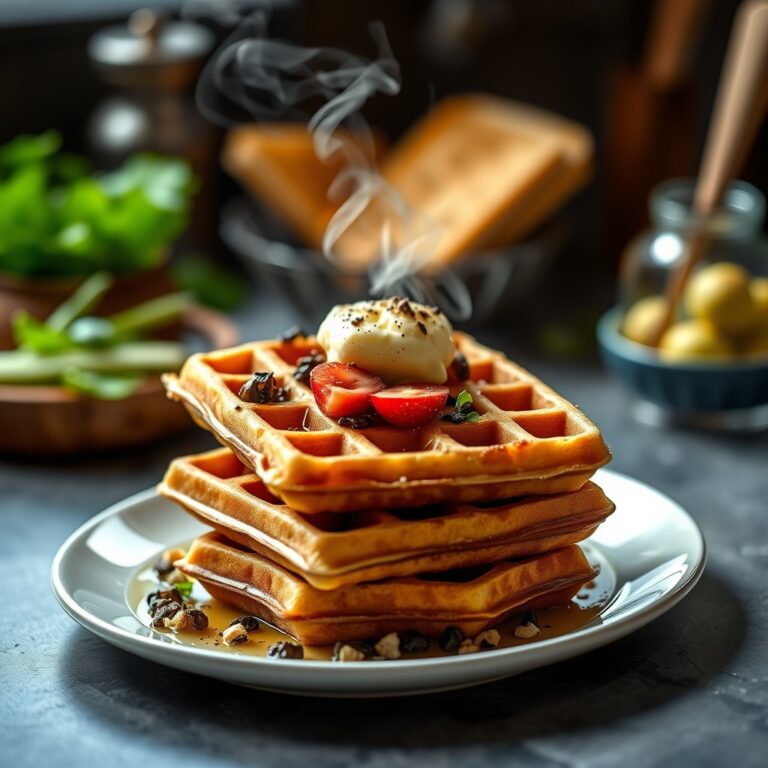
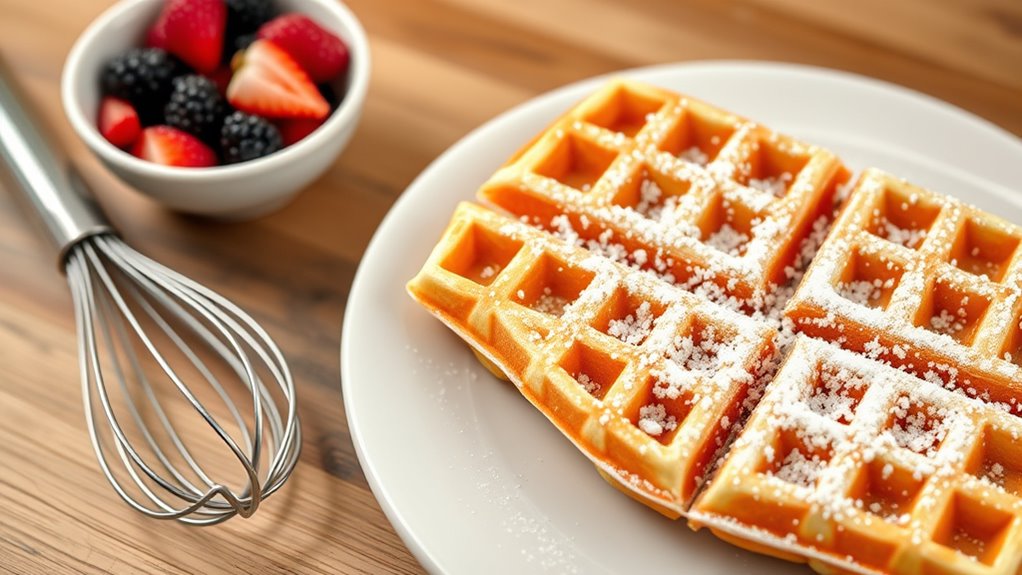
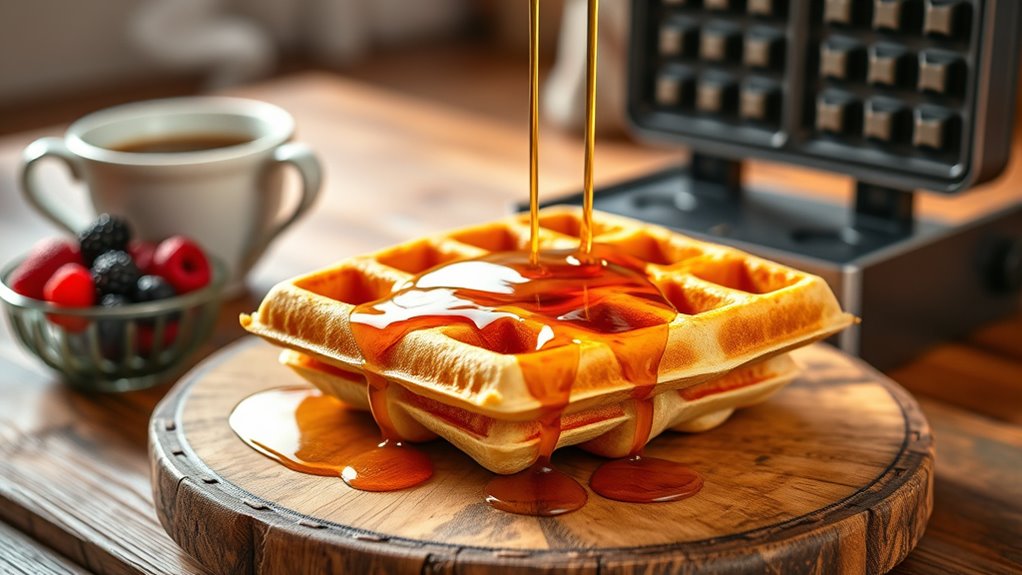
Once your waffle is perfectly cooked, serving it promptly will guarantee you enjoy its crispy exterior and fluffy interior at their best. Start by placing your waffle on a warm plate to keep the texture intact. Now, the fun part: adding waffle toppings. Whether you prefer fresh berries, a drizzle of maple syrup, or a dollop of whipped cream, choose toppings that excite your taste buds and match your mood. For a savory twist, try avocado slices or a sprinkle of cheese. Serving suggestions don’t have to be complicated—simple yet thoughtful choices make all the difference. Remember, your waffle is your canvas, so feel free to experiment and create a serving style that celebrates freedom and flavor in every bite.
Tips
Enjoying your waffle just right often comes down to a few simple tips that can elevate your cooking experience. First, experiment with waffle variations—try adding cinnamon, vanilla, or even cocoa powder to your batter for a personalized twist. Don’t be afraid to play with mix-ins like berries or nuts to keep things fresh. When it comes to cooking techniques, preheat your waffle iron thoroughly to guarantee even browning and a crispy exterior. Avoid opening the iron too soon; patience pays off with perfectly cooked waffles. Also, lightly grease the iron to prevent sticking without overpowering the batter. Finally, keep your waffle warm on a wire rack instead of stacking them, so they stay crisp rather than soggy. These tips will liberate your waffle-making adventure every time.
Food Value and Benefit
Waffles, when prepared with wholesome ingredients, provide valuable nutrients and several health benefits. Using whole grain flour enhances the nutritional profile, making this dish a nutritious choice beyond just comfort food.
Food Value of Prepared Waffle:
- Rich in complex carbohydrates for sustained energy
- Good source of dietary fiber (from whole grain flour)
- Contains protein (especially if ingredients like Greek yogurt or nuts are added)
- Provides essential vitamins and minerals, including:
- Vitamin B-complex (B1, B2, B3) from whole grains, supporting energy metabolism
- Iron, important for oxygen transport in the blood
- Magnesium, aiding muscle and nerve function
- Zinc, contributing to immune health
- Small amounts of calcium if dairy ingredients like yogurt or milk are included
Benefits of Eating This Waffle Recipe:
- Supports digestive health due to high fiber content
- Helps maintain fullness and reduce overeating
- Balances energy release with a combination of carbs and protein
- Supports muscle repair and growth through added protein sources
- Can be customized for specific dietary needs such as gluten-free or lower sugar options
- Provides essential nutrients that contribute to overall well-being and energy levels
Frequently Asked Questions
Can I Use Gluten-Free Flour for This Waffle Recipe?
Yes, you can definitely use gluten-free flour for your waffles! Just remember, gluten-free alternatives often have a different flour texture, which might affect your batter’s thickness and the waffle’s crispiness. To get the best results, try blending a few gluten-free flours like rice or almond flour, or add a little xanthan gum to mimic gluten’s elasticity. This way, you’ll enjoy delicious waffles without sacrificing texture or taste.
How Long Can I Store Leftover Waffles?
Leftover waffles are like little time capsules of breakfast joy—you can store them in an airtight container or zip-top bag in the fridge for up to 3 days. For longer freedom, tuck them into the freezer, where they’ll stay fresh for about 2 months. When you’re ready, just reheat in a toaster or oven to revive that crispy magic. This way, your waffle storage lets you enjoy leftover usage anytime without sacrificing taste or texture.
What Is the Best Waffle Maker Brand for Beginners?
If you’re starting out, the best beginner waffle makers combine ease and reliability. Look for features to evaluate like non-stick plates, adjustable temperature controls, and indicator lights—they make your waffle journey smoother. Brands like Cuisinart and Hamilton Beach offer user-friendly models that won’t overwhelm you. Choosing one with removable plates means easier cleaning, giving you more freedom to enjoy delicious waffles without the hassle.
Can I Freeze Cooked Waffles for Later Use?
Freezing cooked waffles is like hitting the pause button on breakfast bliss—you absolutely can! For waffle storage, cool them completely first, then stack with parchment paper in between to prevent sticking. Wrap tightly in plastic wrap or foil, then place in a freezer bag. When you’re ready, just toast or reheat them for that fresh-out-of-the-iron taste. These freezing tips help you savor freedom from morning prep without sacrificing flavor or texture.
Are These Waffles Suitable for a Low-Carb Diet?
These waffles aren’t typically low-carb, but you can easily swap ingredients with low carb alternatives like almond or coconut flour. When you’re carb counting, keep an eye on portion sizes and add fiber-rich toppings to balance it out. You’ve got the freedom to experiment—try using erythritol instead of sugar and a dash of cinnamon for flavor. This way, you’ll enjoy your waffles without compromising your low-carb goals!
References
- https://www.wikihow.com/Make-Waffles
- https://www.foodsafety.gov/food-safety-charts/waffle-safety
- https://www.extension.purdue.edu/extmedia/FS/FS-13-W.pdf
- https://www.verywellfit.com/how-to-make-waffles-5194061
- https://www.npr.org/sections/thesalt/2018/08/03/634895415/waffles-vs-pancakes-the-battle-of-the-breakfast-woods