Need a quick tiramisu recipe that delivers real, creamy flavor without fuss? This easy no-fuss method wins for anyone short on time—perfectly layered with bold espresso, silky mascarpone, and a clean finish in under an hour. You’ll know exactly what to do step by step, from soaking to layering to the final dusting, so it turns out right the first time.
Yes—you can make a classic-style tiramisu fast by whipping a mascarpone filling, briefly dipping ladyfingers in coffee, layering, and chilling until set. This quick tiramisu recipe uses straightforward techniques and widely available ingredients, so you’ll go from prep to a ready-to-serve dessert in under an hour of hands-on time, then let the refrigerator do the rest.
What You’ll Need for Quick Tiramisu

– Gather mascarpone, heavy cream (or whipped topping), sugar, espresso/coffee, and ladyfingers
– Use cocoa powder and optional dark chocolate for topping
– Check for no-bake-friendly ingredients to keep it truly quick
The “quick” advantage in this tiramisu comes from eliminating anything that requires baking or complicated cooking. Traditional tiramisu sometimes includes egg yolks or syrup reductions; for a fast, reliable version, you’ll focus on three components: a stabilized mascarpone filling, coffee-flavored dipping liquid, and cocoa for finish.
Ingredient roles (so you can troubleshoot quickly):
– Mascarpone: Provides the signature creamy body. Choose a brand that’s smooth and spreadable; very cold mascarpone can be harder to mix.
– Heavy cream (or whipped topping): Adds lightness. Whipping the cream helps the filling set cleanly in the fridge.
– Sugar: Balances coffee bitterness and cocoa. Adjust to your taste—especially if your coffee is strong.
– Espresso/coffee: Should be strong and fresh. You’re flavoring the ladyfingers, not saturating them.
– Ladyfingers: The structural layer. You want them to absorb coffee just enough to taste soaked, but not so long that they collapse.
– Cocoa powder (and optional dark chocolate): Delivers the classic visual and bitterness that balances the sweetness.
No-fuss workflow tip: Plan to assemble in a single run. If you can mix the filling first and prep the coffee next, layering becomes a quick, repeatable process rather than a step-by-step scramble.
Quick Tiramisu Build: Filling vs. Dipping (Practical Benchmarks)
| # | Step Area | Target Time | Texture Goal | Quality Impact |
|---|---|---|---|---|
| 1 | Whip mascarpone + sugar | 2–3 minutes | Smooth, lump-free base | High |
| 2 | Fold in whipped cream | 1–2 minutes | Cloudy, thick, airy filling | High |
| 3 | Coffee dipping (per side) | 1–2 seconds | Moistened, not collapsing | Critical |
| 4 | Layer building (per pan) | 15–25 minutes | Even coverage, clean edges | Medium–High |
| 5 | Chill before slicing | 2–4 hours minimum | Firm slices, defined layers | Critical |
| 6 | Final cocoa application | Before serving | Distinct cocoa top layer | Medium |
| 7 | Rest at room temp | 5 minutes | Cream softens slightly | Medium |
Quick Tiramisu Ingredients & Substitutions

– Swap espresso with strong brewed coffee if needed
– Use sugar to taste; alternatives like maple syrup can work (slightly different flavor)
– Consider low-calorie mascarpone or dairy-free options if preferred
This quick tiramisu is forgiving—substitutions work well because the recipe’s core structure is built on texture (creamy filling) and controlled absorption (brief dipping).
1) Coffee swap (espresso → strong coffee)
– Use 2–3 shots’ worth of espresso or strong brewed coffee (roughly double-strength).
– If your coffee is already sweet, reduce sugar slightly to avoid an overly dessert-forward flavor.
2) Sweetener adjustments
– Maple syrup: Use less than you think—start with about half the sugar amount and adjust. It adds a caramel note that changes the classic profile.
– Granulated sugar: Most predictable for achieving a clean filling set.
3) Cream and mascarpone alternatives
– Whipped topping: Speeds assembly and helps the filling hold shape, though it may taste a bit sweeter.
– Low-calorie mascarpone: Works, but you may need to chill longer for a stable slice.
– Dairy-free: Choose a mascarpone-style dairy-free cream and a stable dairy-free whipped topping. The key is stability after chilling—look for products that maintain texture when cold.
Important quality rule: Don’t choose substitutions that “break” when chilled (for example, very thin yogurt-style creams). The goal is a filling that firms and forms distinct layers.
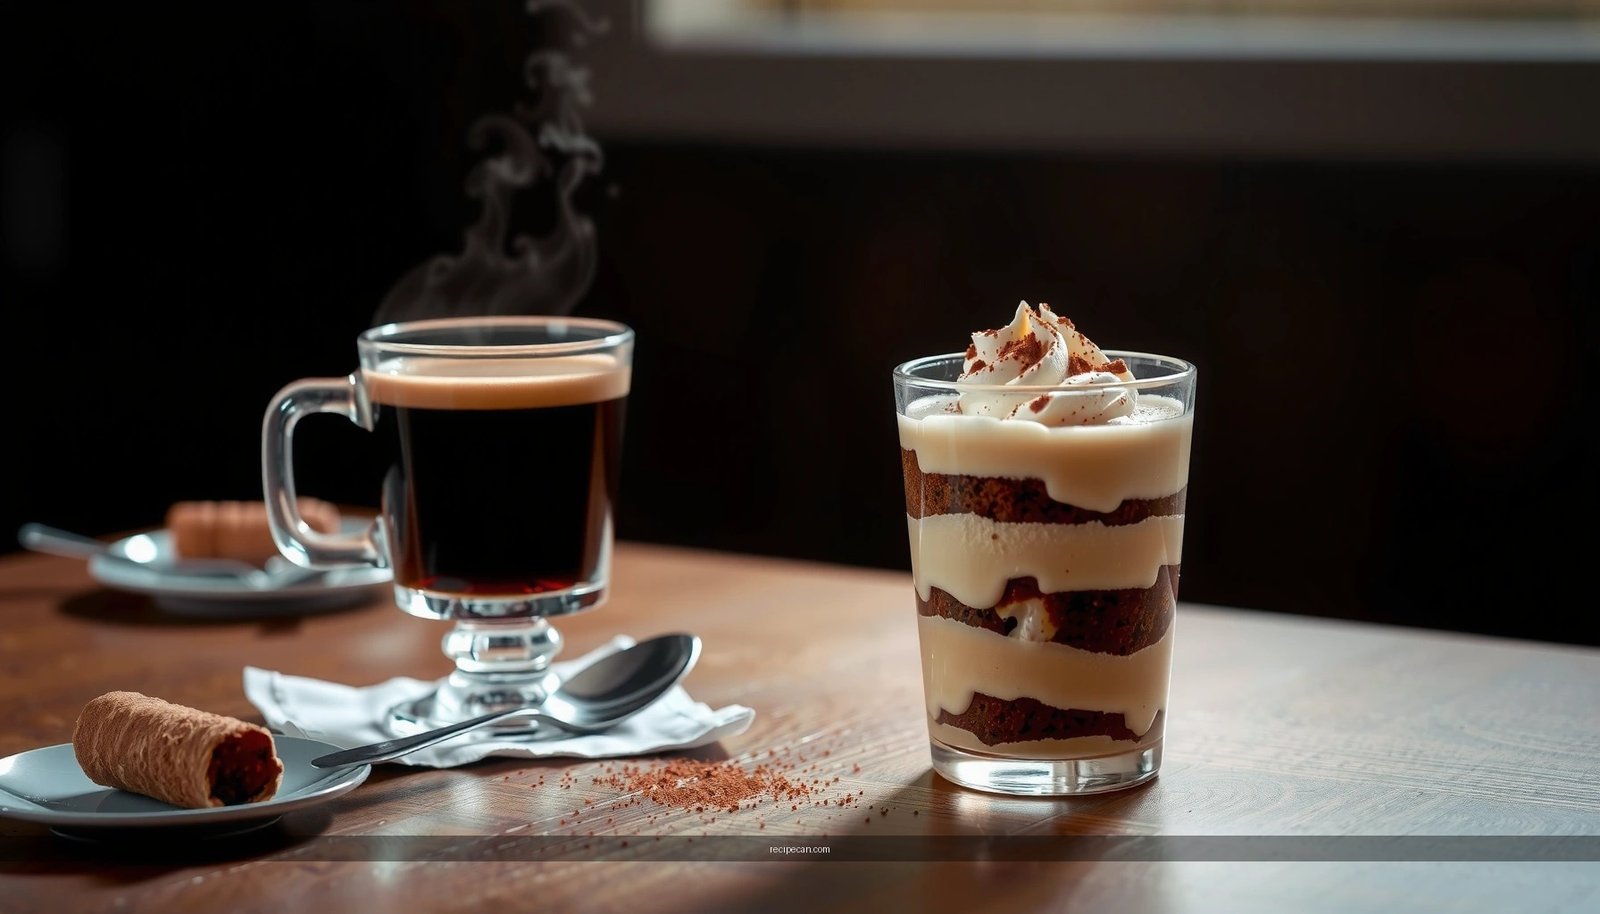
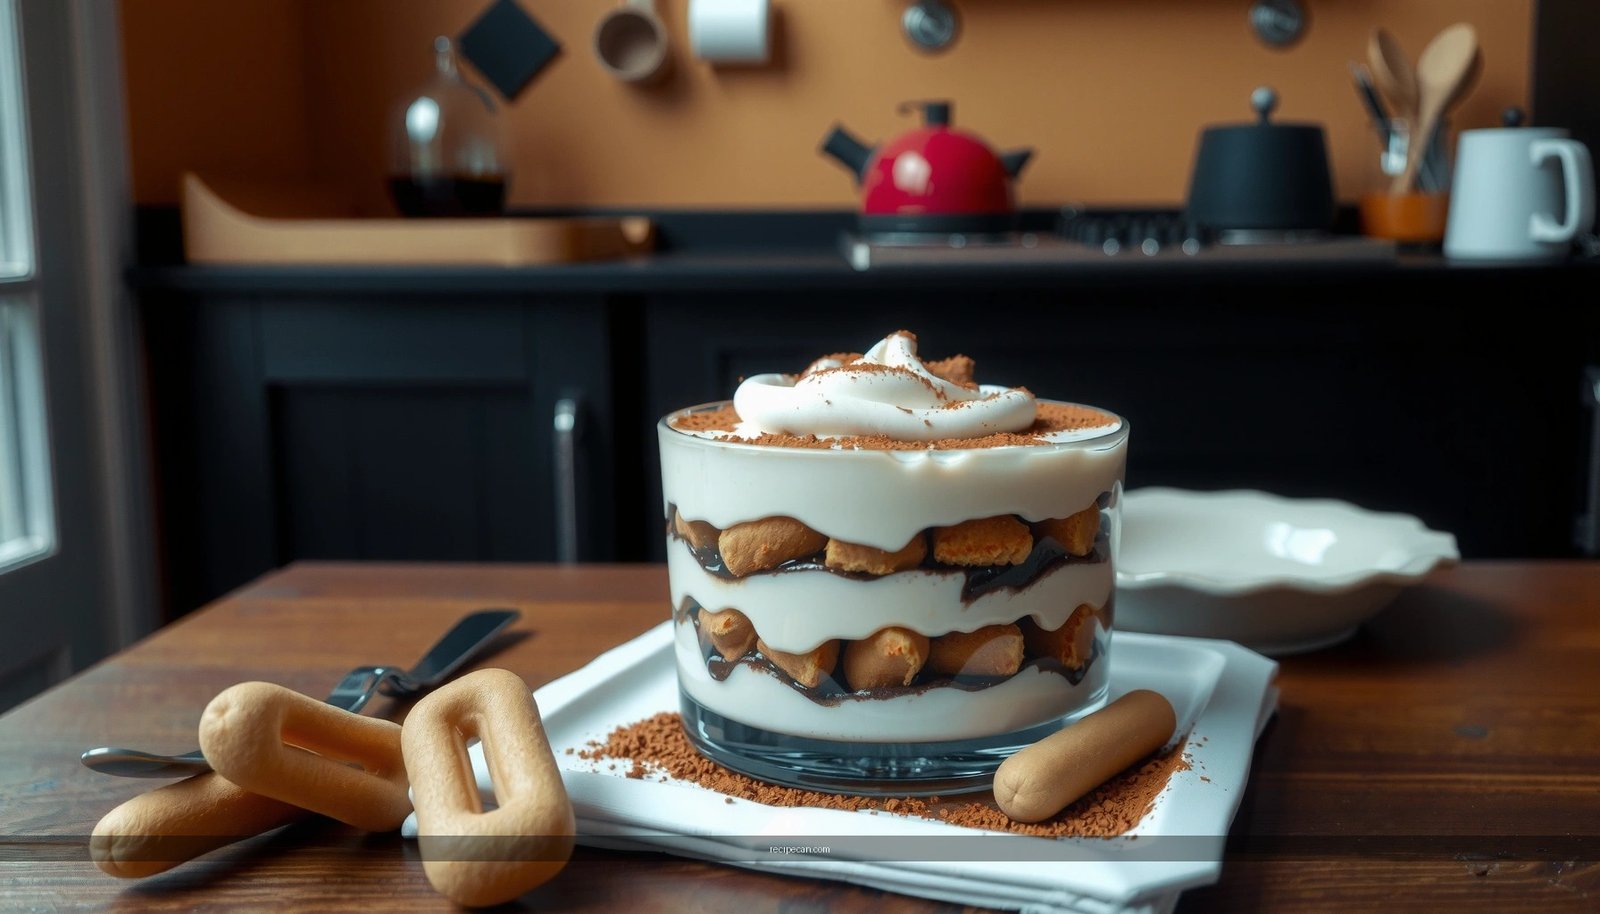
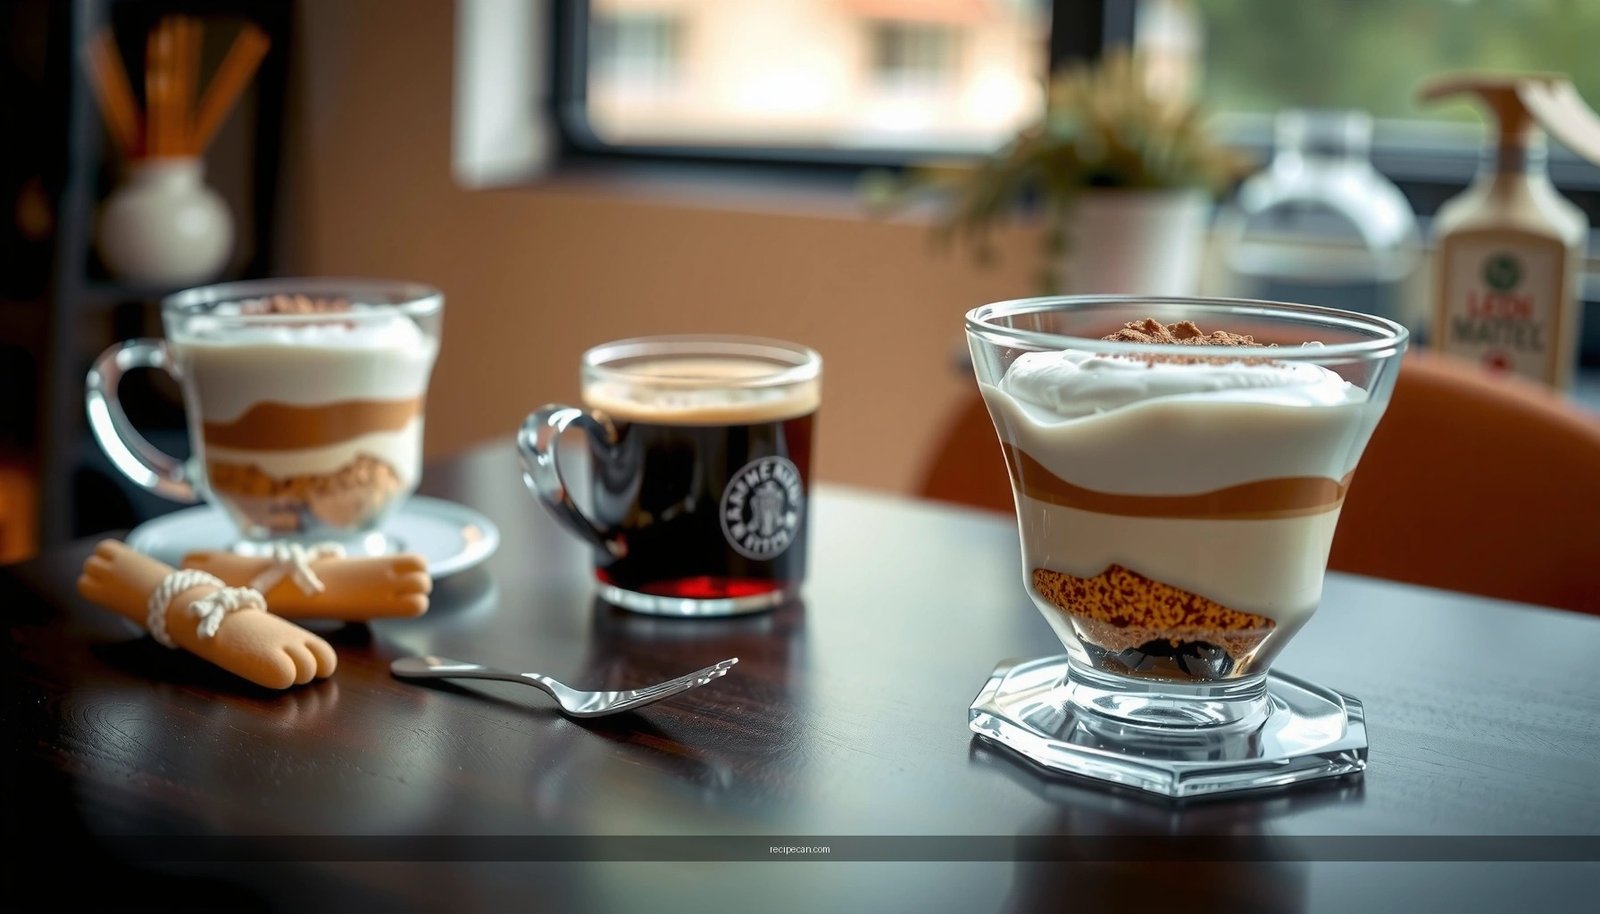
Step-by-Step: How to Assemble Fast

– Whisk mascarpone with sugar, then fold in whipped cream for a smooth filling
– Dip ladyfingers briefly in coffee (don’t soak them)
– Layer filling and ladyfingers, then finish with cocoa
This is the fastest route to authentic-tasting tiramisu: make the filling, dip quickly, layer deliberately, and chill.
Step 1: Make the coffee
Brew espresso or strong coffee, then pour into a shallow dish so dipping is quick and controlled. Let it cool slightly so it doesn’t melt the mascarpone-based filling when it drips.
Step 2: Build the mascarpone filling
1. In a mixing bowl, whisk mascarpone with sugar until smooth.
2. Separately whip heavy cream to soft-to-medium peaks (or use a ready whipped topping).
3. Fold the whipped cream into the mascarpone gently until uniform. The filling should look creamy, thick, and spreadable—not runny.
Step 3: Dip ladyfingers (the “quick” technique)
Dip each ladyfinger briefly—about 1–2 seconds per side. The goal is to moisten the surface so the coffee flavor reads clearly after chilling. If you soak longer, the cookies become too soft and the layers blur.
Step 4: Layer in your dish
– Spread a thin layer of filling on the bottom.
– Add a layer of dipped ladyfingers.
– Add more filling, then repeat once (or until you reach your desired height).
– Finish with an even cocoa dusting.
Step 5: Chill to set
Place the assembled tiramisu in the refrigerator while you plan the rest of your day. It firms as the filling hydrates the layers.
Process optimization for busy schedules: If you’re cooking for a group, assemble in a single, shallow dish so chilling is faster and slicing is cleaner.
Chill Time and Best Texture Tips
– Refrigerate at least 2–4 hours for clean slices and bold flavor
– For faster results, chill longer in a shallow dish
– Let it sit 5 minutes before serving to soften slightly
Chilling isn’t optional—it’s the mechanism that turns assembled layers into a cohesive dessert. During refrigeration, the mascarpone filling firms, and coffee flavor continues to distribute slightly through the ladyfingers.
Recommended chill targets:
– 2 hours: Works for quick service; expect softer edges.
– 4 hours: Ideal balance for clean slices and pronounced coffee-cocoa flavor.
– Overnight: Best for batch prep and maximum structural integrity.
Texture troubleshooting:
– Too soft / layers collapsing: Likely over-dipping or insufficient chill time. Next time, dip shorter and increase refrigeration.
– Too firm / hard to slice: Chill is fine, but let it sit 5 minutes at room temperature before serving to soften slightly.
Serving workflow tip: Cocoa looks best right before serving. Dusting earlier can cause moisture pickup and clumping.
Make-Ahead and Storage
– Store covered in the fridge for up to 3 days
– Freeze is possible for some textures, but it’s best consumed fresh
– Prepare components ahead (filling ready, then layer later)
A quick tiramisu recipe is particularly convenient because it’s designed for planning ahead. You can separate the workload: prepare components now, assemble later, and still deliver a “fresh-made” result.
Make-ahead strategy (best practice):
– Prepare filling: Mix mascarpone + sugar + folded-in cream and keep covered in the refrigerator.
– Brew and cool coffee: Store covered so it stays aromatic.
– Assemble close to your serving window: Ideally 2–6 hours before serving so it chills properly without drying out.
Storage guidelines:
– Refrigerator: Store covered for up to 3 days. After that, texture can soften and flavors flatten.
– Freezing: Freezing can change mascarpone texture and the way ladyfingers hydrate. If you must freeze, wrap tightly and expect a softer, less “clean-slice” result after thawing.
Food safety note: Keep everything chilled once you start assembly. Tiramisu is not a cooked custard, so temperature control matters.
Easy Variations to Keep It Interesting
– Add a splash of coffee liqueur or vanilla for extra depth
– Try chocolate shavings between layers for a richer dessert
– Make mini tiramisus in cups for faster serving and portion control
Once you’ve mastered the base, variations let you tailor the dessert for different occasions—without turning it into a complicated project.
1) Flavor boosts (minimal effort, noticeable impact)
– Coffee liqueur: Add a small splash to the coffee (or to the filling) for deeper aroma. Keep it modest so the dessert doesn’t become overly alcoholic.
– Vanilla extract: A teaspoon in the filling rounds out the flavor and makes the coffee taste more “dessert-like” rather than bitter.
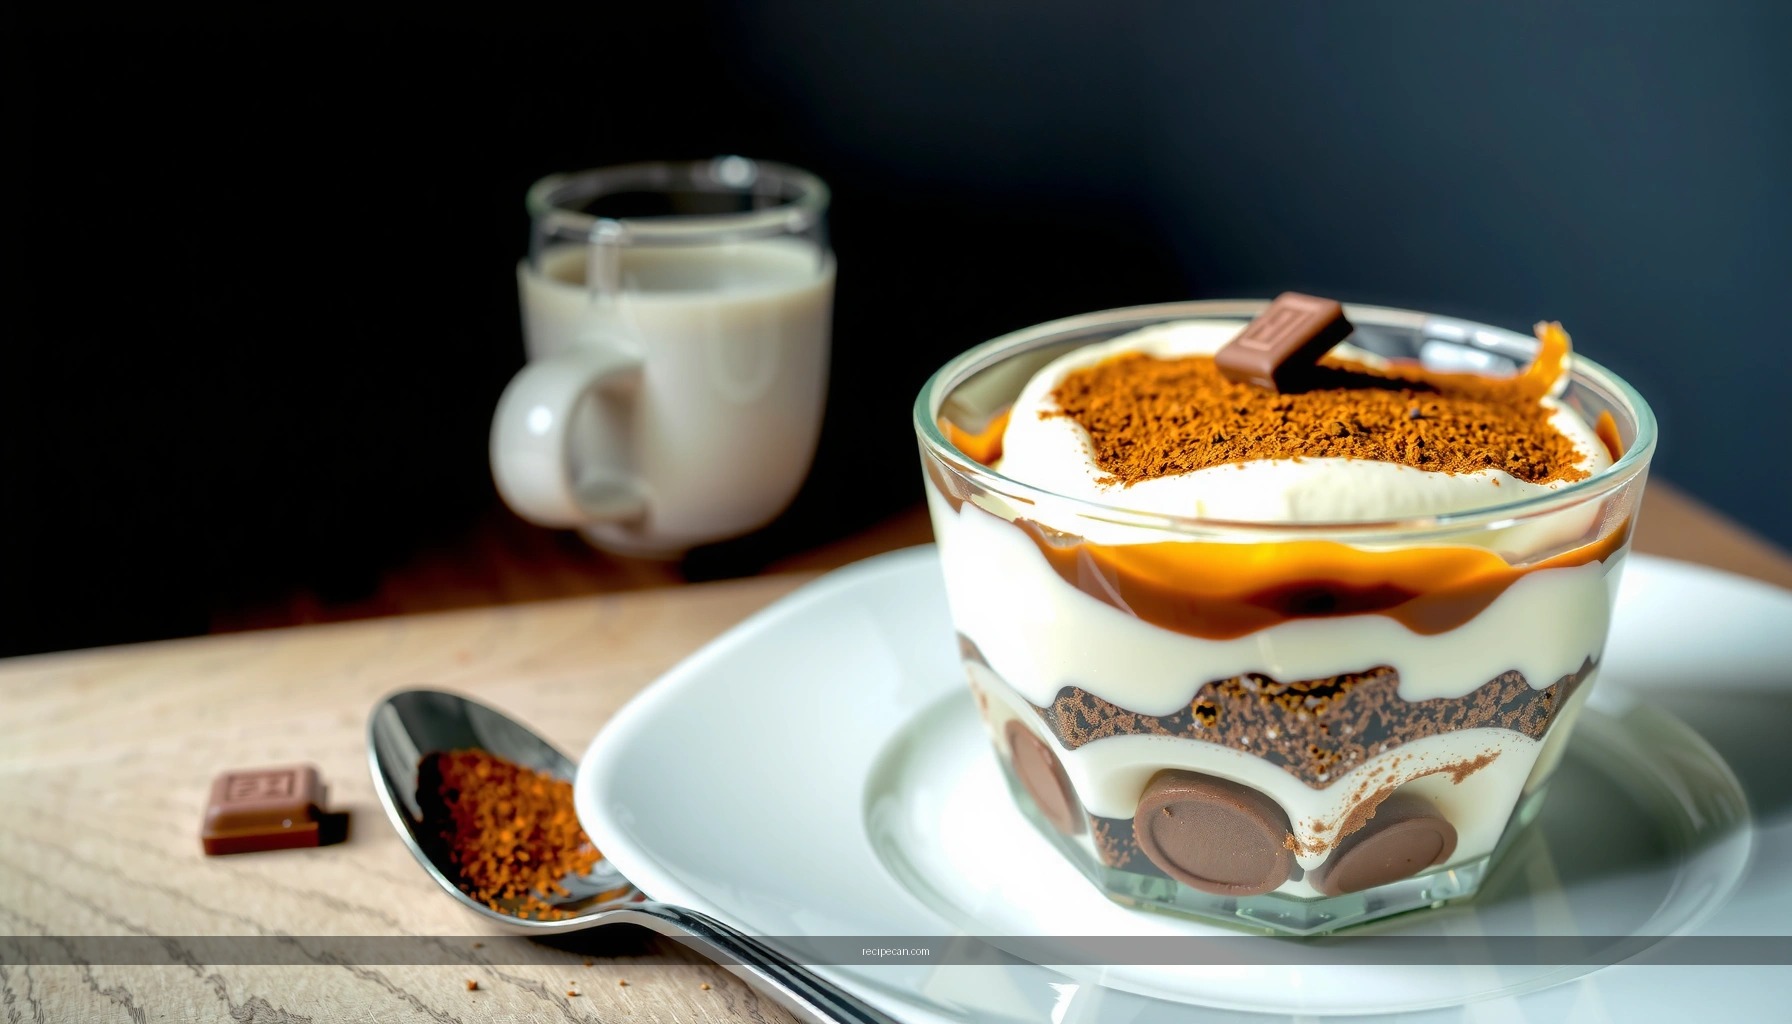
2) Chocolate upgrades
– Chocolate shavings: Add a thin layer between filling and ladyfingers for richer texture contrast.
– Dark chocolate curls on top: Makes presentation instantly more “event-ready.”
3) Mini tiramisus
Portion control is a common business-style win—individual servings reduce waste and simplify serving.
– Assemble in cups or small ramekins.
– Dip ladyfingers to match the cup size.
– Chill and top with cocoa just before serving.
Why mini works for speed: Smaller dishes chill faster, meaning you can set the dessert with less waiting time while still maintaining stable layers.
A quick tiramisu recipe is all about fast layering, brief dipping, and a good chill to lock in flavor. Follow these steps, assemble your layers today, and refrigerate until set—then serve and enjoy your easy no-fuss dessert.
Frequently Asked Questions
What are the key ingredients for a quick tiramisu recipe?
A quick tiramisu recipe typically uses mascarpone, espresso (or strong coffee), ladyfingers, eggs (optional depending on the version), sugar, and cocoa powder. You’ll also often add vanilla for flavor and a pinch of salt to balance sweetness. For convenience, many fast recipes use pre-whisked mascarpone cream or skip raw eggs by using a simple mascarpone mixture.
How do you make a quick tiramisu recipe without eggs?
To make an egg-free quick tiramisu, whisk mascarpone with sugar (and vanilla if desired) until smooth, then fold in whipped cream if you want a lighter texture. Dip ladyfingers briefly in cooled espresso so they absorb flavor without turning mushy. Layer the cream and soaked ladyfingers, then chill until set—usually at least 2–4 hours.
Why does tiramisu turn watery or soggy, and how can you fix it?
Watery tiramisu usually happens when ladyfingers soak too long in coffee or when the coffee is too hot, which softens them excessively. Use cooled espresso, dip each side quickly (about 1–2 seconds), and avoid oversaturating. Also chill the assembled tiramisu to help the layers firm up and prevent runny cream.
What’s the best way to whip mascarpone for a quick tiramisu recipe?
For a creamy, thick mascarpone filling, start with mascarpone at room temperature and beat just until smooth—overmixing can make it grainy. If your recipe includes eggs, whip them properly until glossy and then fold gently to keep the texture airy. For a no-egg version, whip cold heavy cream to soft peaks and fold it into the mascarpone for a stable, spoonable quick tiramisu.
Which coffee should you use for the fastest, most flavorful quick tiramisu?
Use strong espresso for the most classic flavor, but instant espresso or very strong brewed coffee works well for a quick tiramisu recipe. Brew a small amount, let it cool completely, and consider adding a splash of coffee liqueur or a pinch of cocoa to deepen the taste. If you want a faster option, prepare strong coffee ahead of time (or chill it briefly) so you can dip the ladyfingers quickly and evenly.
References
- Tiramisu
https://en.wikipedia.org/wiki/Tiramisu - Mascarpone
https://en.wikipedia.org/wiki/Mascarpone - Ladyfingers (biscuits)
https://en.wikipedia.org/wiki/Savoiardi - Espresso
https://en.wikipedia.org/wiki/Espresso - Cocoa powder
https://en.wikipedia.org/wiki/Cocoa_powder - Google Scholar Google Scholar
https://scholar.google.com/scholar?q=quick+tiramisu+recipe+no-bake - Google Scholar Google Scholar
https://scholar.google.com/scholar?q=tiramisu+instant+coffee+mascarpone+recipe - Google Scholar Google Scholar
https://scholar.google.com/scholar?q=tiramisu+components+ladyfingers+eggless+variation - Tiramisu | Meaning, Ingredients, Origin, Desserts, & Taste | Britannica
https://www.britannica.com/topic/tiramisu - https://pubmed.ncbi.nlm.nih.gov/?term=tiramisu
https://pubmed.ncbi.nlm.nih.gov/?term=tiramisu