To make a delicious pumpkin pie from scratch, start by roasting sugar pumpkins and blending them into a smooth puree. Mix the puree with sugar, eggs, and spices in a bowl before pouring it into a pie crust. Bake at 425°F for 15 minutes, then reduce to 350°F for 40 more minutes. Serve it warm with whipped cream and a sprinkle of cinnamon. You’ll discover more delightful tips and tricks for a perfect pie to impress everyone.
Ingredients and Quantity
When it comes to making the perfect pumpkin pie, having the right ingredients in the right quantities is essential. You’ll want to gather fresh, quality items to create a delicious masterpiece. Here’s a handy guide to guarantee you have everything you need:
| Ingredient | Quantity |
|---|---|
| Pumpkin puree | 1 can (15 oz) |
| Sugar | 3/4 cup |
| Eggs | 2 large |
| Spice mixture | 2 tsp |
| Pie crust | 1 (9-inch) |
The combination of pumpkin puree and the right spice mixture brings warmth and depth to your pie. Embrace the freedom of crafting your dessert, and let these ingredients guide you to pumpkin pie perfection!
Preparations
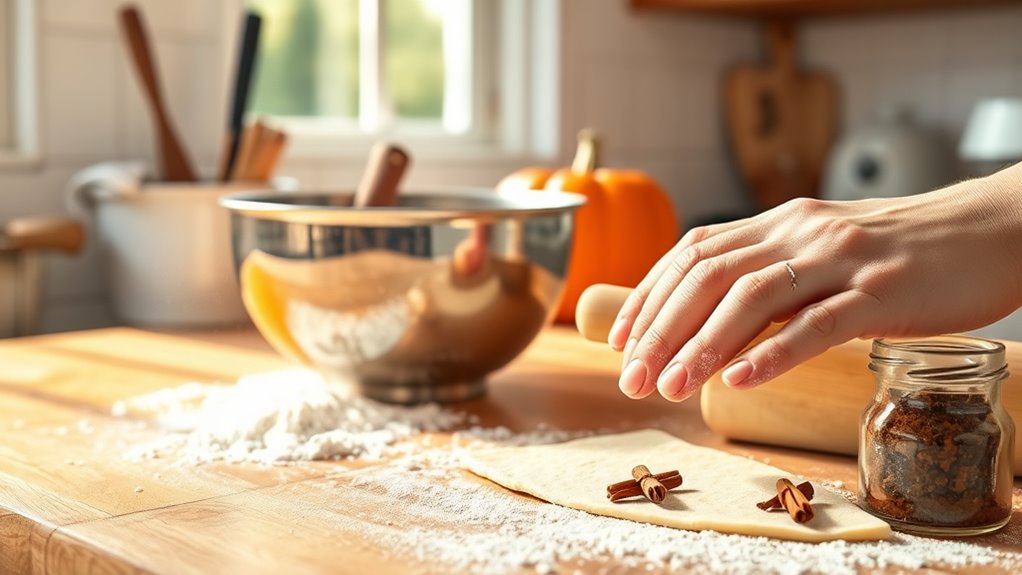
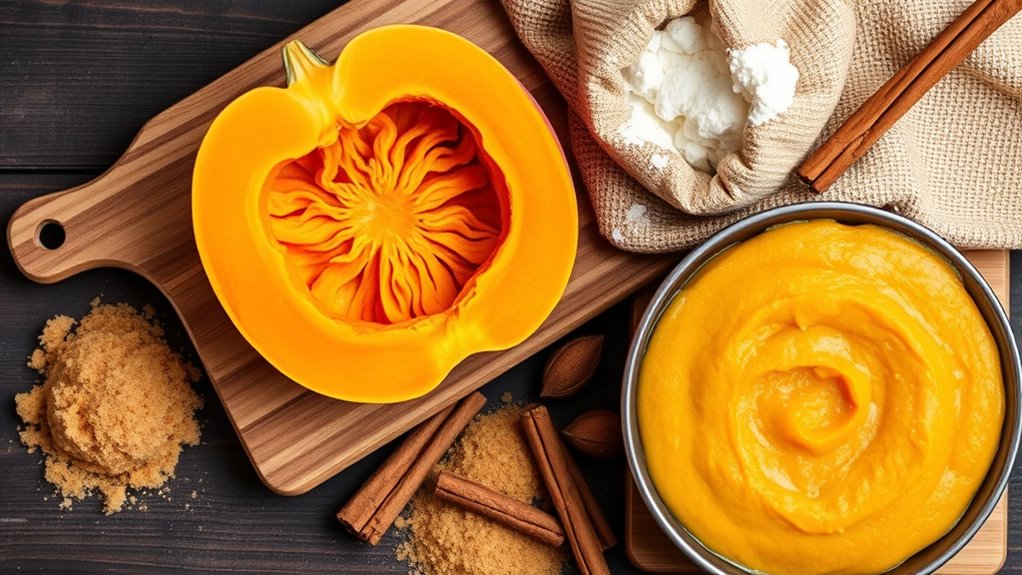
With your ingredients ready, it’s time to bring your pumpkin pie to life. Start by choosing pumpkins that are firm, with a rich, deep color. Sugar pumpkins are perfect for this, as they’re sweeter and have a smoother texture. Once you’ve got your pumpkins, it’s time for making puree. Cut them in half, scoop out the seeds, and roast them until they’re tender. After they’ve cooled, blend the flesh until it’s silky smooth. This puree will be the heart of your pie, giving it that deliciously rich flavor. As you prepare, let your creative spirit flow—this is your moment to craft a dessert that speaks to your taste and style. Enjoy every step; you’re making something truly special!
Tools / Kitchenware Required
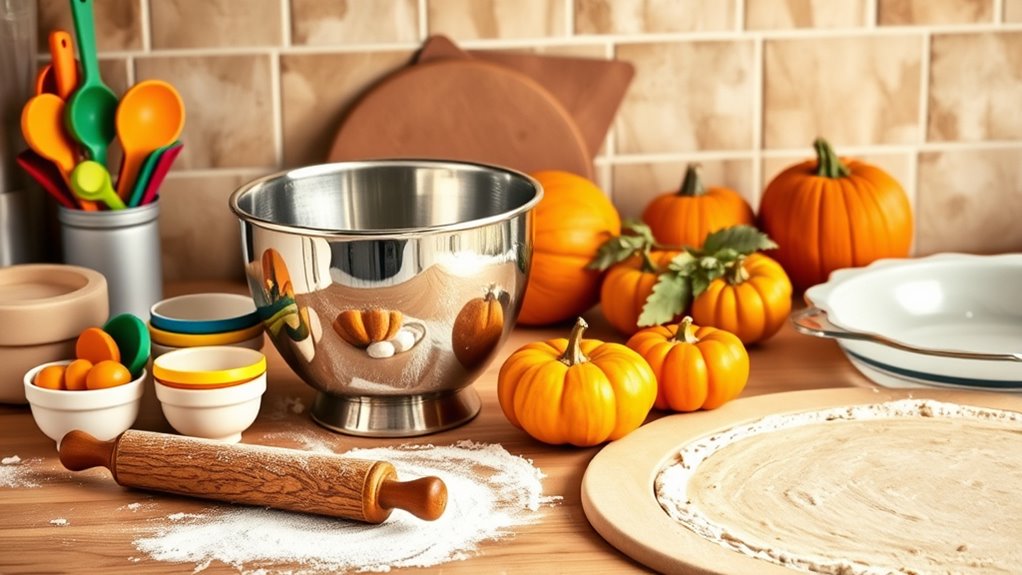
A well-equipped kitchen is essential for crafting the perfect pumpkin pie. You’ll need a variety of tools to make the process smooth and enjoyable. Here’s a quick rundown of what you’ll want to have on hand:
| Tool | Purpose | Quantity |
|---|---|---|
| Mixing Bowls | Combine ingredients | 2 |
| Baking Tools | Roll and shape dough | 1 set |
| Pie Pan | Bake the pie | 1 |
Having these items ready will let you focus on your creativity rather than scrambling for tools. Mixing bowls help you blend flavors seamlessly, while the right baking tools guarantee your crust is just right. With everything in place, you’re free to plunge into your pie-making adventure!
How to Cook
- Preheat your oven to 425°F (220°C).
- In a large bowl, combine pumpkin puree, sugar, spices, and eggs.
- Use a whisk to mix the ingredients smoothly, ensuring flavors meld well.
- Pour the mixture evenly into your prepared pie crust.
- Consider blind baking the crust beforehand to keep it flaky and delicious.
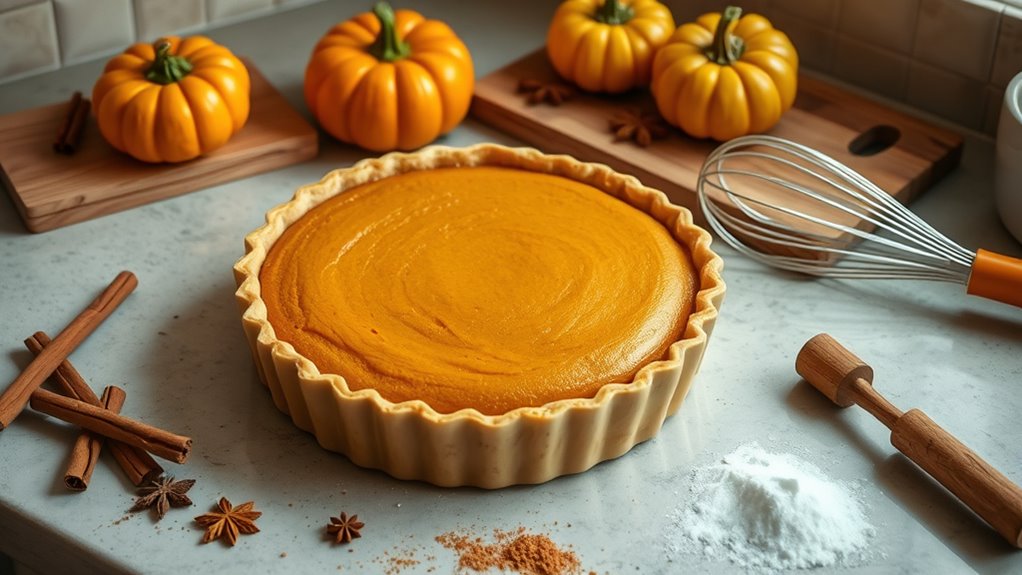
- Bake the pie at 425°F (220°C) for 15 minutes.
- Reduce the oven temperature to 350°F (175°C) and bake for an additional 40 minutes.
- Remove the pie when it is golden and fragrant.
- Allow the pie to cool before serving.
- Enjoy your homemade pumpkin pie!
How to Serve
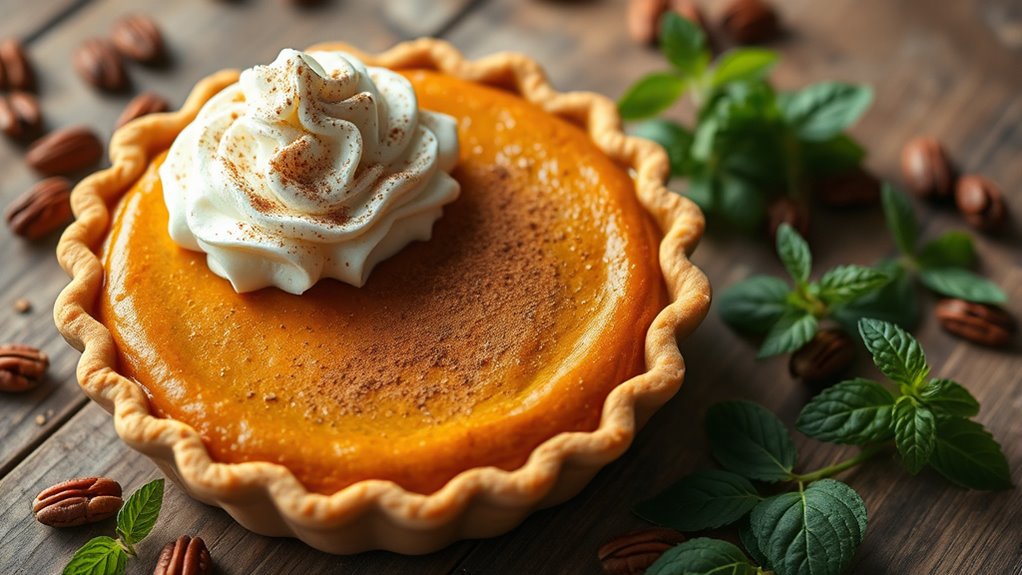
Serving pumpkin pie is as delightful as making it. To elevate your experience, consider some creative serving suggestions. A dollop of freshly whipped cream adds a touch of elegance, while a sprinkle of cinnamon or nutmeg enhances the warm, spiced aroma. For a twist, serve it alongside a scoop of vanilla ice cream—there’s nothing quite like the contrast of warm pie and cold cream!
Presentation ideas can transform your pie into a centerpiece. Use a rustic pie dish or a decorative cake stand to showcase your masterpiece. Garnish with mint leaves or a few pecan halves for an appealing look. Remember, the way you serve your pumpkin pie adds to the joy of sharing it, making each slice a celebration of flavors.
Tips
When you’re making pumpkin pie, keeping a few tips in mind can elevate your baking experience and the final product. Here are some handy suggestions to guarantee your pie stands out:
- Pumpkin Selection: Choose a sugar pumpkin, as it’s sweeter and has a smoother texture than regular pumpkins.
- Fresh vs. Canned: If you opt for fresh pumpkin, roast it until tender for the best flavor. Canned pumpkin is a convenient and reliable option.
- Spice Blends: Experiment with different spice blends like cinnamon, nutmeg, and ginger to find your perfect mix.
- Chill Your Dough: Don’t forget to chill your pie crust before baking; this keeps it flaky and delicious.
These simple tips will help you create a pumpkin pie that’s truly unforgettable!
Food Value and Benefit
Pumpkin pie is not only a delicious dessert but also offers several nutritional benefits, making it a wholesome choice. Prepared pumpkin pie contains essential vitamins and minerals, including:
- Vitamin A: Supports immune function and promotes healthy vision and skin.
- Vitamin C: Boosts the immune system and aids in collagen production.
- Potassium: Helps regulate blood pressure and supports muscle function.
- Fiber: Aids in digestion and helps maintain a healthy gut.
Benefits of eating pumpkin pie include:
- Enhances immune health due to its high vitamin A and C content.
- Supports skin health and wound healing.
- Promotes digestive health through dietary fiber.
- Provides antioxidants that help reduce inflammation.
Enjoying a slice of pumpkin pie allows you to indulge in a tasty treat while nourishing your body with these valuable nutrients. When made from scratch, you can also control the quality of ingredients to maximize its health benefits.
Frequently Asked Questions
Can I Use Canned Pumpkin Instead of Fresh?
Absolutely, you can use canned pumpkin instead of fresh! Think of canned pumpkin as a cozy blanket on a chilly day—it’s convenient and comforting. Canned pumpkin’s benefits include consistent flavor and texture, saving you time on fresh pumpkin preparation. While fresh offers a unique taste, canned provides a reliable shortcut, letting you whip up a delicious pie with ease. So, embrace the freedom of choice and enjoy your baking adventure!
How Long Does Pumpkin Pie Last in the Fridge?
Pumpkin pie typically lasts about 3 to 4 days in the fridge. For ideal pumpkin pie storage, wrap it well or place it in an airtight container to maintain its freshness. You’ll want to enjoy that delicious slice while it’s still tasty! If you can’t finish it within that time, consider freezing it for later—just make sure to wrap it tightly. That way, you can savor its flavors whenever you’re craving a treat!
What Can I Use Instead of Eggs?
You can easily swap eggs with various egg substitutes for a delicious pie! Some popular vegan options are unsweetened applesauce, mashed bananas, or silken tofu. For each egg, use about 1/4 cup of applesauce or banana, or 1/4 cup of blended silken tofu. These alternatives not only keep your recipe egg-free but also add a unique twist to the flavor and texture, giving you the freedom to enjoy a delightful dessert without compromising your values.
Is Pumpkin Pie Gluten-Free?
Yes, pumpkin pie can definitely be gluten-free! You’ll find that many gluten-free crusts are available, or you can whip up your own using almond flour or coconut flour for a delightful twist. If you’re feeling adventurous, consider pumpkin pie alternatives like a crustless version that really lets the pumpkin filling shine. The best part? You’re free to explore these options without sacrificing flavor or texture—enjoy every bite of your creation!
Can I Freeze Pumpkin Pie After Baking?
Absolutely, you can freeze pumpkin pie after baking! To do it right, let the pie cool completely. Wrap it tightly in plastic wrap or aluminum foil, ensuring no air gets in—this helps prevent freezer burn. For added protection, place it in an airtight container. When you’re ready to enjoy, thaw it in the fridge overnight. These freezing tips will keep your pie delicious and ready for whenever you crave a slice!
References
- https://en.wikipedia.org/wiki/Pumpkin_pie
- https://www.extension.purdue.edu/extmedia/BP/BP-78-W.pdf
- https://www.foodsafety.gov/food-safety-charts/cooking-pumpkin-pie
- https://www.nutrition.gov/topics/food-safety/pumpkin-pie-safety
- https://www.k-state.edu/recipes/desserts/pumpkin-pie.html
- https://www.cooksillustrated.com/recipes/6140-pumpkin-pie
- https://www.seriouseats.com/pumpkin-pie-recipe-5116518
- https://www.thekitchn.com/how-to-make-pumpkin-pie-from-scratch-229200