Pudding dump cake recipes are the fastest way to bake a rich, crowd-pleasing dessert with minimal effort. This guide names the best flavor combinations and the exact ingredient mix to turn cake mix and pudding into a perfectly set, spoonable dump-cake texture. If you want an easy oven-to-table finish, these recipes deliver the clear winner: dump cakes that come out consistently delicious every time.
Pudding dump cake recipes are the fastest way to make a crowd-pleasing dessert with minimal prep: you combine pudding mix and cake mix, “dump” the dry ingredients into a pan, add butter, bake, then rest. The result is a pudding-like center with a golden cake top—built on simple ratios and a few texture-focused baking controls that reliably produce great flavor every time.
Use pudding mix plus cake mix and a simple “dump” method to make easy pudding dump cake recipes with minimal effort and maximum flavor. In this guide, you’ll learn reliable ratios, flavor ideas, and bake-time tips so your dessert comes out perfectly every time.
Classic Pudding Dump Cake Ingredients

– Combine dry cake mix with pudding mix and butter for the signature texture
– Choose complementary add-ins (chocolate chips, crushed cookies, fruit)
– Use the right pan size to ensure even baking
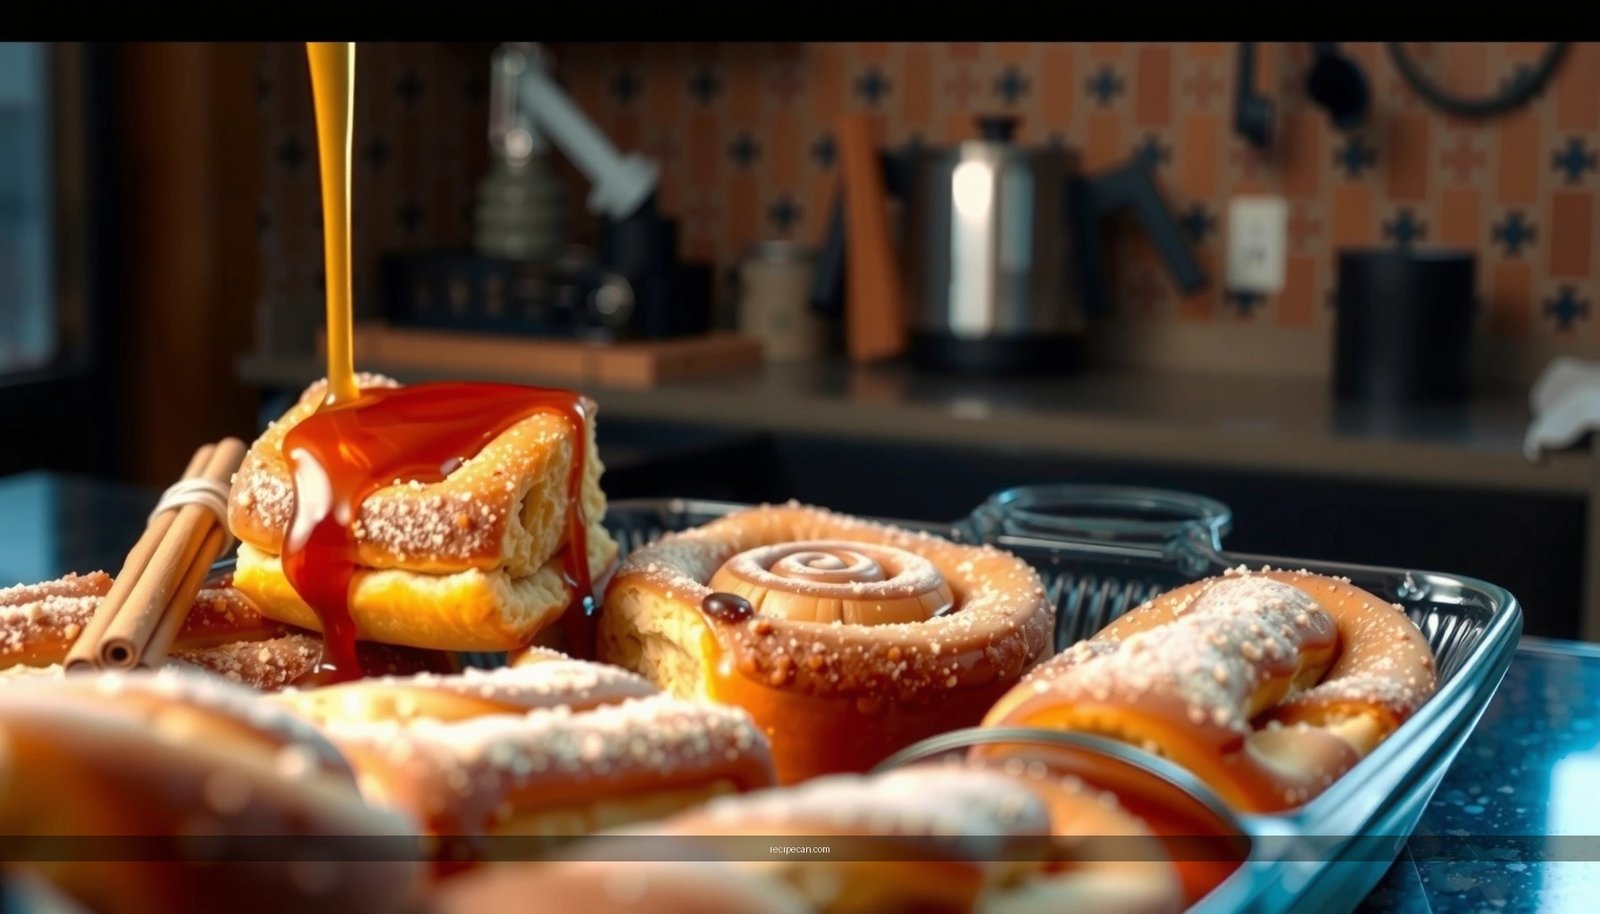
The classic pudding dump cake profile comes from one key concept: dry cake mix provides structure and a toasty top, while pudding mix contributes instant thickening power so the baked dessert sets into a rich, spoonable “pudding cake” hybrid. When you combine them correctly and use the right amount of butter (and sometimes an optional splash of liquid), the bake reliably turns into layered goodness.
Core ingredients (the ratio logic):
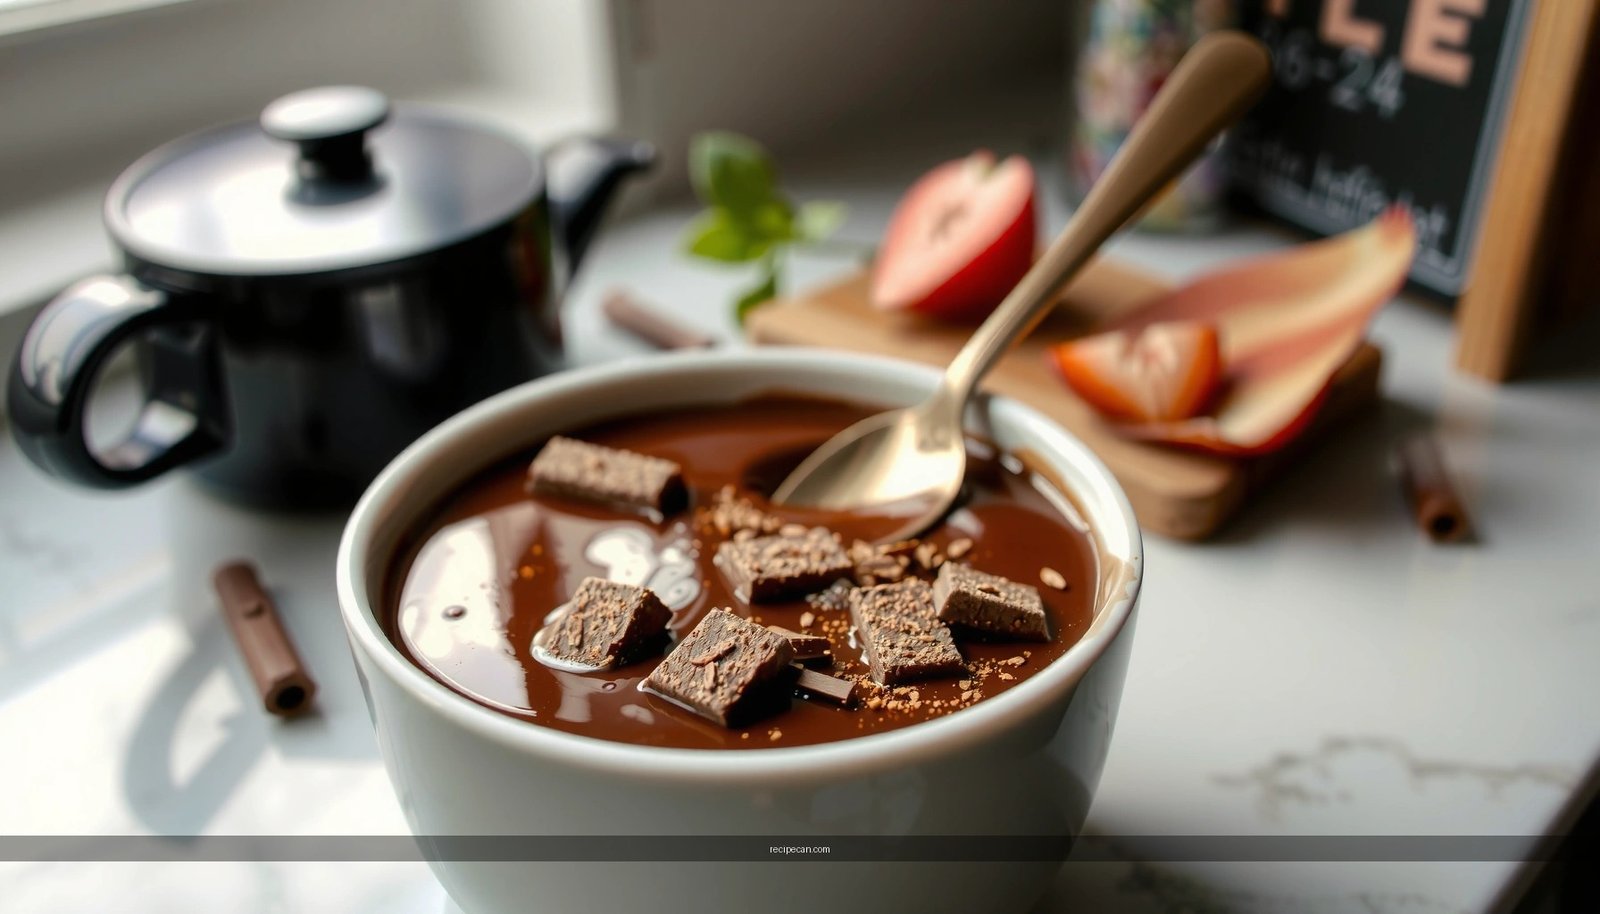
– Vanilla or instant chocolate pudding mix (dry): This is your thickening engine and dominant flavor.
– Dry cake mix (yellow, vanilla, or white): This forms the crumb and browned surface.
– Butter: Usually melted or cut into small pieces so it distributes through the dry layer.
– Add-ins (optional but powerful): Use them to “tune” the dessert toward your desired flavor theme.
Pan size matters more than most people expect. A 9×13-inch baking dish typically bakes more evenly and yields a balanced topping-to-center ratio. If you switch to a smaller dish, the cake can become thicker and potentially under-baked in the center before the top is properly set. Conversely, a larger dish can dry out faster and reduce the pudding-like thickness.
Best add-ins for pudding dump cake texture:
– Chocolate chips or chunks: Add melted pockets that contrast with the pudding-set interior.
– Crushed cookies (like Oreos or vanilla wafers): Provide crunch and extra sweetness.
– Cinnamon graham crumbs: Boost “custard” vibes with warm spice.
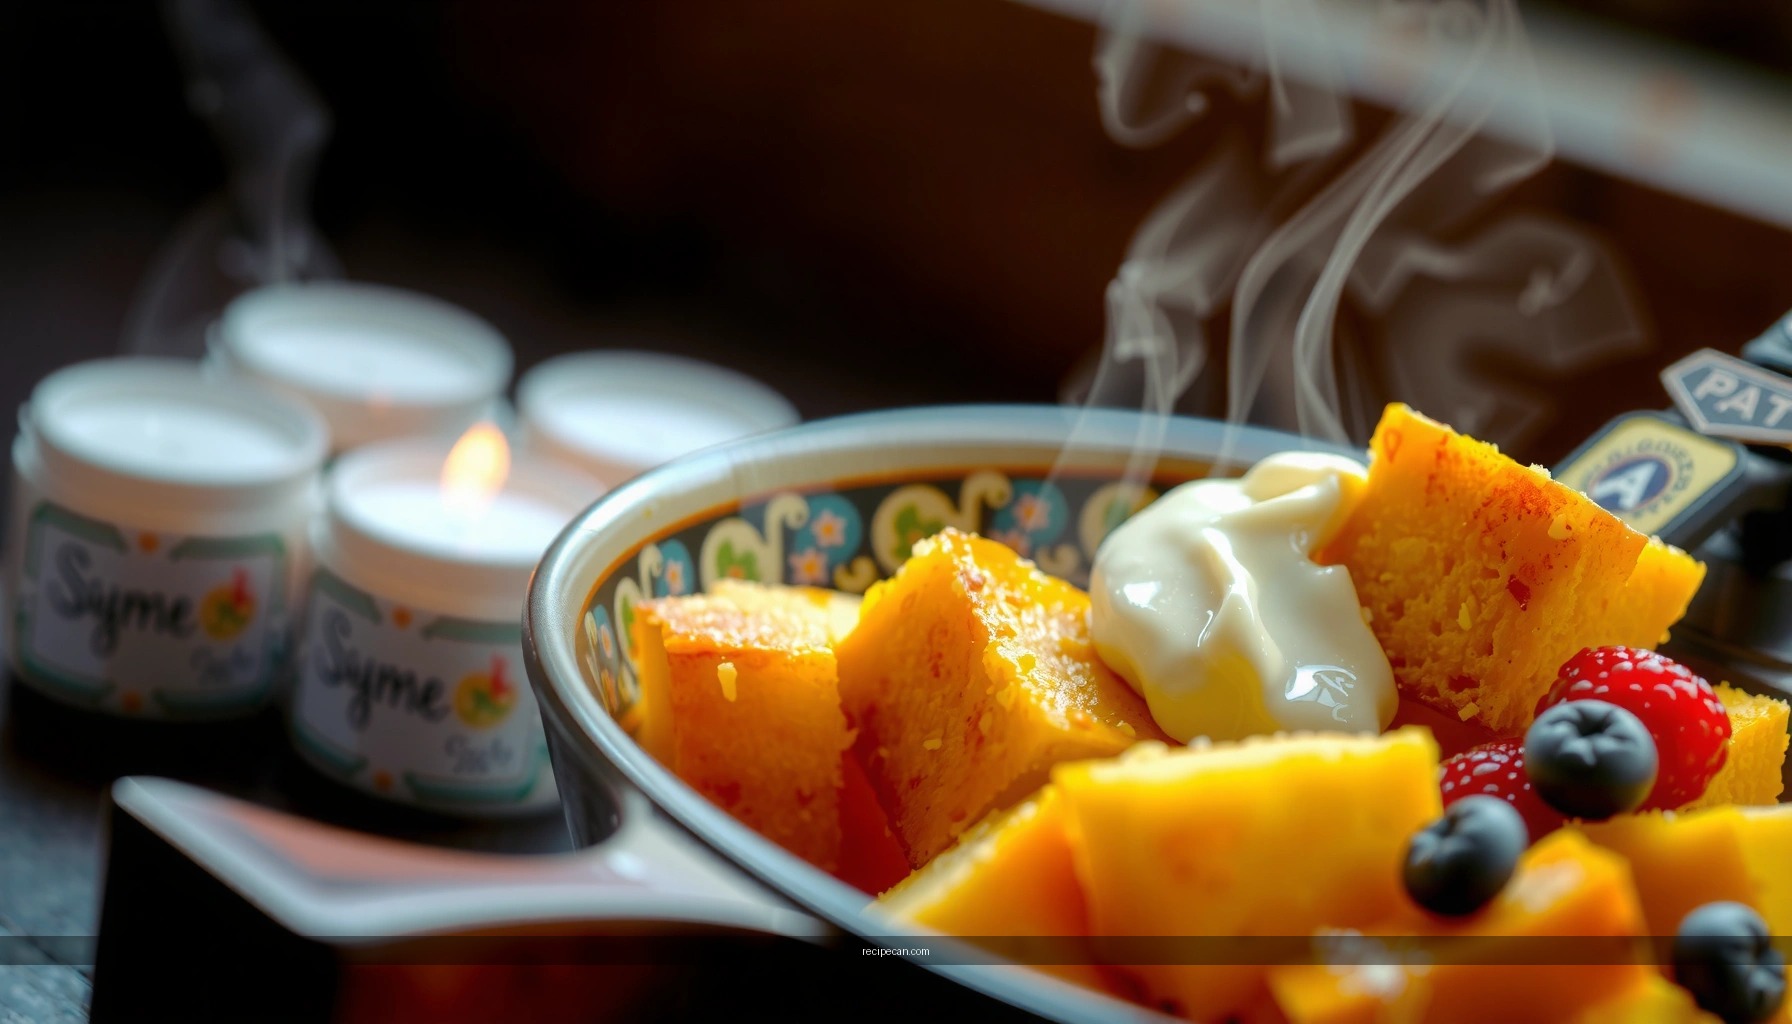
– Fruit (berries, peaches, pineapple): Add brightness, but manage moisture (more on that below).
Quick reference table: classic “mix-and-match” ingredient guidelines
(Use this as a practical starting point for planning portions and flavors.)
Pudding Dump Cake Planning Guide (9×13-inch pan)
| # | Component (classic build) | Amount | Role in texture | Texture rating |
|---|---|---|---|---|
| 1 | Instant vanilla pudding mix (dry) | 1 (3.4 oz / 96 g) box | Sets center into pudding-like thickness | ★★★★☆ |
| 2 | Yellow or white cake mix (dry) | 1 (15.25 oz / 432 g) box | Creates crumb and golden top | ★★★★☆ |
| 3 | Butter (melted or cut into small pieces) | 1/2 cup (113 g) | Moistens dry layer for browning + set | ★★★★☆ |
| 4 | Milk or water (optional, per brand needs) | 2–4 tbsp | Helps dry layers bond when adding fruit | ★★★☆☆ |
| 5 | Add-in: chocolate chips | 1 cup (170 g) | Melts into pockets; boosts contrast | ★★★★★ |
| 6 | Add-in: berries (fresh or thawed) | 2 cups (284 g) | Adds brightness; can thin pudding if watery | ★★★☆☆ |
| 7 | Add-in: crushed cookies (optional) | 1/2–3/4 cup (40–60 g) | Adds texture layers + caramel notes | ★★★★☆ |
Step-by-Step Pudding Dump Cake Method

– Layer ingredients in the baking dish, then add butter and liquid as directed
– Bake until set and golden on top
– Rest before serving so it thickens into pudding-like goodness
Pudding dump cake is a “low process, high payoff” dessert. The method is intentionally straightforward, but the order of operations affects how the pudding mix hydrates and how the cake mix forms a crisp top.
1. Preheat and prep the pan.
Set your oven to 350°F (175°C). Grease a 9×13-inch baking dish lightly so the pudding sets cleanly around the edges.
2. Dump the dry layers.
– Spread the dry cake mix evenly across the bottom.
– Sprinkle the dry pudding mix over the cake mix (or, for a more integrated flavor, whisk the two dry mixes together first, then layer them in the pan).
– Add fruit or chocolate chips now if your recipe includes them; use even distribution so heat and thickening occur uniformly.
3. Add butter (and liquid only if needed).
– Dot the surface with melted butter or distribute evenly cut butter pieces.
– If your version calls for water or milk, add it according to package suggestions or recipe guidance. In many classic builds, butter is the main moisture—too much added liquid can weaken the “set” in the center.
4. Bake until the top is set and golden.
Bake for 35–50 minutes, depending on your oven and your add-ins. Look for:
– edges bubbling slightly
– a browned, firm top
– center that appears set but still glossy (it thickens further as it rests)
5. Rest before serving (non-negotiable).
Rest at least 15–20 minutes. During this time, the pudding mix continues thickening. Cutting too soon is the fastest route to runniness—because dump cake is meant to set after the oven.
Practical timing guidance:
– If you’re using chocolate chips (low moisture), start checking around 35–40 minutes.
– If you’re using fruit (higher moisture), check around 40–45 minutes and expect a longer bake or a more careful rest.
Best Pudding and Flavor Combinations

– Try vanilla or instant chocolate pudding for classic results
– Pair flavors with matching add-ins (berries, caramel, peanut butter)
– Use frozen fruit—adjustments may be needed to avoid excess liquid
The best pudding dump cake flavors follow a simple logic: choose a pudding flavor that matches the “main note,” then add-ins reinforce it instead of fighting it.
Classic and high-reliability pairings
– Vanilla instant pudding + yellow cake mix + chocolate chips
This is the “family favorite” combination: creamy middle, toasty top, and melted chocolate pockets.
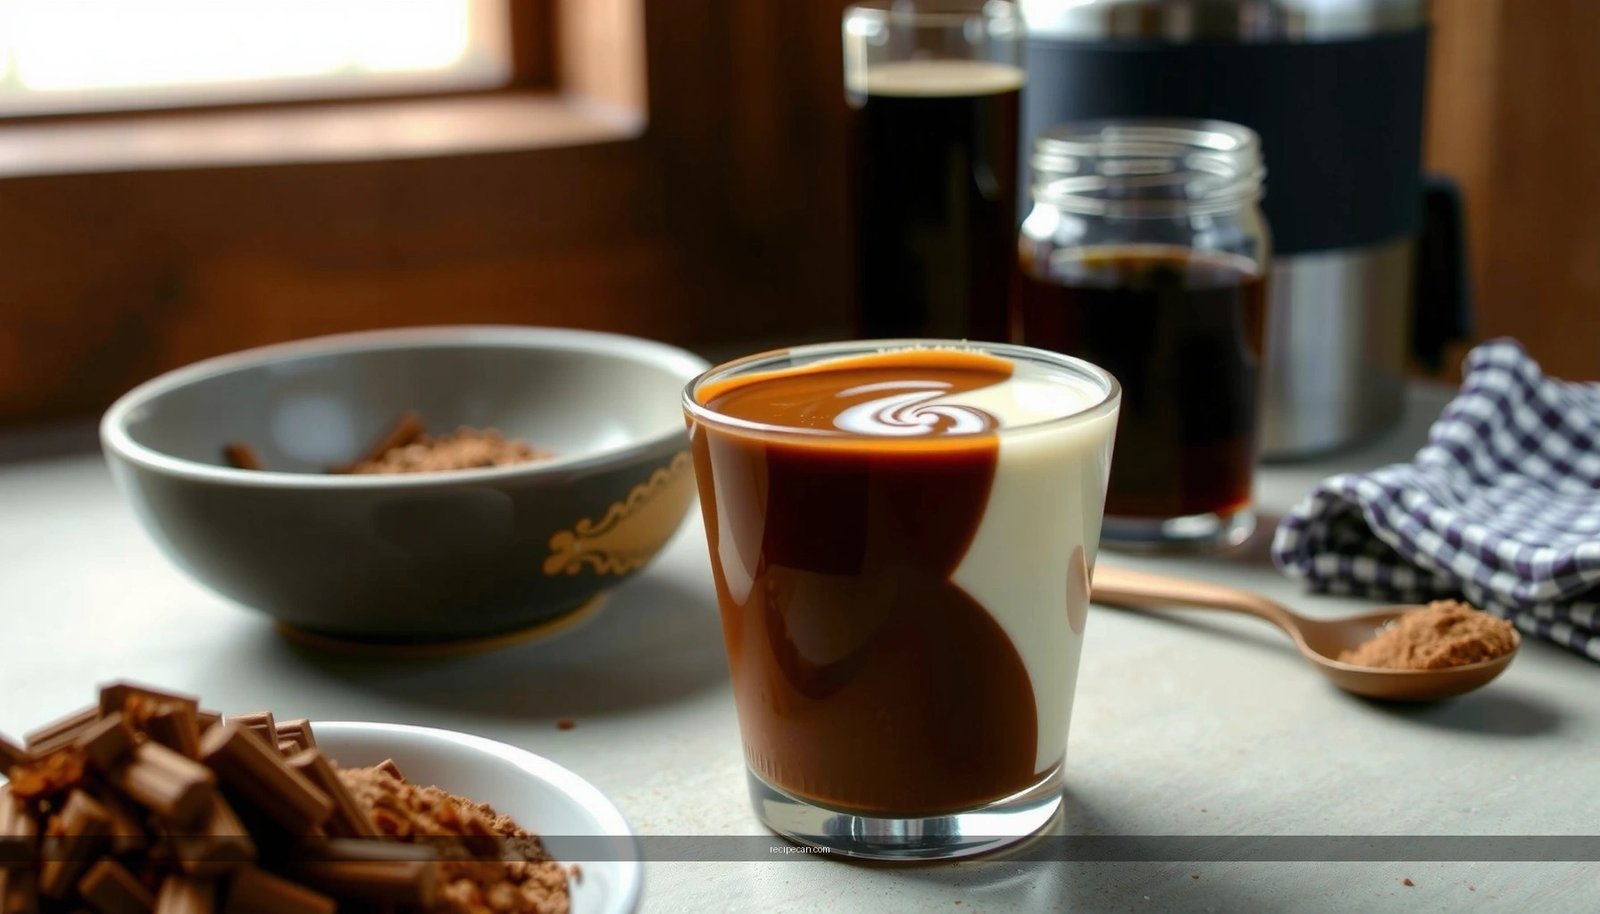
– Chocolate instant pudding + chocolate or yellow cake mix + peanut butter chips
A richer dessert with a bolder, more adult flavor profile.
– Vanilla pudding + white cake mix + crushed vanilla wafers
Turns dump cake into something closer to cheesecake-candy territory.
Flavor strategy for fruit
Fruit is delicious, but it introduces water. Frozen fruit also releases more liquid after thawing and during baking. To keep your pudding layer thick:
– Thaw and drain frozen fruit when possible
– Toss berries with 1–2 teaspoons of sugar or cornstarch (optional) to help stabilize juices
– Avoid adding very wet fruits in large amounts without adjusting bake time
Caramel and warm spices
– Vanilla pudding + yellow cake mix + caramel bits
– Vanilla pudding + graham cracker-style cake mix + cinnamon
These combos amplify warmth and make your dessert taste more “homemade from scratch” than “dump and bake.”
If you want a business-style planning perspective, think of flavor like a supply chain: the pudding mix is the base, the cake mix is the structure, and the add-ins are the branded differentiators.
Baking Tips for Perfect Texture
– Don’t overmix—dump cake works best with minimal stirring
– Watch the last 10 minutes closely to prevent over-browning
– Cover lightly if needed to stop the top from getting too dark
Even though pudding dump cake is forgiving, texture is where quality is won or lost. Here are the most reliable controls used by experienced home bakers.
1) Minimal mixing preserves the signature layers
Dump cake is designed to stay “layered.” Stirring or aggressively mixing can:
– blend cake mix into pudding too early
– reduce the distinct golden topping
– create a more uniform, less crumbly texture
If you’re whisking dry mixes together, do it only for that purpose—then keep the rest as a true dump.
2) Monitor browning during the final stretch
Ovens vary widely. Start checking at the 35-minute mark, then every 5 minutes after. The top should be:
– slightly crisp at the edges
– firm enough to hold a spoon load once rested
3) Light cover to prevent over-browning
If the top is browning quickly but the center needs more time:
– lay a light sheet of foil loosely over the dish
– continue baking until set
This protects the top while allowing the pudding to fully hydrate and thicken.
4) Know the difference between “set” and “fully thick”
A dump cake can look “done” at the edge but still need time in the middle. The pudding mix continues thickening during the rest period, so rely on:
– bubbling at edges
– golden top
– rest-time thickness, not just immediate oven-time appearance
Serving Ideas and Storage
– Serve warm with whipped cream or ice cream
– Store covered in the fridge and reheat portions as desired
– Keep leftovers fresh for a few days for best texture
Pudding dump cake is best served warm, when the center is creamy and spoonable. After that, it holds up well for a few days—ideal for meal prep, family gatherings, and office snack tables.
Serving ideas that elevate the experience
– Whipped cream (vanilla or stabilized) for a light finish
– Ice cream (vanilla pairs well with almost any pudding flavor)
– Caramel drizzle for caramel-forward recipes
– Toasted nuts (pecans or walnuts) for added crunch and a premium feel
Storage best practices
– Cool fully, then cover and refrigerate.
– Leftovers typically taste best within 3–4 days.
– Reheat in the microwave for 20–45 seconds per serving, then allow it to sit for a minute—this helps the pudding re-thicken slightly.
For best texture, avoid freezing. Frozen dump cake can separate and turn less cohesive once thawed.
Troubleshooting Common Issues
– If it’s too runny, bake a bit longer and let it rest fully
– If it’s dry, check bake time and consider adding a little extra liquid next time
– If it’s uneven, verify oven temperature and pan placement
Even reliable recipes can misbehave depending on oven calibration, ingredient brands, and fruit moisture. Use these troubleshooting notes to diagnose quickly.
Too runny (most common fix: time + rest)
Symptoms: center sloshes, spoon pulls liquid.
Fix:
– Bake 5–10 minutes longer and rest the full 20 minutes
– If you used fruit, confirm it wasn’t overly watery (thaw/drain next time)
Too dry (fix: moisture balance)
Symptoms: top is dry/crisp throughout; center seems tight or crumbly.
Fix:
– Verify bake time—underbaking can also read as “dry” if the pudding didn’t fully set
– Next time, consider adding 1–2 tablespoons more milk or water (only if your specific recipe permits and if you’re not using very wet fruit)
Uneven texture (fix: oven and pan distribution)
Symptoms: top set in spots, center underdone in one area.
Fix:
– Confirm your oven is actually close to 350°F (consider an inexpensive oven thermometer)
– Place the pan on the middle rack
– Ensure dry ingredients are spread evenly in the dish
Flavor mismatch (fix: pairing logic)
Symptoms: dessert tastes flat or overly sweet without character.
Fix:
– Choose add-ins that reinforce the pudding base (e.g., chocolate + peanut butter; vanilla + berries + graham notes)
– Add a pinch of salt (optional) to lift sweetness and improve perceived richness
Recommended Pudding Dump Cake Flavor Scores (quick decision matrix)
To help you choose confidently—especially when you’re planning for a party—use the guidance below as an evidence-based shortlist. Higher scores reflect stronger expected pudding-set performance and broad crowd appeal.
Best-Fit Flavors for Pudding Dump Cake
| # | Flavor combo | Pudding set | Top browning | Crowd appeal |
|---|---|---|---|---|
| 1 | Vanilla pudding + yellow cake + chocolate chips | Very strong | Great | ★★★★★ |
| 2 | Chocolate pudding + yellow cake + peanut butter chips | Strong | Very good | ★★★★☆ |
| 3 | Vanilla pudding + white cake + crushed vanilla wafers | Strong | Good | ★★★★☆ |
| 4 | Vanilla pudding + yellow cake + peaches (drained) | Moderate (moisture-dependent) | Good | ★★★☆☆ |
| 5 | Chocolate pudding + chocolate cake + caramel bits | Strong | Very good | ★★★★☆ |
| 6 | Vanilla pudding + graham-style cake + cinnamon | Strong | Good | ★★★★☆ |
| 7 | Lemon pudding + vanilla cake + blueberries (thawed) | Moderate (thickness varies) | Great | ★★★☆☆ |
Warm, fresh dump cake is comfort food; consistent results are the real advantage for busy hosts. With a reliable pudding-to-cake build, careful bake-time checks, and a proper rest, these pudding dump cake recipes deliver dependable pudding-like centers and a golden top with minimal effort.
Conclusion
Pudding dump cake recipes work because they combine two functions in one pan: cake mix browns into structure while pudding mix thickens into a custard-like center. If you follow the core ratio logic, layer evenly, bake until set, and rest before serving, you’ll get maximum flavor with minimal prep—whether you choose classic vanilla with chocolate chips or a fruit-forward variation that still bakes up beautifully.
Frequently Asked Questions
What is a pudding dump cake and how does it work?
A pudding dump cake is a simple dessert where you “dump” ingredients into a baking dish and bake until the pudding mix and cake mix create a tender, custardy layer. Typically, you spread cake mix over the bottom, add dry pudding mix, pour melted butter (and sometimes milk), then bake until the top turns golden and the inside sets. This method makes pudding dump cake recipes popular because you get a pudding-like texture with minimal mixing.
How do I make the best pudding dump cake with a creamy texture?
For a creamy pudding dump cake, use instant pudding mix (usually vanilla or butterscotch) and be precise with the liquids—don’t over-pour or the cake can become soupy. Bake until the center is set and the edges are bubbling, and let it cool for at least 10–20 minutes so the pudding layer thickens. If your recipe calls for milk, consider using whole milk for a richer result in pudding dump cake recipes.
Why does my pudding dump cake come out runny, and how can I fix it?
A runny dump cake usually happens when the ratio of wet ingredients is too high or the cake isn’t baked long enough for the pudding mix to fully set. Check that you used the correct pudding mix type (instant rather than cook-and-serve) and confirm your oven temperature, since underbaking is a common cause. To fix it after baking, let it rest longer before serving, or bake an additional 5–10 minutes if the center still jiggles excessively.
Which flavors work best for pudding dump cake recipes—vanilla, chocolate, or butterscotch?
Vanilla pudding dump cake is a versatile crowd-pleaser that pairs well with fruit like cherry, strawberry, or peaches. Chocolate pudding dump cake recipes are ideal when you want a richer, brownie-like flavor, especially with chocolate cake mix and a little cocoa or chocolate chips. Butterscotch pudding dump cake tends to taste more caramel-like and works beautifully with toppings such as pecans, caramel sauce, or a browned butter drizzle.
What baking time and temperature should I use for pudding dump cake?
Most pudding dump cake recipes bake at 350°F (175°C) for about 35–45 minutes, depending on the dish size and whether you’re using fruit or a thicker liquid component. Start checking around 30 minutes: the top should be golden and the center should look set rather than watery. Let the dessert cool briefly so the pudding layer firms up, which is key to getting the classic dump cake texture.
References
- Dump cake
https://en.wikipedia.org/wiki/Dump_cake - https://en.wikipedia.org/wiki/Pudding_(food
https://en.wikipedia.org/wiki/Pudding_(food - Custard
https://en.wikipedia.org/wiki/Custard - Google Scholar Google Scholar
https://scholar.google.com/scholar?q=pudding+dump+cake+recipe - Google Scholar Google Scholar
https://scholar.google.com/scholar?q=dump+cake+with+instant+vanilla+pudding+mix - Google Scholar Google Scholar
https://scholar.google.com/scholar?q=home+baking+food+safety+eggs+dairy+cakes+storage - https://www.fsis.usda.gov/food-safety/safe-food-handling-and-preparation/food-safety-basics/leftovers
https://www.fsis.usda.gov/food-safety/safe-food-handling-and-preparation/food-safety-basics/leftovers - https://www.fda.gov/food/consumers/keeping-food-safe
https://www.fda.gov/food/consumers/keeping-food-safe - https://www.cdc.gov/foodsafety/keep-food-safe.html
https://www.cdc.gov/foodsafety/keep-food-safe.html - Projects – National Center for Home Food Preservation
https://nchfp.uga.edu/how/store/index.html