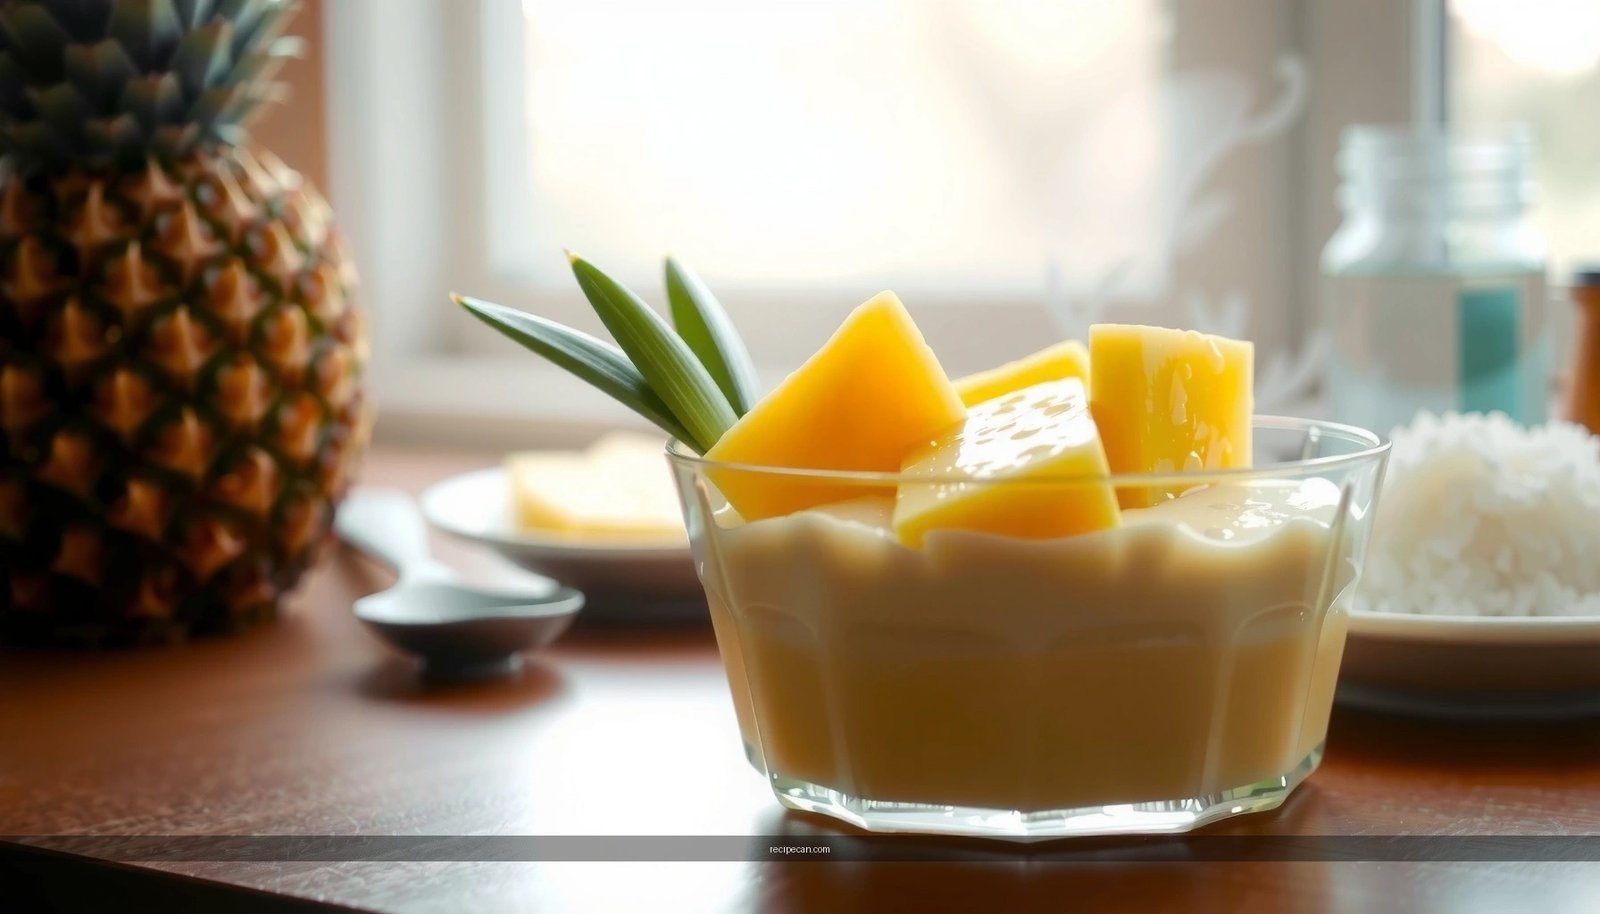
Looking for a pineapple pudding recipe that turns out easy and creamy every time? This homemade pineapple pudding delivers the best results with simple ingredients, quick prep, and a silky texture that holds up from the first spoonful to the last. If you want a dependable dessert without complicated steps, this is the clear winner.
Make pineapple pudding by cooking pineapple with sugar and a thickener, then stirring in dairy and chilling until it’s smooth and spoonable. If you follow the right thickening cues (glossy, cohesive texture) and chill long enough, you’ll get a reliably creamy homemade dessert without lumps.
Pineapple pudding sits in a sweet spot: it’s hearty enough to feel like “real dessert,” yet straightforward enough for weeknight use. The method is fundamentally the same whether you start with canned pineapple or fresh—heat dissolves sugar and activates thickening power, dairy rounds out flavor, and refrigeration sets the final body. Below, you’ll find a clear, analytical guide to ingredients, timing, texture control, and make-ahead planning so your pineapple pudding comes out consistently.
Pineapple Options for Homemade Pineapple Pudding (What to Expect)
| # | Pineapple Type | Typical Sweetness | Best Use | Pudding Texture Outcome |
|---|---|---|---|---|
| 1 | Canned pineapple chunks (in juice) | High | Classic, quick desserts | ★ Smooth + spoonable |
| 2 | Canned pineapple crushed | Medium–High | Creamier mouthfeel | ★ Very cohesive body |
| 3 | Fresh pineapple (blended) | Variable | Bright, natural flavor | ★ Clean, aromatic texture |
| 4 | Fresh pineapple (diced) | Variable | Chunky spoon-style pudding | ★★ Chunk-forward, still thick |
| 5 | Frozen pineapple (thawed) | Medium | All-season convenience | ★★ Smooth if liquid is adjusted |
| 6 | Canned pineapple in water (drained) | Lower | Better control of sweetness | ★★ Thicker feel with added sugar |
| 7 | Pineapple juice (reduce first) | High | Ultra-smooth dessert | ★ Can go thin if not reduced |
Ingredients for Pineapple Pudding
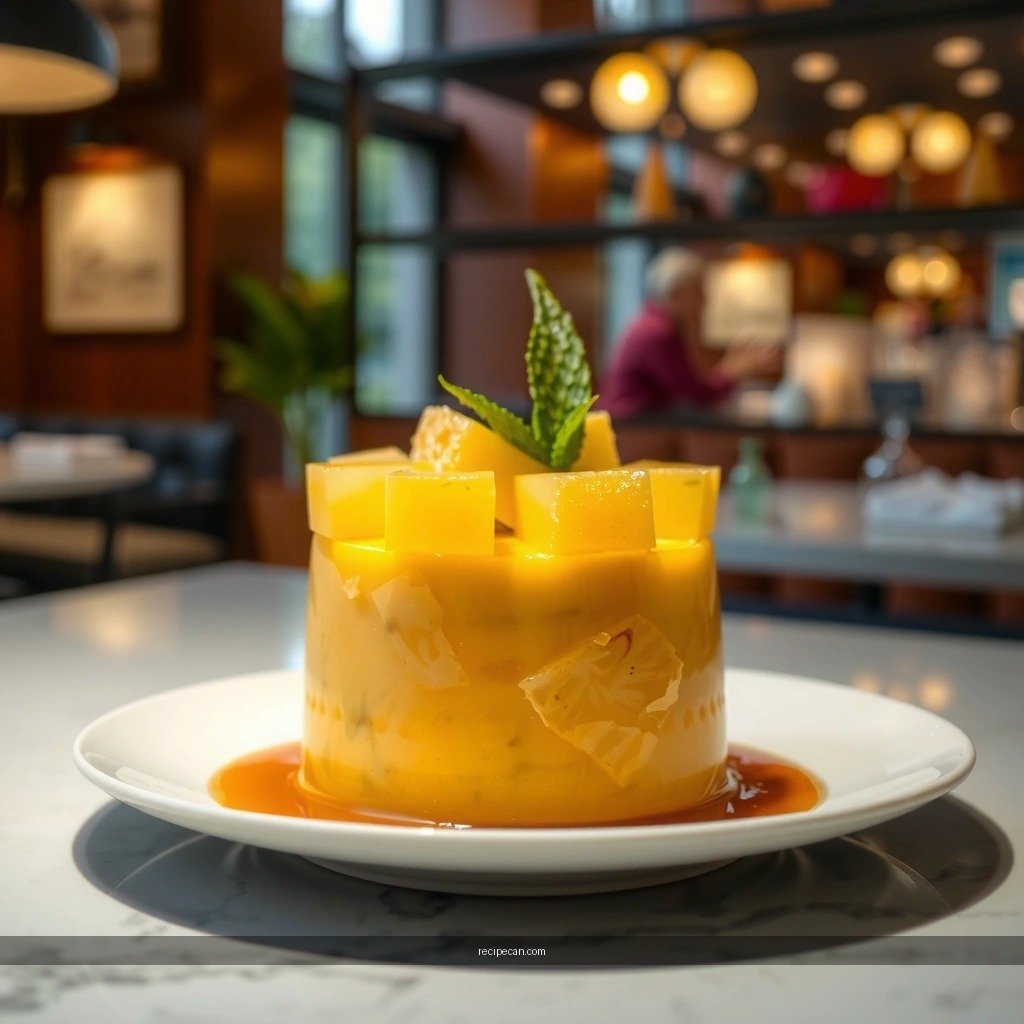
– Gather pineapple (canned or fresh), milk or cream, sugar, and thickener (like cornstarch)
– Use vanilla and optional butter or condensed milk for extra richness
A dependable pineapple pudding is built on a few functional categories: fruit, sweetness, thickening chemistry, and dairy for texture and flavor.
1) Pineapple (fresh or canned)
– Canned pineapple is convenient and consistent. Choose chunks for spoonable texture with fruit presence, or crushed for a smoother, more cohesive dessert.
– Fresh pineapple delivers brighter aromatics. If you want a classic pudding texture, consider blending or finely chopping, then cooking until the mixture reduces slightly.
2) Creamy base: milk vs. cream
– Milk produces a lighter pudding with a clean dairy flavor.
– Heavy cream (or half-and-half) increases richness and helps the final pudding taste “restaurant-like.” In most kitchens, half-and-half is a practical middle ground.
3) Sugar
Sugar does more than sweeten. It also supports a pleasant balance against pineapple’s natural acidity. Start with a measured amount, then adjust only after tasting the cooked pineapple mixture (before thickening fully sets).
4) Thickener: cornstarch (most common)
Cornstarch is ideal for pineapple pudding because it forms a glossy, spoonable gel when heated to the right temperature. Other thickeners (like flour) can work, but cornstarch typically delivers the most uniform, pudding-like bite.
5) Flavor enhancers
– Vanilla rounds out pineapple notes and stabilizes perceived sweetness.
– Butter adds a subtle “custard” finish.
– Condensed milk is optional but can improve mouthfeel and sweetness depth—especially if you’re using fresh or less-sweet pineapple.
Ingredient strategy (practical perspective):
If you’re using canned pineapple in juice, you already have some sweetness and liquid. If you’re using fresh pineapple, you may need a touch more sugar or slightly less added water to avoid thinning. The thickener will still do the heavy lifting—as long as you heat the mixture long enough.
Step-by-Step Pineapple Pudding Instructions
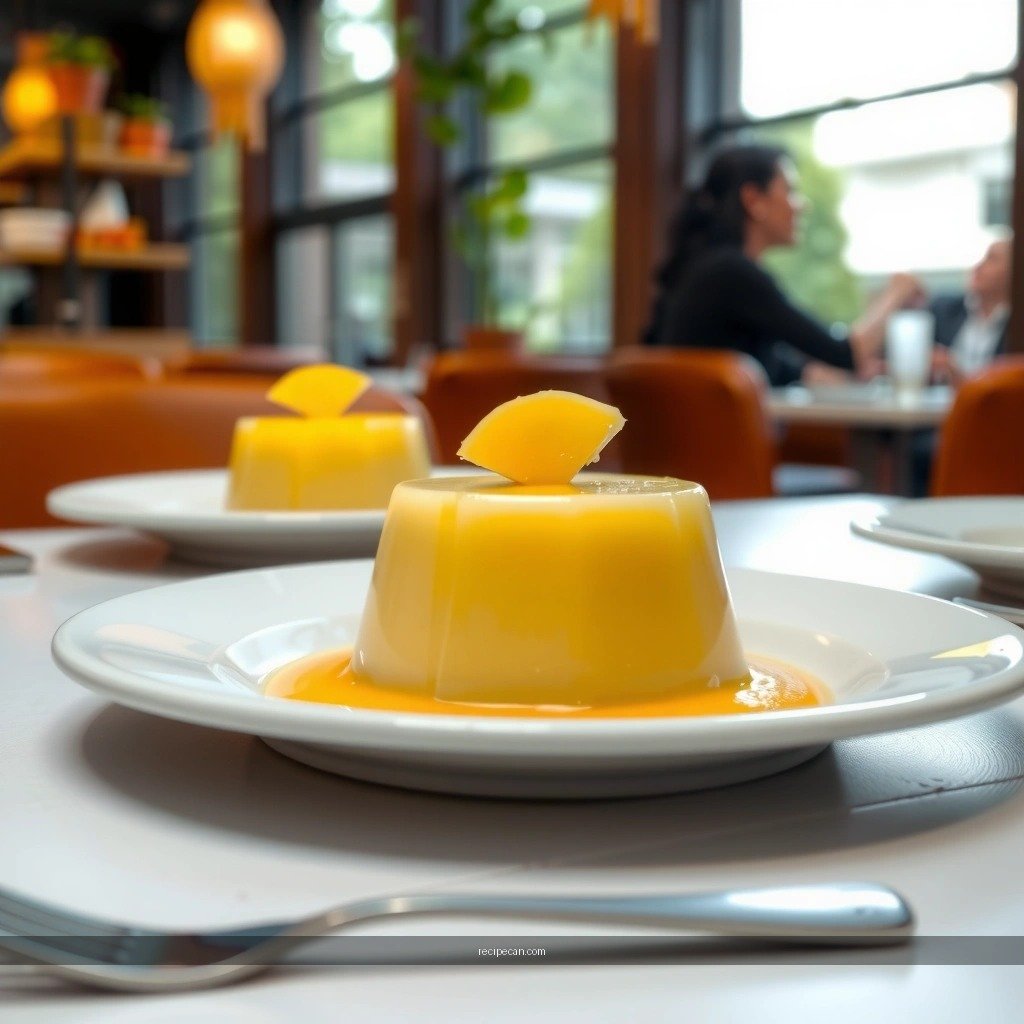
– Cook pineapple mixture to dissolve sugar and activate the thickener
– Stir in dairy and vanilla, then continue until glossy and thick
The key to a smooth homemade pineapple pudding is understanding what happens during cooking: sugar dissolves, pineapple releases flavor compounds, and cornstarch gelatinizes, turning liquid into a stable gel.
Step 1: Build the fruit base
1. Combine pineapple with sugar in a saucepan.
2. Heat until the pineapple is bubbling gently and the sugar dissolves.
Why this matters: Pineapple acidity can affect perception of sweetness and can also influence how thickening behaves. Dissolving sugar early ensures a consistent taste and supports even thickener activation.
Step 2: Thicken with cornstarch properly
1. Mix cornstarch with a small amount of cold milk (or water) to form a slurry.
2. Pour slurry into the hot pineapple mixture slowly while whisking.
3. Continue cooking, whisking constantly, until it becomes glossy and visibly thicker.
Texture checkpoint: When you run a spoon through the mixture, it should leave a brief trail and then slowly fill back in. If it still looks watery, it needs more heat time.
Step 3: Add dairy and finish flavor
1. Stir in milk or cream gradually.
2. Add vanilla (and butter or condensed milk if using).
3. Cook briefly—just until the mixture is uniform, smooth, and spoonable.
Professional consistency tip: After dairy goes in, avoid boiling aggressively. A steady simmer is enough to keep the pudding creamy without risking graininess.
Step 4: Portion and cool
Pour into bowls or a storage dish. Let it cool slightly at room temperature before refrigerating (this prevents excessive condensation on top).
How to Thicken Pineapple Pudding Perfectly
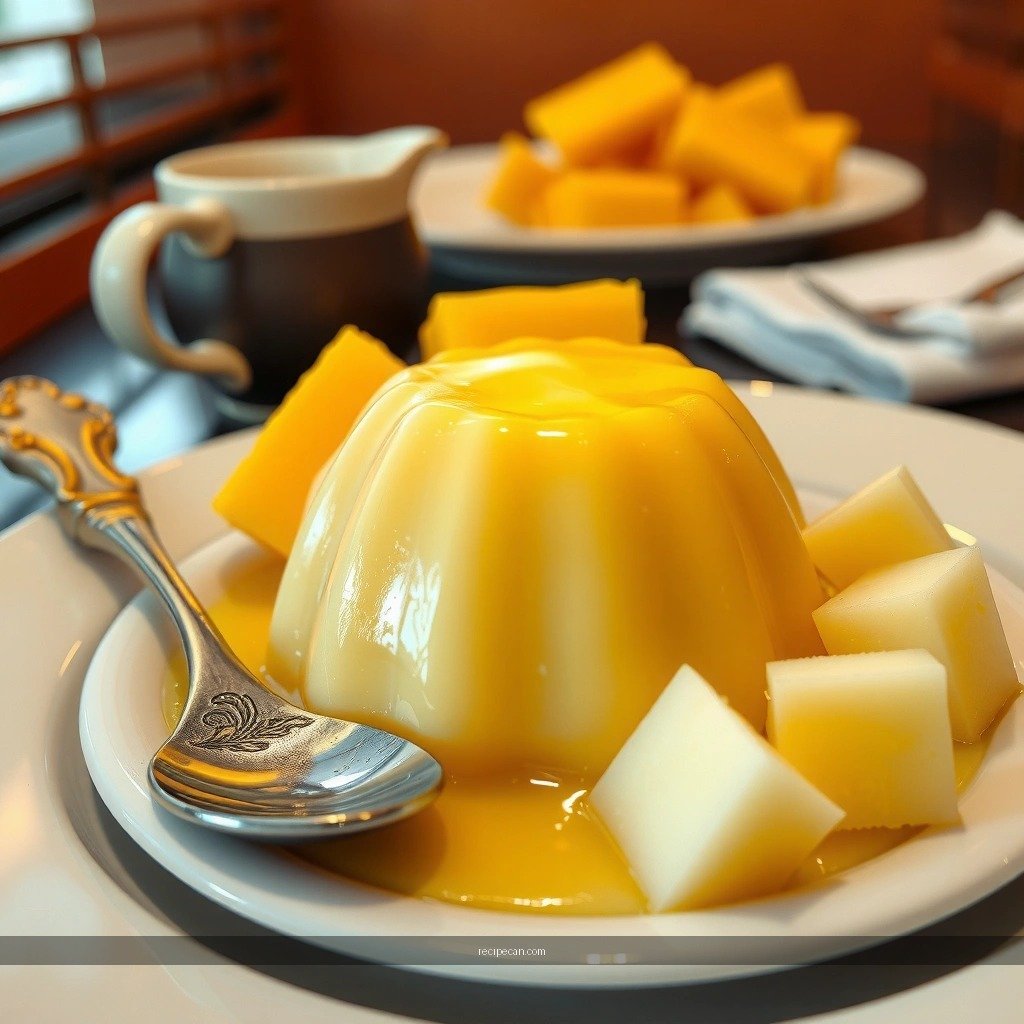
– Simmer gently and stir to prevent lumps
– If it’s too thick, loosen with a splash of milk; if too thin, cook a bit longer
Thickening isn’t just “cook longer.” It’s about controlling viscosity during gelatinization so the final pudding sets cleanly after chilling.
Prevent lumps (the most common quality issue)
– Whisk continuously once the slurry enters the hot mixture.
– Always use a slurry (cornstarch + cold liquid). Dumping dry cornstarch into hot liquid often leads to uneven clumps.
– Maintain a gentle simmer rather than a hard boil. Boiling can create a risk of uneven texture, especially after dairy is added.
Use the right consistency cues
Different people describe thickness differently, so rely on observable signals:
– Too thin: It moves like juice and doesn’t coat the back of a spoon.
– Perfect: It coats the spoon, appears glossy, and thickens within seconds after you whisk.
– Too thick: It looks overly resistant and holds ridges that don’t soften when stirred.
Fixes you can execute immediately
– If it’s too thick: Stir in a small splash of milk (1–2 tablespoons at a time). Warm it for 30–60 seconds, then re-check.
– If it’s too thin: Return to heat and cook briefly, whisking constantly. Re-check every minute—cornstarch thickening can change quickly near the target point.
Pineapple acidity considerations
Pineapple is naturally acidic. While cornstarch can handle this well, taste and texture are affected. If your pineapple is particularly tart, you may need a slightly higher sugar level to balance flavor (not extra thickener). Thickening more than necessary can mute brightness and create a “starchy” mouthfeel.
Chilling and Serving Tips
– Refrigerate until fully set (typically a few hours)
– Serve chilled with whipped cream or crushed pineapple garnish if desired
Chilling completes the transformation from hot gel to set pudding. During refrigeration, starch gel firms up, dairy fats consolidate, and flavors integrate.
Chill time guidance
– Minimum: 2–3 hours for a bowl portion.
– Best results: 4–6 hours (or overnight) for maximum set and flavor harmony.
If you’re preparing for a gathering, refrigerate early so texture is fully developed by serving time.
Prevent surface skin (optional but effective)
– Press a sheet of plastic wrap lightly onto the pudding surface before refrigerating, or
– Keep the pudding in a container with a tight lid.
This avoids a dry top layer that can appear if the surface is exposed to air.
Serving ideas that elevate presentation
– Whipped cream: adds lightness and a creamy contrast.
– Crushed pineapple: reinforces fruit flavor and visual appeal.
– Toasted coconut or lightly crushed cookies: adds crunch, making the pudding feel more “layered dessert” and less “plain custard.”
Portioning tip: Use chilled ramekins for clean edges. The colder your serving vessels, the faster the pudding holds its shape and the less it appears to slump.
Common Mistakes to Avoid
– Not cooking long enough for proper thickening
– Skipping constant stirring, which can cause clumps
These are not “small errors”—they directly influence the pudding you’ll spoon at the end.
1. Under-thickening
– Symptom: It tastes fine warm but turns loose in the fridge.
– Cause: Cornstarch didn’t fully gelatinize.
– Fix: Cook until glossy and visibly thicker before removing from heat.
2. Inconsistent stirring (clumps and uneven texture)
– Symptom: Starch lumps or grainy patches.
– Cause: Slurry not whisked in properly, or mixture sat too long at high heat.
– Fix: Use a slurry, whisk continuously after adding, and keep simmer gentle.
3. Overboiling after adding dairy
– Symptom: Slightly separated or overly thick mouthfeel.
– Fix: After dairy is added, just bring back to a uniform consistency—don’t pound it with heat.
4. Incorrect liquid balance
– Symptom: Too thin or watery pudding, especially with juice-heavy pineapple.
– Fix: If your pineapple is very juicy, reduce it slightly before thickening, or consider draining crushed chunks (depending on the product).
5. Rushing the chill
– Symptom: Soft pudding that won’t hold spoonable structure.
– Fix: Give it time—starch needs refrigeration to fully set.
Storage and Make-Ahead Instructions
– Store covered in the fridge for several days
– Make ahead for best results—flavors improve after chilling
Pineapple pudding is well suited for advance preparation because it improves as it hydrates and the starch gel stabilizes.
Refrigeration storage
– Store in an airtight container or covered bowls.
– Expect best quality for 3–5 days in the refrigerator.
– Keep the pudding covered to prevent odor absorption and surface drying.
Make-ahead best practice
– Cook, portion, and refrigerate the same day.
– Flavors typically become more integrated after 12–24 hours, meaning the pineapple brightness and vanilla creaminess read more “rounded” and less separated.
Reheating (usually not recommended—but here’s how to think about it)
Pineapple pudding is designed to be served cold. If you need it warm for a specific occasion, warming will loosen the gel. You can “refresh” by stirring gently and allowing it to cool again, but the texture may not match the original set.
—
Pineapple pudding is easy to make when you cook the pineapple mixture until thick and let it chill for the right texture. Focus on dissolving sugar early, using a cornstarch slurry for lump-free thickening, and cooking until the mixture looks glossy and coats a spoon. Then refrigerate until fully set and serve chilled with simple garnishes like whipped cream or crushed pineapple. Make this dessert ahead for the most consistent texture—and enjoy a reliably creamy homemade pineapple pudding whenever you need an effortlessly delicious finish.
Frequently Asked Questions
What is a simple recipe for pineapple pudding using pantry staples?
Start by whisking instant vanilla pudding mix with milk until smooth, then fold in crushed pineapple (drained or slightly drained) for flavor. For a classic pudding texture, add whipped topping or fold in thawed whipped dessert topping. If you want a firmer set, chill the pudding at least 4 hours (or overnight) so the pineapple pudding thickens properly. Serve chilled for the best taste and consistency.
How do you make pineapple pudding taste not too watery?
The main cause of watery pineapple pudding is excess pineapple juice, so drain crushed pineapple well before mixing. If you’re using canned pineapple chunks, pat them dry with paper towels and keep the amount consistent with the recipe. You can also simmer the pineapple briefly to reduce liquid, then cool it before combining with the pudding mixture. Finally, chill long enough for the pudding to set and absorb moisture.
Why does my pineapple pudding separate, and how can I fix it?
Separation usually happens when the milk is too warm, the pudding mix wasn’t whisked thoroughly, or the pineapple is added before the mixture reaches a stable temperature. Whisk the pudding mix with cold milk until fully smooth, then allow it to cool slightly before adding pineapple. If it already looks separated, gently stir and re-chill for 30–60 minutes—often it will come together as it sets. Avoid frequent stirring after it begins to thicken, since that can affect the final texture.
Which pineapple is best for pineapple pudding—fresh, canned, or frozen?
Canned crushed pineapple is often the easiest choice for reliable results because it provides consistent texture and flavor. Fresh pineapple can work, but you’ll need to finely chop and drain it thoroughly to prevent watery pineapple pudding. Frozen pineapple should be thawed and drained well; otherwise, extra water can dilute the pudding. For the most “pudding-like” consistency, use pineapple that’s been well-drained and mixed in after the pudding base is smooth.
What’s the best way to serve pineapple pudding for parties or meal prep?
Make pineapple pudding in individual cups or a trifle-style dish so it’s easy to portion and transport. Chill until fully set, then add toppings like toasted coconut, whipped cream, or crushed vanilla wafers right before serving for crunch. For meal prep, store covered in the refrigerator and give it a stir only if separation starts—most recipes stay stable for 3–4 days. Label containers with the make date to keep your pineapple pudding fresh and delicious.
References
- Pudding
https://en.wikipedia.org/wiki/Pudding - Pineapple
https://en.wikipedia.org/wiki/Pineapple - Gelatin
https://en.wikipedia.org/wiki/Gelatin - https://en.wikipedia.org/wiki/Bromelain
https://en.wikipedia.org/wiki/Bromelain - Pudding | Definition, Types, & Ingredients | Britannica
https://www.britannica.com/topic/pudding - Pineapple | Description, History, Fruit, Plant, & Facts | Britannica
https://www.britannica.com/topic/pineapple - https://pubmed.ncbi.nlm.nih.gov/?term=bromelain+gelatin
https://pubmed.ncbi.nlm.nih.gov/?term=bromelain+gelatin - Google Scholar Google Scholar
https://scholar.google.com/scholar?q=pineapple+pudding+recipe - Google Scholar Google Scholar
https://scholar.google.com/scholar?q=bromelain+gelatin+dessert - Google Scholar Google Scholar
https://scholar.google.com/scholar?q=pineapple+gelatin+setting+mechanism