To make an easy pie crust, start with all-purpose flour, butter, and a pinch of salt. Chill your butter and water for a flaky texture. Mix flour and salt, cut in the chilled butter until it resembles coarse crumbs, then add ice water until the dough forms. Wrap it in plastic and chill for 30 minutes. Roll it out and fill as desired. This simple method will have you enjoying your homemade pie in no time — keep going for more tips to perfect your crust!
Ingredients and Quantity
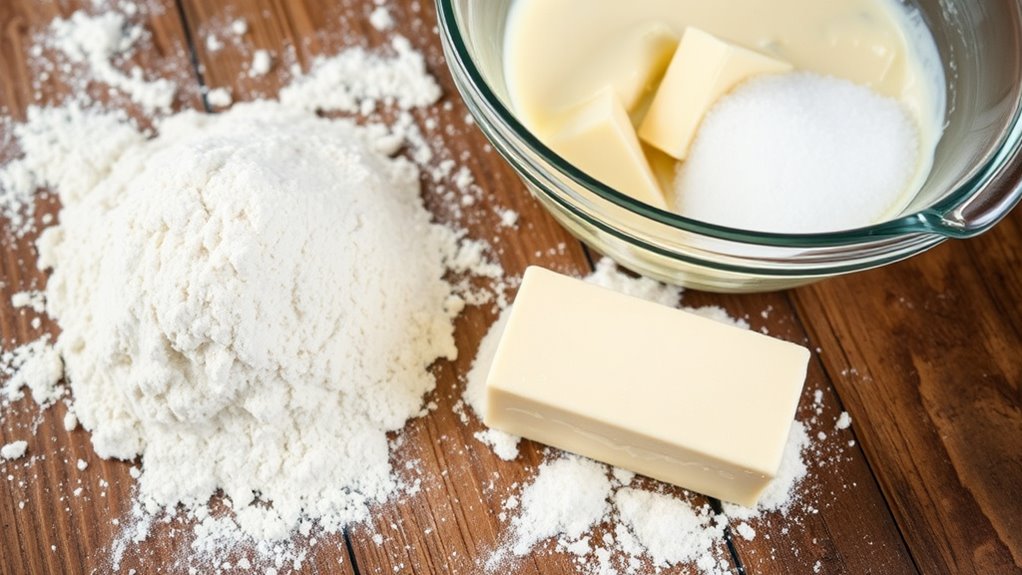
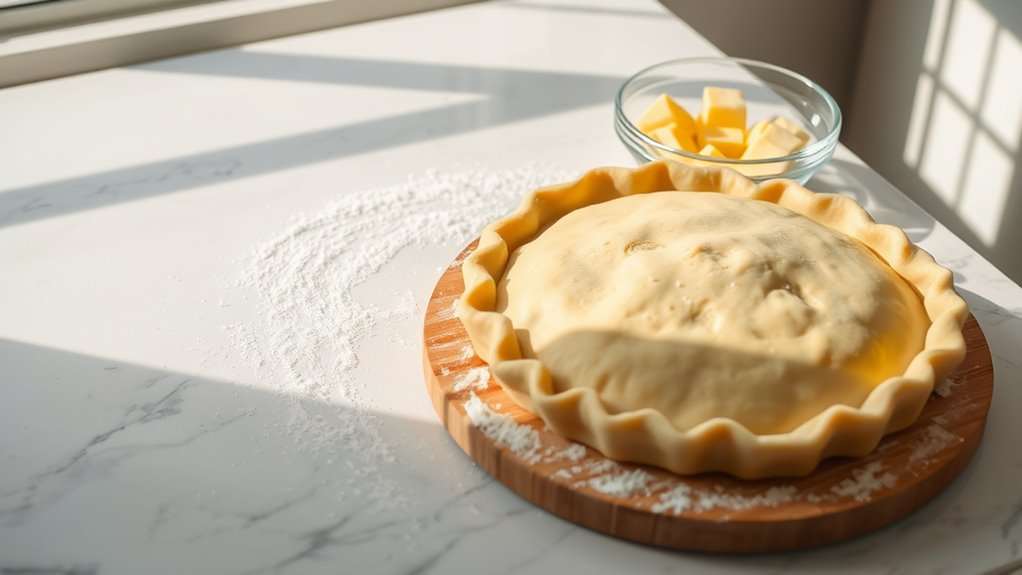
To create a delicious pie crust, you’ll need just a few simple ingredients that come together beautifully. The foundation of your crust will be the flour type you choose; all-purpose flour is versatile, while whole wheat adds a nutty flavor. For the fat options, you can opt for butter for richness, shortening for flakiness, or a combination for the best of both worlds. Here’s a quick reference table to help you decide:
| Flour Types | Fat Options | Flavor Profile |
|---|---|---|
| All-Purpose Flour | Butter | Rich and creamy |
| Whole Wheat Flour | Shortening | Nutty and hearty |
| Almond Flour | Butter + Shortening | Sweet and delicate |
With these ingredients, you’re on your way to a crust that’s both delightful and satisfying!
Preparations
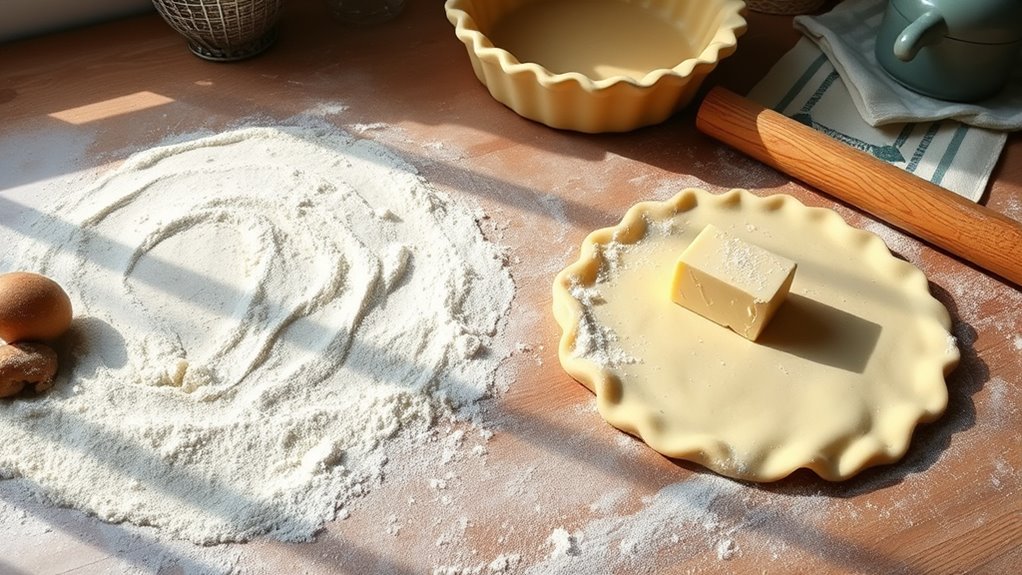
Now that you’ve gathered your ingredients, it’s time to prepare for pie crust perfection. Start by chilling your butter and water; this will enhance your pie texture, making it flaky and tender. In a mixing bowl, combine flour and salt, then cut in the cold butter until it resembles coarse crumbs. Don’t rush—this step’s essential for developing those delicious crust flavors. Gradually add the ice water, mixing until the dough comes together but isn’t sticky. Divide it into two discs, wrap them in plastic wrap, and let them chill in the fridge for at least 30 minutes. This rest period allows the gluten to relax, ensuring your crust bakes up beautifully. Get ready to roll out a masterpiece!
Tools / Kitchenware Required
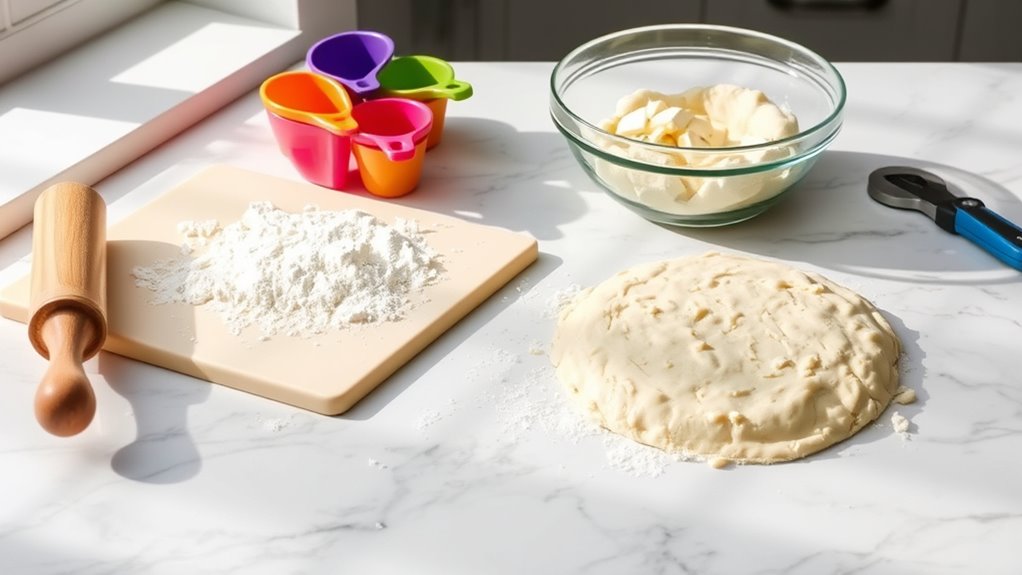
While you might be tempted to dive right into making your pie crust, having the right tools on hand can make all the difference. Here’s a quick list to set you up for success:
| Essential Tool | Purpose | Notes |
|---|---|---|
| Rolling Pin | For rolling out the dough | Opt for a sturdy one |
| Pastry Cutter | To mix butter into flour | A sharp edge is key |
| Mixing Bowl | For combining ingredients | Choose a large size |
With these essential tools, you’ll feel empowered to create a flaky, delicious crust. Don’t underestimate the impact of a good rolling pin or a reliable pastry cutter; they’re your allies in the kitchen. Get ready to enjoy the process!
How to Cook
- Gather all your tools and ingredients to prepare your pie crust.
- Mix the dry ingredients in a bowl.
- Cut in cold butter until the mixture resembles coarse crumbs.
- Wrap the dough in plastic wrap.
- Chill the dough in the refrigerator for at least 30 minutes to enhance flavor and flakiness.
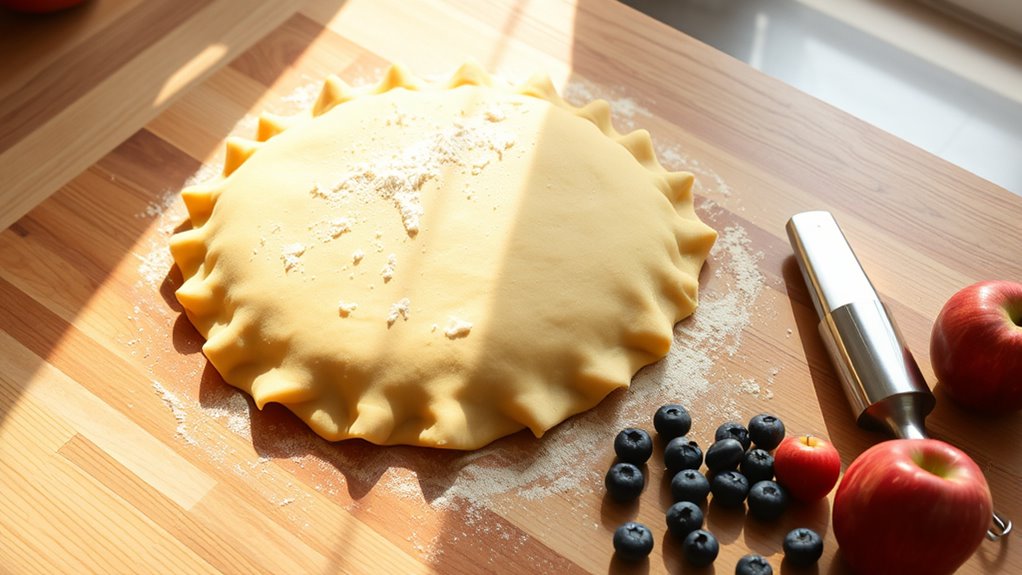
- Lightly flour a surface and roll out the dough into an even circle.
- Proceed to fill and bake your pie crust.
- Enjoy creating a delicious dessert from scratch and let your kitchen be your creative space.
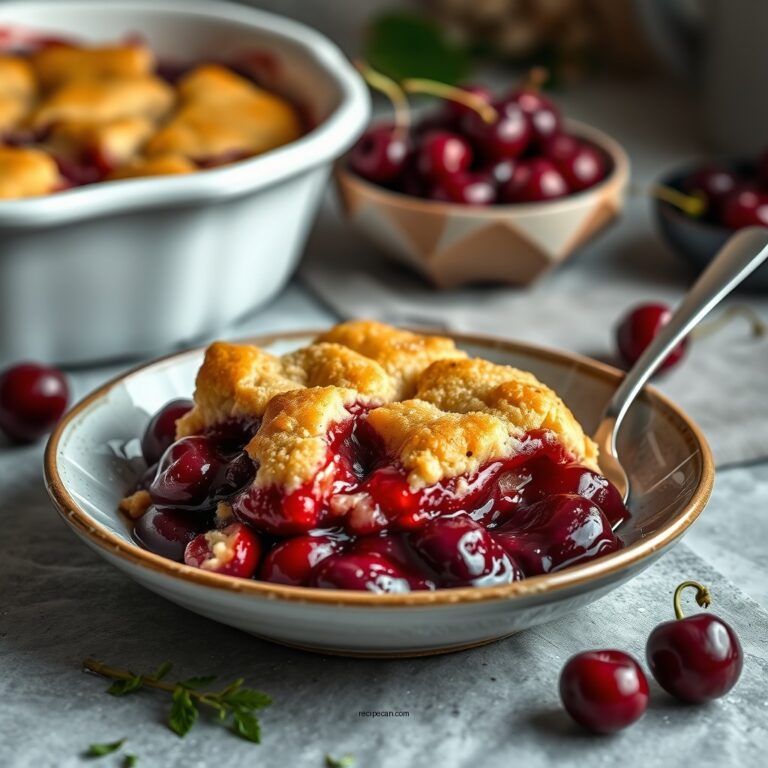
How to Serve
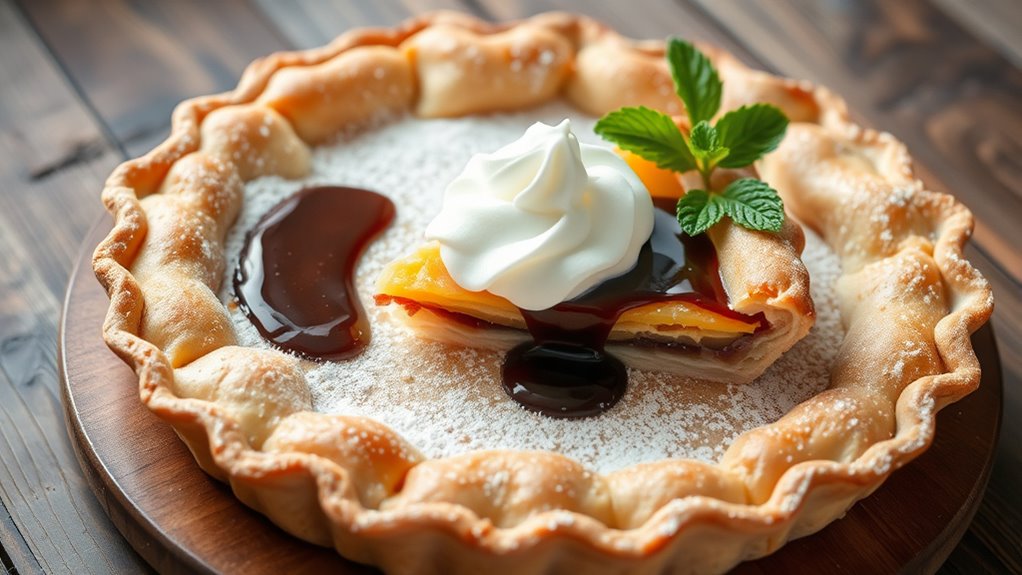
Serving your freshly baked pie is just as important as making it. Once it’s cooled, slice it into generous wedges, allowing its tantalizing aroma to fill your space. For serving suggestions, consider a dollop of freshly whipped cream or a scoop of vanilla ice cream to elevate your dessert experience. A warm pie pairs beautifully with a chilled companion—think crisp apples with apple pie or the tartness of berries alongside a creamy custard pie. You can even drizzle some caramel or chocolate sauce for added indulgence. Don’t forget to present it on a charming platter, garnished with a sprig of mint or a dusting of powdered sugar, inviting everyone to enjoy a slice of your delicious creation.
Tips
Once your pie is beautifully presented and ready to be enjoyed, a few handy tips can help guarantee your baking experience goes smoothly. Mastering these baking techniques will elevate your pie crust to perfection:
- Chill your ingredients: Keeping your butter and water cold helps create a flaky texture. Don’t skip this step!
- Don’t overwork the dough: Gently mix until just combined. Overworking can lead to a tough crust.
- Use a pie shield: If the edges brown too quickly, cover them with a pie shield or foil to prevent burning while the filling cooks through.
Food Value and Benefit
Prepared pie crust made with whole grains and healthier fats offers notable nutritional value and health benefits. This crust serves as a good source of dietary fiber, healthy fats, and essential nutrients, making it a nutritious addition to your meal.
Benefits of eating this pie crust include:
- Improved digestion and prolonged satiety due to high fiber content.
- Enhanced heart health from the use of healthy fats like olive oil.
- Increased protein and healthy fat intake when nuts or seeds are incorporated.
- Suitable for various dietary needs, including gluten-free and low-sugar options.
Vitamins and minerals present in this recipe include:
- B vitamins (such as niacin, thiamine, and folate) from whole grains, which support energy metabolism.
- Vitamin E from healthy fats, which acts as an antioxidant.
- Magnesium and iron from whole grains and nuts/seeds, important for muscle function and oxygen transport.
- Trace minerals such as zinc and selenium, which contribute to immune function.
Frequently Asked Questions
Can I Use Gluten-Free Flour for Pie Crust?
Absolutely, you can use gluten-free flour for your pie crust! There are plenty of gluten-free options available that work well, like almond flour or a gluten-free all-purpose blend. Just keep in mind that different flour substitutes can affect the texture, so you might need to experiment a bit. Adding a binding agent like xanthan gum can help achieve that perfect crust you’re craving. Embrace the freedom to create delicious gluten-free pies!
How Long Can I Store Pie Crust in the Fridge?
You can store pie crust in the fridge for up to three days. Just wrap it tightly in plastic wrap or place it in an airtight container to keep it fresh and prevent it from absorbing any odors. This way, you’ll have a delicious, ready-to-use crust waiting for you! If you want to keep it longer, consider freezing it for extended pie crust storage; it’ll last for about three months in the freezer. Enjoy baking!
What Are Common Mistakes to Avoid When Making Pie Crust?
When making pie crust, avoid overworking the dough; it’ll become tough instead of tender. Also, steer clear of using warm butter; cold butter creates those delightful flaky layers you crave. Instead, chill your butter and flour mixture before combining them. Don’t forget to let your dough rest in the fridge, as this helps relax the gluten. With these tips, you’ll create a delicious crust that invites you to enjoy the freedom of baking!
Can I Freeze Pie Crust for Later Use?
Absolutely, you can freeze pie crust for later use! Just imagine, a world where you don’t have to roll out dough every time you crave a slice of pie! For freezing tips, wrap your crust tightly in plastic wrap and then place it in a freezer bag to prevent freezer burn. When you’re ready to bake, just thaw it in the fridge overnight. With these storage methods, your future pie endeavors just got a whole lot easier!
How Can I Prevent My Pie Crust From Shrinking?
To prevent your pie crust from shrinking, make sure you’re using the right crust thickness; a slightly thicker crust can hold its shape better. Consider blind baking your crust, which means pre-baking it before adding fillings. This technique helps set the structure, reducing shrinkage. Don’t forget to chill your dough thoroughly before rolling it out, as this helps maintain its integrity. Enjoy the freedom to create a perfect pie without worries!
References
- https://en.wikipedia.org/wiki/Pastry
- https://extension.umn.edu/recipes/pie-crust
- https://www.abc.net.au/food/recipes/easy-pie-crust/12333676
- https://www.foodsafety.gov/food-safety-charts/cooking-pies
- https://www.cooking.nytimes.com/recipes/1021960-simple-pie-crust
- https://www.seriouseats.com/pie-crust-recipe-5113978
- https://www.bhg.com/recipes/how-to/bake/how-to-make-a-pie-crust/