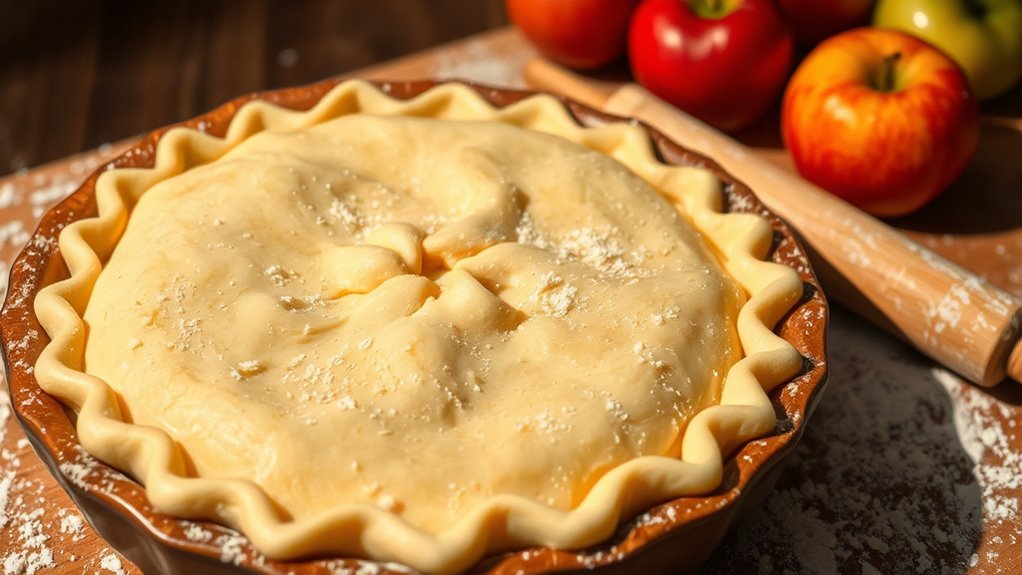
For a flaky pie crust, combine 2 ½ cups of all-purpose flour, 1 cup of chilled unsalted butter, ½ tsp salt, and 1 tbsp sugar if you like it sweet. Cut the butter into the flour until crumbly, then gently mix in cold water. Let the dough rest in the fridge for 30 minutes. Roll it out with a sturdy rolling pin and consider blind baking for the perfect finish. There’s plenty more to discover about perfecting your pie crust.
Ingredients and Quantity
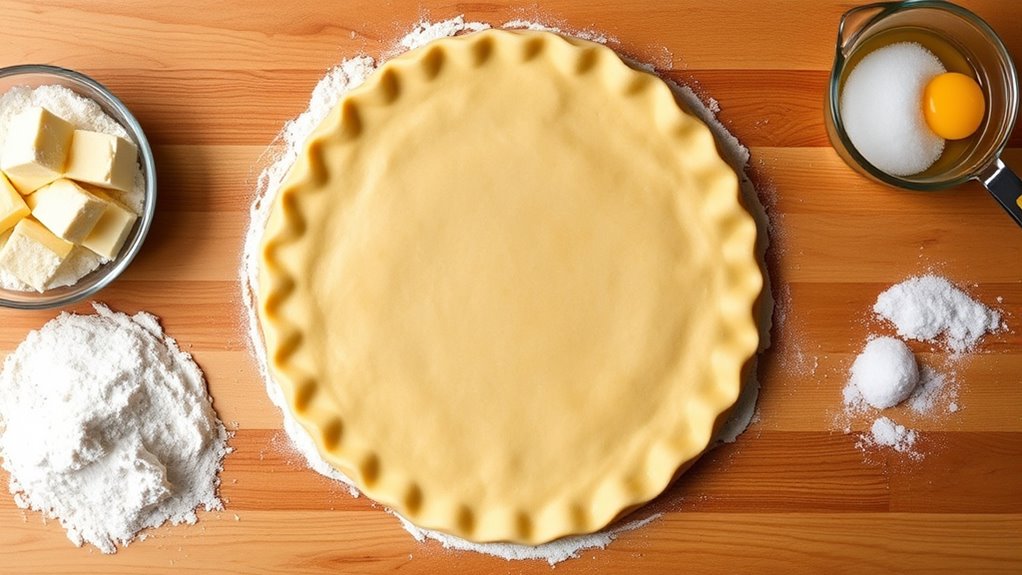
When it comes to making the perfect pie crust, having the right ingredients in the right quantities is essential. You’ll want to choose the best flour types and butter alternatives to achieve that flaky, melt-in-your-mouth texture. Here’s a quick guide to get you started:
| Ingredient | Quantity |
|---|---|
| All-purpose flour | 2 ½ cups |
| Unsalted butter | 1 cup |
| Sugar (optional) | 1 tbsp |
| Salt | ½ tsp |
Using all-purpose flour gives you versatility, while alternatives like almond flour add a nutty flavor. For butter alternatives, consider coconut oil or vegan butters for a delicious twist. Embrace your freedom to experiment and discover what suits your palate!
Preparations
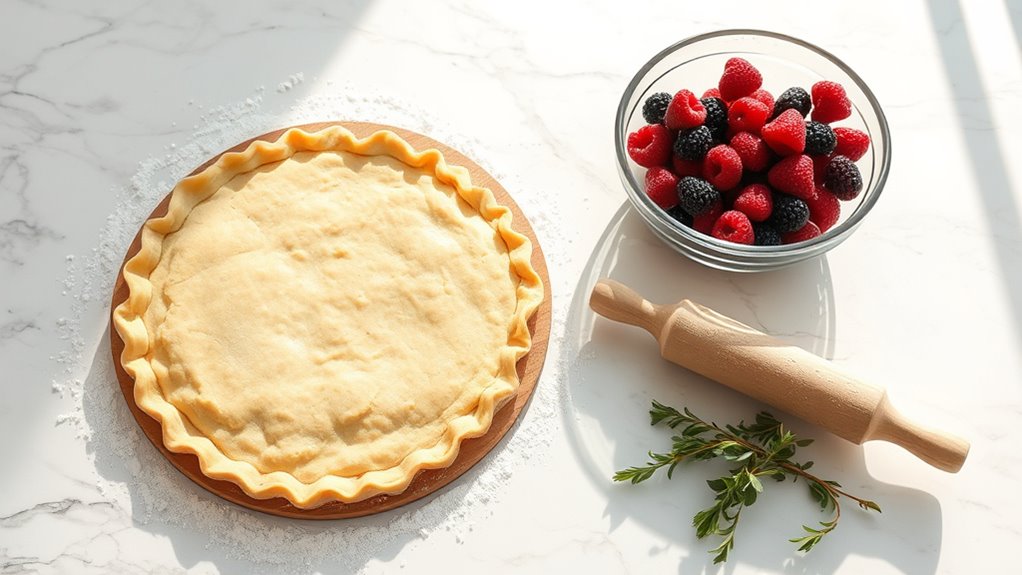
Before you plunge into making your pie crust, gather all your ingredients and tools to create a smooth workflow. This preparation sets the stage for a delightful baking experience.
- Chill your butter and water for the best texture.
- Measure your flour accurately for a balanced dough.
- Set aside time for dough resting to enhance flavor and pliability.
Embrace various pie crust techniques, like cutting in the butter until it resembles coarse crumbs or using a food processor for speed. Once your dough is mixed, allow it to rest in the fridge for at least 30 minutes. This step not only relaxes the gluten but also makes rolling out easier. With these preparations, you’re well on your way to a flaky, delicious pie crust!
Tools / Kitchenware Required
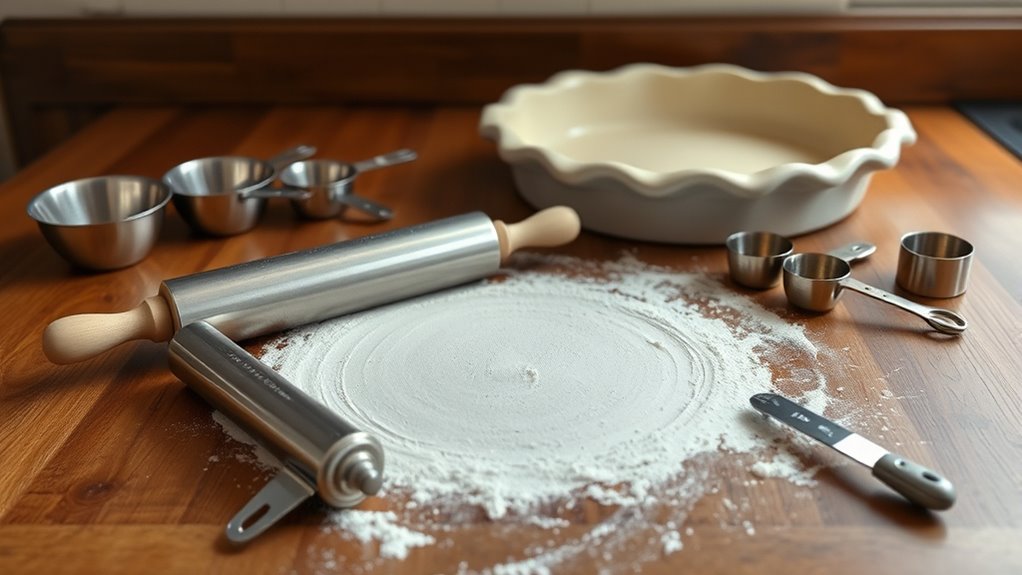
Although you might think pie-making is all about the ingredients, having the right tools on hand is equally essential for achieving that perfect crust. You’ll want to gather a few key items to make your baking experience smooth and enjoyable.
| Tool | Purpose | Notes |
|---|---|---|
| Rolling Pin | Flatten dough evenly | Choose a sturdy, comfortable one. |
| Pastry Cutter | Cut butter into flour | A sharp one makes a big difference. |
| Mixing Bowl | Combine ingredients | Opt for a large bowl for easy mixing. |
With these tools, you’ll feel empowered and ready to tackle any pie crust challenge. So, roll up your sleeves and let’s get started!
How to Cook
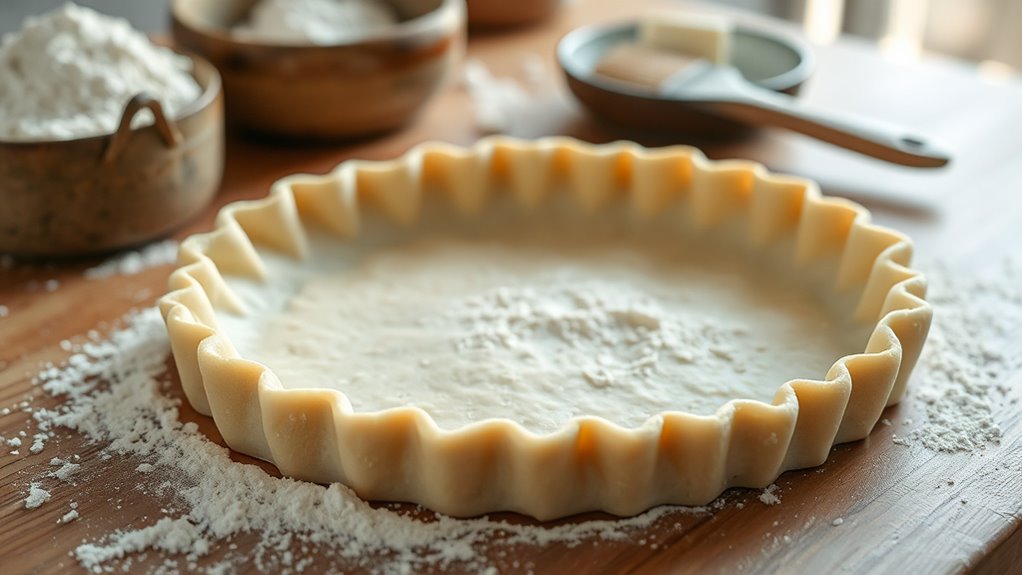
- Chill your ingredients: Use cold butter and water to improve the texture of the crust.
- Don’t overwork the dough: Mix the ingredients just until combined to maintain a flaky texture.
- Use a light touch: Roll out the dough gently to prevent it from becoming tough.
- Blind bake the crust: Pre-bake the crust to achieve a golden finish and ensure it holds up with fillings.
- Monitor the edges: Watch the edges closely as they brown faster than the center.
- Follow these steps to master the art of making a perfect pie crust.
How to Serve
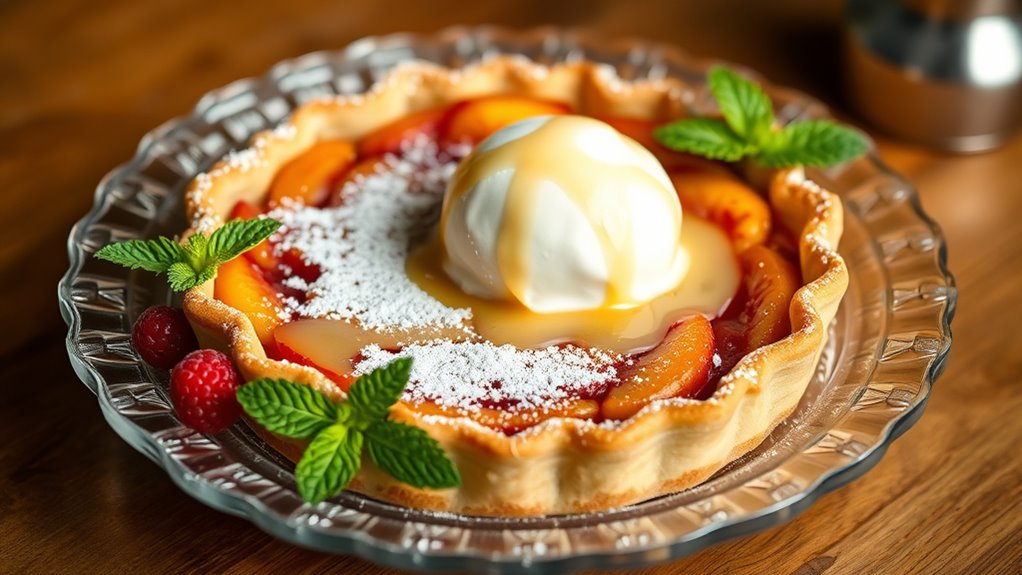
How do you elevate your pie crust experience once it’s baked to perfection? Start by choosing the right serving dish; a glass pie plate showcases your creation beautifully. For serving suggestions, consider pairing your pie with a scoop of vanilla ice cream or a dollop of freshly whipped cream to enhance the flavors. Presentation tips include sprinkling powdered sugar over the top or drizzling a homemade glaze for a touch of elegance. Slice your pie with a sharp knife for clean edges, and don’t forget to serve it warm for that comforting, homemade feel. Finally, garnish with fresh fruits or herbs to add a pop of color and freshness. Your guests will appreciate the extra effort!
Tips
When you want to achieve the perfect pie crust, a few essential tips can make all the difference. Understanding the right flour types and experimenting with crust variations will elevate your baking game. Here are some key pointers to keep in mind:
- Choose the right flour: All-purpose flour works well, but consider using pastry flour for a flakier texture.
- Keep ingredients cold: Chilled butter and ice water help create that tender, flaky crust you crave.
- Don’t overwork the dough: Mix until just combined to avoid a tough crust.
Food Value and Benefit
A delicious pie crust is more than just a tasty base for sweet or savory fillings; it also provides valuable nutrients that contribute to a balanced meal. When prepared with quality ingredients, this crust offers several nutritional benefits:
Food Value of Prepared Pie Crust:
- Contains carbohydrates for energy.
- Made with whole wheat flour, providing dietary fiber.
- Includes healthy fats from sources like coconut oil or grass-fed butter.
- Supplies essential vitamins and minerals depending on the ingredients used.
Benefits of Eating This Pie Crust:
- Supports digestion and promotes satiety due to its fiber content.
- Provides vitamin E and healthy fatty acids from coconut oil or butter, which support heart and skin health.
- Supplies minerals such as iron, magnesium, and zinc from whole wheat flour, aiding in oxygen transport, muscle function, and immune support.
- Can be customized to fit gluten-free or vegan diets, making it accessible for various dietary needs.
- Enhances overall nutrient intake while adding flavor and texture to your meal.
Frequently Asked Questions
Can I Use Gluten-Free Flour for Pie Crust?
Absolutely, you can use gluten-free flour for your pie crust! It’s like discovering a hidden path in a familiar forest, offering freedom to those with dietary restrictions. When choosing gluten-free options, consider flour substitutes like almond or coconut flour for a unique twist. Just keep in mind that these alternatives may require different ratios and additional binding agents, like xanthan gum, to achieve that perfect flaky texture. Embrace the adventure in your baking!
How Long Can I Store Pie Crust in the Freezer?
You can store your pie crust in the freezer for up to three months. For ideal pie crust storage, wrap it tightly in plastic wrap or place it in an airtight container to prevent freezer burn. When you’re ready to use it, just thaw it in the fridge overnight. This way, you’ll always have a delicious crust on hand, giving you the freedom to whip up a pie whenever the craving strikes!
What Is the Best Way to Prevent a Soggy Bottom?
To prevent a soggy bottom, you might be surprised to know that over 30% of home bakers face this issue! For soggy crust prevention, try pre-baking your crust for about 10 minutes before adding your filling. This pie baking technique creates a barrier, sealing in moisture. You can also brush the crust with egg wash or use a layer of flour or cornstarch between the crust and filling to absorb excess moisture. Enjoy your baking!
Can I Make Pie Crust Without Butter?
Absolutely, you can make pie crust without butter! Try using oil alternatives like coconut oil or vegetable oil for a flaky texture. If you’re looking for dairy-free options, consider using plant-based margarine or even applesauce for a unique twist. These alternatives can create a delicious crust that’s both satisfying and free from dairy. Don’t be afraid to experiment; your freedom in the kitchen can lead to some delightful discoveries!
How Do I Fix a Cracked Pie Crust?
If you’ve got a cracked crust, don’t worry; you can fix it! Start by gently pressing the edges together, then dampen your fingers with water to help them stick. If needed, roll out a small piece of dough to patch the crack. For a seamless look, sprinkle a bit of flour on top and smooth it out. With these simple crust repairs, you’ll have a beautiful pie ready to impress!
References
- https://en.wikipedia.org/wiki/Pie_crust
- https://www.jamesbeard.org/recipes/perfect-pie-crust
- https://www.foodsafety.gov/food-safety-charts/cooking-pie-crust
- https://www.extension.purdue.edu/extmedia/hn/hn-016-w.pdf
- https://www.epicurious.com/expert-advice/how-to-make-pie-crust-article
- https://www.npr.org/sections/thesalt/2016/11/21/503953034/why-pie-crusts-are-so-darn-difficult-to-make
