With an Oster ice cream maker, you’ll whip up smooth, scoop-ready treats by balancing cream, milk, sugar, and your favorite flavoring. Keep a calm, clean workspace, chill the base thoroughly, and measure each ingredient precisely. Heat gently, blend to a cohesive base, then chill before churning. Fold in mix-ins at the end and chill again for a glossy finish. Serve at peak texture with a warm drizzle or crisp topping, and if you keep exploring, you’ll uncover more delicious tricks.
Ingredients and Quantity
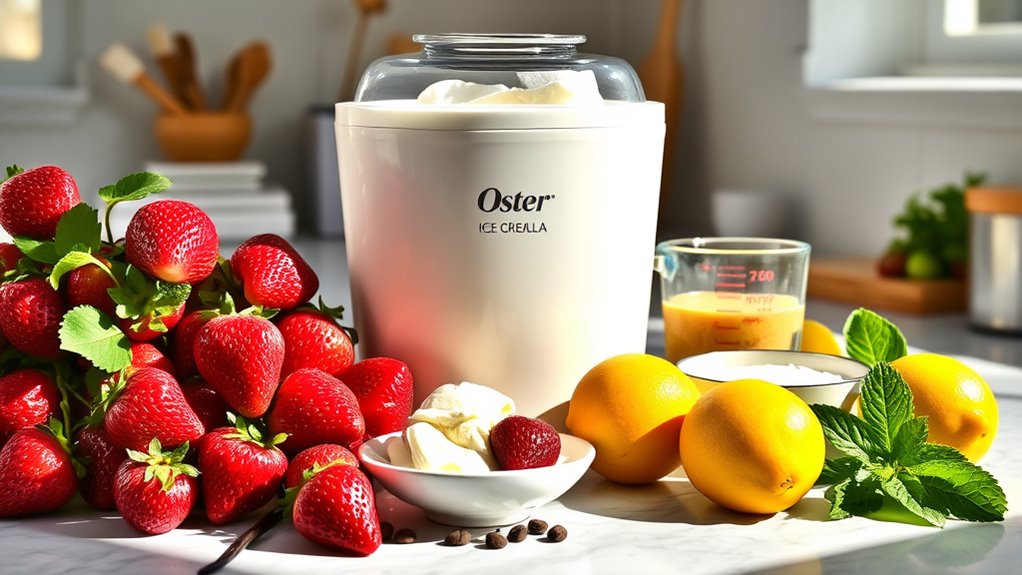
For Oster ice cream makers, gather simple ingredients in precise amounts to guarantee smooth, creamy results. You’ll measure with care, then blend until the base shines with potential. Start with cream, milk, sugar, and your chosen flavoring, and adjust sweetness to taste. With every batch, consider flavor combinations that excite you and explore ingredient substitutions to honor dietary needs or cravings. The right ratios reveal texture, body, and depth, so precision matters.
| Ingredient | Quantity |
|---|---|
| Cream | 2 cups |
| Milk | 1 cup |
| Sugar | 1/2 cup |
| Flavoring | 1–2 tsp |
| Optional | pinch salt |
Flavor combinations and ingredient substitutions push your freedom forward, letting you craft personal ice cream stories.
Preparations
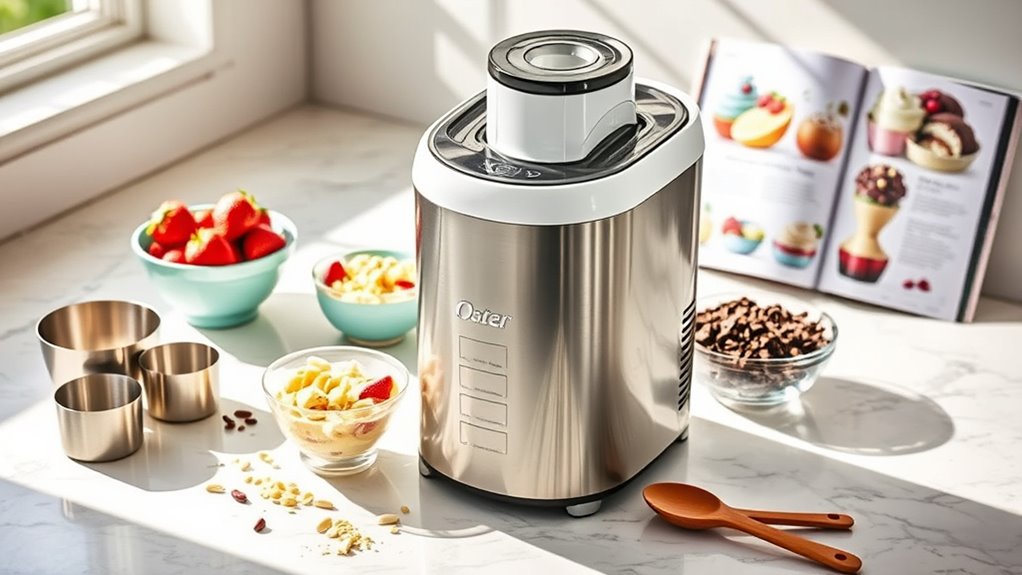
As you move from gathering the ingredients to the actual prep, start by organizing your workstation so everything you need is within reach. Preparations set the tone for your chill time, so keep space calm, uncluttered, and inviting. You’ll lay out tools, measure with intention, and respect your rhythm, embracing freedom in the process. Focus on clean lines, steady hands, and deliberate motions, letting mixing techniques guide you toward smooth, balanced textures. Trust your senses—sniff, glance, and listen for the right consistency. When you’re ready, you’ll move to the mixer confident in each step, without rushing. You’re creating a personal ritual that honors simplicity, taste, and your own pace.
- Gather tools and ingredients with intention
- Measure precisely, keeping stations clean
- Pre-chill any necessary components
- Decide on your base texture early
- Embrace your preferred mixing tempo
How to Cook

- Heat, blend, and fold ingredients with purpose to create a smooth, cohesive base.
- Approach the oven-warmed station calmly and measure dairy, sugar, and flavor without fuss.
- Stir the mixture until the custard holds its shine.
- If using eggs, temper them slowly to avoid curdling.
- Chill the mixture until cool.
- Whisk in your chosen flavor profile.
- During ice cream making, test texture as you churn, noting firmness and air incorporation.
- Keep detailed notes on temperatures, timings, and outcomes to refine future batches.
- Experiment with flavor combinations such as mint and dark chocolate, vanilla with roasted fruit, or caramel swirls.
- Share results that honor both craftsmanship and creativity.
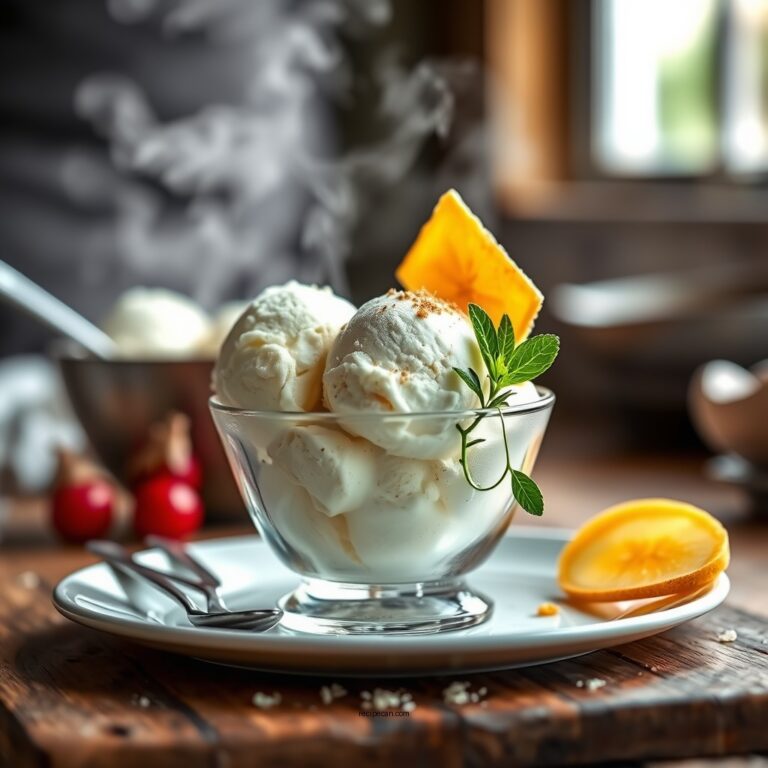
How to Serve
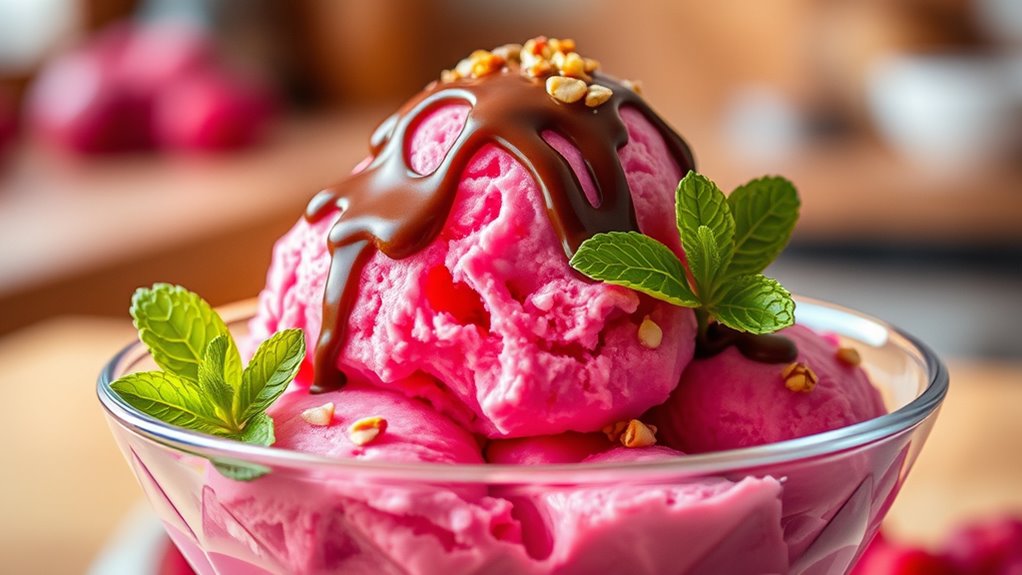
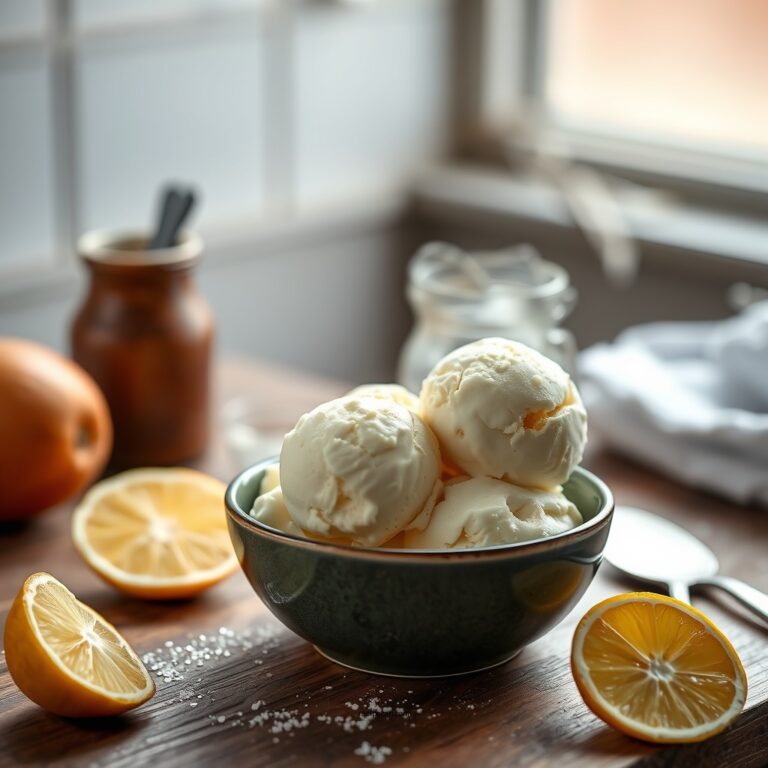
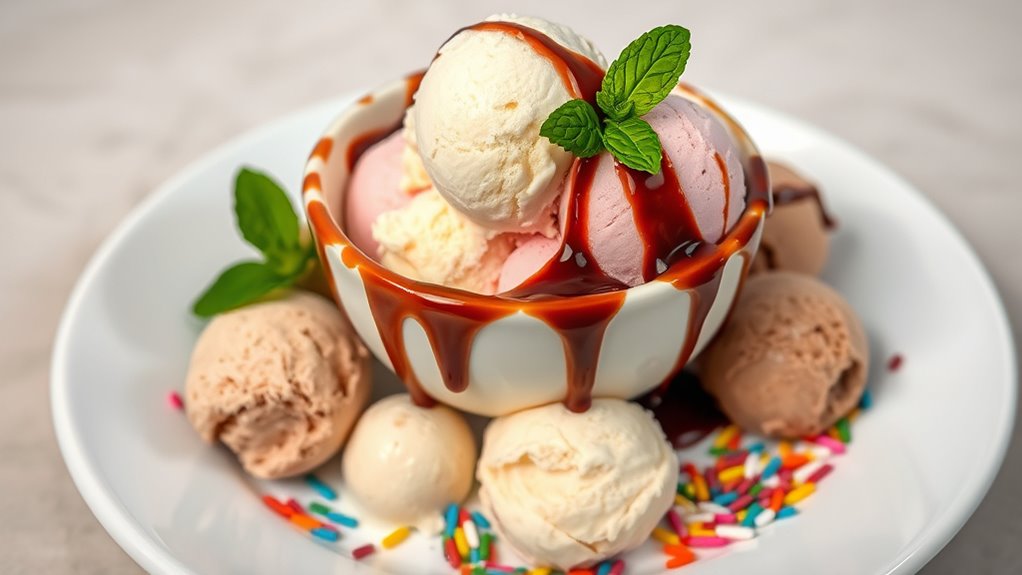
A scoop of ice cream is best enjoyed at the moment it’s perfectly set, so plan your serving moments to match the texture you’ve chased during churning. You’ll elevate every bite with thoughtful choices that honor flavor and texture, not fuss. Your approach is simple, confident, and generous, inviting experimentation while keeping the focus on the ice cream itself.
- Serving suggestions: pair with a warm drizzle or a crisp accent
- Presentation ideas: serve in a chilled dish with a clean garnish
- Texture tips: vary scoop size to highlight flavor notes
- Colorful contrasts: use toppings that pop against the ice cream
- Plate rhythm: create a deliberate, bite-by-bite cadence
Tips
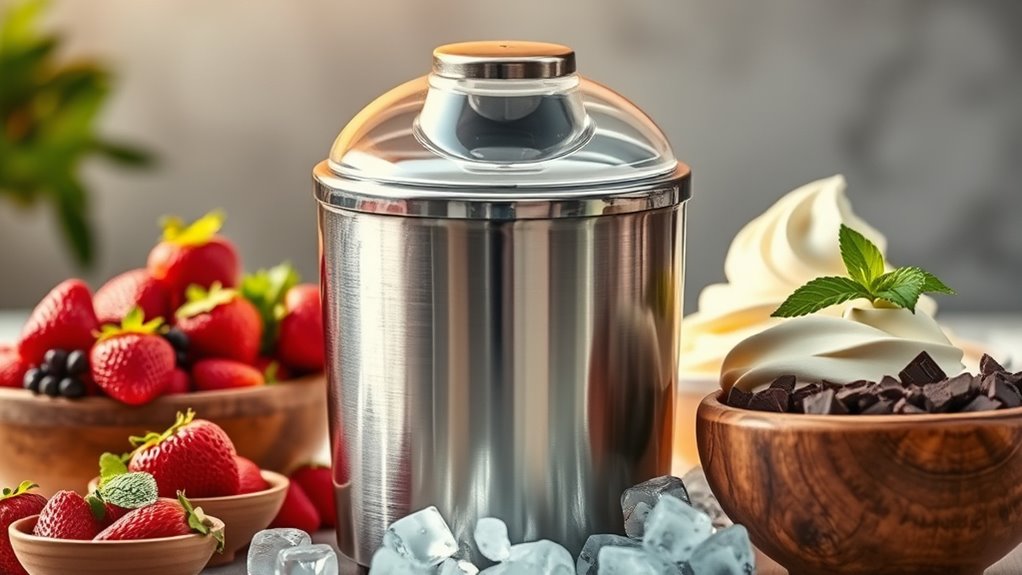
You’ve got the basics down from serving well—now let’s fine-tune your approach with practical tips you can use right away. You’ll reveal richer texture by letting the base chill thoroughly before churning, and by keeping your ice cream maker bowl cold until the last moment. Avoid rushing the freezing process; patience yields creaminess. For flavor, experiment with flavor combinations that balance sweet, acidic, and bitter notes to avoid heaviness. Add mix-ins near the end to preserve texture and avoid clumping. Maintain clean equipment to prevent off-flavors, and sample often to calibrate sweetness. When possible, label batches with date and ingredients. Use stable freezing techniques: steady temperature, minimal air, and proper storage to maintain scoopable consistency. Enjoy freedom without compromising quality.
Food Value and Benefit
Oster ice cream offers more than just a delicious treat—it provides a nutritious balance of dairy and fruit, making it a wholesome dessert choice. This recipe delivers essential vitamins and minerals while supporting portion control and customizable ingredients to fit your dietary needs.
Oster ice cream blends dairy and fruit for a wholesome, portion-controlled treat rich in calcium, vitamin D, and antioxidants.
Benefits of eating Oster ice cream:
- Provides calcium and vitamin D from dairy, supporting bone health
- Contains vitamin C and antioxidants from fruit add-ins, boosting immune function
- Supplies natural sugars combined with protein to help maintain energy and promote satiety
- Allows for portion control, aiding in mindful eating and weight management
- Customizable ingredients can accommodate lactose sensitivity or other dietary restrictions
Vitamin and mineral content:
- Calcium
- Vitamin D
- Vitamin C
- Potassium
- Magnesium
Frequently Asked Questions
How Long Should the Ice Cream Freeze Before Serving?
Typically, you’ll want about 2 to 4 hours of freezing time, depending on your freezer and mix. Freeze until scoopable, then follow serving tips; remember, chilling thickens flavor, enhancing texture with every bite.
Can I Substitute Dairy-Free Milks in These Recipes?
Yes, you can substitute dairy-free milks. You’ll need to adjust sweetness and fat content, aiming for creaminess. Try dairy alternatives like almond or coconut milk, and tweak flavor adjustments to keep texture rich and tastes confidently bold.
Which Attachment or Bowl Size Fits Oster Machines?
Attachment compatibility and bowl sizes vary by Oster model, so you’ll check your manual; some use standard bowls, others require specific attachments, ensuring you pick the right attachment compatibility and bowl sizes for ideal results.
Do I Need to Churn After Freezing for Smooth Texture?
Yes, you should churn after freezing for a smoother texture. Master churning techniques, then apply freezing tips to control texture, ensuring you enjoy creamy scoops with freedom and flavor, without sacrificing speed or spontaneity.
Are There Common Overruns or Ice Crystals to Avoid?
Yes—watch for overrun factors and ice crystal prevention. You’ll avoid bulky texture by churning at the right speed and temperature, stirring gently, and freezing promptly. This keeps flavor bold, creamy, and free, with a smooth, satisfying finish.
1. What types of recipes can I make with an Oster ice cream maker?
With an Oster ice cream maker, you can create a wide variety of frozen treats, including classic ice cream, gelato, sorbet, and frozen yogurt. You can experiment with different flavors by adding fruits, nuts, chocolate, or other ingredients. Additionally, you can try out unique recipes like vegan ice creams using coconut milk or almond milk, and even incorporate spices for a gourmet touch.
2. How long does it take to make ice cream in an Oster ice cream maker?
The time it takes to make ice cream in an Oster ice cream maker generally ranges from 20 to 40 minutes, depending on the recipe and the amount of mixture being churned. It’s important to pre-chill your ingredients and the bowl if required, as this can help speed up the freezing process. Always refer to the specific instructions for your model for the best results.
3. Can I use dairy-free ingredients in my Oster ice cream maker recipes?
Yes, you can absolutely use dairy-free ingredients in your Oster ice cream maker recipes. Many people enjoy making vegan ice creams using alternatives like coconut milk, almond milk, or cashew cream. Just ensure that the base is creamy enough to achieve a good texture and consider adding stabilizers or thickeners like cornstarch or arrowroot powder for better consistency.
4. Do I need to pre-freeze the bowl of my Oster ice cream maker?
It depends on the model of your Oster ice cream maker. Some models feature a built-in compressor and do not require pre-freezing, while others do require the bowl to be frozen for several hours before making ice cream. Always check your specific model’s instructions to know whether pre-freezing is necessary for optimal performance.
5. What are some tips for achieving the best texture in my homemade ice cream?
To achieve the best texture in your homemade ice cream, consider the following tips:
- Chill the mixture: Ensure that your ice cream base is well-chilled before churning, as it helps the mixture freeze more evenly.
- Use high-quality ingredients: Fresh, high-quality ingredients can enhance flavor and texture significantly.
- Don’t over-churn: Keep an eye on the ice cream as it churns. Over-churning can lead to a grainy texture.
- Incorporate air: Churning incorporates air into the mixture, which is crucial for achieving a light and creamy texture. Avoid excessive stirring once you’ve reached your desired consistency.
- Store properly: After churning, store your ice cream in an airtight container in the freezer to prevent ice crystals from forming.
References
- https://www.npr.org/sections/thesalt/2016/07/19/486705292/ice-cream-making-101-how-to-make-the-creamiest-ice-cream-at-home
- https://www.thekitchn.com/how-to-make-ice-cream-with-an-ice-cream-maker-221059
- https://www.foodsafety.gov/food-safety-charts/food-safety-recipe-ice-cream
- https://www.icecreamscience.com/ice-cream-recipes/
- https://www.extension.purdue.edu/extmedia/FS/FS-7-W.pdf