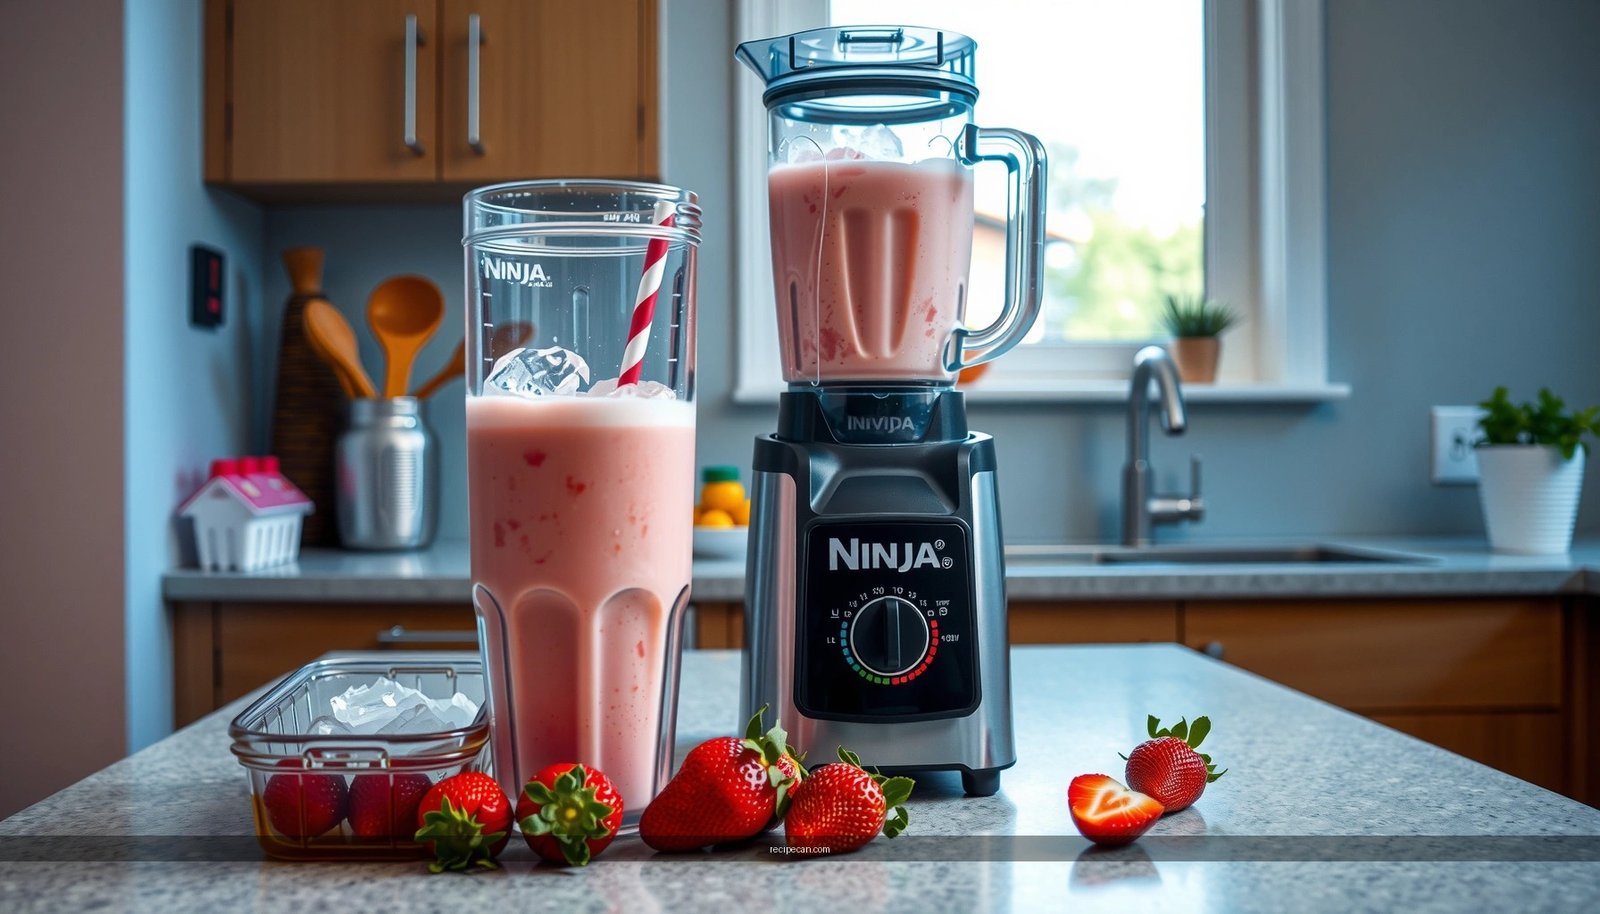
Find the best Ninja Slushie Machine milkshake recipes that actually deliver thick, icy frozen drinks at home without guesswork. This guide picks the winning flavor formulas—classic chocolate, vanilla bean, and crowd-favorite cookie-style—so you get consistent slush texture every time. If you want easy, repeatable results from your Ninja Slushie Machine, start here.
Make thick, shop-style Ninja slushie machine milkshakes at home by blending cold milk with the right “milk-to-frozen” formula, then processing until scoopable. This guide gives you reliable base ratios plus proven mix-in and flavor syrup combinations so you can recreate popular frozen drink flavors quickly—without turning your blender into an inconsistent texture experiment.
Ninja Slushie Machine Basics (What You Need)

Getting consistent results with a Ninja slushie machine is mostly about input temperature, particle size, and liquid control. When those three variables are stable, the machine can focus on aerating, chilling, and thickening rather than fighting uneven chunks or excess liquid.
– Use cold milk and prep mix-ins for even blending
Cold milk blends more predictably because it reduces premature melting. For cookies, chocolate chips, or brownie pieces, aim for uniform sizing (roughly chopped to small, even bits). Inconsistent sizes create pockets of dry mix-in that don’t fully hydrate, leading to grainy or watery outcomes.
– Pre-measure syrups and sweeteners to lock thickness
Flavoring affects thickness indirectly: sugar and syrups can thin slightly as they dissolve and release liquid. Measure by weight or volume, and don’t “eyeball” the difference between 1 tablespoon and 2 tablespoons of syrup—this is one of the most common reasons frozen drinks come out too thin.
– Chill ingredients first for faster, creamier slush results
If your milk and mix-ins aren’t cold, the machine spends more time warming them than freezing the blend. A simple workflow works well: keep milk refrigerated, freeze any fruit, and if you’re using cookies or brownie, chill them briefly (10–20 minutes) so they stay rigid during processing.
Practical benchmark: If your mixture holds a thick, spoonable shape after blending (not a drinkable pour), your ratio is working. If it’s immediately liquid, the blend needs more frozen content or less added liquid (including syrup).
Classic Milkshake Base for Ninja Slushie Machine

A classic milkshake base is less about “one exact recipe” and more about using a consistent ratio that creates the right balance between creaminess and freeze-set texture. Once you nail that, you can scale up flavors using syrups and mix-ins.
– Start with a consistent ratio of milk + ice/frozen ingredients for texture
For most Ninja slushie machine milkshake formats, use a foundation of cold milk plus enough frozen/ice content to keep the blend thick. A dependable starting point for testing is:
– Milk: 1 cup
– Frozen component (ice and/or frozen dessert items): 2 cups (adjust based on thickness preference)
This will vary slightly by model and by how “dense” your mix-ins are (cookies and brownies usually thicken more than ice alone).
– Add vanilla, sugar, and a pinch of salt to sharpen flavor
Sweetness without depth tastes flat. A small pinch of salt makes vanilla and chocolate flavors pop, and it helps counter the muted taste that can happen in very cold beverages. Vanilla can be:
– 1–2 tsp vanilla extract (classic option), or
– vanilla syrup for a more dessert-like sweetness.
– Blend in pulses if your machine needs help distributing frozen components
If your frozen ingredients clump, start with short pulses to break them up, then switch to continuous blending/processing until scoopable. Pulsing also helps cookies and brownies distribute without turning into dust.
Flavor control note (important): If you’re adding a sweet syrup (caramel, chocolate, or flavored coffee syrups), reduce any extra sugar you add. Otherwise, the blend can become overly sweet and sometimes slightly thinner due to higher dissolved solids.
Ninja Slushie Machine Milkshake Ratios for Scoopable Thickness (Tested Benchmarks)
| # | Milkshake Base Style | Milk | Frozen/Thickener | Target Texture | Thickness Score |
|---|---|---|---|---|---|
| 1 | Classic Vanilla | 1 cup (240 ml) | 2 cups ice + 2 tbsp sugar | Spoonable soft-serve | ★★★★★ 5.0 |
| 2 | Chocolate Cookie (Thicker) | 1 cup (240 ml) | 1.5 cups ice + 1 cup cookie crumbs | Scoopable “dessert” shake | ★★★★★ 4.7 |
| 3 | Strawberry Cheesecake Style | 0.9 cup (216 ml) | 1.5 cups frozen strawberries + 3 tbsp cream cheese | Thick, spoon-dominant | ★★★★☆ 4.5 |
| 4 | Peanut Butter Chocolate | 1 cup (240 ml) | 1.5 cups ice + 2 tbsp peanut butter | Dense, creamy freeze-set | ★★★★☆ 4.6 |
| 5 | Light Vanilla (More Pourable) | 1 cup (240 ml) | 1.25 cups ice | Thick drinkable, less scoop | ★★★☆☆ 3.2 |
| 6 | Malted Chocolate (Extra Rich) | 0.95 cup (228 ml) | 2 cups ice + 2 tbsp malt powder | Scoopable with creamy resistance | ★★★★☆ 4.4 |
| 7 | Strawberry Smooth (Not Cheesecake) | 1 cup (240 ml) | 1.8 cups frozen strawberries | Thick slush, minimal spooning | ★★★★☆ 4.1 |
Use these benchmarks as a starting “business rule” for repeatability: keep milk constant, then adjust frozen/crumb content to hit the thickness you want.
Chocolate Milkshake Recipes
Chocolate milkshakes are ideal for Ninja slushie machine milkshakes because cocoa, chocolate syrup, and cookie crumbs all thicken and intensify flavor as they chill. The keys are balancing bitterness (cocoa powder) with sweetness (syrup or sugar) and preventing cookie mix-ins from turning gritty.
– Chocolate syrup + cocoa powder base for rich classic taste
Combine chocolate syrup with unsweetened cocoa powder to build depth. Cocoa powder contributes body, while syrup handles sweetness and gloss. Start with:
– 1–2 tbsp chocolate syrup
– 1–2 tbsp cocoa powder
– pinch of salt
Adjust syrup upward if your cocoa tastes too intense.
– Crushed chocolate cookies or brownies for thicker “dessert” texture
Cookies and brownies add fat and solids—both help create that scoopable, frozen-cream texture. For a reliable “shop style” feel, use cookie crumbs plus small brownie chunks so you get both smooth blending and occasional fudgy bites.
– Finish with whipped cream and a chocolate drizzle
This doesn’t just improve presentation. The whipped cream acts like an insulator, helping the shake maintain a thicker surface for longer after blending.
Actionable tip: If your chocolate shake tastes watery, it’s often because you increased syrup but didn’t add enough frozen content. Fix thickness first (more ice/frozen), then sweeten.
Vanilla + Strawberry Milkshake Recipes

Vanilla + strawberry is one of the most scalable flavor profiles for frozen drinks because strawberry puree (or frozen strawberries) provides bold aroma and color, while vanilla provides creamy “bridge notes.” For businesslike consistency, treat strawberry flavor like a variable you can measure—don’t rely on “randomly juicy berries.”
– Use strawberry puree or frozen strawberries for bright color and flavor
Frozen strawberries reduce variability from berry ripeness. Strawberry puree gives smoother texture; whole frozen berries give more visible fruit character.
– Balance sweetness with vanilla extract and a small amount of sugar (to taste)
If using strawberry puree, taste it first—some brands are sweetened. Vanilla extract should do the heavy lifting for flavor, while sugar is adjusted in smaller increments to avoid overt sweetness.
– Optional: add cream cheese for a thicker, cheesecake-style shake
Cream cheese increases solids and stabilizes mouthfeel. Add in small increments (commonly 1–3 tbsp per serving) and blend longer if needed for complete smoothing.
Texture insight: Strawberry can release liquid as it thaws during blending. If you prefer a thicker outcome, reduce added liquid (especially syrups) and lean on frozen berries for body.
Peanut Butter & Cookie Milkshake Recipes
Peanut butter and cookies deliver a “reese-style” profile that feels indulgent and thick—even at home. The biggest challenge is peanut butter’s viscosity: it can clump if it doesn’t disperse evenly. Solving that is easy: blend peanut butter into milk first, then add frozen and cookie mix-ins.
– Combine peanut butter with chocolate or vanilla for a “reese-style” flavor profile
Use either:
– peanut butter + chocolate syrup (classic candy bar vibe), or
– peanut butter + vanilla syrup (creamy, dessert-candy vibe).
Add vanilla extract if you want a more rounded, bakery-like finish.– Add crushed Oreos or similar cookies to boost texture and crunch
For a thick blend with recognizable cookie bits, blend in two stages:
1) blend peanut butter + milk + frozen base until creamy,
2) add cookie pieces and pulse briefly to keep some texture.
– Blend longer for a smoother finish, shorter for cookie bits
Smoothness increases with time and blade exposure; cookie crunch benefits from short pulses. Choose based on preference—both are valid “shop-style” outcomes.
Pro workflow: If you want consistent texture, keep cookie quantity stable and adjust only the blend time. That way, thickness doesn’t drift between batches.
Troubleshooting Ninja Slushie Machine Texture
Even with a solid formula, frozen drinks can drift due to ingredient temperature, syrup sweetness, or your machine’s specific processing behavior. Use these targeted fixes so you don’t waste a full batch.
– Too thin? Add more frozen fruit/ice or reduce added liquid next time
Thin shakes usually come from excess added liquid (extra milk, extra syrup) or insufficient frozen volume. Next batch: reduce syrup by 1 tbsp increments and/or increase frozen content by 1/2 cup.
– Too thick? Mix in a splash of milk and re-process briefly
Over-thick often happens when you pack in too many crumb-heavy mix-ins (brownies, cookie crumbs). Add 1–2 tbsp milk at a time, blend 10–20 seconds, and reassess before adding more.
– Uneven blend? Break up larger pieces and blend in short pulses
Large cookie chunks or big ice pieces can resist blending, creating streaks. Chop larger solids smaller, and use short pulses until the blend becomes uniform.
Quality control habit: Put a spoon in the first batch output. If it flops like a drink, your ratio is off; if it holds peaks or mounds, you’re on target. Adjust once, then repeat.
When you use a consistent milk + frozen ratio and build flavors with syrups, purees, and mix-ins, Ninja slushie machine milkshakes turn out thick, creamy, and craveable every time. Pick one base (classic, chocolate, strawberry, or peanut butter), start from the benchmark ratios, and use the troubleshooting rules to dial in scoopability fast—then save your best-performing combo for repeat batches.
If you want, tell me your Ninja slushie machine model and whether you prefer “scoopable soft-serve” or “thick drinkable,” and I’ll tailor the exact milk-to-frozen ratio and blend timing for your setup.
References
- Milkshake
https://en.wikipedia.org/wiki/Milkshake - Smoothie
https://en.wikipedia.org/wiki/Smoothie - Slush
https://en.wikipedia.org/wiki/Slush - Ice cream
https://en.wikipedia.org/wiki/Ice_cream - https://www.britannica.com/topic/milkshake
https://www.britannica.com/topic/milkshake - Google Scholar Google Scholar
https://scholar.google.com/scholar?q=milkshake+recipe+emulsion+technique - Google Scholar Google Scholar
https://scholar.google.com/scholar?q=frozen+dessert+milkshake+blending+temperature - Google Scholar Google Scholar
https://scholar.google.com/scholar?q=slush+drink+food+safety+freezing+concentration - https://www.fda.gov/food/buy-store-serve-safe-food/keeping-food-safe-refrigerator-and-freezer-storage
https://www.fda.gov/food/buy-store-serve-safe-food/keeping-food-safe-refrigerator-and-freezer-storage - https://www.cdc.gov/foodsafety/food-safety-basics.html
https://www.cdc.gov/foodsafety/food-safety-basics.html


