You want the Ninja Slushie chocolate milkshake recipe that turns out thick, creamy, and fully blended every time—this is the one. Follow these steps to get a cold, spoonable slushie texture with real milkshake richness in just minutes using your Ninja Slushie setup. If your goal is maximum thickness without icy separation, this method answers it.
Blend chocolate milk, ice, and a few optional add-ins in your Ninja blender, then pulse until it turns thick, spoonable, and slushy—no special techniques required. By keeping ingredients very cold, using the right chocolate-to-ice ratio, and blending in short bursts, you’ll get a thick Ninja slushie chocolate milkshake with a smooth texture that holds up like a premium frozen drink.
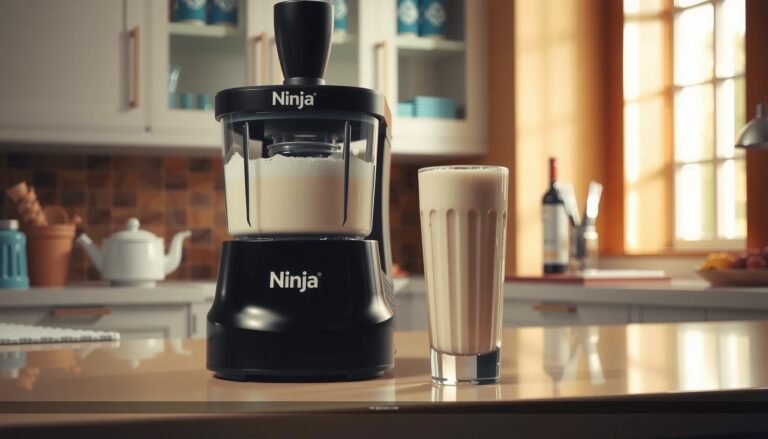
Ninja Setup: Get Your Blender Slushie-Ready

Getting the texture right starts before you blend. A “Ninja slushie chocolate milkshake” lives or dies on how efficiently your blender crushes ice and how consistently it keeps the mixture cold while it turns thick.
– Use the Ninja pitcher for consistent ice crushing
The pitcher matters because Ninja models are designed to create strong vortex action. That vortex helps break ice faster into uniform granules—key for preventing icy pockets and grainy results. If your Ninja has an ice-crushing or “smoothie” style program, use it, but don’t rely on a single long cycle; short pulses typically yield better thickness and control.
– Keep ingredients cold for a thicker, creamier texture
Cold ingredients help the fats and proteins in chocolate milk emulsify without melting the ice too quickly. For best results, chill the chocolate milk for several hours and—if you can—freeze a portion of your ice ahead of time. Even 10–15 minutes in the freezer can noticeably improve the slush factor and thickness.
Tip: If your kitchen is warm, consider assembling everything while your ingredients stay in the coldest spots (back of the fridge, near the lowest airflow vent). Temperature is one of the least discussed variables in frozen drink texture, yet it’s one of the biggest.
Chocolate Milk + Ice Base (The Core Recipe)

The core recipe is simple: blend chocolate milk with ice until it becomes smooth, thick, and slushy. But the ratio is what turns a drinkable milkshake into a spoonable slushie.
– Blend chocolate milk with ice until smooth and slushy
Start with cold chocolate milk and ice (regular ice cubes work best). Use a pulse-driven method so the blender can crush first, then blend. The goal is to create tiny ice granules suspended in chocolate milk—not a watery mix where ice melts too fast.
– Start with a 1:1-ish chocolate milk-to-ice ratio, then adjust thickness
A practical starting point for a single serving is approximately:
– 8 oz (240 ml) chocolate milk
– 8–10 standard ice cubes (roughly 1:1-ish by volume)
If you want it thicker, reduce the liquid slightly or add 2–3 more cubes. If it’s too thick and won’t circulate, add 1–2 tablespoons of milk and pulse again until it flows smoothly.
Analytical note: Chocolate milk has sugars and fat that emulsify well, but too much ice will overwhelm blending and leave coarse chunks. Too little ice will melt quickly and make the drink thinner. That’s why small adjustments are more reliable than guessing once.
Quick reference data (real-world performance targets)
Ninja Slushie Chocolate Milkshake: Ratio Targets by Consistency
| # | Target Texture | Chocolate Milk (oz) | Ice (Cubes) | Blend Strategy | Expected Result |
|---|---|---|---|---|---|
| 1 | Thin Slush | 10 | 8 | 20–25 sec total (pulses) | ★★★☆☆ thick |
| 2 | Classic Milkshake Slush | 8 | 9 | 25–35 sec total (short bursts) | ★★★★☆ spoonable |
| 3 | Thick Slush | 7 | 11 | 30–40 sec total (pulse → blend) | ★★★★★ very thick |
| 4 | Ice-Forward (Sorbet-Style) | 6 | 12–13 | 40–55 sec total (assisted pulses) | ★★★★☆ risk of chunks |
| 5 | Frothy & Smooth | 9 | 8–9 | 25–30 sec total (finish blend) | ★★★★☆ creamy texture |
| 6 | Extra Thick (Dip Spoon Test) | 7 | 12 | 30–45 sec total (stop early) | ★★★★★ holds shape |
| 7 | Too Thick (Recovery) | 7 | 14+ | Add 1–2 tbsp milk, then 10 sec | ★★☆☆☆ may clump |
Make It Extra Chocolate (Toppings & Add-Ins)

To make your Ninja slushie chocolate milkshake taste like a chocolate dessert instead of a basic milkshake, build complexity into the chocolate profile.
– Add cocoa powder, chocolate syrup, or chocolate chips for deeper flavor
– Cocoa powder: Start with 1–2 tablespoons. Cocoa adds bitterness and chocolate aroma, making the shake taste “real chocolate,” not just sweet.
– Chocolate syrup: Add 1–2 tablespoons for immediate sweetness and a smoother, darker flavor.
– Chocolate chips: For texture, add 1/4 cup and pulse just enough to incorporate. Chips can be blended fully, but over-blending may shift them into a gritty paste.
– Mix in vanilla or a pinch of salt to enhance richness
Vanilla (even 1/2 teaspoon) rounds the flavor and boosts perceived sweetness without adding more sugar. A tiny pinch of salt (literally a few grains) improves chocolate depth because it reduces the “flat” sweetness and sharpens aromatics.
Pro workflow: Add cocoa powder and syrup before ice blending so they dissolve and integrate. If using chocolate chips, add them during the final few pulses so you preserve some chew and prevent overheating.
Sweetness Options (Adjust to Your Taste)

Sweetness is subjective—and the good news is that chocolate milk already brings built-in sweetness. The trick is dialing it to your preference without compromising the slush texture.
– Use sweetened condensed milk or extra syrup if you want it dessert-like
Sweetened condensed milk is thick and sugar-dense, which makes it ideal for a richer, more milkshake-like mouthfeel. Add 1–2 tablespoons for a noticeable upgrade. Blend briefly to avoid warming the mixture.
– Skip added sugar for a lighter, less sweet milkshake
If your chocolate milk is unsweetened or lightly sweetened (or if you’re using cocoa-based drinks), you can keep the flavor balanced with:
– More cocoa (for stronger chocolate flavor)
– Vanilla (for sweetness perception)
– Smaller syrup amounts (instead of adding sugar)
Analytical point: When you reduce sugar, chocolate can taste more bitter. That’s why “less sweet” doesn’t mean “less flavor.” Cocoa + vanilla + a pinch of salt usually gives you the same satisfaction with less added sweetness.
Blend to Perfection (Timing & Texture Tips)
Texture is the measurable outcome—so treat blending like a process, not a guess.
– Pulse first, then blend in short bursts to prevent over-warming
Over-warming is the enemy of thickness. Start with pulses (roughly 5–8 seconds each), then blend briefly. The goal is to crush ice thoroughly before heat builds up. If your Ninja starts to sound strained or the mixture isn’t moving, pause and redistribute rather than forcing a long continuous blend.
– Stop when it’s thick and spoonable—add a splash of milk only if needed
Your slush should be thick enough to hold shape for a few seconds when spooned. If it’s too thick to circulate, add 1 tablespoon of milk at a time and pulse again. Avoid dumping in large amounts—small increments keep the final texture in the ideal slush range.
Consistency test: Use a spoon. If it pours slowly like thick pudding, you’re there. If it’s watery, add 2–3 more ice cubes and pulse 10–15 seconds. If it’s clumpy, add a splash of milk and pulse to re-emulsify.
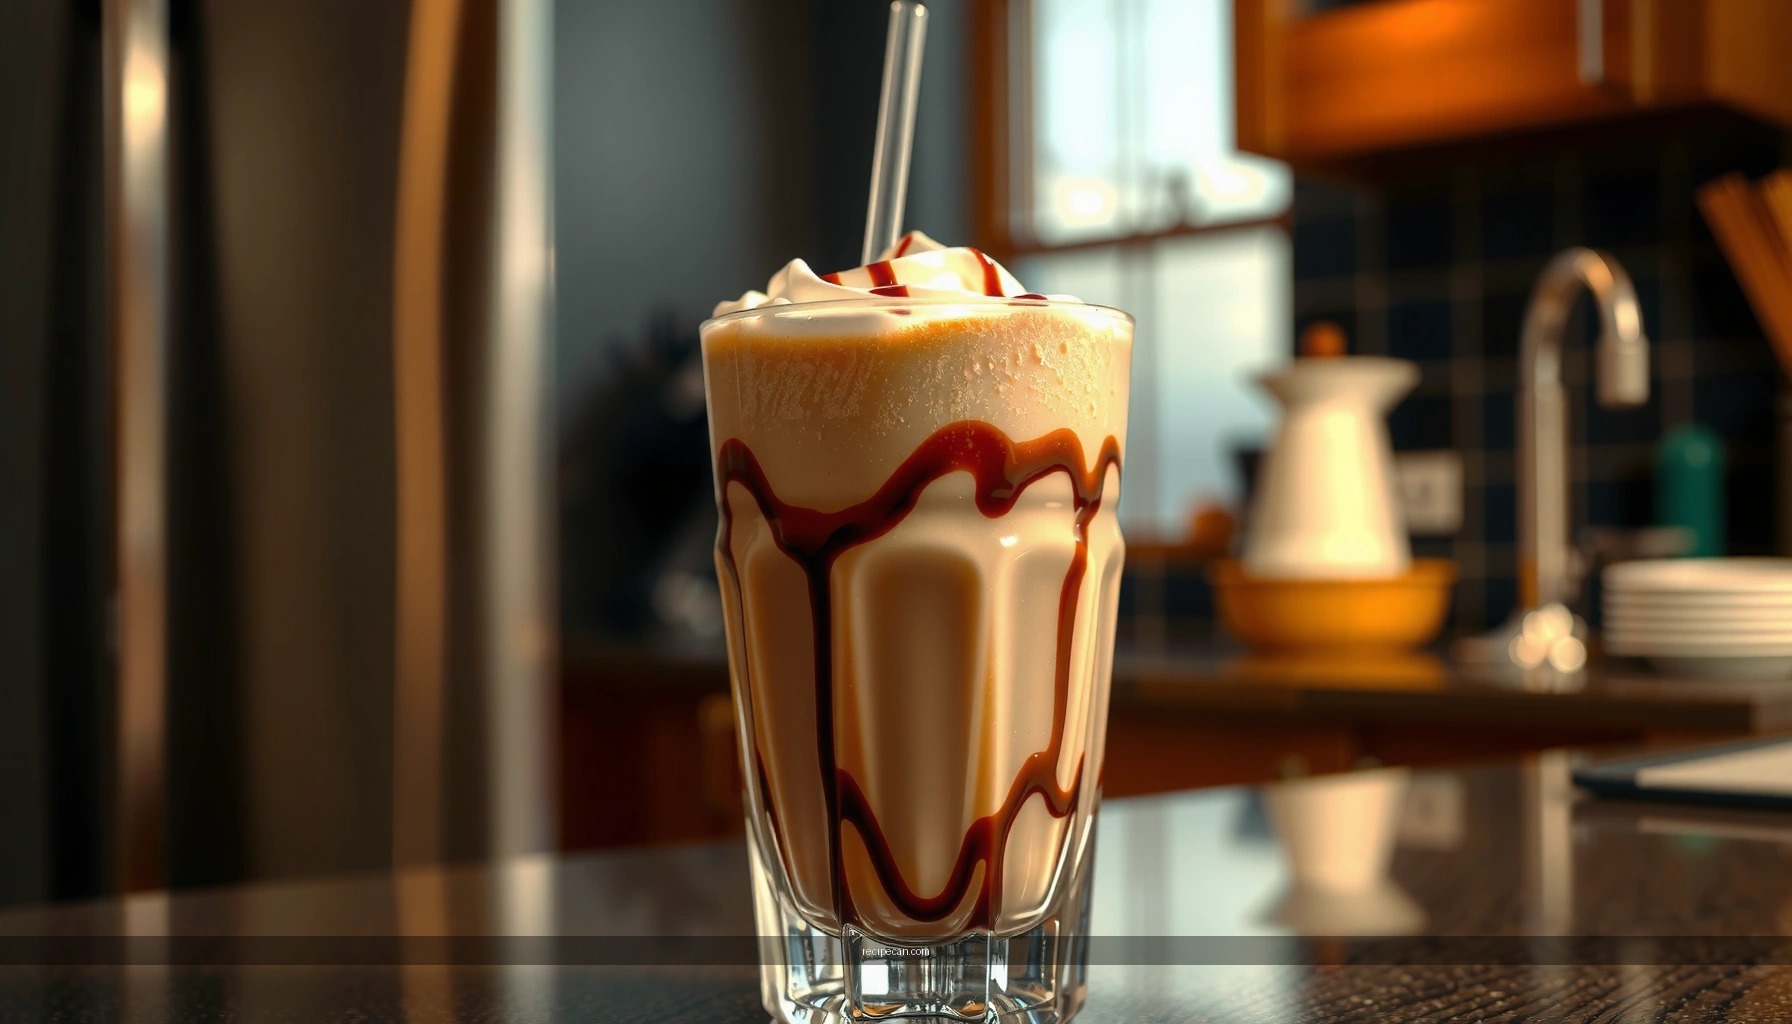
Serve Like a Slushie Milkshake
Serving affects perception: the same shake tastes different when it’s served cold, garnished correctly, and consumed promptly.
– Pour into cups and top with whipped cream or drizzle
Classic presentation increases “milkshake impact.” Add whipped cream, then drizzle chocolate syrup on top for a restaurant-style finish. If you prefer a cleaner look, skip whipped cream and go straight for a syrup swirl.
– Add crushed ice or cocoa dust right before serving for best texture
Crushed ice reinforces the slush identity and improves the sensory experience (cooling + aroma). A dusting of cocoa powder makes it look more premium—and it also provides subtle extra chocolate flavor as you drink.
Serving timing: Drink immediately for maximum thickness. Even the best Ninja slushie will gradually thin as ice melts—especially if the cup sits at room temperature.
Spoon it, sip it, and enjoy—this Ninja slushie chocolate milkshake comes out thick and chocolatey when you blend cold ingredients with the right ice ratio. Try the base recipe first, then adjust sweetness and chocolate intensity to match your taste—make one tonight and tweak it until it’s perfect.
In conclusion, the thick, creamy quality of a Ninja slushie chocolate milkshake is driven by three controllable variables: a solid chocolate milk-to-ice ratio, a pulse-first blending method that prevents over-warming, and smart add-ins (cocoa, syrup, vanilla, and a pinch of salt) that amplify chocolate flavor. Once you nail the texture target—thin slush, classic spoonable, or extra thick—you can iterate quickly by adjusting ice, adding small milk splashes for recovery, and finishing with the right toppings for maximum “slushie milkshake” appeal.
References
- Google Scholar Google Scholar
https://scholar.google.com/scholar?q=ninja+slushie+chocolate+milkshake+recipe - Google Scholar Google Scholar
https://scholar.google.com/scholar?q=milkshake+frozen+beverage+composition+blending - Google Scholar Google Scholar
https://scholar.google.com/scholar?q=slushie+chocolate+milk+frozen+drink+technique - Milkshake
https://en.wikipedia.org/wiki/Milkshake - Chocolate milk
https://en.wikipedia.org/wiki/Chocolate_milk - https://en.wikipedia.org/wiki/Slush_(drink
https://en.wikipedia.org/wiki/Slush_(drink - https://www.britannica.com/topic/milkshake
https://www.britannica.com/topic/milkshake - https://www.fda.gov/food/buy-store-serve-safe-food/food-safety-basics-milk-and-eggs
https://www.fda.gov/food/buy-store-serve-safe-food/food-safety-basics-milk-and-eggs - https://www.fsis.usda.gov/food-safety/safe-food-handling-and-preparation/food-safety-basics/milk-eggs
https://www.fsis.usda.gov/food-safety/safe-food-handling-and-preparation/food-safety-basics/milk-eggs - https://pubmed.ncbi.nlm.nih.gov/?term=milkshake
https://pubmed.ncbi.nlm.nih.gov/?term=milkshake