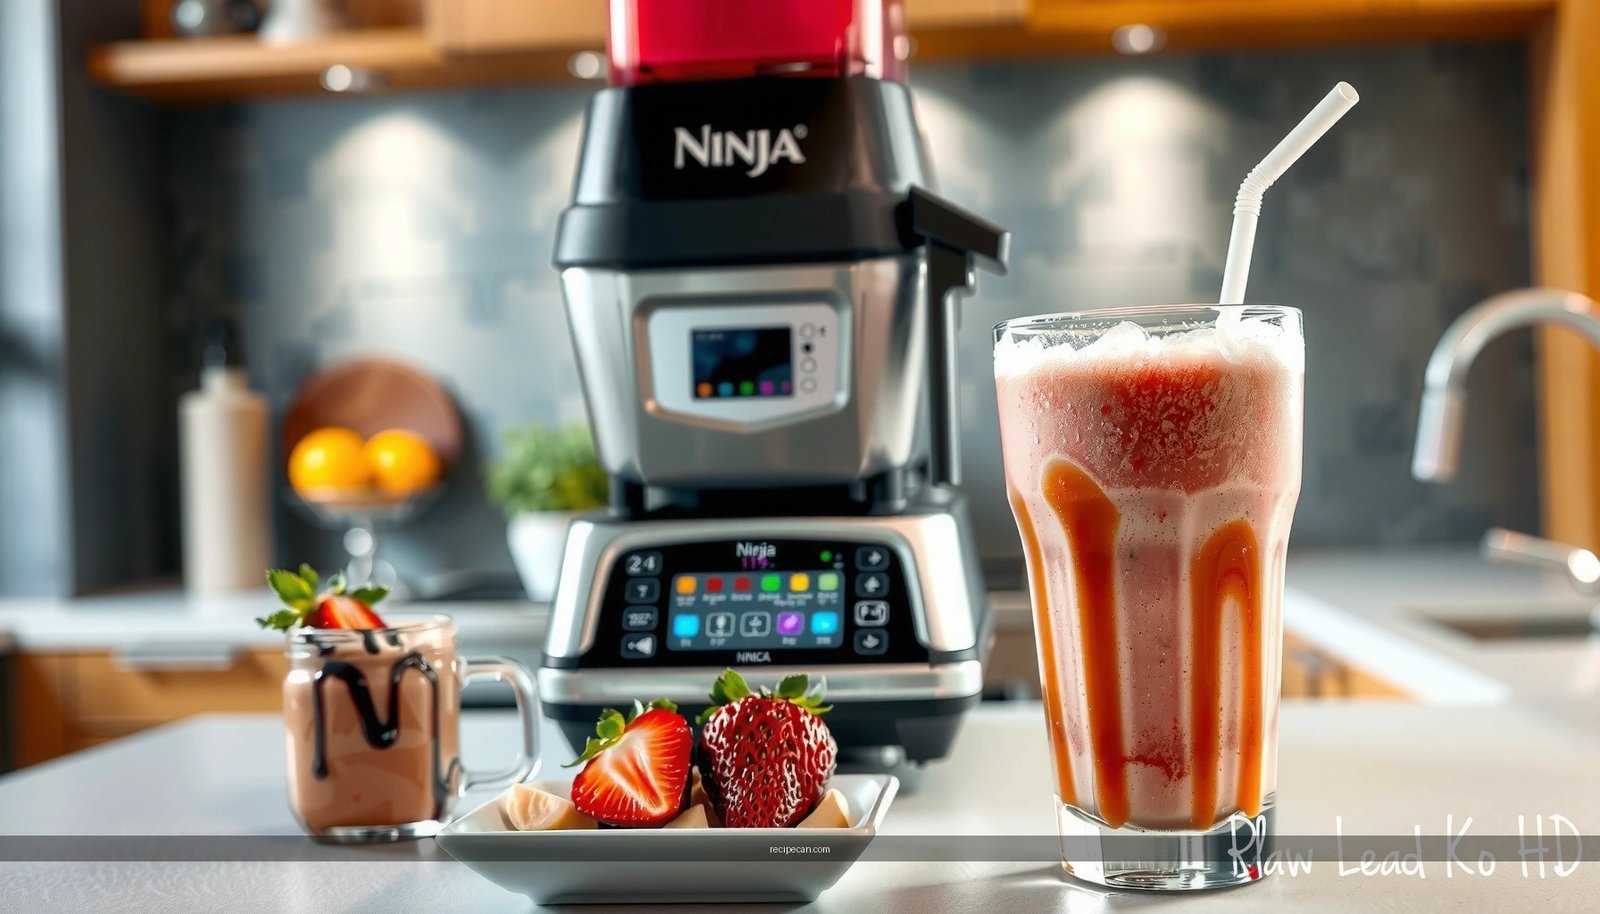
Find the best milkshake recipes for a Ninja Slushie machine when you want thick, scoopable shakes with zero grit. These recipes win specifically for consistent texture—using the right ratios of milk, sweetener, and blended mix-ins to keep each batch smooth from first pour to last. If your goal is a restaurant-style milkshake at home, this is the fastest path to repeatable results.
Make creamy, blended milkshakes in your Ninja Slushie machine by starting with the right cold base (milk and/or ice cream) and adding flavor ingredients gradually to maintain a thick, smooth texture. Below are ready-to-follow milkshake recipes plus practical, texture-focused tips so you can dial in sweetness and thickness the way a great milkshake shop does—without overworking your machine.
Best Milkshake Base for Ninja Slushie Results
A Ninja Slushie machine excels when your ingredients create enough cold volume to blend without becoming watery. For consistent results, think in terms of base ratio (how much liquid vs. solids), temperature (cold ingredients blend thicker), and fat/protein balance (which impacts creaminess and mouthfeel).
– Use cold milk (or half milk/half cream) for a thick, smooth blend
Start with very cold milk to avoid thinning from early heat buildup. If you want a thicker, more “classic” mouthfeel, replace part of the milk with heavy cream. Cream increases fat content, which helps stabilize the emulsion so your milkshake tastes smooth rather than icy.
– Choose ice cream or frozen yogurt to replace some or all of the ice
If your Ninja Slushie recipes include ice, use it strategically. Ice can dilute texture when it melts during blending. Instead, let ice cream or frozen yogurt do the heavy lifting for structure. A practical approach is: use some ice only if your base is too soft, otherwise rely on frozen dairy for thickness.
– Add sweeteners carefully to avoid an overly thin or overly sugary shake
Sweeteners dissolve into liquid quickly and can shift consistency. Liquid sweeteners (like syrups) tend to thin more than solid sweeteners. If your shake needs more sweetness, add it in small increments, then blend briefly to confirm before continuing.
To make this concrete, here’s a quick reference for typical “base behavior” in Ninja Slushie-style blending—helpful when you’re troubleshooting why a milkshake turned out too thin or too thick.
Milkshake Base Choices: Expected Thickness & Sweetness Impact
| # | Milkshake Base Component | Typical Blend Thickness (1–5) | Sweetness Lift (1–5) | Consistency Risk |
|---|---|---|---|---|
| 1 | Cold whole milk (no cream) | 3 | 2 | Low |
| 2 | Half milk / half heavy cream | 4 | 2 | Very Low |
| 3 | Vanilla ice cream (dominant base) | 5 | 3 | Very Low |
| 4 | Frozen yogurt (some milk added) | 4 | 3 | Medium |
| 5 | Ice + milk (ice dominant) | 2 | 1 | High |
| 6 | Greek yogurt (2–4 oz) + milk | 4 | 1 | Low |
| 7 | Milk + protein shake powder (small amount) | 3 | 2 | Medium |
Classic Vanilla Milkshake Recipes (Easy and Reliable)
If you want a dependable starting point for Ninja Slushie milkshake recipes, vanilla is the benchmark. It highlights how well your machine handles emulsification and how balanced your sweetness feels.
Recipe: Classic Vanilla “Shop-Style” (1 serving)
– 2 cups vanilla ice cream (or frozen vanilla custard)
– 1/2 cup cold whole milk
– 1/2 tsp vanilla extract
– Pinch of salt (yes—salt amplifies vanilla perception)
– Optional: 1–2 tbsp whipped cream for blending or topping
Method (texture-first)
1. Add milk first to help blades move efficiently.
2. Add ice cream in chunks for faster blending.
3. Blend in short pulses (10–20 seconds each) until thick and uniform.
4. Stir, then blend briefly again if needed. Over-blending can warm the mixture and thin it.
Flavor calibration tips
– If it’s too thick: add 1 tbsp milk at a time, pulse 5–10 seconds, and reassess.
– If it’s not sweet enough: add 1–2 tsp vanilla syrup or sugar, blend briefly, then taste.
– Add a splash of vanilla extract and a pinch of salt to boost flavor
Vanilla extract can be strong—start small. The pinch of salt is minimal but crucial; it makes the shake taste fuller without “salty” notes.
– Top with whipped cream and a vanilla wafer or cookie crumble
Treat toppings separately. Keep blending for the base only; add wafer/cookie crumble at serving so you get texture instead of grittiness.
Chocolate Milkshake Recipes for Thick, Chocolatey Swirls
Chocolate shakes can easily go from rich to chalky if you use powdered cocoa aggressively or blend too long. The goal is fat + cocoa + controlled sweetness to maintain a velvety, spoon-coating texture.
Recipe: Thick Chocolate Milkshake with Optional Swirl (1 serving)
– 2 cups chocolate ice cream
– 1/3–1/2 cup cold milk (start with 1/3 cup)
– 1–2 tbsp cocoa powder (unsweetened), sifted if possible
– 1–2 tbsp chocolate syrup (optional; add gradually)
– Optional: 1/4 cup chocolate chips
Method
1. Blend chocolate ice cream with milk until smooth.
2. Add cocoa powder and blend briefly until incorporated.
3. If using chocolate chips, pulse last for swirl pieces (don’t fully pulverize unless you want uniform chocolate).
– Use cocoa powder or chocolate syrup sparingly, then adjust sweetness
Cocoa powder adds bitterness and thickness; syrup adds sweetness and fluidity. Using both can be excellent, but start with cocoa first and add syrup only if your taste calls for it.
– Add chocolate chips and pulse briefly for swirl pieces
Short pulses protect chip texture and create that layered “swirl” effect people associate with premium milkshakes.
Troubleshooting
– Too thick/too dense? Add milk one tablespoon at a time.
– Too thin? Reduce added milk next time and increase ice-cream ratio, or add a few extra spoonfuls of ice cream before blending.
Fruit Milkshake Recipes for Fresh Flavor
Fruit milkshakes deliver bright flavor, but the texture challenge is balancing water content (from thawing fruit) and ice/thickness (from frozen dairy). For best Ninja Slushie results, use frozen fruit and blend until smooth.
Recipe: Strawberry Milkshake (1 serving)
– 2 cups vanilla ice cream or frozen yogurt
– 1 cup frozen strawberries
– 1/3–1/2 cup cold milk (start with 1/3 cup)
– Optional: 1 tbsp honey or sugar if strawberries taste tart
Method
1. Blend frozen strawberries with milk first (short pulses) to break up ice.
2. Add ice cream/frozen yogurt.
3. Blend until glossy and thick. For ultra-smooth texture, continue blending until no fruit flecks remain.
– Balance tart fruit with a little extra sweetener if needed
Tartness can be pleasant, but an overly sour shake usually signals you need a small sweetener adjustment—not more fruit. Add honey/sugar 1 tsp at a time.
– Blend until smooth, then add fruit chunks as a final pulse (optional)
If you want a thicker, “farm stand” style shake, reserve a few spoonfuls of fruit and pulse them in at the end so you get visible chunks without turning the base watery.
Commercial-quality result tip
If your fruit is very juicy (like mango), keep the fruit ratio modest and lean on ice cream/frozen yogurt to maintain consistency.
Cookies, Candy, and Treat-Inspired Milkshakes
Treat-based milkshakes are where Ninja Slushie machines can really shine—if you respect texture physics. Candy, cookies, and wafer pieces can become gritty if fully pulverized, especially if they contain hard sugar crystals.
Recipe: Cookies & Cream (Oreo-style) (1 serving)
– 2 cups vanilla ice cream
– 1/2 cup cold milk (start at 1/3 cup if cookies are very fine)
– 6–8 Oreo cookies, crushed (not blended fully)
– Optional: 1 tbsp caramel sauce (drizzle on top or blend very briefly)
Method
1. Blend ice cream and milk until thick and uniform.
2. Add crushed cookies and pulse just enough to distribute. (You want specks/chunks, not powder.)
– Fold in crushed cookies/candy after blending for better texture
Folding/pulsing after blending prevents over-processing. This is especially important for cookies with cream centers and for brittle candies.
– Start with small amounts of mix-ins to keep the drink from turning gritty
A little cookie flavor goes a long way. If you add too much, the shake’s liquid-to-solids ratio shifts and you’ll lose the smooth, pourable feel.
– Try peanut butter, Oreo, or caramel sauce for crowd-pleasing variations
Peanut butter tends to thicken naturally—use less milk and add in small spoonfuls. Caramel sauce is sweet and fluid—measure carefully to avoid thinning.
Scaling guidance for groups
For parties, make two base batches (vanilla and chocolate) then split into flavors. This controls texture consistency and speeds service.
Ninja Slushie Machine Tips for Perfect Texture Every Time
Even the best Ninja Slushie milkshake recipe can fail if blending strategy is off. These operational tactics are what differentiate “good” from “consistently great.”
– Freeze ingredients and use short blending cycles to prevent overheating
Cold ingredients blend thicker, and short cycles help prevent warming. If your machine has a pulse option, use it. Think “pulse, check, pulse again” rather than one long blend.
– Add liquid a little at a time to avoid going too thin
Texture is a balancing act. If it’s too thick, add milk by tablespoon, not by “splash.” Once a shake thins, you can’t easily reverse it without adding more frozen base.
– Serve immediately for the thickest slushie-style milkshake consistency
Milkshakes naturally settle as ice crystals and fat separate. For the thickest, most spoon-coating texture, pour and serve right after blending.
Pro workflow (fast and repeatable)
1. Pre-chill milk and measure ingredients.
2. Blend base (milk + ice cream/yogurt) to a smooth foundation.
3. Add flavor components gradually (cocoa, syrup, extracts).
4. Add mix-ins last using pulses.
5. Serve immediately.
Make your next dessert drink a win by starting with the right milkshake base, following the recipe combos above, and adjusting thickness and sweetness in small steps. Pick one classic and one fun flavor (cookies/candy or fruit), then run your Ninja Slushie machine until you get your ideal texture—perfect, creamy, and ready to enjoy.
Milkshakes are all about control: choose a cold, fat-forward base, add flavor gradually, and blend in short cycles to preserve thickness and smoothness. Use vanilla for a reliable benchmark, chocolate for rich depth, fruit for bright freshness, and cookies/candy for texture-driven treats—then fine-tune with careful liquid additions and immediate serving for consistently professional results.
References
- Google Scholar Google Scholar
https://scholar.google.com/scholar?q=milkshake+recipe+blender+frozen+beverage - Google Scholar Google Scholar
https://scholar.google.com/scholar?q=frozen+drink+ice+crystal+formation+processing - Google Scholar Google Scholar
https://scholar.google.com/scholar?q=frozen+dairy+dessert+mixing+overrun+texture+study - https://pubmed.ncbi.nlm.nih.gov/?term=milkshake
https://pubmed.ncbi.nlm.nih.gov/?term=milkshake - https://pubmed.ncbi.nlm.nih.gov/?term=frozen+dairy+dessert+ice+crystals+texture
https://pubmed.ncbi.nlm.nih.gov/?term=frozen+dairy+dessert+ice+crystals+texture - Milkshake
https://en.wikipedia.org/wiki/Milkshake - Smoothie
https://en.wikipedia.org/wiki/Smoothie - https://en.wikipedia.org/wiki/Slush_(drink
https://en.wikipedia.org/wiki/Slush_(drink - https://www.britannica.com/topic/milkshake
https://www.britannica.com/topic/milkshake - https://www.fda.gov/food/buy-store-serve-safe-food/pasteurized-milk-and-milk-products
https://www.fda.gov/food/buy-store-serve-safe-food/pasteurized-milk-and-milk-products


