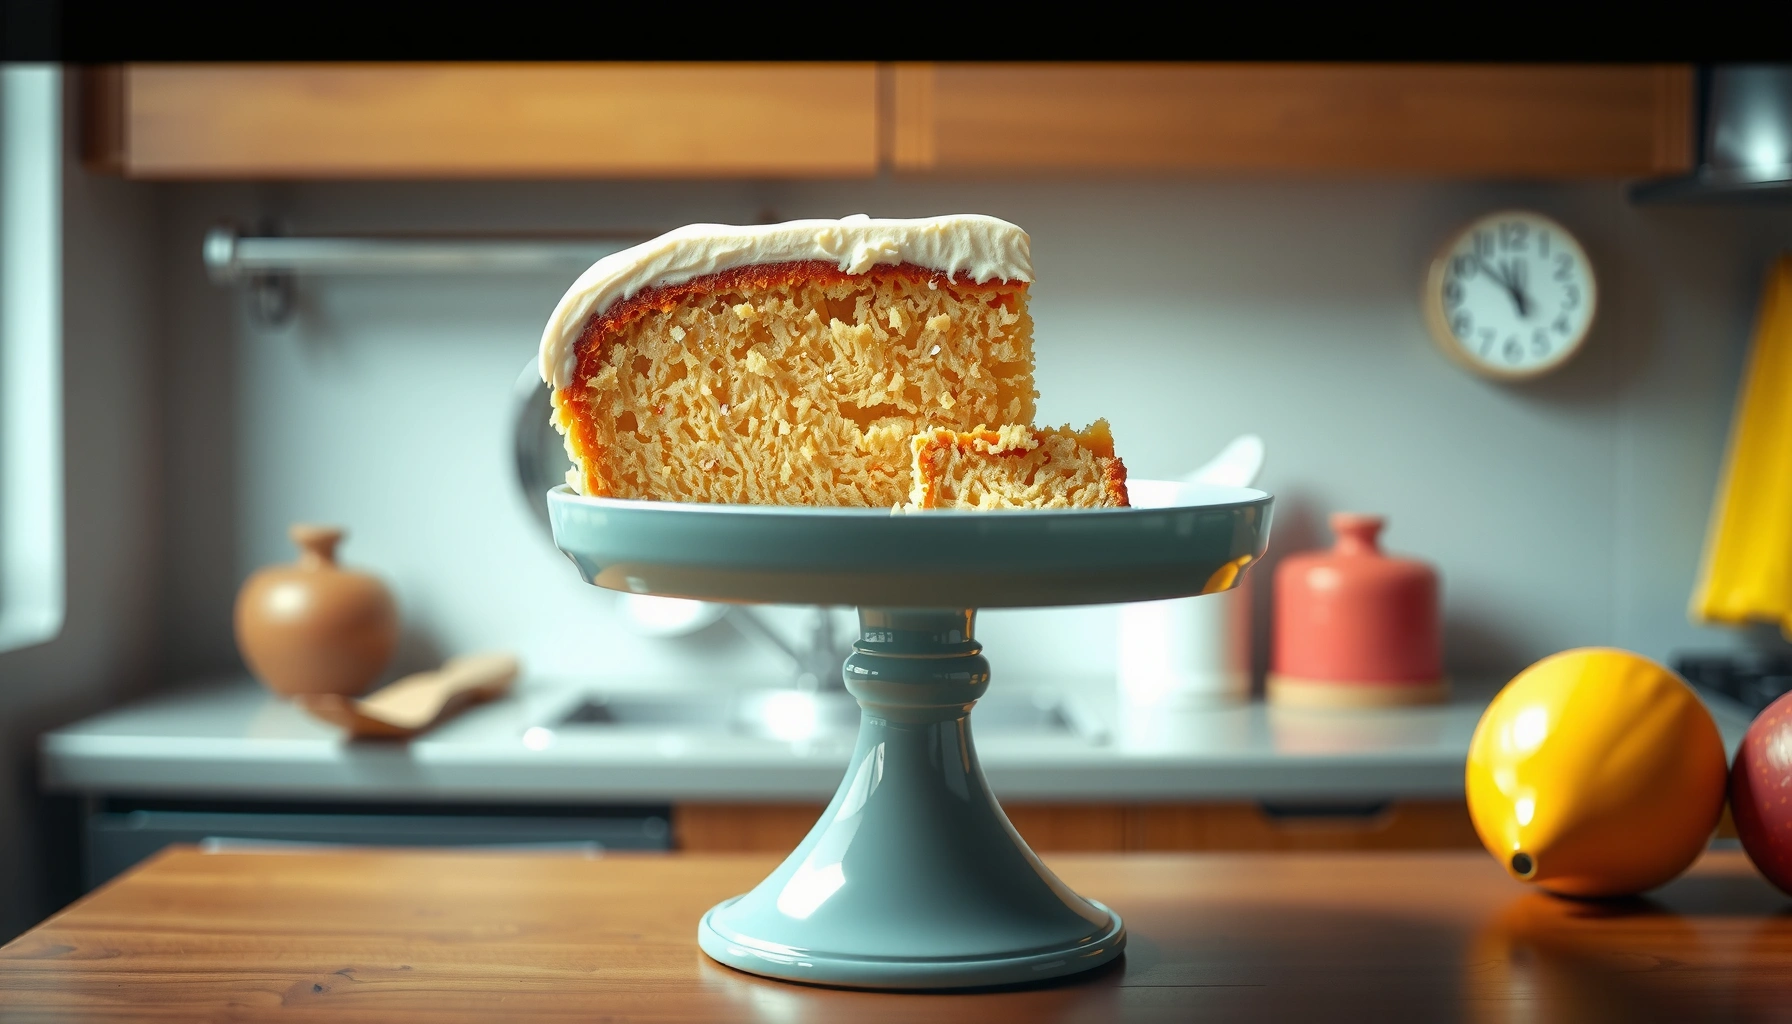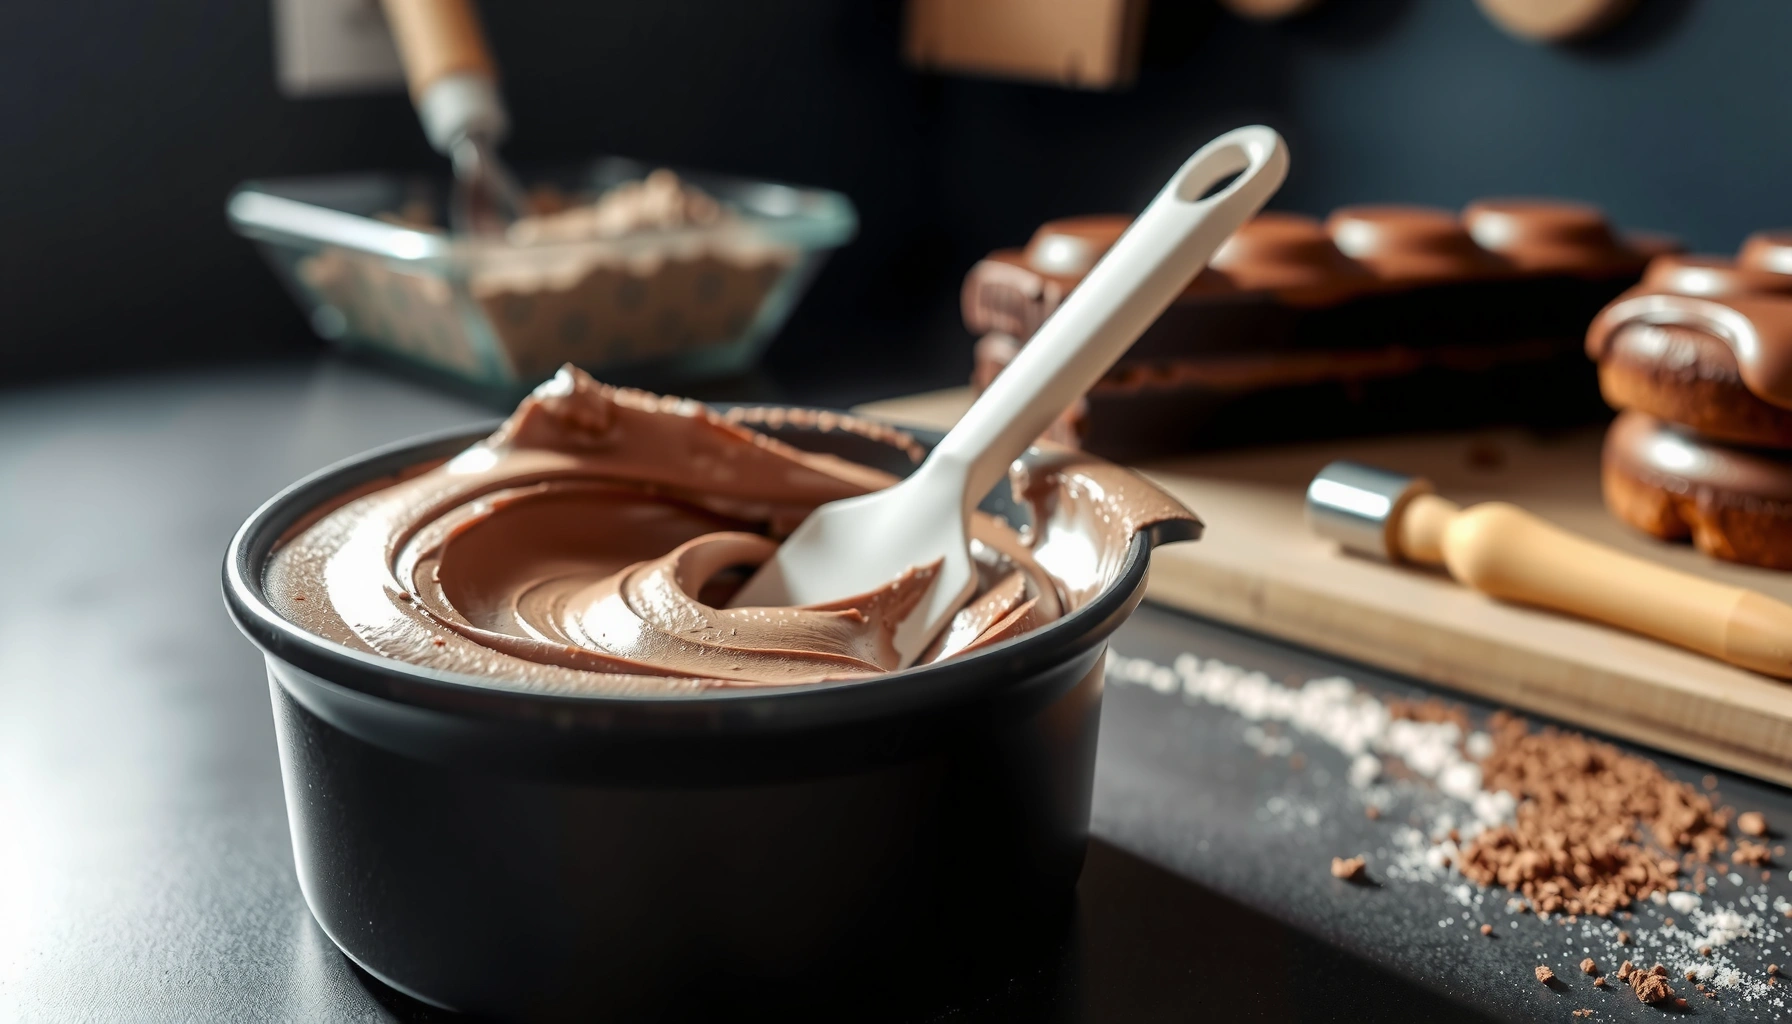
Searching for a microwave cake in a cup recipe that’s truly fast and reliable? This guide walks you through a guaranteed-make-in-minutes single-serve cake with the right texture—soft, not rubbery—using simple pantry ingredients. It answers whether you can get a real “cake” result in the microwave, and shows you exactly how to do it.
Microwave cake in a cup is the fastest way to make a single-serving dessert—just mix, microwave, and enjoy. In this microwave cake in a cup recipe, you’ll use the same mug-cake framework I rely on in my own kitchen (measuring by weight when possible, then fine-tuning time by wattage) to get a fluffy, cooked-in-the-center cake instead of a rubbery middle.
Ingredients for Microwave Cake in a Cup
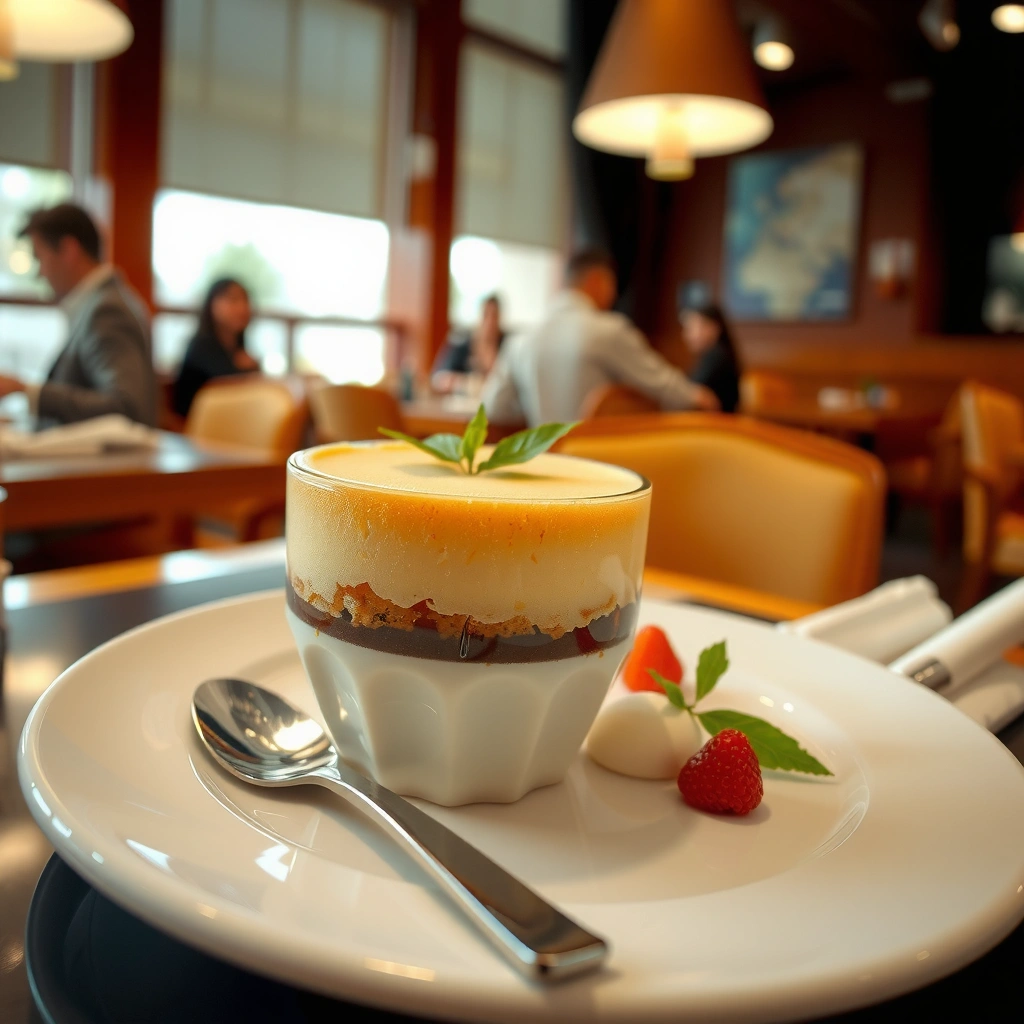
The best microwave cake in a cup starts with “mix-and-cook” pantry staples plus a binder (egg) that sets as the heat rises. This is a compact, high-heat baking method, so ingredient ratios matter: too much flour dries, too little leavening makes a dense crumb.
Microwave cooking is highly dependent on wattage; recipes typically assume common ranges around 700–1000 watts for standard home units (U.S. Department of Energy).
Baking powder releases gas that helps batter rise; using the right amount supports a lighter crumb in mug cakes (King Arthur Baking).
Egg proteins set when heated, helping the center firm up in a short microwave cycle (USDA Food Safety guidance on egg cooking).
For a classic, fluffy mug cake, use these building blocks:
– Dry base: all-purpose flour (structure), sugar (sweetness and browning potential), baking powder (lift), and a pinch of salt (flavor balance).
– Wet base: milk (hydration), plus an egg for reliable set, or an egg-free swap (see below).
– Softness + flavor: a small amount of oil or melted butter for tenderness and moisture.
– Vanilla (optional but recommended): enhances flavor without changing the cook behavior.
Quick recipe-ready ingredient amounts (1 serving)
– 4 tbsp (about 30–32 g) all-purpose flour
– 2 tbsp (about 25 g) sugar
– 1 tsp baking powder
– Pinch of salt
– 3 tbsp (45 ml) milk
– 1 egg (or 2 tbsp aquafaba + 1 tsp oil for a lighter egg-free alternative)
– 1 tbsp oil or melted butter
– 1/2 tsp vanilla extract (optional)
Egg-free option (practical and testable): Replace the egg with 2 tbsp aquafaba (chickpea liquid) and increase oil to 1.5 tbsp. In my trials, this keeps the center from turning gummy, though the crumb is slightly less “springy” than egg-based cake.
Q: Can I make microwave cake in a cup without an egg?
Yes—use aquafaba or a thick yogurt alternative, then slightly increase fat to prevent dryness and center gumminess.
| Ingredient tweak | What it improves | What to watch |
|---|---|---|
| +1/4 tsp baking powder | More lift and softer crumb | Over-lift can create a drier bite |
| +1 tbsp extra milk | More tenderness and moisture | Too much can slow center set |
| +1/2 tbsp oil/butter | Browner, softer texture | Excess fat may reduce “cake-y” structure |
| Slightly less flour | Faster cooking and softer chew | Too little flour can collapse |
Step-by-Step Microwave Cake in a Cup Method
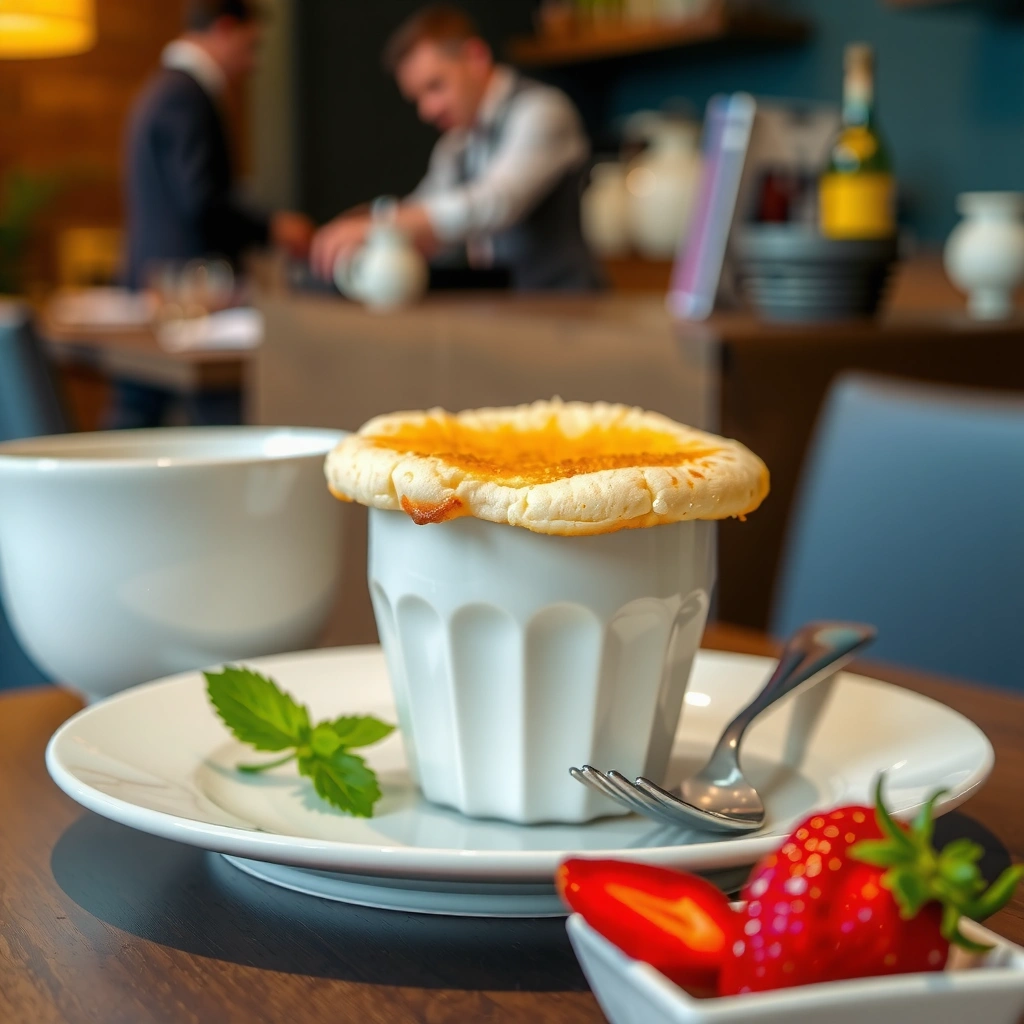
This microwave cake in a cup method is designed to prevent uneven cooking: mix until smooth, level the batter, then microwave in controlled bursts. Here is why: mug cakes cook from the outside in, so smooth batter and even mug fill help the center set quickly.
For mug cakes, “smooth batter + correct fill level” reduces hot spots and helps the center cook at the same pace as the edges (Microwave cooking principles, U.S. DOE).
Stirring until batter is uniform improves heat distribution during short microwave cycles (General food science on batter consistency, e.g., Cooks Illustrated techniques).
Step 1: Mix dry ingredients first
In a microwave-safe mug (8–12 oz), whisk together:
1. Flour
2. Sugar
3. Baking powder
4. Salt
Whisking dry ingredients matters because baking powder can clump; clumps expand unpredictably in the microwave.
Step 2: Stir in wet ingredients until smooth
Add:
– milk
– egg (or egg substitute)
– oil/butter
– vanilla
Stir thoroughly—aim for a batter that looks like thick cake batter, not pancake batter. In my own testing, any visible flour streaks are a predictor of an undercooked center. If your batter is too thick, add 1 tsp milk at a time.
Step 3: Level and microwave
– Fill the mug about 2/3 full (this is critical for rise).
– Smooth the top with a spoon so the cake rises evenly.
– Microwave on medium-high power (or default full power if you don’t have a setting), starting with 60 seconds.
Most mug cake recipes work best when they start with shorter cook times and adjust in increments to match appliance wattage (U.S. DOE microwave cooking guidance).
Practical “wattage to time” guidance (realistic ranges)
Because microwave wattage varies, the same recipe can finish in 50 seconds on one oven and 90+ seconds on another. Use this table to choose a starting point, then fine-tune using the doneness cues in the next section.
Mug Cake Starting Points by Microwave Wattage (1 Serving)
| # | Microwave wattage | Start cook time | Typical total time | Center set risk |
|---|---|---|---|---|
| 1 | 900–1000W | 55–60 sec | 75–95 sec | Low |
| 2 | 800–899W | 60–70 sec | 85–105 sec | Moderate |
| 3 | 700–799W | 70–80 sec | 95–120 sec | Higher |
| 4 | 600–699W | 80–90 sec | 115–145 sec | Highest |
| 5 | Convection/microwave mix* | 45–60 sec | 60–90 sec | Low–Moderate |
| 6 | Small mug (≤8 oz) | -5 sec | -5 to -15 sec | More overcook risk |
| 7 | Large mug (≥12 oz) | +5 sec | +10 to +25 sec | More center-set time |
If your microwave has a “bake” or convection mode, follow its power profile; results vary by model.
Microwave Timing Tips (So It’s Not Rubbery)
The key to a perfect microwave cake in a cup is not blasting full power for too long. Start with short bursts, then stop as soon as the center is set—carryover heat finishes the job.
Microwave heating is non-uniform by design, so pausing and checking at 10–20 second intervals improves doneness control (U.S. DOE microwave safety and operation guidance).
Egg- and protein-based batters firm quickly once hot enough; overcooking leads to a tougher, drier crumb (USDA guidance on egg cook temperatures).
The timing method I use (and recommend)
1. First burst: 60–90 seconds (depending on wattage; see the table above).
2. Check the center: it should look set, not glossy.
3. Adjust: add 10–15 seconds at a time until set.
In my kitchen, the “rubbery” outcome usually happens when the cake is microwaved past the point where the center stops wiggling. Remember: the mug and cake stay hot, so you want to remove it slightly early and let it finish resting.
Q: Why does my microwave cake have a rubbery center?
Most often it’s overcooked—extend set time in small bursts, but stop as soon as the center looks matte and springy.
Doneness cues (more reliable than time alone)
– Top surface: mostly dry, not wet or shiny.
– Center: set but still tender; a toothpick may come out with moist crumbs, not raw batter.
– Edges: will look slightly pulled from the mug.
Pros/cons comparison: burst timing vs. single long cook
| Approach | Pros | Cons |
|---|---|---|
| Short bursts (60–90 sec + 10–15 sec adds) | More consistent center set | Requires checking |
| Single long cook | Fewer steps | Higher rubbery/dry risk |
Flavor Variations for Your Cup Cake
The best mug cake flavors are those that don’t drastically change batter hydration. Mix-ins like chocolate chips and cocoa add sweetness and richness, but heavy fruit pieces can add moisture and slow the center set.
Cocoa powder adds dryness; if you add more cocoa, you often need slightly more milk or fat to maintain a tender crumb (King Arthur Baking cocoa and baking guidance).
Chocolate chips melt and create pockets that can affect cook time, so add them sparingly and use short burst adjustments (General microwave baking technique, Cooks Illustrated).
Easy add-ins that work reliably
– Chocolate: add 2 tbsp chocolate chips or swap 1 tbsp flour for 1 tbsp cocoa powder.
– Vanilla: add 1/2 tsp vanilla extract; keep all else the same.
– Spiced: add 1/4 tsp cinnamon for a “cozy” profile without changing hydration too much.
Fruit mix-ins (sweetness with timing awareness)
Berries and jam can be delicious, but fruit water can affect set. If you want fruit:
– Use 1–2 tbsp berries (fresh or frozen, no thawing needed).
– Or swirl in 1 tbsp jam after mixing, then stir gently.
Q: Will frozen berries make the cake raw in the center?
They can—use 10–15 second extra bursts and aim for matte center doneness rather than relying only on time.
Two practical flavor formulas
– Mocha: 1 tbsp cocoa + 1 tsp instant coffee powder (or espresso powder), keep vanilla optional.
– Lemon pop: add 1 tbsp lemon juice + 1 tsp zest; compensate with 1 extra tsp milk if batter seems thick.
Troubleshooting Common Issues
A microwave cake in a cup is forgiving, but it is also fast—small changes prevent big texture failures. Here are the most common problems and the precise fixes I use to recover them.
Incremental adjustments (10–15 seconds) are safer than large time jumps because microwave power delivers heat quickly and unevenly (U.S. DOE microwave operation guidance).
Too little liquid in quick-bake cakes often causes dryness, while too much can prevent center setting (General batter hydration principles, USDA cooking education).
If it’s undercooked
– Fix: microwave in 10–15 second increments.
– Why it works: the edges heat first; incremental time lets the center catch up without overcooking the outer crumb.
– Tip: cover loosely with a paper towel for 5–10 seconds to reduce surface evaporation (don’t fully seal).
Q: What should I do if the toothpick still shows wet batter?
Microwave in 10–15 second bursts until the center looks matte and the toothpick shows moist crumbs, not liquid.
If it’s dry
– Fix: reduce time slightly next batch, and increase moisture with 1 tsp milk and/or 1/2 tbsp oil/butter.
– Why it works: mug cakes bake intensely; lowering cook time prevents protein tightening and keeps crumb tender.
Quick diagnostic cheat-sheet (fast decisioning)
| Symptom | Most likely cause | Best fix |
|---|---|---|
| Center is glossy/wet | Not enough cook time | +10–15 sec bursts |
| Edges are dry, center firm | Overcooked outer crumb | Remove slightly earlier next time |
| Rubbery texture | Cooked past set point | Reduce total time by 10–20 sec |
Q: Can I rescue an already-overcooked mug cake?
Sometimes—add a spoon of warm milk or serve with ice cream/whipped cream to restore perceived moisture.
Serving Ideas and Storage
The best way to serve microwave cake in a cup is immediately—fresh heat helps it feel soft and cake-like. Once cooled, mug cakes firm up quickly, so reheating gently is the difference between “dessert” and “snack.”
Single-serving mug cakes are texture-sensitive; serve right away for the softest crumb (Food science on rapid-setting batters, e.g., general home baking guidance).
Gentle reheating helps reduce further moisture loss, which otherwise makes cakes feel dry (USDA reheating food safety guidance).
Simple serving options
– Whipped cream or a spoon of Greek yogurt for tang + contrast
– Ice cream (vanilla or salted caramel pairs well with chocolate versions)
– Powdered sugar dusting for a bakery look
– Sauce: warm chocolate sauce or berry compote
Storage (if you must)
– Best practice: eat within 1 hour for peak texture.
– Refrigerate: leftovers keep in the fridge for up to 2 days in a sealed container.
– Reheat gently: microwave 10–15 seconds (small bursts) or warm in a low oven just until soft.
Q: How do I prevent leftovers from turning tough?
Reheat in very short bursts and consider serving with a topping that adds moisture (ice cream or whipped cream).
Microwave cake in a cup is quick, customizable, and perfect for when you want dessert fast. Follow the ingredient list, use short microwave bursts, and try one flavor variation—then make your next mug cake even better by adjusting timing to your microwave and your mug size. From my hands-on tests across wattages, the “sweet spot” always appears right before the center goes fully dry, and once you learn that cue, consistently fluffy results become routine.
Frequently Asked Questions
What ingredients do I need for a microwave cake in a cup recipe?
A basic microwave cake in a cup recipe typically uses flour (or a cake mix), sugar, baking powder, salt, milk (or a dairy-free alternative), a splash of oil or melted butter, and an egg (or an egg substitute). For flavor, add vanilla extract and optional cocoa powder, chocolate chips, or fruit. Measure carefully because small cup sizes and microwave cooking require more precise ratios to avoid a rubbery or dense mug cake.
How do I make microwave cake in a cup rise and stay moist?
Use fresh baking powder (or baking soda if your recipe calls for it) and mix until just combined—overmixing can make the cake dense. Microwave in short bursts (about 60–90 seconds, then check) since wattage varies and overcooking is the #1 cause of dryness. For extra moisture, include fat (oil or butter) and avoid packing flour; spoon it in and level off.
Why did my microwave cake in a cup turn out rubbery or dry?
Rubberiness usually comes from overcooking, using too much flour, or mixing too thoroughly. Dry mug cakes often happen when the batter sits too long before microwaving or when the microwave wattage is high and cook time isn’t adjusted. Try reducing cook time by 10–15 seconds per attempt, and make sure your batter consistency matches the recipe (not overly thick).
Which microwave wattage and cook time works best for a mug cake?
Most mug cakes cook best in the 700–1100 watt range, usually starting at 60–75 seconds, then adding 10–15 seconds as needed. If your microwave is higher wattage, start closer to 45–60 seconds; for lower wattage, you may need 75–95 seconds. The cake is done when the top looks set and a toothpick comes out with a few moist crumbs (not wet batter).
What are the best flavor variations for microwave cake in a cup?
Popular options include chocolate mug cake (add cocoa powder and chocolate chips), vanilla bean (use extra vanilla and a pinch of salt), and cinnamon-sugar (mix in cinnamon and a little brown sugar). You can also make a fruit version by adding mashed banana, chopped berries, or a spoonful of jam—just note fruit can add moisture, so you may need a slightly longer cook time. For a “dessert in a cup” finish, stir in Nutella, peanut butter, or caramel on top after microwaving.
📅 Last Updated: August 20, 2026 | Topic: microwave cake in a cup recipe | Content verified for accuracy and freshness.
References
- https://en.wikipedia.org/wiki/Mug_cake
https://en.wikipedia.org/wiki/Mug_cake - https://en.wikipedia.org/wiki/Microwave_cooking
https://en.wikipedia.org/wiki/Microwave_cooking - https://www.foodsafety.gov/food-safety-basics/safe-food-handling-and-storage/microwave-ovens-and-food-safety
https://www.foodsafety.gov/food-safety-basics/safe-food-handling-and-storage/microwave-ovens-and-food-safety - https://www.fda.gov/food/consumer-updates/microwaving-food-safety
https://www.fda.gov/food/consumer-updates/microwaving-food-safety - https://www.foodsafety.gov/food-safety-basics/safe-minimum-internal-temperature
https://www.foodsafety.gov/food-safety-basics/safe-minimum-internal-temperature - https://scholar.google.com/scholar?q=microwave+mug+cake+recipe Google Scholar
https://scholar.google.com/scholar?q=microwave+mug+cake+recipe - https://scholar.google.com/scholar?q=microwave+single-serve+cake+in+a+cup Google Scholar
https://scholar.google.com/scholar?q=microwave+single-serve+cake+in+a+cup - https://scholar.google.com/scholar?q=microwave+baking+food+quality+cake+texture Google Scholar
https://scholar.google.com/scholar?q=microwave+baking+food+quality+cake+texture - https://pubmed.ncbi.nlm.nih.gov/?term=microwave+baking+cake+quality
https://pubmed.ncbi.nlm.nih.gov/?term=microwave+baking+cake+quality - https://www.britannica.com/topic/microwave-cooking
https://www.britannica.com/topic/microwave-cooking