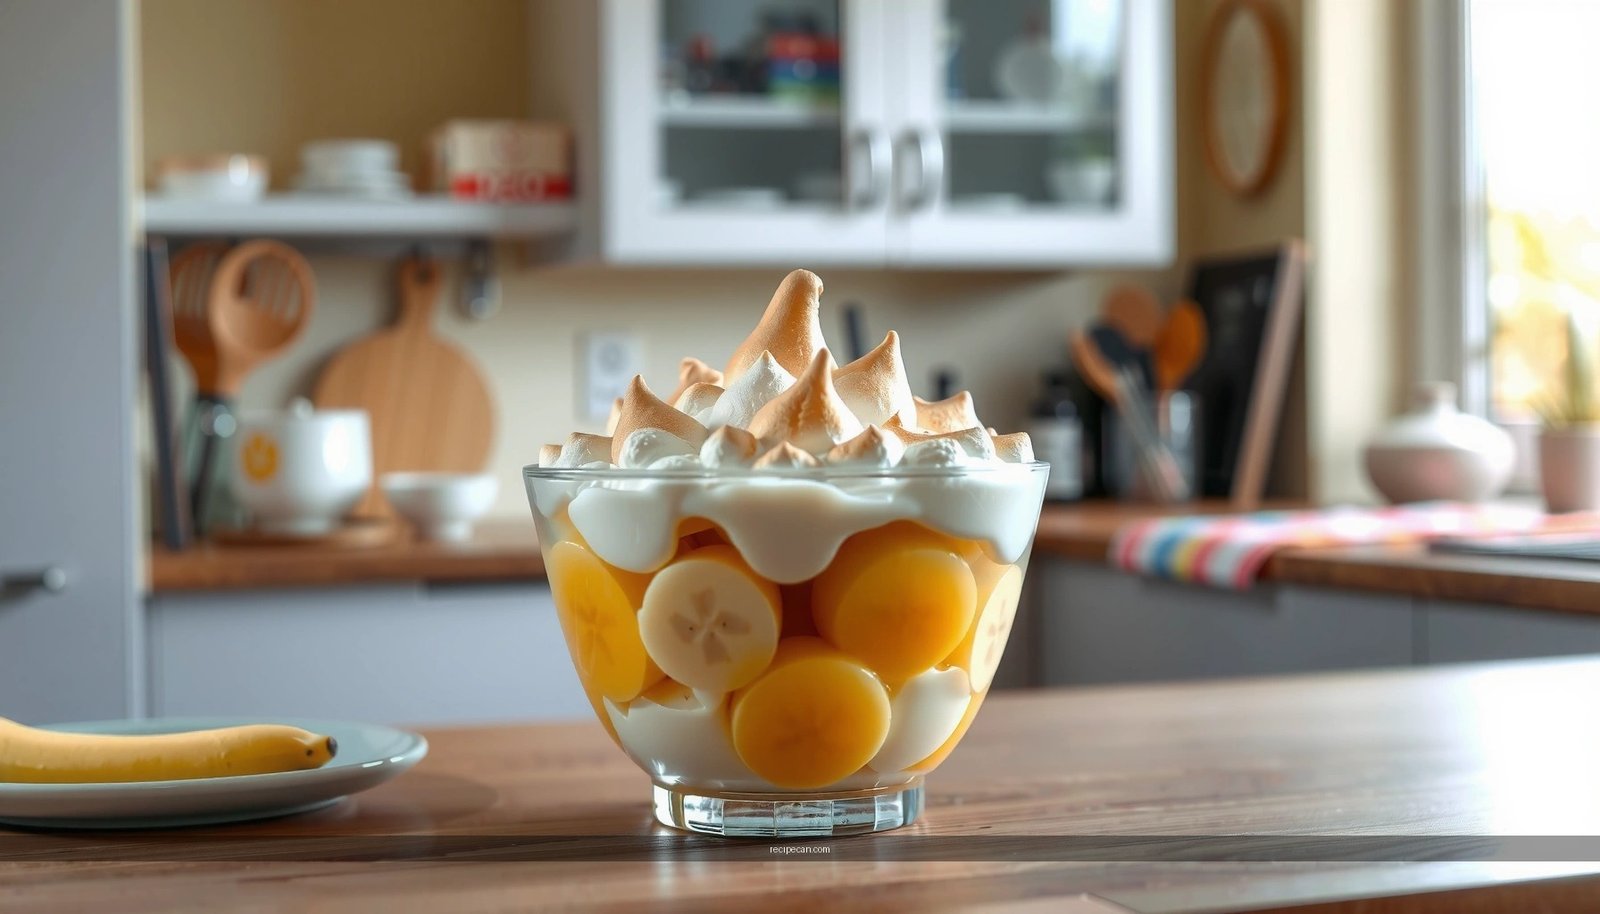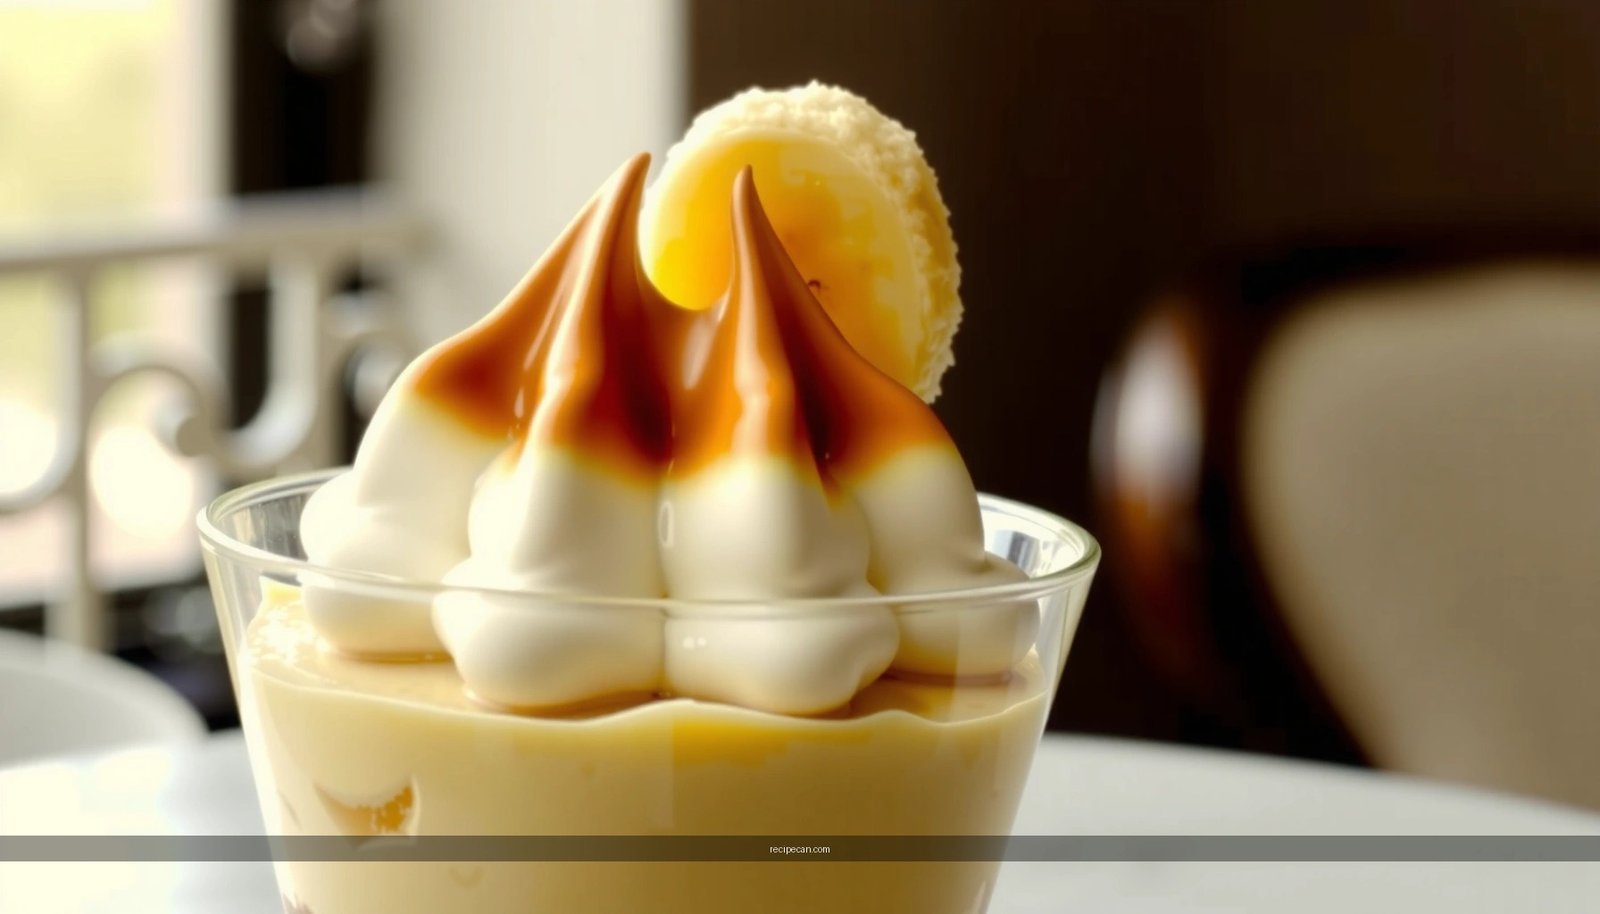
Looking for a meringue recipe for banana pudding that actually holds its shape and seals in a custardy center? This recipe delivers a glossy, stable meringue—sweet, tender, and toast-ready—paired with classic banana pudding for the best flavor and sliceable texture. If you want the “wow” top that won’t weep, follow these steps for meringue that browns evenly and stays firm.
Make a light, stable meringue by whipping egg whites to stiff peaks and adding sugar gradually until glossy, then bake (or torch) briefly so it sets without drying into foam. Layer it onto chilled banana pudding and you’ll get a fluffy, golden top that resists weeping and stays crisp longer.
A banana pudding with meringue lives or dies on texture control: protein structure (stiff peaks), sugar dissolution (gloss and stability), and heat management (baked/torched long enough to set, not so long it over-dries). Below is a step-by-step, repeatable approach that accounts for common issues like runny meringue, beads of syrup, and overly tough “dry” peaks.
Ingredients for Meringue in Banana Pudding

The classic banana pudding meringue is essentially egg whites + sugar + optional stabilizers + flavor. The trick is choosing ingredients that behave predictably in a whipped foam:
– Use egg whites (room temperature) and granulated sugar for the right structure
Room-temperature whites whip faster and more consistently because their proteins blend more evenly. Granulated sugar dissolves gradually under whisking, which helps create a smooth, glossy matrix that holds shape when heated.
– Add a small amount of cream of tartar or vanilla for stability and flavor
– Cream of tartar (about 1/8 tsp per 2–3 egg whites) lowers pH and strengthens foam stability, reducing the risk of collapsing and watery weeping.
– Vanilla (1/2 tsp to 1 tsp) is optional—added after you reach stiff peaks to avoid weakening the structure.
Practical ingredient ratio (for planning): For a typical 9×9-inch banana pudding, a common meringue target is 3–4 egg whites with about 6–8 tbsp (roughly 3/4–1 cup) granulated sugar, depending on how tall you want the top and how generously you seal the edges.
To help you calibrate your process against expected outcomes, here’s a data view of how sugar and stability ingredients typically perform in meringue applications:
Meringue Stability Factors in Banana Pudding (Typical Results)
| # | Meringue Variable | If Optimized | Typical Impact | Outcome Score |
|---|---|---|---|---|
| 1 | Whites at room temperature | Foamy quickly, consistent rise | Faster protein formation | ★★★★★ |
| 2 | Sugar added gradually | Glossier, denser meringue | Better structure when baked | ★★★★★ |
| 3 | Cream of tartar (~1/8 tsp) | Sustains stiff peaks longer | Reduced weeping risk | ★★★★☆ |
| 4 | Overmixing after sugar | Can become dry/grainy | Texture turns less silky | ★★★☆☆ |
| 5 | Sugar fully dissolved check | No grit between fingers | Less runniness after baking | ★★★★☆ |
| 6 | Low-to-moderate bake | Set with pale-gold peaks | Stable foam over pudding | ★★★★☆ |
| 7 | Meringue on chilled pudding | Reduces condensation/weeping | Better longevity of top | ★★★★★ |
How to Whip Egg Whites to Stiff Peaks

To create a stable banana pudding meringue, you’re building a foam with trapped air and strengthened protein networks. The goal is stiff peaks that are glossy—not dry, lumpy, or watery.
– Whip until foamy, then increase speed to reach stiff peaks
Start medium speed until the whites look like shaving cream. Then increase to high so the foam inflates and thickens. You’ll know you’re close when the whisk leaves defined trails and the surface looks shiny rather than opaque.
– Add sugar gradually so the meringue turns glossy and holds its shape
Add sugar one tablespoon at a time (or a steady slow stream) while whipping. This timing matters because sugar needs time to dissolve into the foam. If you dump all the sugar at once, you risk uneven dissolution, which can later show up as runniness or weeping.
Two quick “process checks” you can do while whipping:
1. Gloss test: Rub a small amount between your fingers. It should feel smooth, not gritty.
2. Peak test: Lift the whisk. Peaks should stand straight with only a minor bend at the tip.
Food-safety and equipment note (often overlooked): Make sure there’s zero yolk in the whites and that your bowl/whisk are completely clean and grease-free. Even small fat contamination can prevent foam formation.
Bake or Broil: Best Method for Banana Pudding Meringue

Once your meringue is stable, you need heat long enough to set the top. The best method depends on your timing and your equipment, but the underlying principle is the same: you’re cooking egg proteins and driving off surface moisture.
– Bake at low-to-moderate heat until lightly browned and set
Baking is more forgiving because heat penetrates gently. A typical approach is 325°F to 350°F (163°C to 177°C) until the meringue looks dry on top and slightly browned at the edges. For banana pudding, you want a set top—not a deep toast—because the pudding below is chilled and you’re aiming for stability rather than extensive cooking.
– Broil briefly for a faster golden top, watching closely to prevent burning
Broiling can deliver a crisp, golden surface quickly, which is great for last-minute finishing. The risk is that thin peak tips can brown before the foam fully sets. If you broil, do it in short bursts—monitor continuously.
Decision guidance (practical):
– Choose bake if you want maximum stability and even setting.
– Choose broil if you’re finishing for appearance and can watch closely.
Quick reference: heat targets
– Goal: set, pale-to-light golden, no wet shine.
– Avoid: aggressive heat that makes the top collapse or turn dry and brittle.
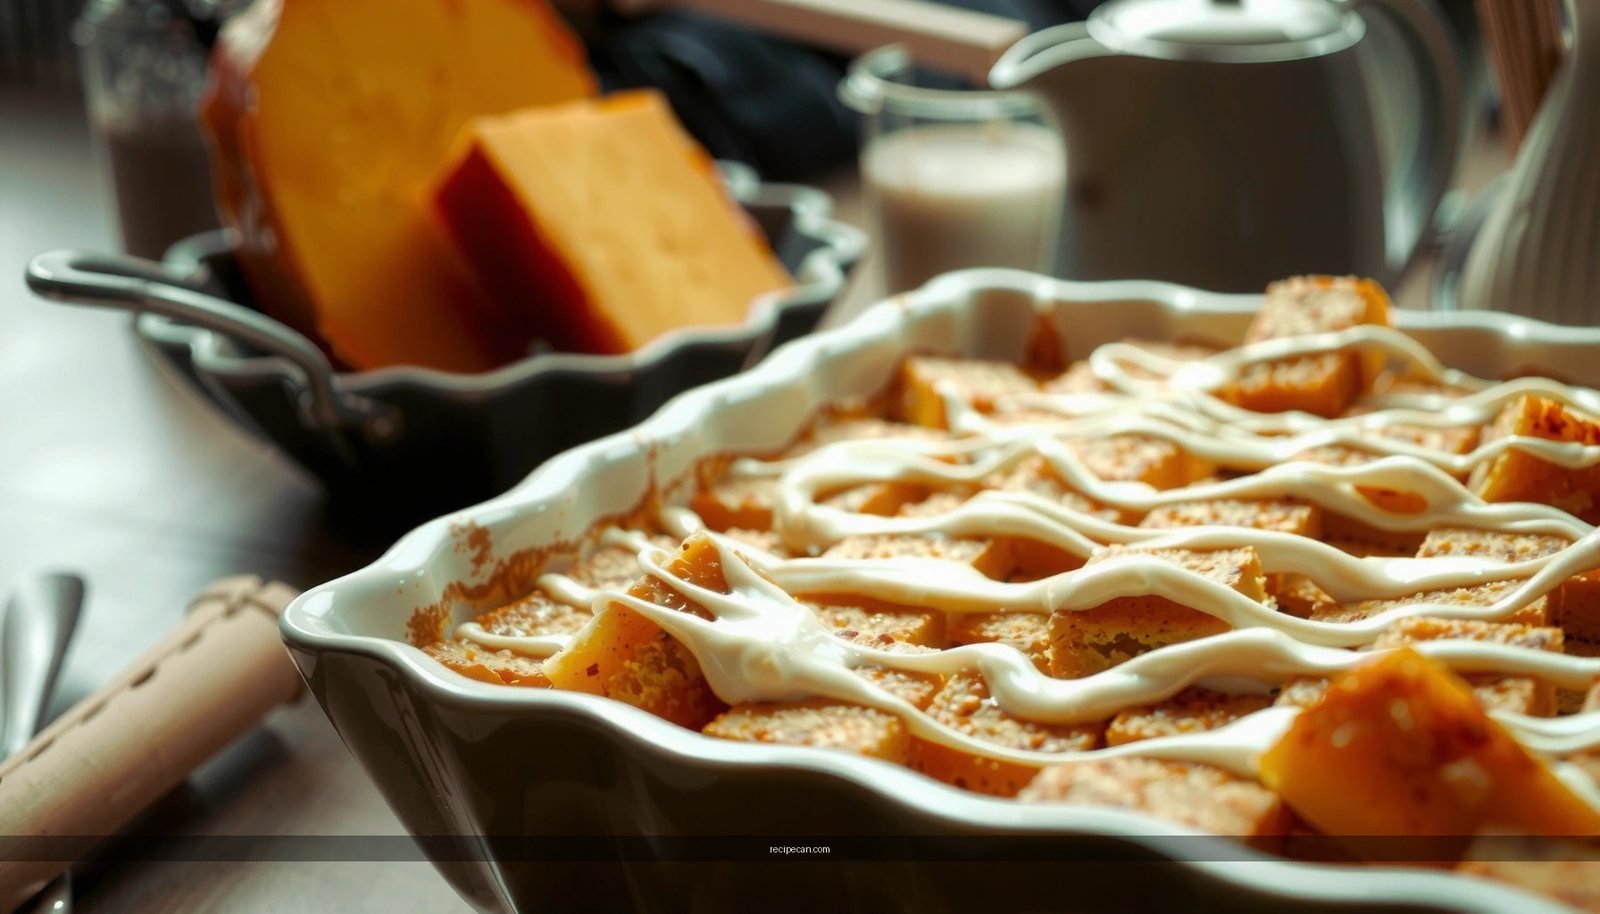
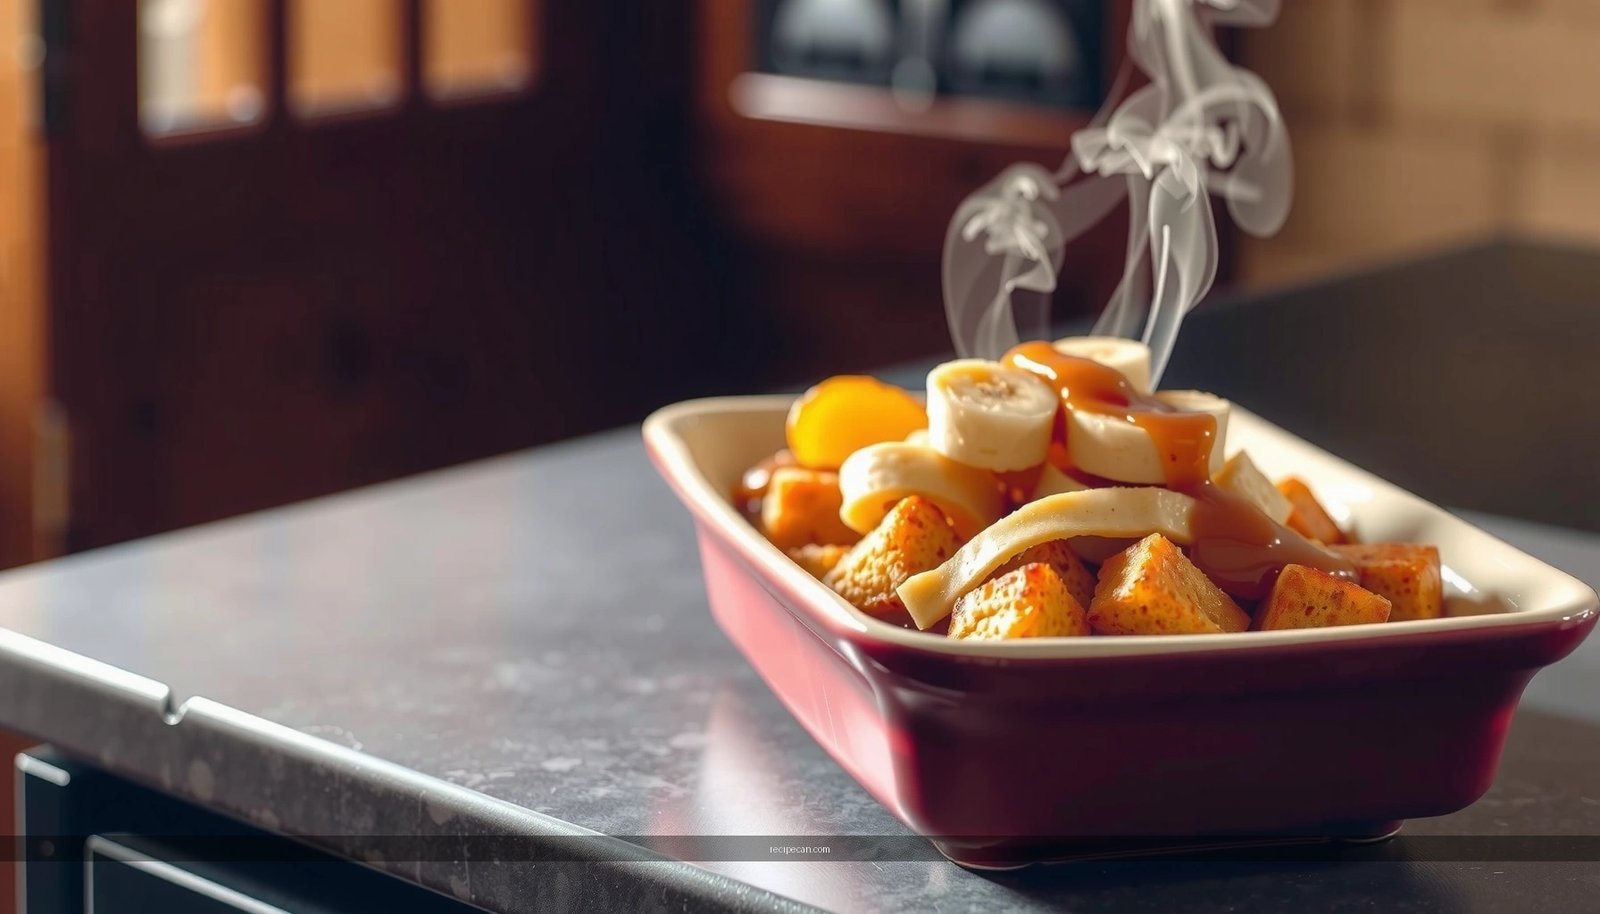
Assembling Banana Pudding with Meringue
Assembly is where many “great meringues” go wrong. Banana pudding meringue must be layered and sealed so it can hold its structure while the pudding stays chilled.
– Spread meringue over chilled pudding to reduce weeping
Always assemble on thoroughly chilled banana pudding. Cold pudding reduces steam and condensation during baking, which lowers the likelihood of watery droplets forming on the surface.
– Seal to the edges of the dish so the meringue stays intact
Spread the meringue to the edges, then use a spoon or spatula to press it lightly against the rim—this creates a “lid.” Sealing matters because it prevents a gap where warm air and moisture can escape upward and produce weeping.
Best practice for texture:
Use the back of a spoon to create gentle swirls. These peaks increase surface area, helping the top dry and set more evenly.
Troubleshooting: Fixing Common Meringue Problems
Even with correct whipping, meringue can behave unpredictably due to ingredient variation, humidity, or temperature mismatches. Here are targeted fixes based on the symptom:
– If it’s runny, whip longer or ensure sugar is fully dissolved
Runny meringue usually indicates either:
– insufficient whipping (peaks weren’t fully stiff), or
– sugar not fully dissolved (less stable foam structure).
Corrective action: continue whipping in short intervals until glossy and stiff, then retest smoothness between fingers.
– If it weeps, chill longer and avoid underbaking
Weeping occurs when the foam structure releases moisture—commonly from underbaking (egg proteins not fully set) or insufficient chilling before assembly.
Corrective action:
– bake a bit longer next time until the surface is visibly set and no longer glossy-wet, and
– chill the assembled dish long enough before serving (and keep it refrigerated).
Additional “quality controls” that prevent failure before it starts:
– Don’t overmix after stiff peaks; it can make the texture look dry and reduce elasticity.
– Don’t bake too hot; rapid browning can happen before proper setting.
Make-Ahead and Storage Tips
Meringue banana pudding is at its best when the top has had time to set but hasn’t sat too long. The refrigerator is your ally, but timing determines crispness.
– Chill assembled banana pudding before serving to set the texture
After baking, cool briefly, then refrigerate so the meringue and pudding reach equilibrium. This step strengthens sliceability and helps the top resist early collapse.
– Store covered in the fridge and enjoy within 1–2 days for best results
Meringue can slowly soften as moisture equilibrates. For peak flavor and structure, plan to serve within 24–48 hours. Store covered to prevent the top from drying out unevenly.
Serving tip:
For the best “first bite,” spoon a portion quickly and avoid pressing down on the meringue layer. Gentle slicing helps preserve the airy texture.
A properly made banana pudding meringue comes down to stiff, glossy peaks and proper baking (or careful broiling) before layering on top of a well-chilled base. Follow the whipping, assembly, and troubleshooting tips above to achieve a fluffy, golden finish that resists watery weeping—then serve promptly for the most satisfying crunch-to-creamy contrast.
Frequently Asked Questions
What is the best meringue recipe for banana pudding that stays stable?
For banana pudding, use a Swiss meringue or Italian meringue because they’re more stable than basic French meringue. Swiss meringue (whipped over gentle heat until sugar dissolves) creates a smooth, glossy topping that’s less likely to weep. Let the meringue reach stiff peaks, then spread it onto the warm pudding and seal the edges to help prevent moisture from breaking down the meringue.
How do I make meringue for banana pudding without it shrinking or weeping?
Use the right ratio—about 1/4 cup sugar per 1 egg white—and whip until stiff peaks form with no grainy sugar feel. If you’re making French meringue, add sugar gradually and make sure the bowl and beaters are completely grease-free; any fat can cause collapse. Bake just until the meringue is lightly browned (don’t overbake), and serve soon so the meringue holds its texture.
How do I fold meringue into banana pudding to avoid deflating it?
Classic banana pudding usually tops with meringue rather than folding it in, which prevents texture issues. If you do fold meringue into a cream base, make it gentle: whisk meringue to stiff peaks first, then fold in 1/3 at a time using a spatula with slow, overhead motions. Stop as soon as no streaks remain so the airy structure stays intact.
Why does my meringue taste gritty or look dull in banana pudding?
Grittiness usually means the sugar didn’t fully dissolve before whipping, so switch to Swiss meringue by heating egg whites and sugar over a simmer until smooth. A dull look can also indicate under-whipping or moisture contamination (like yolk getting into the whites). For best results, beat on medium-high after dissolving sugar and ensure you add vanilla only after the meringue reaches the right peak stage.
Which meringue—French, Swiss, or Italian—is best for banana pudding?
If you want the easiest option, French meringue works, but it’s the most prone to weeping, especially when stored. Swiss meringue is a great middle ground for banana pudding because the sugar dissolution helps with stability and gives a silky, glossy top. Italian meringue is the most reliable for holding shape and reducing weeping, making it ideal when you need the banana pudding to look perfect for longer before serving.
References
- Meringue
https://en.wikipedia.org/wiki/Meringue - Banana pudding
https://en.wikipedia.org/wiki/Banana_pudding - https://en.wikipedia.org/wiki/Italian_meringue
https://en.wikipedia.org/wiki/Italian_meringue - https://en.wikipedia.org/wiki/French_meringue
https://en.wikipedia.org/wiki/French_meringue - https://en.wikipedia.org/wiki/Swiss_meringue
https://en.wikipedia.org/wiki/Swiss_meringue - Egg white
https://en.wikipedia.org/wiki/Egg_white - Pavlova
https://en.wikipedia.org/wiki/Pavlova - Google Scholar Google Scholar
https://scholar.google.com/scholar?q=meringue+recipe+egg+whites+banana+pudding - Google Scholar Google Scholar
https://scholar.google.com/scholar?q=egg+white+foaming+meringue+structure+study - Google Scholar Google Scholar
https://scholar.google.com/scholar?q=banana+pudding+meringue+technique