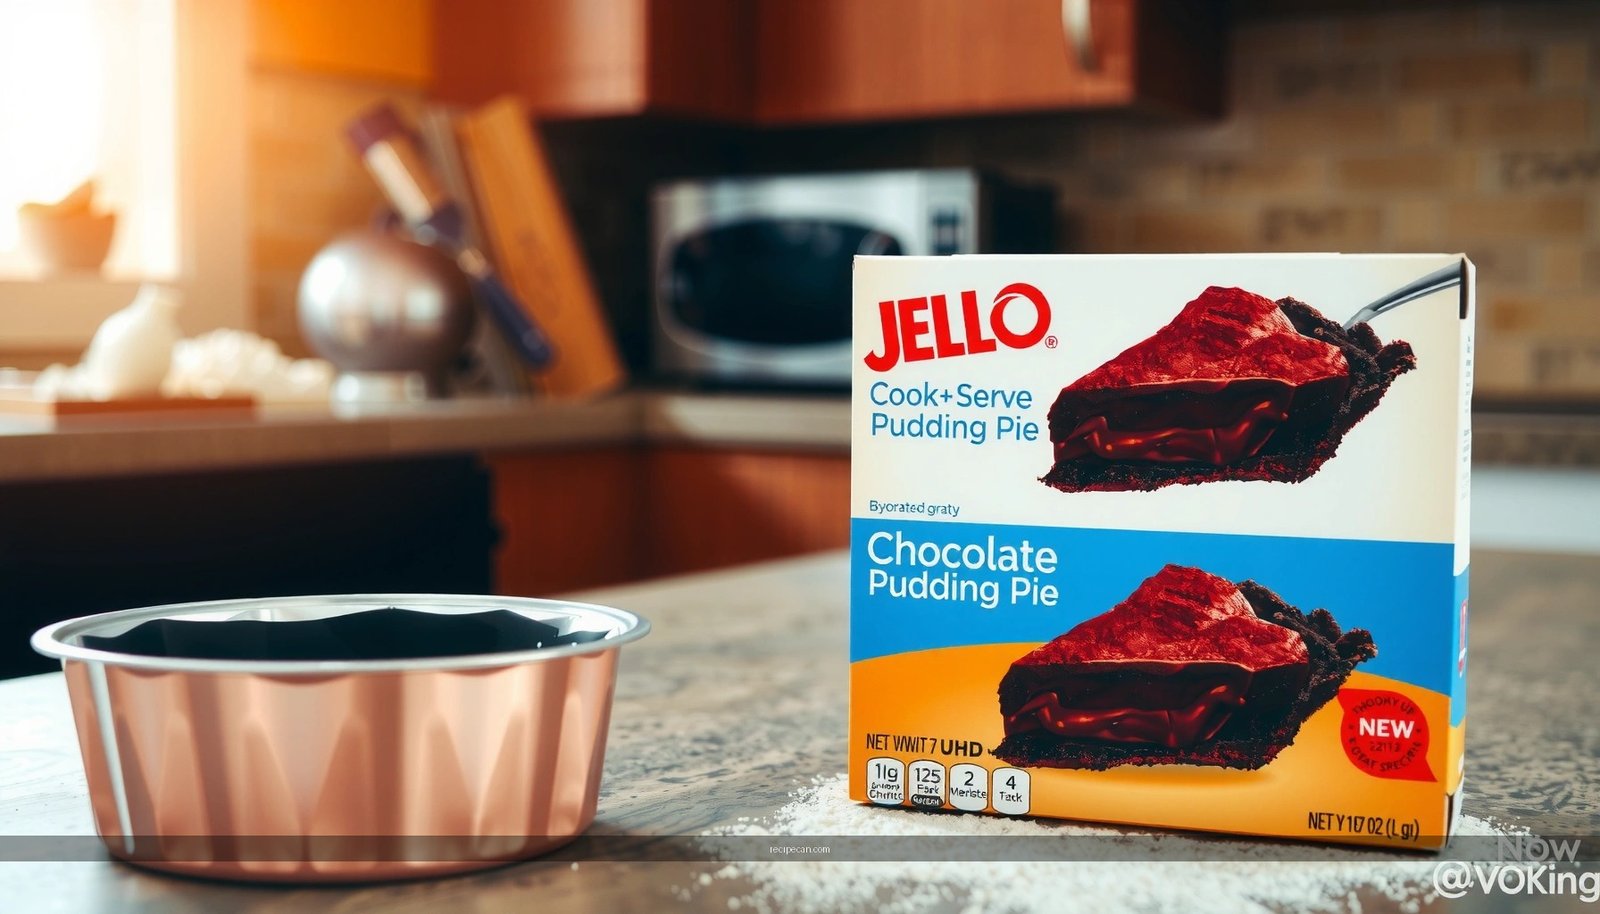
Searching for a Jello cook and serve chocolate pudding pie recipe on the box? This recipe gives you the exact boxed method and timing so you get a sliceable, chocolatey pie that sets cleanly without surprises. If you want the quickest path from package to a finished pudding pie, this is the version you should follow.
Make this Jello Cook and Serve chocolate pudding pie by cooking the pudding exactly as the box directs, pouring it into a prepared crust, and chilling until the set stage is reached. If you follow the cooking-to-chilling timeline precisely—and don’t rush the firmness check—you’ll get a slice that holds together cleanly and tastes like classic homemade chocolate pudding pie.
The appeal of a boxed recipe is consistency: it standardizes liquid ratios, thickening time, and setting behavior. That means the most important “secret” isn’t improvisation—it’s disciplined technique. In this guide, you’ll see how to execute each stage (cook, assemble, chill, serve) with the right expectations for texture, thickness, and sliceability. We’ll also cover practical troubleshooting for common pudding pie issues like lumps, runny centers, and crust softness.
Box Ingredients You’ll Need

Before you begin, organize the essentials so the pudding can be cooked and transferred immediately. For a Jello cook-and-serve chocolate pudding pie, the ingredients are straightforward, but accuracy matters because pudding thickens through a specific starch-to-liquid balance.
– Chocolate pudding mix plus water and milk (per box instructions)
– Pie crust (store-bought or homemade) for an easy start
Pro tip (for best results): Check the box for whether your pudding mix calls for milk only, or milk plus water—then measure liquids precisely. “Close enough” ratios can change how fast the pudding thickens and how firmly it sets in the crust.
What “box-style” consistency should look like
Cooked pudding should become glossy and visibly thicker—usually thick enough to coat the back of a spoon. If it looks thin when hot, it typically won’t transform into a fully sliceable filling after chilling. Conversely, if you overcook until it becomes very stiff, you may end up with a rubbery mouthfeel or a grainy surface once cooled.
Cook the Jello Chocolate Pudding

This is the core step: the pudding stage determines texture for the entire pie. When you cook Jello cook and serve chocolate pudding, focus on even heat, proper stirring, and timing.
– Whisk pudding mix with the required liquids until thickened
– Stir continuously during cooking to prevent lumps
Step-by-step cooking method (the technique that prevents problems)
1. Whisk thoroughly before heat. Combine the pudding mix with the specified milk (and water, if directed). Whisk until no dry mix remains. This reduces clumps before thickening begins.
2. Cook over medium heat and stir continuously. Once the mixture warms, the starches activate and thicken quickly. Continuous stirring ensures the mixture doesn’t scorch on the bottom and prevents lumps from forming.
3. Stop at the box’s timing and thickness cue. Many boxed directions specify a time window (e.g., “cook 5–7 minutes”) and/or “until thick.” Use both: stir to the end of the suggested time, then confirm the pudding’s coat-and-slow-flow consistency.
4. Avoid over-stirring after it reaches thick. You can keep stirring briefly to smooth texture, but once it’s thickened, excessive heating may lead to a stiffer filling than intended.
Troubleshooting: quick fixes if something goes off-track
– If you see lumps: Keep stirring vigorously while it’s still on the heat. If lumps persist, remove from heat and whisk hard for 30–60 seconds; you can also strain through a fine mesh sieve for a polished finish (best done while hot).
– If it thickened too fast or looks too stiff: You can sometimes loosen it slightly by whisking in a small amount of warmed milk off-heat—but only if the pudding is still hot and thickening hasn’t overshot. If you’re unsure, follow the box ratios next time; consistency improves with each attempt.
– If it scorches: Start over if burnt notes appear or the surface develops a cooked film. Burnt pudding can affect flavor even if lumps are whisked out.
Why continuous stirring matters (more than you think)
Starch thickening is not instant; it develops as temperature rises. If you pause, the mixture can form gelatinized pockets that solidify into lumps. Continuous stirring keeps starch distribution uniform, which is why box directions repeatedly emphasize stirring during cooking.
Assemble the Pie

Once your pudding is cooked, assembly needs to happen promptly. Hot pudding spreads more smoothly, fills crust corners fully, and reduces the chance of a skin forming before you get it into the crust.
– Pour hot pudding into the prepared crust
– Smooth the top so it sets evenly
Assembly workflow for a clean-set chocolate pudding pie
1. Prepare the crust first. Use a store-bought crust or a homemade crust that’s ready for filling. If your crust is unbaked, follow the box guidance or your crust’s recipe for prebaking—crust texture is as important as filling texture.
2. Pour while hot and fluid. Hot pudding is easier to spread and settle into the crust without air pockets.
3. Smooth the surface. Use a spatula to level the top. Even thickness matters because the center is the slowest to firm during chilling.
4. Cover to prevent a skin. Some bakers lightly press plastic wrap directly onto the pudding surface (not touching the top aggressively). This reduces surface drying while chilling.
Texture target at assembly
Think of hot pudding as the “foundation layer” for the final set. You want a uniform fill level—no hollows near the edges and no thick ridges in the middle. That uniformity becomes clean slice lines once chilled.
A key analytical perspective: firmness is about time, not just temperature
Chilling does two jobs simultaneously: it cools the pudding and allows starch gel structure to fully stabilize. If you transfer the pie late or chill too briefly, you get a visually set top with a softer, looser center—exactly the issue many people describe as “runny in the middle.”
What to Expect When Chilling Jello Cook-and-Serve Chocolate Pudding Pie (Room Temp to Firm)
| # | Chill Time | Center Feel | Sliceability | Texture Risk |
|---|---|---|---|---|
| 1 | 30 minutes | Soft | Low | Runny center |
| 2 | 45 minutes | Cushiony | Borderline | Top set, middle loose |
| 3 | 60 minutes | Firming | Moderate | Crumbly slice edges |
| 4 | 90 minutes | Mostly set | Good | Strong slice retention |
| 5 | 2 hours | Set and stable | Very good | Clean cuts |
| 6 | 4 hours | Fully set | Best | Maximum structure |
| 7 | Overnight (8–12 hours) | Set and chilled through | Best | Even texture (ideal for events) |
Chill Until Set
Chilling is where pudding pie becomes slicing-ready. Follow the box time, and verify firmness at the center—because the center takes longer than the edges to reach gel stability.
– Refrigerate according to the box time until firm
– Check that the center is set before slicing
How to check “set” accurately
Avoid slicing early based on the surface look. Instead:
1. Look for visual stability: the top should appear matte rather than glossy-wet.
2. Gently shake the pie: the center should jiggle slightly like firm gelatin, not slosh like liquid.
3. Use the knife test carefully: if your slice is for service, insert a knife near the center and observe resistance. A properly set filling will cut cleanly with minimal smearing.
Managing timing for parties and service windows
For a reliable event timeline, treat chilling as scheduled production:
– If serving the same day, plan chilling toward the upper end of the box range (or at least 2+ hours).
– For best presentation and confidence, chill overnight. This is especially useful when you can’t guarantee uninterrupted refrigerator time.
Common causes of “not set” pudding pie
– Not cooking to the correct thickness during the stove step
– Under-chilling the pie, especially in thicker crusts
– Using wrong liquid amounts (even small deviations can matter)
– Transferring pudding after it cools too much (some thickened portions may set unevenly)
Serve and Store Tips
A pudding pie isn’t just about getting it set—it’s about delivering the right texture at the moment of service and preserving quality afterward.
– Slice cleanly with a sharp knife for best presentation
– Store covered in the fridge and use within the recommended time on the box
Serving for best texture
– Use a sharp knife and wipe between slices. Clean blades reduce smearing and keep the presentation professional.
– Let it sit briefly before serving if your refrigerator is very cold. If the filling is extremely firm, a 5–10 minute rest can improve slice tenderness without compromising structure.
– Pairing ideas: Serve with fresh berries, lightly sweetened whipped cream, or a drizzle of chocolate sauce to complement the cocoa-forward profile of boxed chocolate pudding.
Storage best practices (quality and safety)
– Cover the pie to prevent the surface from drying out and forming a skin.
– Follow the box’s recommended shelf life. Boxed pudding contains dairy; quality typically degrades over time and texture may change.
– Avoid repeated temperature swings. Frequent taking in and out of the fridge can soften the filling and reduce slice integrity.
Practical note for crust quality
Crusts can soften in the refrigerator as moisture moves. If you notice a softer crust:
– Keep the pie covered (reduces moisture exposure variability).
– Consider prebaking your crust if your box or crust recipe supports it.
– Prioritize same-day slicing after the pie is fully set, especially for events.
Conclusion
A Jello cook and serve chocolate pudding pie is easiest to nail when you treat it like a process: cook the pudding until it visibly thickens (and stir continuously), assemble promptly into a prepared crust, then chill for the box-recommended time and confirm center firmness before slicing. When you execute those steps with precision—especially liquid ratios and chilling duration—you’ll consistently get a rich chocolate filling with clean, reliable slices, plus the convenience that makes this boxed recipe a dependable go-to for everyday desserts and planned gatherings.
Frequently Asked Questions
What is the easiest way to make a Jell-O Cook & Serve chocolate pudding pie using the box directions?
Start by following the Jell-O Cook & Serve chocolate pudding pie recipe on the box for the exact ingredient amounts and cooking time. You’ll typically cook the pudding until it thickens, then pour it into a prepared crust and let it set. For best results, cool to room temperature before refrigerating so the Jell-O pudding firms up into clean slices.
How do I prevent lumps when cooking Jell-O Cook & Serve chocolate pudding for a pie?
Whisk the pudding mix with cold milk thoroughly before heating to dissolve any dry pockets. Cook over medium heat while stirring constantly, especially along the bottom and corners of the saucepan, until the pudding reaches a thick, glossy consistency. If you still see lumps, strain the pudding before pouring into the crust to keep your chocolate pudding pie smooth.
Why does my Jell-O Cook & Serve chocolate pudding pie take so long to set?
Jell-O chocolate pudding needs enough cooling and refrigeration time to reach the right firmness, and the box recipe will specify how long to chill. If your pie is too warm when it goes into the refrigerator, it may take longer to set. Also make sure you used the correct amount of milk—too much milk can keep the pudding from thickening properly.
Best way to assemble and serve a chocolate pudding pie made with Jell-O Cook & Serve?
After cooking the Jell-O Cook & Serve chocolate pudding and pouring it into your crust, refrigerate until fully set as directed on the package. For the cleanest slices, serve the pie cold and wipe your knife between cuts. If you’re adding toppings like whipped cream or chocolate shavings, wait until the pudding is fully chilled so they don’t melt or bleed.
Which crust works best for a Jell-O cook and serve chocolate pudding pie recipe from the box?
Most box instructions use a pre-made graham cracker crust or a ready-to-bake pie crust, and the “best” choice is the one that matches what the recipe calls for. A chocolate graham crust pairs well with Jell-O chocolate pudding for a classic flavor, while a plain graham crust keeps the taste balanced. Use a crust that can hold a thick pudding layer without becoming soggy—chilling after assembly is key.
References
- Google Scholar Google Scholar
https://scholar.google.com/scholar?q=jell-o+%22cook+and+serve%22+chocolate+pudding+pie+recipe - Google Scholar Google Scholar
https://scholar.google.com/scholar?q=starch+gelatinization+custard+making+food+science+paper - Google Scholar Google Scholar
https://scholar.google.com/scholar?q=egg+custard+food+science+thickening+gelatin+cold+set - Pudding
https://en.wikipedia.org/wiki/Pudding - Custard
https://en.wikipedia.org/wiki/Custard - Gelatin
https://en.wikipedia.org/wiki/Gelatin - Shortcrust pastry
https://en.wikipedia.org/wiki/Pie_crust - Corn starch
https://en.wikipedia.org/wiki/Cornstarch - https://www.fda.gov/food/food-safety-basics/food-safety-basics
https://www.fda.gov/food/food-safety-basics/food-safety-basics - https://www.cdc.gov/foodsafety/keeping-food-safe.html
https://www.cdc.gov/foodsafety/keeping-food-safe.html