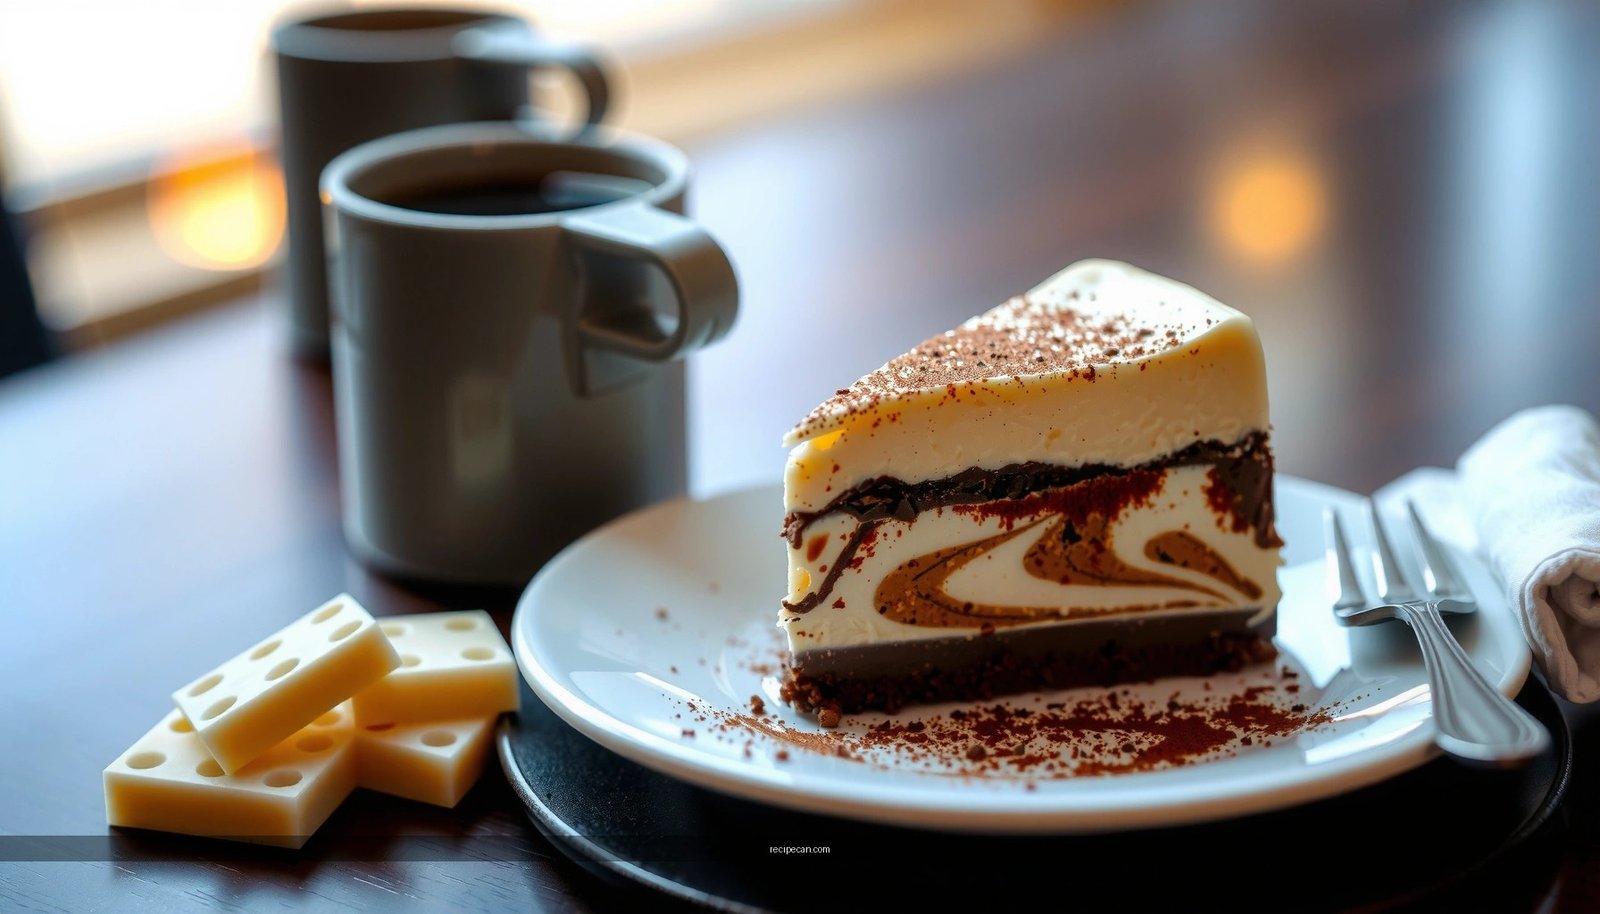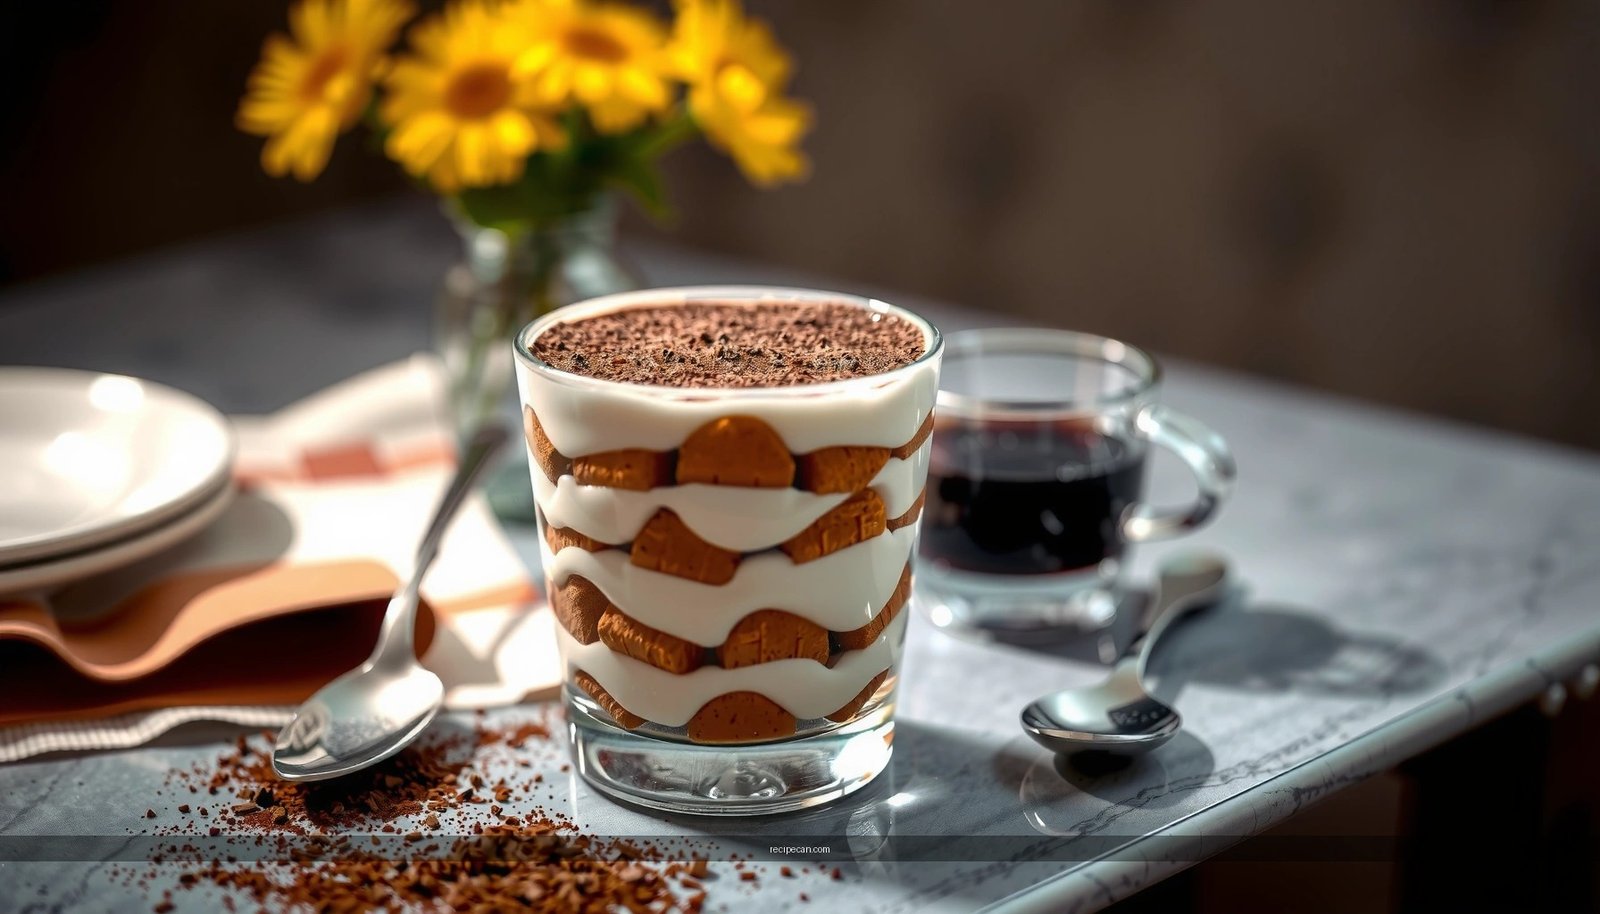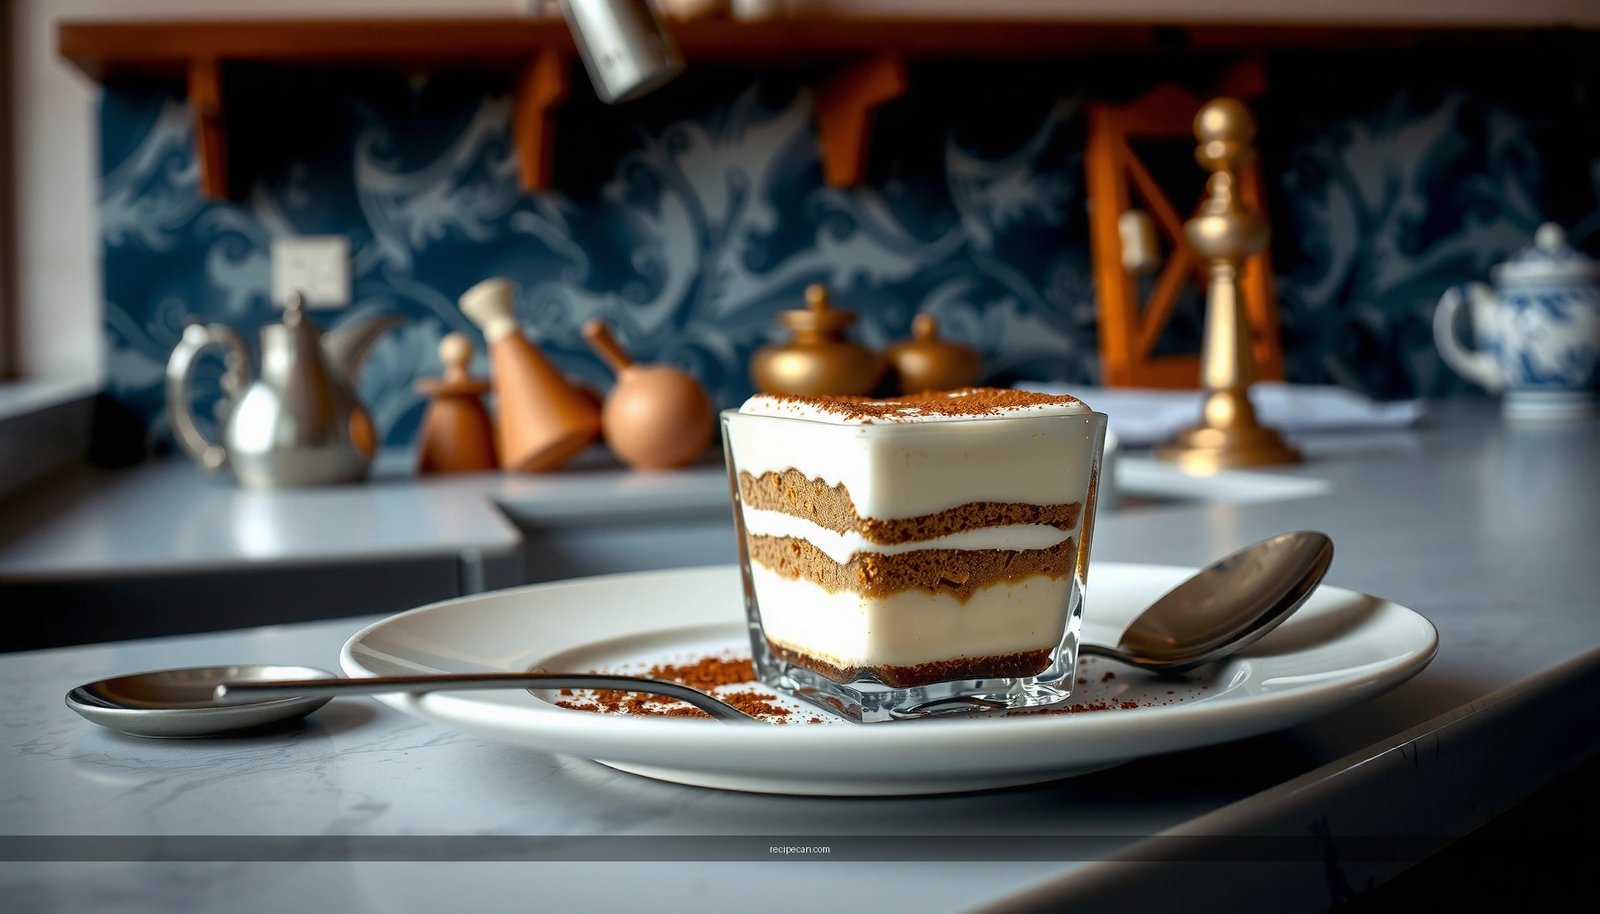
Jamie Oliver recipe tiramisu delivers the classic Italian dessert the quickest way that still tastes right—so you can stop guessing and start serving. This step-by-step guide answers whether you can make tiramisu at home without complicated techniques, using straightforward ingredients and reliable timing. If you want a rich coffee-soaked, creamy tiramisu with minimal fuss, this is the one to follow.
Jamie Oliver’s tiramisu is a reliable, classic layered dessert—coffee-soaked ladyfingers meet a thick, creamy mascarpone filling and a final cocoa dusting. If you control two variables (how long the biscuits soak and how you mix the filling), you’ll get clean slices with a balanced coffee flavor instead of a soggy or grainy result.
Gather Ingredients for Jamie Oliver Tiramisu
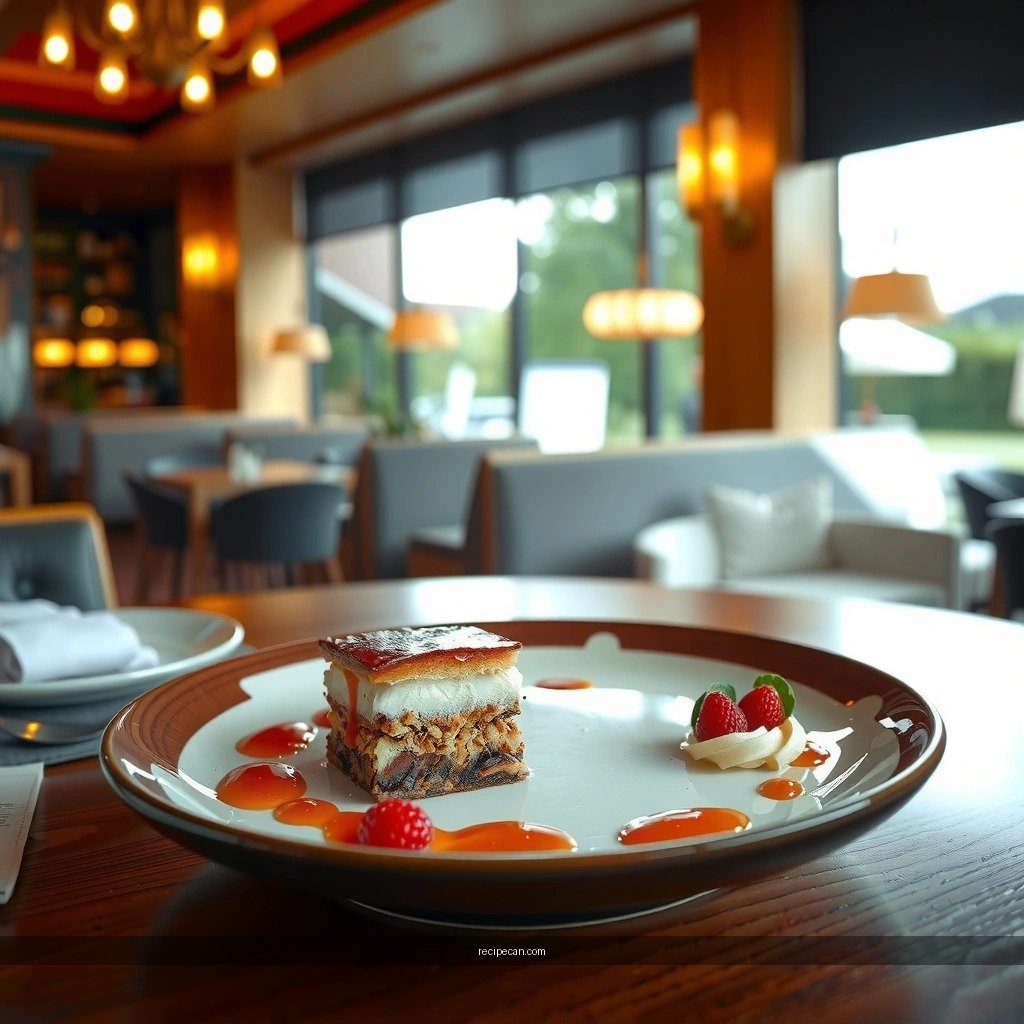
To make tiramisu in the Jamie Oliver style, your ingredient list should be simple, but precise—because quality shows up most in the mascarpone layer and the coffee flavor.
What you need (and why it matters):
– Mascarpone cheese: Look for a high-fat mascarpone with a smooth texture; this is what gives the dessert its signature richness.
– Eggs and sugar: Used to build the creamy custard base. Fresh eggs improve both flavor and consistency.
– Strong coffee (or espresso): The coffee isn’t just a flavor—it’s the “structure” of the dessert’s aroma. Strong coffee prevents the sweetness from flattening the taste.
– Ladyfingers (savoiardi): Classic choice for even layering. If you swap them, pick biscuits that absorb liquid evenly without disintegrating.
– Cocoa powder: Use unsweetened cocoa so the dessert stays balanced, not cloying.
Practical sourcing tips:
– If you can, choose espresso or moka pot coffee over mild brewed coffee—the intensity matters.
– For a smooth filling, room-temperature eggs mix more evenly than cold eggs (which can lead to uneven texture).
Baking Outcomes When Making Tiramisu (Guidance for Best Results)
| # | Tiramisu Variable | Typical Target | What Goes Wrong | Result Impact |
|---|---|---|---|---|
| 1 | Coffee soak time | ~2–3 seconds per side | Too long → biscuits collapse | High ★★★★★ |
| 2 | Mascarpone mixing speed | Low–medium | Over-mixing → texture breaks | Medium ★★☆☆☆ |
| 3 | Filling thickness | Holds peaks gently | Thin → layers run | High ★★★★☆ |
| 4 | Cream–egg integration | Smooth, glossy | Lumpy → uneven mouthfeel | Medium ★★★★☆ |
| 5 | Chill time before slicing | 4–6 hours minimum | Short chill → layers shift | High ★★★★★ |
| 6 | Cocoa timing | Right before serving | Early dust → moist clumps | Low ★★☆☆☆ |
| 7 | Coffee temperature | Warm, not hot | Hot coffee → creams soften too fast | Medium ★★★☆☆ |
Make the Coffee Base

In a classic tiramisu, the coffee base has one job: flavor the biscuits without destroying their structure. That’s why slightly cooled, strong coffee and fast dipping are non-negotiable.
– Brew espresso/strong coffee and let it cool slightly: Aim for coffee that’s warm enough to dissolve aroma compounds but not so hot it melts the filling during assembly.
– Avoid over-soaking biscuits so they stay structured, not soggy: Ladyfingers should absorb enough liquid to taste “coffee,” but remain firm enough to hold a slice.
Actionable dipping method:
1. Pour coffee into a shallow dish so you can dip quickly.
2. Dip each ladyfinger for about 2–3 seconds per side—think “coating,” not “submerging.”
3. Lay them immediately onto the dish, aligned for even layers.
Quality perspective:
Using weak coffee is one of the most common reasons tiramisu tastes “sweet but flat.” Strong coffee creates a more defined bittersweet profile, which is exactly what you want to balance mascarpone richness.
Whip the Mascarpone Filling

This is where the dessert’s “professional” texture comes from. The goal is a filling that is thick, glossy, and uniformly blended—never gritty, thin, or broken.
– Combine mascarpone with egg mixture to create a smooth, thick cream: The eggs (and sugar) help lighten the mascarpone while keeping it stable enough for layering.
– Mix until glossy and uniform for the best layer consistency: Over-mixing can cause separation; under-mixing leaves streaks.
Best-practice mixing approach:
– If your recipe involves separating eggs, whip whites (if used) to soft peaks and fold gently—this helps maintain air and prevents a dense, heavy layer.
– When combining mascarpone with egg mixture, use a spatula to fold in thoroughly. If you use a whisk or mixer, keep it to low speed and stop as soon as the cream looks even.
Texture troubleshooting:
– Grainy filling usually means incomplete integration or mascarpone too cold. Let mascarpone sit at room temperature briefly.
– Runny filling typically comes from either over-softened ingredients or under-whipped structure—chilling usually helps, but correct mixing prevents it.
Assemble the Tiramisu Layers
Assembly determines whether you’ll get the classic look: distinct layers with a clean top and balanced distribution of coffee and cream.
– Layer coffee-dipped ladyfingers with mascarpone cream in a baking dish: Place biscuits in a single even layer, then spread cream to the edges.
– Repeat layers and finish with cream on top: Your top layer should be mostly cream, which provides the ideal base for cocoa dusting.
How to build strong layers:
1. Start with a thin layer of mascarpone cream (prevents sliding).
2. Arrange dipped ladyfingers side-by-side with minimal gaps.
3. Spread cream gently, using an offset spatula if you have one.
4. Repeat until you reach the top—finish with cream.
Portioning tip for consistent slices:
If you’re using a standard dish, count your ladyfingers to keep layers symmetrical. This makes slicing cleaner and helps each portion get similar coffee-to-cream ratio.
Chill for the Best Texture
Chilling is not optional. Tiramisu improves as the biscuits absorb coffee and the filling sets into a sliceable structure.
– Refrigerate so the flavors meld and the dessert sets properly: The coffee diffuses slightly, and the cream firms up so layers stay distinct.
– Chill time matters—plan ahead for ideal sliceable results: A minimum of several hours is typical; overnight is best for deeper flavor cohesion.
Recommended planning:
– Chill 4–6 hours minimum for reliable structure.
– If making for an event, assemble the night before. You’ll get the smoothest layering and easiest slicing.
Process insight for real-world kitchens:
If you’re serving guests, avoid dusting cocoa too early; the dessert releases moisture as it cools. Serve-ready cocoa keeps the surface dry, aromatic, and visually classic.
Serve and Finish with Cocoa
The finishing step is simple but high impact: cocoa powder should appear fresh, dry, and evenly distributed.
– Dust generously with cocoa right before serving: This creates the classic tiramisu look and protects the top layer’s texture.
– Slice cleanly and serve chilled for the classic finish: Use a sharp knife and wipe between cuts for best presentation.
Serving best practices:
– Slice with a straight, confident motion—avoid sawing, which can drag soft layers.
– If the dessert is very cold, let it sit 5 minutes at room temperature before slicing for cleaner edges.
Flavor balance reminder:
A proper cocoa dusting adds bitterness and aroma; it should complement the coffee rather than overpower it. If your cocoa flavor feels muted, it’s often because it was dusted too early or the coffee was too mild.
Tiramisu is at its best when you nail the filling texture, control the coffee-soak, and chill long enough for the layers to set. Use the steps above to make Jamie Oliver’s tiramisu at home with confidence—then serve it with a fresh cocoa dusting and enjoy the classic results. If you want, tell me what ingredients you have (or your preferred coffee strength), and I’ll help you adapt the recipe.
Frequently Asked Questions
What’s the easiest way to make Jamie Oliver recipe tiramisu at home?
Start by gathering espresso, mascarpone, eggs, sugar, ladyfingers, and cocoa powder, since those are the core components in most Jamie Oliver-inspired tiramisu recipes. Brew strong coffee (or espresso) and let it cool slightly so the ladyfingers don’t turn mushy. Whisk the mascarpone mixture until smooth, quickly dip the ladyfingers, and layer everything in a dish before chilling. Chill at least a few hours (overnight is best) so the flavors of the tiramisu set properly.
How do you prevent Jamie Oliver tiramisu from becoming runny or too wet?
The biggest cause of runny tiramisu is over-dipping the ladyfingers—dip each one briefly and remove it before it absorbs too much liquid. Use cooled coffee rather than hot espresso, which can loosen the mascarpone mixture. Also ensure the filling is mixed until thick and creamy, and chill long enough so it firms up. If you’re using eggs, temper or follow the recipe closely to keep the custard-style base stable.
Why is chilling important for a Jamie Oliver recipe tiramisu?
Chilling helps the ladyfingers soften evenly and allows the coffee flavor to infuse throughout the dessert. It also gives the mascarpone and egg mixture time to thicken so the tiramisu slices cleanly instead of collapsing. For best results, let the Jamie Oliver recipe tiramisu rest in the fridge for several hours, ideally overnight. This makes the texture more classic and the taste more balanced.
Which ingredients matter most for the best Jamie Oliver tiramisu flavor?
Strong espresso is crucial because it provides the signature bitterness and depth against the creamy mascarpone. Use good-quality mascarpone for a rich, stable filling, and balance sweetness with the right amount of sugar. For the finish, sift cocoa powder (and optionally add chocolate shavings) to create a classic tiramisu look and flavor. Quality ingredients make the difference between a “watery” dessert and a well-set Jamie Oliver tiramisu.
What’s the best way to serve and store Jamie Oliver recipe tiramisu?
Serve it cold straight from the fridge, and use a sharp knife to cut portions cleanly—wipe the blade between cuts if needed. Store leftovers covered in the refrigerator to keep the tiramisu from drying out or absorbing fridge odors. It’s generally best within 1–2 days for peak texture, though some tiramisu recipes keep a bit longer if properly chilled. If you’re planning ahead, make it the day before to ensure the tiramisu sets perfectly.
References
- Google Scholar Google Scholar
https://scholar.google.com/scholar?q=Jamie+Oliver+tiramisu+recipe - Google Scholar Google Scholar
https://scholar.google.com/scholar?q=tiramisu+history+origin+mascarpone+coffee+ladyfingers - Google Scholar Google Scholar
https://scholar.google.com/scholar?q=mascarpone+tiramisu+food+safety+shelf+life - Tiramisu
https://en.wikipedia.org/wiki/Tiramisu - Tiramisu | Meaning, Ingredients, Origin, Desserts, & Taste | Britannica
https://www.britannica.com/topic/tiramisu - https://pubmed.ncbi.nlm.nih.gov/?term=tiramisu
https://pubmed.ncbi.nlm.nih.gov/?term=tiramisu - https://www.nytimes.com/search?query=Jamie+Oliver+tiramisu
https://www.nytimes.com/search?query=Jamie+Oliver+tiramisu - https://www.theguardian.com/search?q=Jamie+Oliver+tiramisu
https://www.theguardian.com/search?q=Jamie+Oliver+tiramisu - Google Scholar Google Scholar
https://scholar.google.com/scholar?q=jamie+oliver+recipe+tiramisu - jamie oliver recipe tiramisu – Search results
https://en.wikipedia.org/wiki/Special:Search?search=jamie+oliver+recipe+tiramisu