Looking for an Italian cannoli recipe with mascarpone filling? This classic cannoli recipe delivers the single best version of the mascarpone filling—rich, smooth, and properly sweet—so you can fill crisp shells without runniness or bland flavor. You’ll get the exact method for mixing the mascarpone base to the right texture for bakery-style cannoli every time.
Learn how to make authentic Italian cannoli at home using mascarpone for a thick, creamy filling—without losing the classic contrast of crisp shells and sweet ricotta-style flavor. This guide breaks down the dough, frying method, mascarpone filling technique, and exact assembly timing so your cannoli taste fresh and “bakery-made” rather than soft or stale.
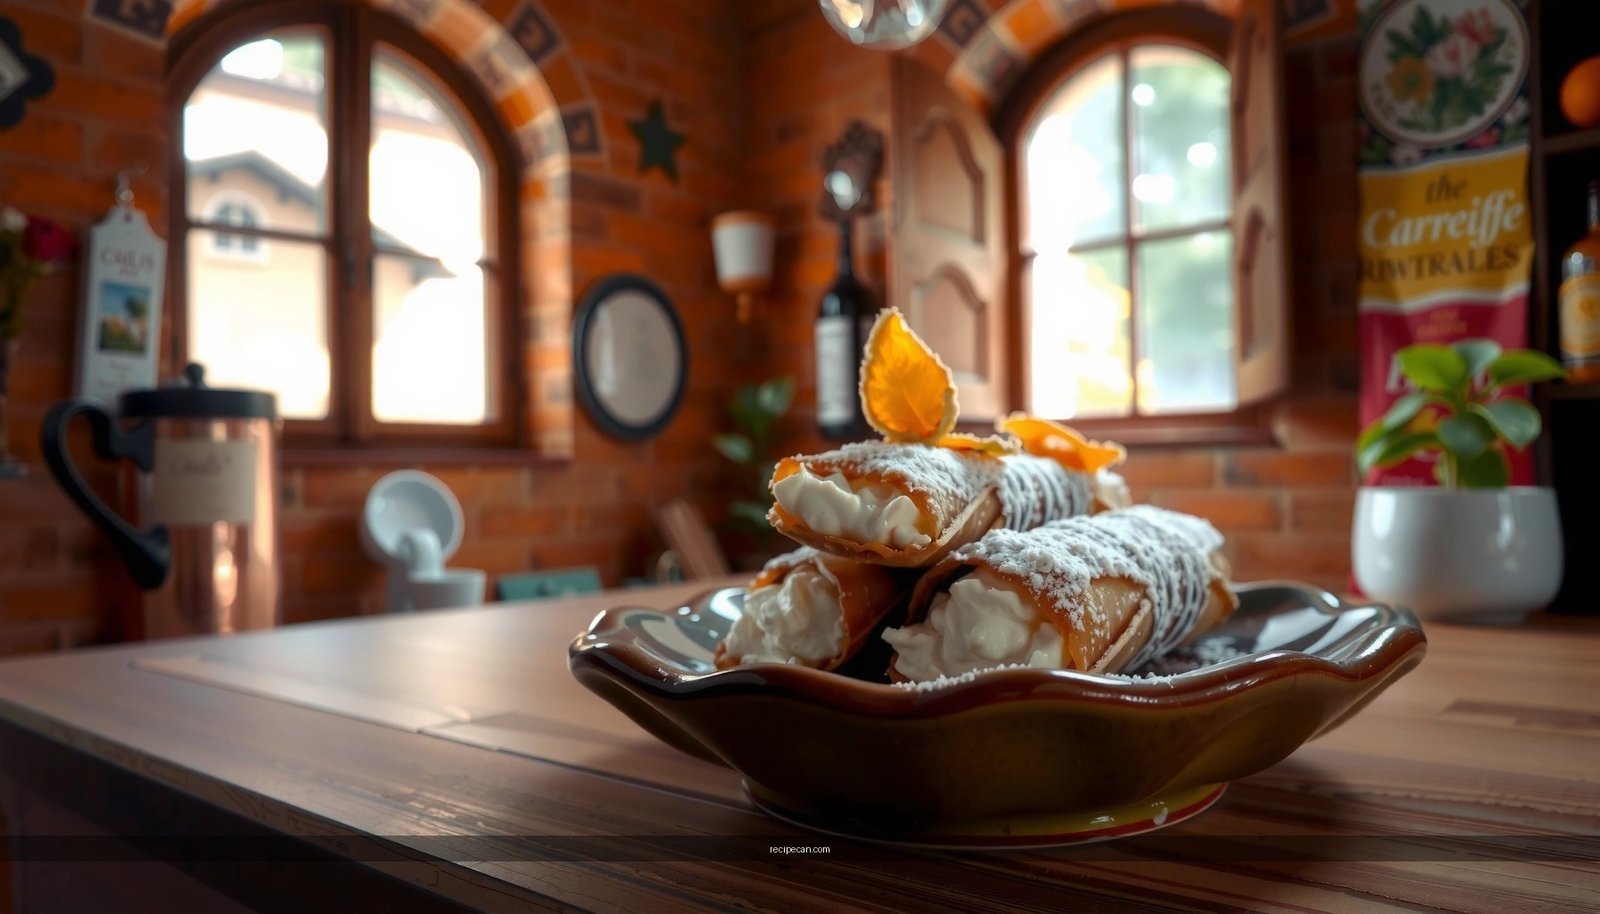
Classic Italian Cannoli with Mascarpone (What You’ll Make)

– Crisp, golden cannoli shells with a sweet mascarpone filling
– A traditional flavor profile with a simple, reliable method
– Step-by-step assembly for best texture and taste
Cannoli are defined by balance: the shell must be thin, blistered, and shatteringly crisp, while the filling should be rich, smooth, and scoopable. Using mascarpone instead of (or alongside) ricotta gives you a more stable, luxurious cream that holds shape well for piping—especially if you’re serving at an event, batch-frying shells, or scaling the recipe. You’ll follow a classic workflow: make sturdy dough, fry quickly and evenly, cool completely, then pipe filling right before serving for maximum crunch.
Cannoli texture targets (so you know you’re on track)
– Shell color: deep golden with light blistering (not pale beige)
– Shell feel: crisp immediately after cooling; resilient, not greasy
– Filling consistency: smooth enough to pipe clean lines; not runny or grainy
– Flavor balance: sweet, but not cloying—citrus zest and vanilla prevent heaviness
Ingredients for Cannoli Shells

– Basic pantry ingredients for sturdy, fry-ready dough
– Tips for achieving the right thickness and shape
– Optional flavor boosts (like a touch of sugar or cinnamon)
For classic cannoli shells, you want a dough that fries quickly into an airy, crisp structure. Most recipes use flour, fat, a little sugar, and a dry/neutral binder like egg and/or wine (often Marsala). Marsala isn’t mandatory, but it helps with flavor and tenderness.
Core shell ingredients (recommended):
– All-purpose flour (structure)
– Unsalted butter or lard (for crisp, traditional mouthfeel)
– Granulated sugar (subtle sweetness and browning)
– Egg yolk (richness and dough strength)
– Dry white wine or Marsala (or substitute with water + a squeeze of lemon for similar tenderizing effect)
– Pinch of salt (flavor clarity)
Optional flavor boosts (use lightly):
– Ground cinnamon (a small pinch—cinnamon can dominate)
– A little extra sugar in the dough if you like sweeter shells
– Lemon or orange zest in the dough for a brighter finish (especially good if you’re using citrus zest in the filling)
Thickness & shaping tips that matter
– Roll the dough thin, about 1.5–2 mm. Too thick = soft shell; too thin = tearing.
– Keep dough edges clean when wrapping; uneven overlap can create weak spots that burst during frying.
– If dough springs back, rest it 15–20 minutes. Gluten relax = smoother shaping.
Ingredients for Mascarpone Cannoli Filling

– Mascarpone as the creamy base, plus sweet balance
– Common add-ins like sugar, vanilla, and citrus zest
– How to incorporate ricotta (if using) for ideal consistency
Mascarpone brings a creamy richness and mild tang. However, mascarpone alone can taste “flat” if sweetness and flavor aren’t balanced. That’s why classic cannoli filling usually includes vanilla, citrus zest, and either a touch of ricotta or careful sweetening to mimic the traditional profile.
Mascarpone cannoli filling building blocks:
– Mascarpone cheese (main cream base)
– Powdered sugar (dissolves smoothly for a lump-free filling)
– Vanilla extract (warm aroma)
– Citrus zest (orange and/or lemon—adds lift and prevents richness from feeling heavy)
– Salt (tiny amount sharpens flavors)
Optional traditional component: ricotta
If you want a more classic cannoli texture, you can incorporate drained ricotta:
– Use whole-milk ricotta, then drain (or press) so it’s not watery.
– Add ricotta gradually to achieve pipeable consistency. Too much ricotta can loosen the filling and cause seepage into the shell.
Flavor balancing strategy (pro-level tip)
– Start with a moderate sweetness and add more sugar only if needed after zest and vanilla are mixed in.
– Taste after chilling—sweetness reads stronger when cold, especially in dairy-based fillings.
How to Make Cannoli Shells
– Prepare and roll dough, then shape around cannoli forms
– Fry until crisp and golden, then cool completely
– Drain and store shells so they stay crunchy
The shell process determines whether your cannoli are authentic or disappointing. Crispness comes from correct dough thickness, consistent oil temperature, and complete cooling before storage.
Step-by-step shell workflow
1. Mix and rest the dough
– Combine flour, sugar, salt.
– Mix in egg yolk and melted butter/lard.
– Add wine gradually until dough comes together.
– Rest 20 minutes to relax gluten.
2. Roll and wrap
– Roll thin and cut strips (or portion dough and roll directly into strips).
– Wrap dough around cannoli tubes (metal forms), overlapping slightly.
– Seal edge with a dab of water (or lightly beaten egg).
3. Fry in controlled batches
– Heat oil to a stable frying temperature (commonly around 175–190°C / 350–375°F).
– Fry until golden and blistered—typically 1–2 minutes depending on oil temperature and thickness.
– Rotate or adjust if needed for even browning.
4. Cool completely
– Remove shells from oil and let them cool on a rack (not paper towels).
– Let them cool fully before filling or storing; trapped steam softens shells.
Quick “shell diagnosis” guide
– Pale shells: oil too cool or dough too thick
– Bubbles are minimal: dough too dry or rolled too thick
– Greasy shells: oil temperature too low and/or overfrying
– Shells crack when removing forms: dough too brittle—try adding a touch more fat or resting longer
Storage (so shells stay crunchy)
– Store cooled shells in an airtight container but only if fully dry.
– For best crunch, keep shells away from refrigerator humidity.
– Fill right before serving. Even with great dough, shells begin to soften once the filling contacts them.
Cannoli Shell Frying Outcomes by Oil Temperature (Practical Targets)
| # | Oil Temp Range | Shell Color | Typical Fry Time | Texture Result |
|---|---|---|---|---|
| 1 | 165–170°C (329–338°F) | Light golden | 2–3 min | ★★★☆☆ |
| 2 | 170–175°C (338–347°F) | Golden but can look dry | 2–2.5 min | ★★★★☆ |
| 3 | 175–180°C (347–356°F) | Deep golden with blisters | 1.5–2 min | ★★★★★ |
| 4 | 180–185°C (356–365°F) | Golden-dark | 1–1.5 min | ★★★★☆ |
| 5 | 185–190°C (365–374°F) | Dark golden; can brown fast | ~1 min | ★★★☆☆ |
| 6 | ≥190°C (≥374°F) | Very dark quickly | <1 min | ★★☆☆☆ |
| 7 | Frying dips (temp swings) | Mixed color per batch | Variable | ★★★☆☆ |
How to Make the Mascarpone Filling
– Whip mascarpone until smooth and lump-free
– Fold in flavorings and balance sweetness to taste
– Rest the filling briefly for better texture before piping
The filling should feel stable, not curdled or overly airy. Over-whipping mascarpone can make it grainy, so the goal is smoothness and incorporation, not maximum volume.
Step-by-step mascarpone filling method
1. Whip mascarpone gently
– Beat until smooth and creamy.
– If your mascarpone is cold and stiff, let it soften slightly (not melt) before whipping.
2. Add sweeteners and flavor
– Mix in powdered sugar gradually to avoid lumps.
– Add vanilla extract and citrus zest.
– Add a small pinch of salt to sharpen the sweetness.
3. If using ricotta, fold—not whip
– Fold drained ricotta into the mascarpone mixture with a spatula.
– Stop as soon as the mixture is uniform; folding prevents loosening.
4. Rest before piping
– Chill or rest 10–20 minutes. This improves pipeability and helps flavors meld.
Consistency checks (fast, actionable)
– Too thick: loosen with 1–2 teaspoons milk or cream.
– Too loose: chill longer, then reassess; if needed, add a small spoonful of mascarpone.
– Grainy: strain once quickly (fine mesh) and re-whip briefly, then rest.
Assemble Italian Cannoli (Shells + Mascarpone Filling)
– Fill cannoli right before serving for maximum crunch
– Pipe filling neatly and avoid overfilling
– Best storage tips to keep shells from softening
Assembly is where many cannoli recipes fail—usually because they’re filled too early. For crispness, treat filling as a “last-mile” step.
Assembly workflow
1. Ensure shells are fully cool and dry
– Warm shells trap moisture and soften quickly.
2. Pipe filling
– Use a piping bag with a plain tip or star tip.
– Fill each shell from one end, pipe until the shell is comfortably filled, then finish neatly.
3. Avoid overfilling
– Overfilling increases pressure and can make cannoli awkward to hold or cause filling to leak.
4. Serve immediately
– Classic cannoli are best within minutes to about 1–2 hours, depending on humidity.
Storage tips (realistic expectations)
– Best: store shells separately; store filling separately; assemble on demand.
– If you must store assembled cannoli: refrigerate in a single layer, but expect softening over time. Cover loosely to reduce condensation.
Quality control checklist
– Shells: crisp, intact, no soggy spots
– Filling: smooth, piped lines visible, no leakage
– Taste: sweet with citrus/vanilla lift; dairy richness balanced and not heavy
If you want truly classic Italian cannoli, mascarpone is the key to that signature creamy filling. Follow the shell and filling steps, pipe right before serving, and adjust sweetness to your taste—then make a batch and enjoy your homemade cannoli right away.
A strong cannoli is built on two disciplined decisions: fry for crispness (correct dough thickness, stable oil temperature, complete cooling) and fill for freshness (smooth mascarpone-based filling, piped only when ready to serve). Once you master those fundamentals, you can confidently customize sweetness, zest, and even add drained ricotta for a more traditional flavor and texture—without sacrificing the classic contrast that makes cannoli unforgettable.
Frequently Asked Questions
What is the best Italian cannoli recipe with mascarpone?
A classic Italian cannoli recipe with mascarpone pairs creamy mascarpone with ricotta for a rich, smooth filling. Many recipes also include powdered sugar, vanilla, and mini chocolate chips for balance and texture. For a more traditional taste, chill the filling before piping it into crisp cannoli shells, so the mascarpone cannoli filling holds its shape.
How do you make cannoli filling with mascarpone without it becoming runny?
Start by draining ricotta well (or using store-bought ricotta that’s already well-drained) so your mascarpone filling doesn’t turn watery. Whip mascarpone briefly with powdered sugar, then fold in ricotta gently rather than overmixing, which can loosen the mixture. If the filling still seems loose, chill it for 30–60 minutes and check consistency before piping.
Why do you add ricotta and mascarpone in an Italian cannoli?
Using mascarpone adds a buttery, dense creaminess, while ricotta keeps the cannoli filling light and airy. Together, they create a smoother flavor and a more stable cannoli filling than using either one alone. This combination is a common approach in Italian-inspired cannoli recipes, especially when you want a creamy mascarpone cannoli that’s not too heavy.
Which cannoli shell is best for an Italian cannoli recipe with mascarpone?
Traditional cannoli shells are fried until crisp, which is what makes the contrast with creamy mascarpone filling so good. If you’re aiming for the best results, use sturdy cannoli forms and fry shells until deeply golden to delay sogginess. For best texture, fill cannoli shells only shortly before serving, since the mascarpone filling will soften them over time.
How do you prevent the chocolate chips and toppings from sinking in mascarpone cannoli filling?
Toss mini chocolate chips with a small amount of powdered sugar or a teaspoon of flour before folding them into the mascarpone filling. This helps the chips stay suspended in the cannoli mixture. Also, chill the filling briefly so it thickens slightly before piping, which improves distribution of chocolate chips and optional toppings like pistachios.
References
- Cannoli
https://en.wikipedia.org/wiki/Cannoli - Mascarpone
https://en.wikipedia.org/wiki/Mascarpone - https://www.britannica.com/topic/cannoli
https://www.britannica.com/topic/cannoli - Google Scholar Google Scholar
https://scholar.google.com/scholar?q=cannoli+mascarpone+recipe - Google Scholar Google Scholar
https://scholar.google.com/scholar?q=Italian+cannoli+mascarpone+filling - Google Scholar Google Scholar
https://scholar.google.com/scholar?q=mascarpone+cannoli+ricotta+substitution - Google Scholar Google Scholar
https://scholar.google.com/scholar?q=cannoli+cheese+filling+mascarpone+vs+ricotta - Google Scholar Google Scholar
https://scholar.google.com/scholar?q=traditional+cannoli+Sicilian+dough+fried+recipe - Google Scholar Google Scholar
https://scholar.google.com/scholar?q=cannoli+shells+frying+technique+study - Google Scholar Google Scholar
https://scholar.google.com/scholar?q=history+of+cannoli+Sicily+dessert


