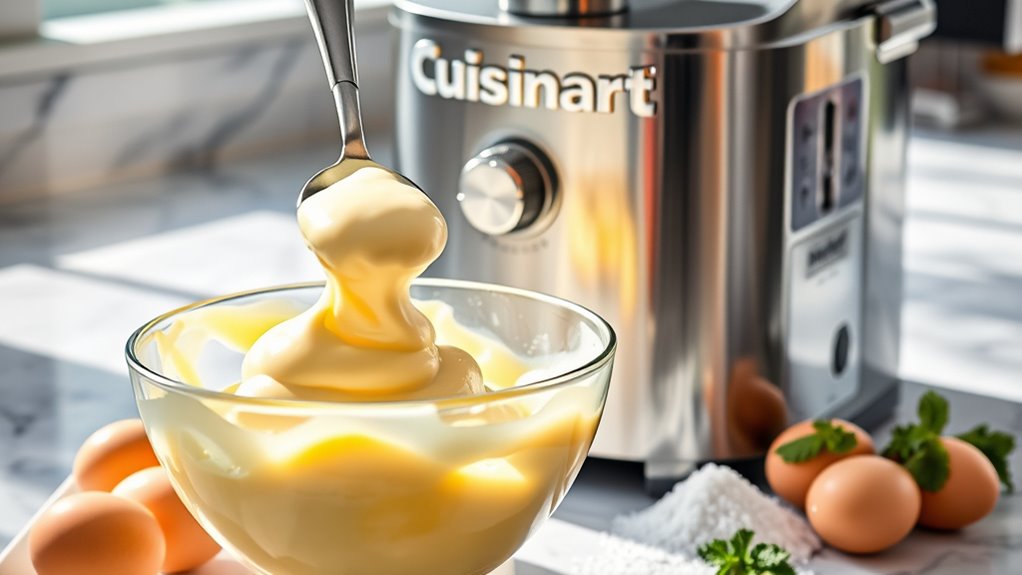
To make a rich ice cream in your Cuisinart, start with a custard base: heat 1 cup whole milk and 2 cups heavy cream until just shimmering, whisk 4 egg yolks with 3/4 cup sugar, then temper and cook until it coats the back of a spoon. Chill, then churn in your machine until thick. Add vanilla and a pinch of salt, skim, then freeze to scoop. You’ll discover more tips as you continue.
Ingredients and Quantity
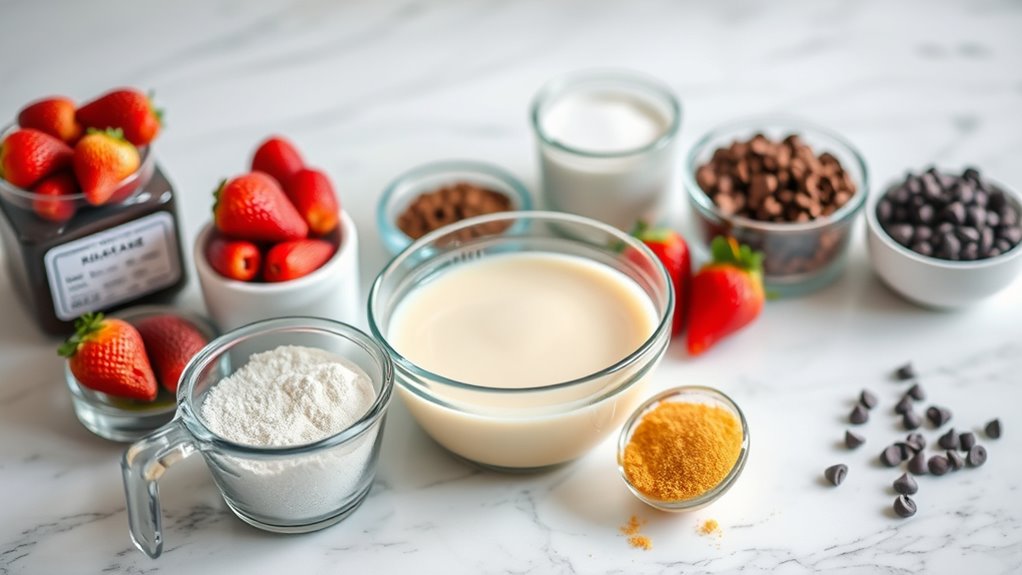
Here are the ingredients and quantities for a basic Cuisinart ice cream, measured for a standard batch that yields about 1.5 quarts: 2 cups heavy cream, 1 cup whole milk, 3/4 cup granulated sugar, 4 large egg yolks, 1 teaspoon vanilla extract, and a pinch of salt.
| Base | Purpose | Notes |
|---|---|---|
| Heavy cream | Richness | Builds body |
| Whole milk | Texture balance | Keeps smoothness |
| Egg yolks | Emulsifier | Improves stability |
You crave freedom through flavor, so consider ingredient variations and flavor combinations that honor balance, precision, and restraint. Subtle shifts—sugar, fat, temperature—unlock complexity without clutter, guiding you toward bold, personal expression.
Preparations
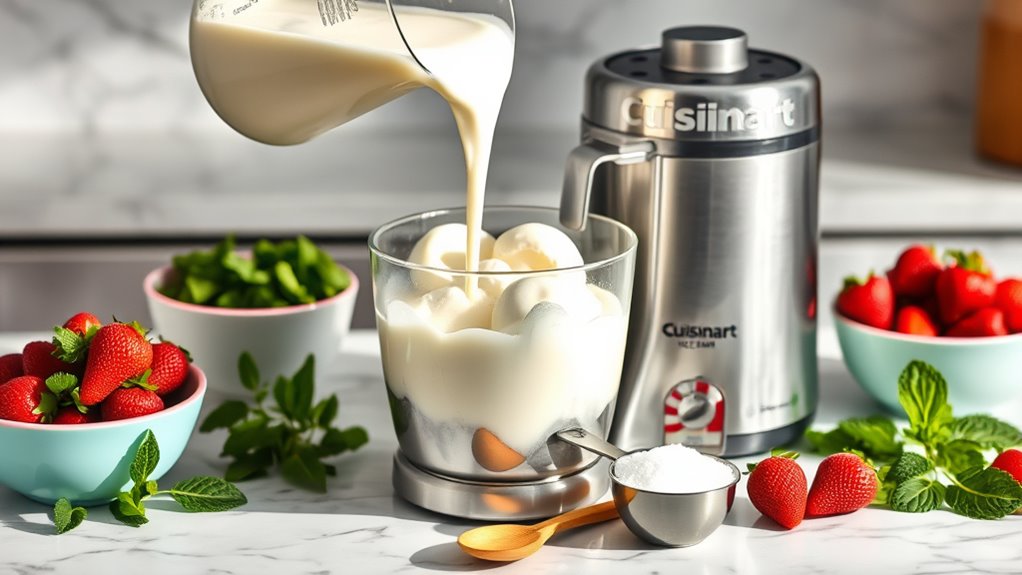
Preparing the base is where precision begins: gently heat the milk and cream until the edges shimmer, then whisk the yolks with sugar until pale and smooth before tempering them with a slow, steady pour of hot dairy. Here, you lock in flavor with disciplined preparation techniques—measure, monitor, and mind the temperature. Keep your kitchen equipment ready: a sturdy whisk, a double boiler or heatproof bowl over simmering water, and a thermometer to confirm ideal warmth without scalding. Aim for silky emulsification, but don’t rush the process; patience yields depth. Chill the custard thoroughly before churning, and cover to avoid skimming. This phase empowers you, blending control with creativity while preserving the freedom to tailor sweetness and texture.
How to Cook
- Heat your dairy to a gentle simmer, avoiding a full boil.
- Whisk yolks with sugar until the mixture becomes pale and ribbons when lifted.
- Slowly temper the yolks by pouring the hot dairy into them in a steady stream.
- Return the tempered mixture to the pot.
- Cook the mixture until it thickens enough to coat the back of a spoon, stirring constantly to prevent curdling.
- Remove from heat and let cool briefly.
- Fold the cooled custard into your ice cream base for a smooth, scoopable consistency.
- Use precise measurements, monitor temperature closely, and maintain steady stirring throughout the process.
- Execute each step with intention to create a glossy, creamy ice cream base free from curds or graininess.
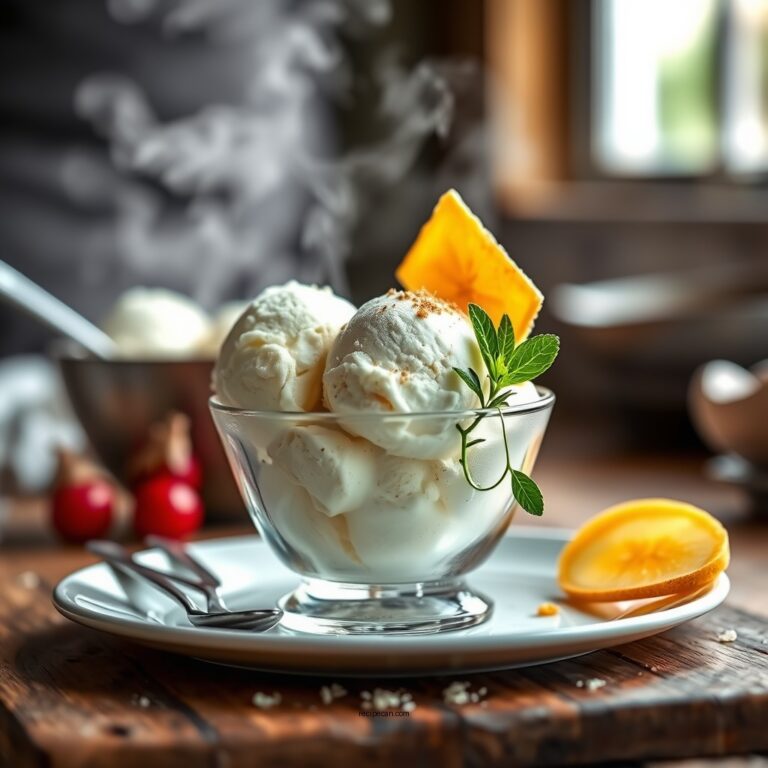
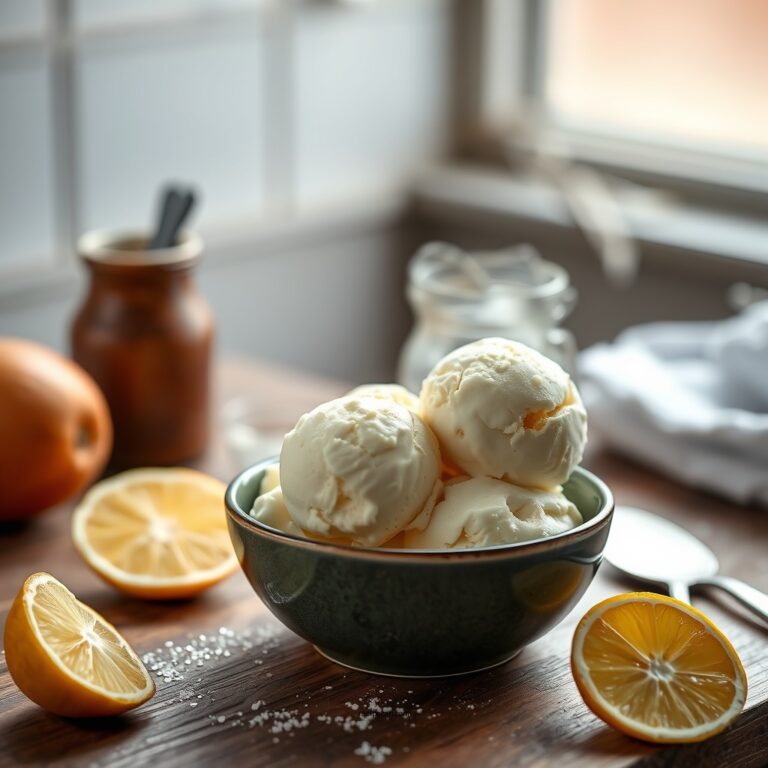
How to Serve
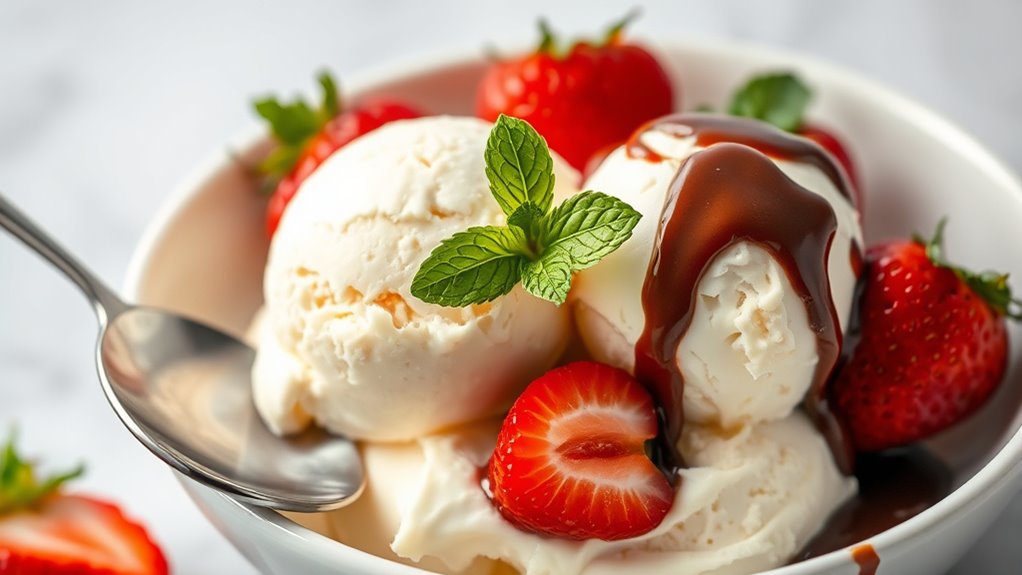
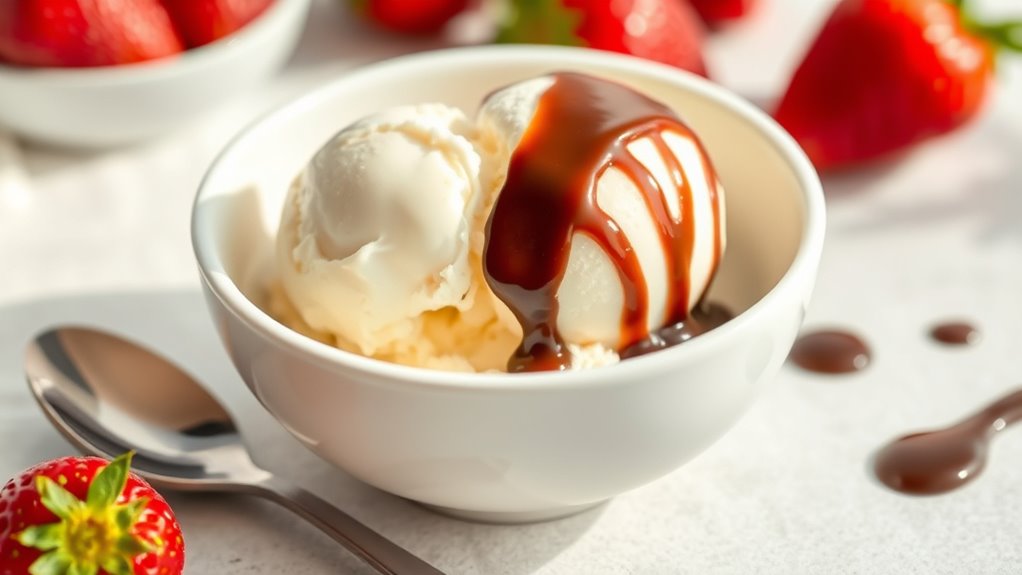
Once your ice cream base is smooth and properly chilled, you’ll want to think about serving it at its best. You’ll balance temperature, texture, and contrast to elevate every bite. To begin, scoop with a warmed spoon for clean portions, then quick-dip in a shallow hot water bath to maintain pristine form. Consider a brief rest after scooping so flavors settle. Serving suggestions include pairing with fresh fruit, a sprinkle of sea salt, or a drizzle of caramel or chocolate sauce for depth. Presentation ideas hinge on color and composition: use a simple bowl, a contrasting garnish, and a tidy nest of mint or berry for visual appeal. Keep portions measured, and let the dessert speak with confident, intentional simplicity.
Tips
When making ice cream in a Cuisinart, start with a well-chilled base and a clean machine for rock-solid structure; small steps here prevent iciness and air pockets later.
1) flavor combinations: balance sweetness with contrast—salt, citrus zest, or a hint of espresso to sharpen the profile without muddling it.
2) texture tips: chill the mix slightly before churning, then let the finished batch rest in the freezer to firm evenly; use a stabile fat ratio for smoothness.
3) process discipline: don’t rush scooping; scrape the bowl, re-churn briefly if needed, and portion promptly to maintain body and bite.
Food Value and Benefit
A well-made ice cream not only delights your taste buds but also provides nutritional value that supports your overall well-being. This carefully prepared dish balances flavor and texture while offering essential nutrients to maintain your energy and health.
Benefits of this recipe include:
- Provides a good source of calcium and vitamin D from dairy ingredients, which support bone health.
- Contains protein to aid muscle repair and growth.
- Offers controlled sweetness to satisfy cravings without excessive sugar intake.
- Includes simple, clean ingredients that promote better digestion and reduce additives.
- Allows customization with dairy-free alternatives for those with dietary restrictions.
- Supports mindful eating by encouraging portion control aligned with your activity and appetite.
Vitamins and minerals contained in this recipe:
- Calcium: essential for strong bones and teeth.
- Vitamin D: helps the body absorb calcium and supports immune function.
- Vitamin A: supports vision and immune health.
- Phosphorus: works with calcium to build strong bones.
- Potassium: helps maintain proper muscle and nerve function.
Enjoy this ice cream as a nourishing treat that combines pleasure with thoughtful nutrition.
Frequently Asked Questions
Can I Use a Dairy-Free Milk Base for This Recipe?
Yes, you can, and you should consider dairy free options, using milk substitutes thoughtfully. You’ll balance sweetness and texture, exploring coconut, almond, or oat bases—then adjust fat and stabilizers to keep your frozen treat smooth and satisfying.
How Long Will the Churned Mix Stay Scoopable in Freezer?
You’ll get a scoopable consistency for about 1 to 2 weeks in the freezer. For best freezing duration, keep it airtight, avoid temperature fluctuations, and let it soften briefly before serving to maintain texture and flavor.
Do I Need a Pre-Chilled Bowl for the Machine?
Yes, you’ll get smoother churn if you use a pre-chilled bowl. Pre chilled benefits include faster freezing and creamier texture; Bowl preparation matters, so chill well and handle promptly to preserve cold, freedom-driven results.
Can I Customize Flavors Without Altering Freezing Time?
Sure, you can mix flavor combinations and ingredient substitutions, but you’ll still hit the same freezing time. Ironically, this freedom comes with limits, so adjust carefully while you trust your palate for precise, savory insight.
Is There a Storage Method for Leftovers After Freezing?
Leftover storage works best in airtight containers, then freeze; wrap in parchment for individual portions. For best texture, thaw slightly before serving. Follow these freezing tips, and you’ll savor consistency and freedom from soggy, freezer-burned leftovers.
References
- https://www.foodsafety.gov/food-safety-charts/ice-cream-safety
- https://www.extension.iastate.edu/news/2017/sep/ice-cream-making-classes-offered-iowa-state-extension
- https://www.icecream.com/ice-cream-101/history-of-ice-cream/
- https://www.bhg.com/recipes/how-to/bake/how-to-make-ice-cream/
- https://www.ncbi.nlm.nih.gov/pmc/articles/PMC6546728/
- https://www.clemson.edu/extension/food/ice-cream.html
- https://www.sciencedirect.com/science/article/pii/S0963996917303564