You want the best way to cook a tiramisu recipe, and this easy step-by-step guide delivers a restaurant-style dessert with no guesswork. Follow the clear instructions to whip the mascarpone mixture, assemble the layers, and get the right soak on the ladyfingers. If you want tiramisu that tastes rich, sets cleanly, and holds its shape, this is the quickest path.
Yes—you can make classic tiramisu at home with layered coffee-soaked ladyfingers, mascarpone cream, and a proper chill time so it sets cleanly. This easy step-by-step tiramisu recipe focuses on three practical controls—(1) strong, properly cooled espresso, (2) smooth mascarpone cream with the right aeration, and (3) refrigeration long enough for the layers to “marry” into a creamy texture.
Ingredients You Need for Tiramisu

To cook tiramisu the right way, start with accurate ingredients and understand what each one is doing. Traditional tiramisu uses ladyfingers, espresso, and cocoa, plus a mascarpone-based cream that gets its signature richness from mascarpone and its lightness from aeration (often via whipped egg whites).
Core ingredients (recommended for classic results):
– Ladyfingers (savoiardi): Provide structure and absorb coffee for that soft-but-not-mushy bite.
– Espresso (or very strong coffee): The flavor backbone. Use fresh, hot-brewed coffee and cool slightly so the ladyfingers soak evenly.
– Cocoa powder: Dust on top right before serving to protect aroma and prevent the surface from turning damp.
– Mascarpone: The star ingredient—high-fat cream cheese style that creates the velvety body.
– Eggs (optional but traditional) + sugar: Used to create a lighter cream through whipped components.
– Vanilla (optional): Adds warmth; use sparingly so it doesn’t overpower espresso.
Equipment (brief but important):
– A mixing bowl and whisk
– Electric mixer (helpful for whipped whites)
– 8×8-inch (or similar) baking dish / serving pan
– Plastic wrap or a tight lid
– Fine sieve for cocoa dusting
Ingredient quality matters more than people think. If your mascarpone tastes flat or grainy, the entire dessert will reflect that. Similarly, if the coffee is weak or overly hot, you’ll either under-season the layers or oversoften the ladyfingers.
Tiramisu Ingredient Control Guide (What to Aim For)
| # | Component | Target Time/Ratio | Common Problem | Result Impact |
|---|---|---|---|---|
| 1 | Espresso strength | 1–2 oz (30–60 ml) concentrated per cup | Weak coffee | ★ ★ ★ ★ ★ |
| 2 | Coffee cooling | Cool 5–10 min | Hot liquid melts structure | ★ ★ |
| 3 | Ladyfinger dip duration | 1–2 seconds per side | Soggy or falling apart | ★ ★ |
| 4 | Mascarpone sugar smoothing | Mix 60–90 seconds | Lumps or graininess | ★ ★ ★ |
| 5 | Egg-white aeration (if used) | Soft peaks, 2–4 min | Cream turns dense | ★ ★ ★ |
| 6 | Chill set time | 4–6 hours minimum | Loose layers | ★ ★ |
| 7 | Cocoa timing | Dust within 30–60 min of serving | Cocoa absorbs moisture | ★ ★ ★ |
Prepare the Coffee So It Soaks Perfectly

The coffee stage is where tiramisu can make or break. Ladyfingers need just enough liquid to absorb flavor, while still holding their shape once layered.
What to do:
1. Brew strong espresso (or make a small-batch, strong coffee concentrate).
2. Let it cool slightly for about 5–10 minutes. Warm coffee helps absorption; hot coffee can over-soften the cookies immediately.
3. Pour the coffee into a shallow dish for easy dipping.
How to dip ladyfingers without sogginess:
– Dip each side for about 1–2 seconds.
– Move promptly—think “quick dip,” not “soak.”
– If the ladyfinger begins to bend too much, shorten the dip time.
Quality checks (fast indicators):
– After dipping, the ladyfinger should look slightly darkened, not translucent.
– The surface should not start tearing or falling apart when you lift it to place in the dish.
Pro tip: If you’re using pre-sliced ladyfingers, dip in batches and assemble immediately. Delays between dipping and layering can cause uneven soaking—some pieces get too wet while others remain under-flavored.
Make the Mascarpone Cream

A classic tiramisu cream should be smooth, rich, and lightly airy—not runny and not overly stiff. This is achieved through careful mixing and gentle folding.
Step-by-step cream method (classic approach):
1. Whisk mascarpone with sugar until smooth and glossy. This removes lumps and ensures a uniform texture.
2. Aerate:
– If using eggs, separate them and whip egg whites to soft peaks.
– Fold whipped whites into the mascarpone mixture gently to keep volume.
3. Add vanilla if desired, and adjust sweetness based on your espresso’s bitterness.
Why folding matters (analytical perspective):
– Whisking egg whites incorporates air bubbles.
– Folding reintroduces that air into mascarpone without deflating it.
– If you over-mix aggressively after adding whites, you’ll lose aeration and the dessert becomes dense.
Safety note (for egg-based creams):
– Traditional tiramisu uses raw or lightly treated eggs. If you prefer a safer route, look for pasteurized eggs or use a safe alternative method (e.g., stabilized creams or heat-treated egg techniques). The texture goals remain the same: smooth mascarpone + aeration.
Texture goal: When you lift your spoon, the cream should mound and hold shape, not pour like thin yogurt.
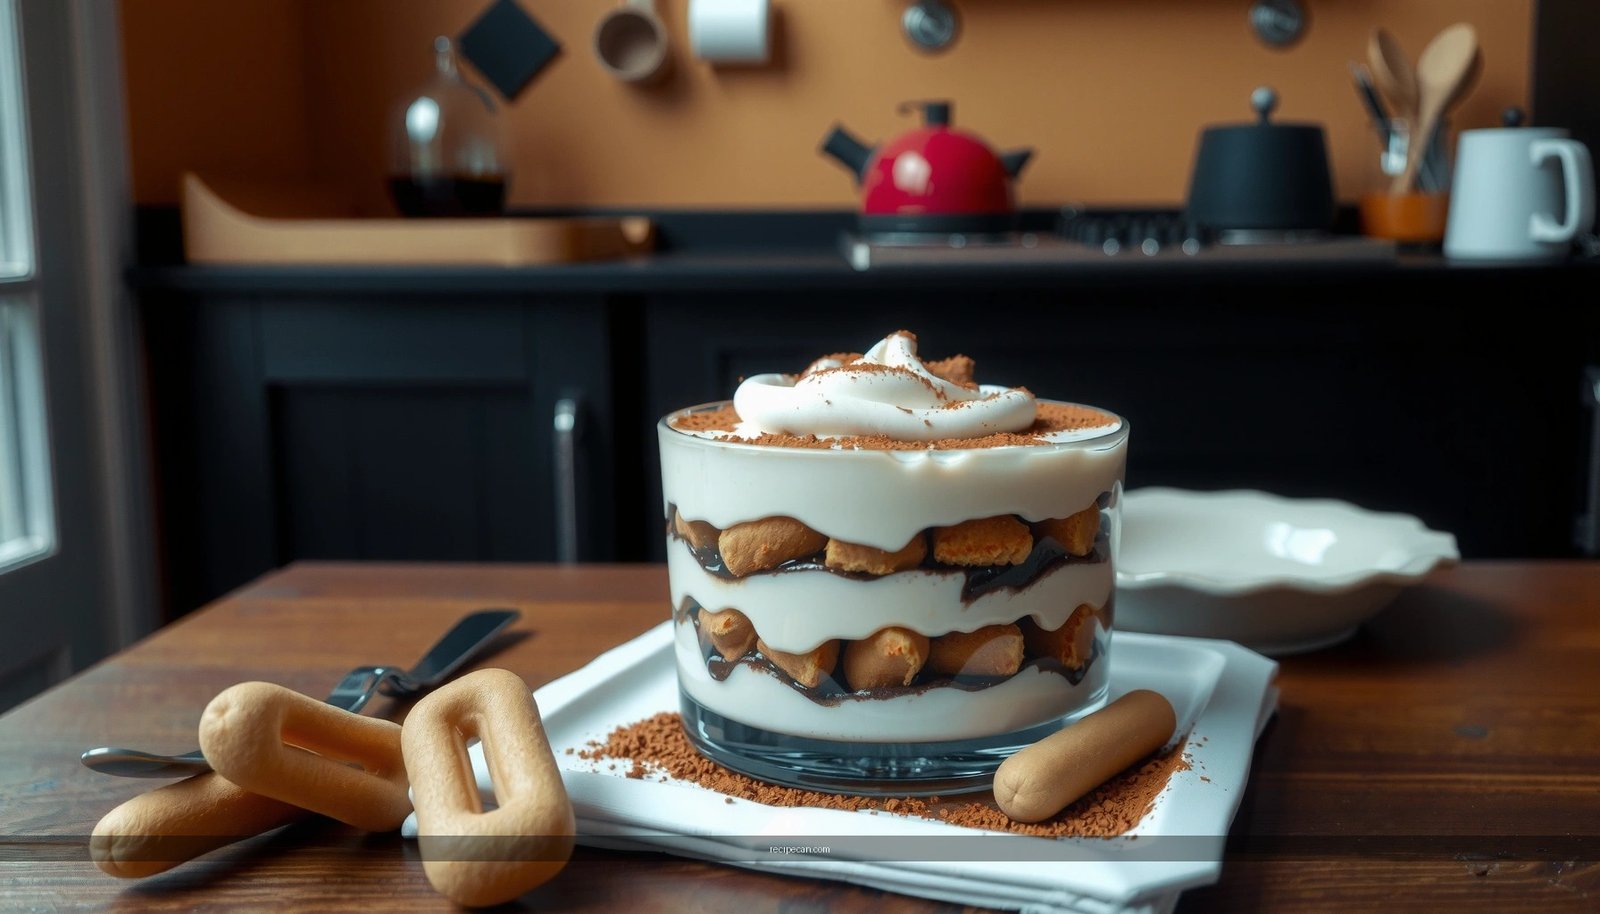
Assemble the Tiramisu Layers
Assembly is straightforward, but the order and evenness of layers determine how your tiramisu slices.
Layering approach:
1. Spoon a thin layer of mascarpone cream into the bottom of your dish (this prevents sliding).
2. Arrange a layer of quickly dipped ladyfingers.
3. Spread a generous mascarpone cream layer evenly.
4. Repeat: ladyfingers → cream → ladyfingers → cream.
How to smooth the layers:
– Use an offset spatula or the back of a spoon to level the cream.
– Tap the dish lightly on the counter to remove air gaps.
– Keep the top layer clean and even—this improves the visual presentation once chilled.
Common assembly mistake to avoid:
– Pressing down too hard. Gentle spreading is enough; pressing compresses the layers and can reduce the “creamy stratification” effect.
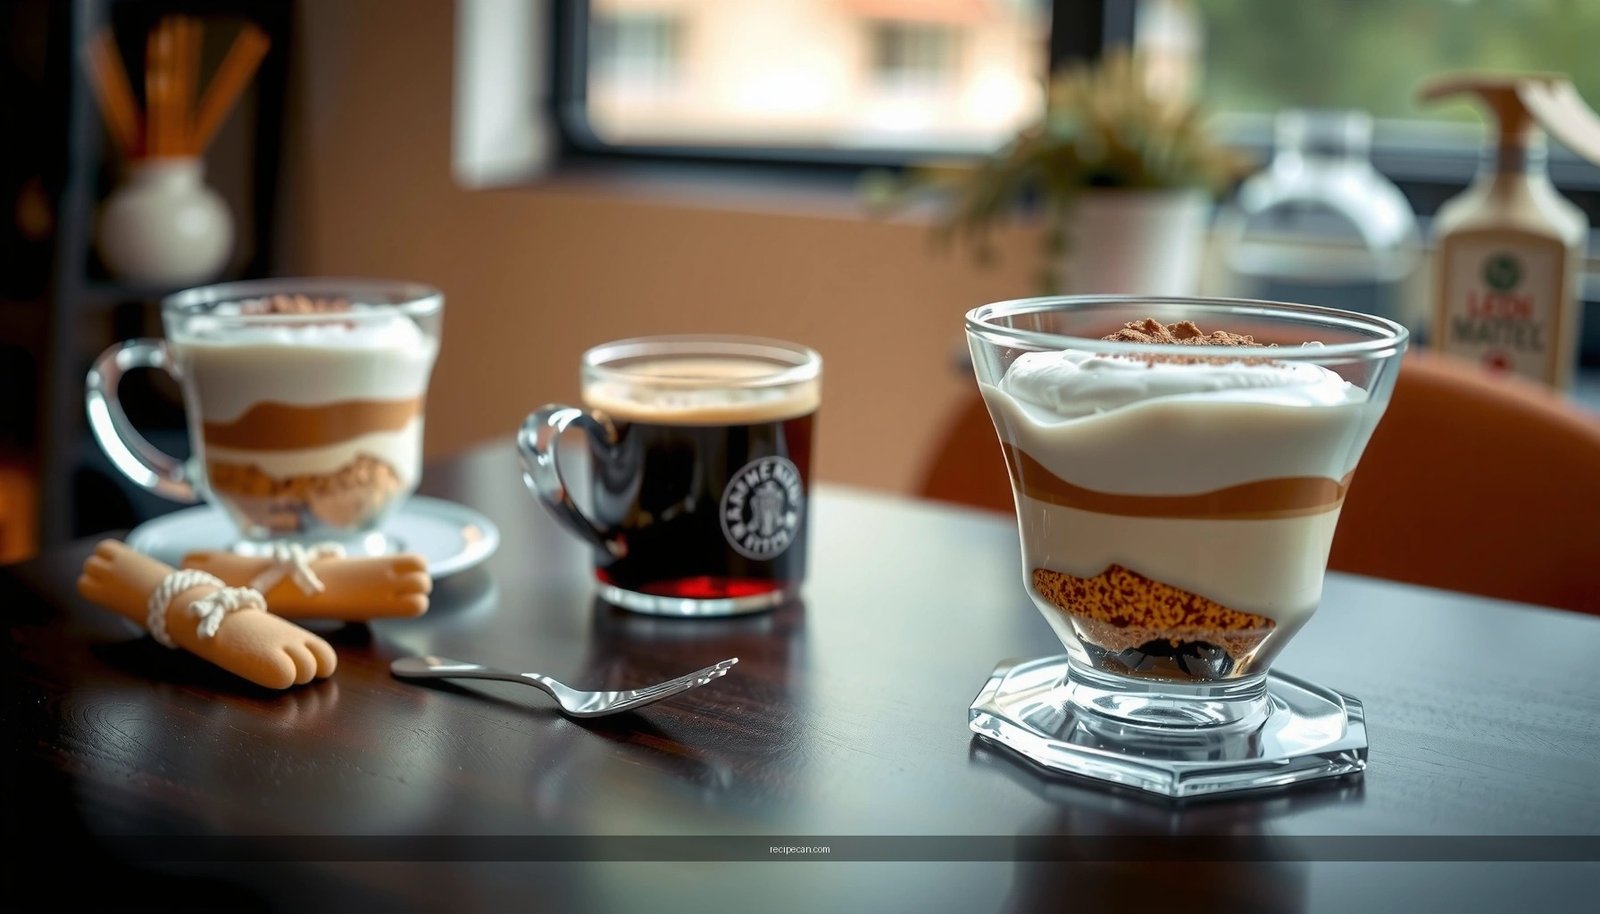
Portioning for consistent slices:
If you’re serving a group, plan your cuts before chilling:
– For a typical 8×8-inch dish, many bakers aim for 9–12 squares depending on how thick you want each portion.
Chill and Set for the Best Texture
Chilling is not optional if you want “restaurant-style” tiramisu. The refrigerator time allows coffee to blend with mascarpone and stabilizes the structure.
Minimum chilling:
– Refrigerate for at least 4–6 hours.
Best practice:
– Overnight is best for the most cohesive texture and balanced flavor.
What happens during chilling (why it works):
– Ladyfingers continue to absorb coffee in a controlled way.
– Mascarpone firms slightly, so slices hold clean edges.
– Flavors meld, rounding the espresso bitterness and deepening cocoa notes.
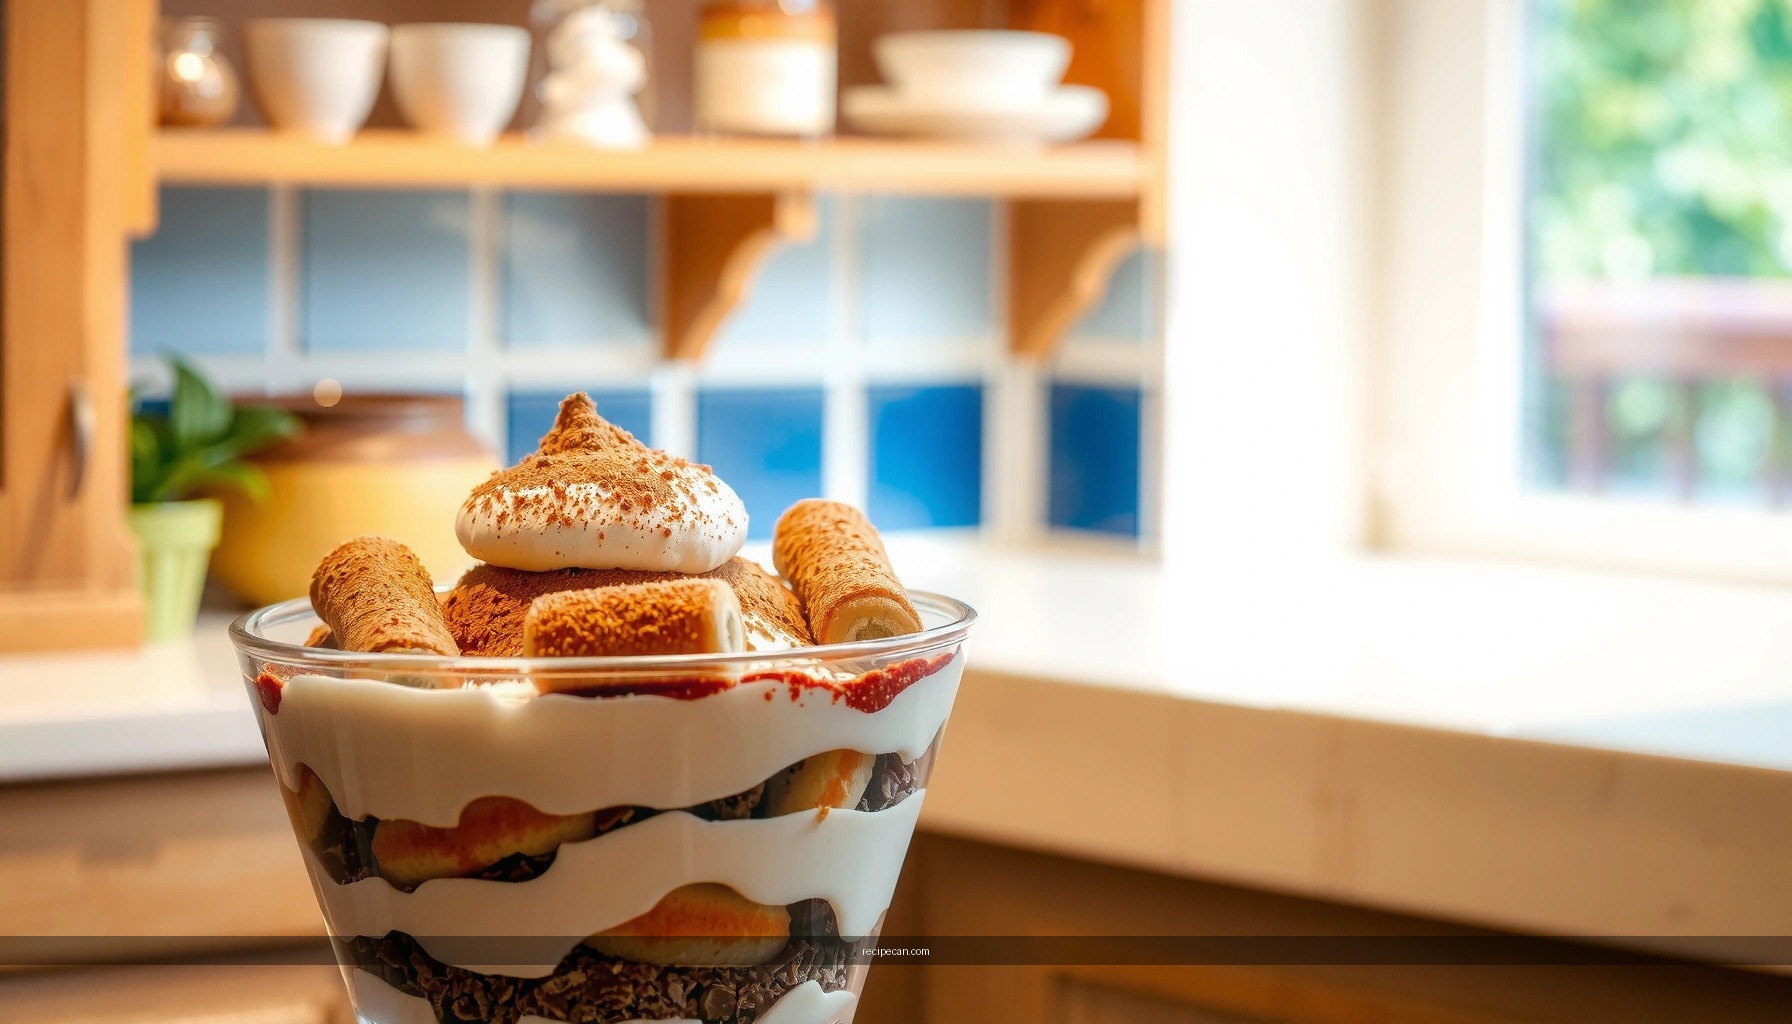
Cocoa timing:
– Dust the top with cocoa right before serving (within 30–60 minutes).
– This keeps the surface aroma strong and prevents cocoa from dissolving into the cream.
Optional garnish ideas (use sparingly): a light extra cocoa dusting, a few dark chocolate shavings, or a single espresso bean per plate—enough to signal quality without overpowering.
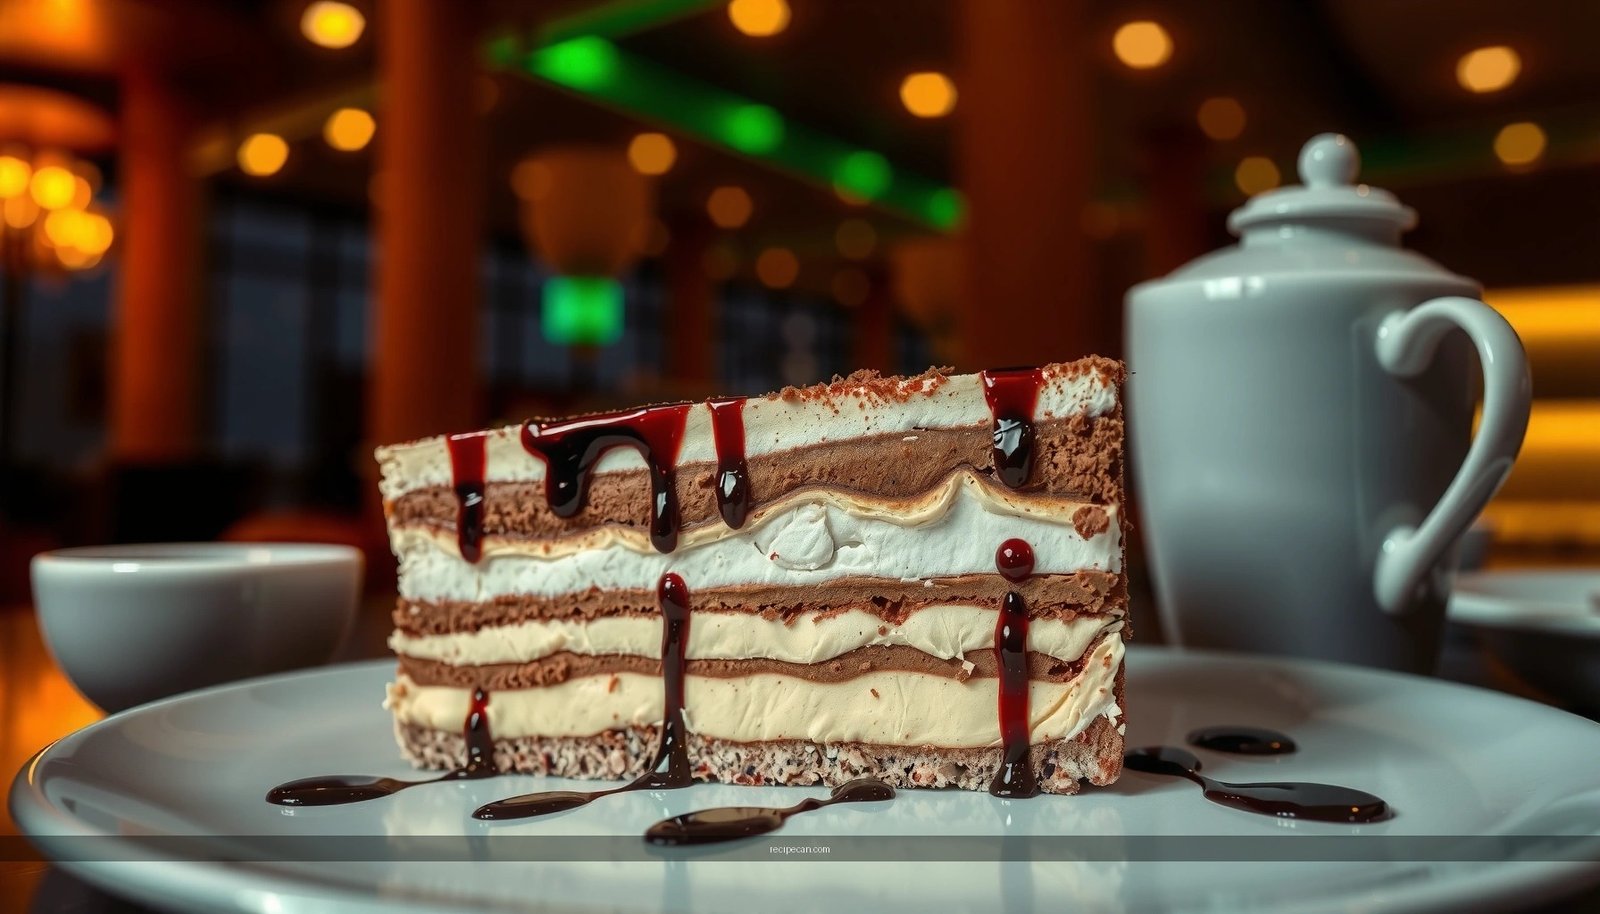
Serving Tips for a Classic Tiramisu
Serving tiramisu is where you protect the final experience—presentation and clean texture are part of the “cooked” result.
For clean slices:
– Use a sharp knife.
– Wipe the blade between cuts (coffee and cream residue can drag and smear layers).
– Serve chilled; letting it warm slightly can soften layers and blur edges.
For best flavor perception:
– Plate promptly after slicing.
– Keep the dessert refrigerated until the moment you serve, especially in warm environments.
Garnish guidance (professional restraint):
– If you add garnish, do it lightly and consistently.
– Cocoa is the main “top note.” Over-garnishing can mask the espresso and mascarpone balance that defines classic tiramisu.
Tiramisu Troubleshooting (Quick Fixes)
Even with a solid method, small factors can cause predictable outcomes. Here are targeted “if this happens, do that” solutions:
– Tiramisu is too watery / loose
– Likely cause: over-dipped ladyfingers or insufficient chill time.
– Fix: chill longer next time (overnight), and dip for less time (1 second per side).
– Tiramisu is too firm or dense
– Likely cause: under-aerated cream (whipped whites too stiff or over-mixed).
– Fix: stop whisking egg whites at soft peaks and fold gently.
– Layers taste bitter or overly strong
– Likely cause: coffee concentrate too intense or cocoa applied too early.
– Fix: cool coffee properly and consider balancing with slightly more sugar in mascarpone (to taste).
– Cream looks grainy
– Likely cause: mascarpone not smoothed enough before folding.
– Fix: whisk mascarpone + sugar until fully smooth before adding whipped components.
Conclusion
This tiramisu recipe succeeds because it treats key variables like a process control system: use strong espresso cooled slightly, dip ladyfingers quickly to prevent sogginess, make a smooth mascarpone cream with gentle aeration, and refrigerate long enough for the layers to set and meld. Follow these steps, and you’ll consistently produce a classic, creamy tiramisu with clean slices and balanced coffee-cocoa flavor—ready to serve at home like a true bakery dessert.
Frequently Asked Questions
What ingredients do I need to cook tiramisu at home?
To cook tiramisu (traditionally no-bake), you’ll need espresso or strong coffee, mascarpone cheese, eggs (or egg alternatives like pasteurized eggs), sugar, ladyfingers (savoiardi), and cocoa powder. Optional ingredients include vanilla extract or a splash of rum/marsala for flavor. Use good-quality coffee because the espresso flavor is central to the tiramisu recipe.
How do I assemble a tiramisu recipe without it turning watery?
Dip ladyfingers in espresso quickly—usually 1–2 seconds per side—so they absorb coffee without becoming soggy. Also let the coffee cool to room temperature before assembling, and avoid over-saturating the layers. If your mascarpone mixture feels loose, chill it briefly before layering to help the tiramisu set properly.
How can I cook tiramisu safely if my recipe uses raw eggs?
If your tiramisu recipe includes eggs, use pasteurized eggs or choose a method that gently cooks/temper the mixture for safety. Whisk egg yolks with sugar over low heat until slightly thickened, then combine with mascarpone to create a safer zabaglione-style base. For the simplest option, look for an egg-free tiramisu method or use pasteurized egg products.
Which coffee is best for an authentic tiramisu flavor?
Use freshly brewed espresso for the closest taste, but strong brewed coffee works well if espresso isn’t available. Avoid flavored coffee blends, because they can overpower the delicate cocoa and mascarpone notes. Chill the coffee first for better consistency when you’re soaking the ladyfingers in your tiramisu recipe.
Why should you chill tiramisu before serving, and how long is best?
Chilling helps the mascarpone mixture firm up and allows the ladyfingers to absorb the espresso for the classic tiramisu texture. For best results, refrigerate for at least 4–6 hours, or overnight if you want cleaner slices and deeper flavor. When you’re ready to serve, dust with cocoa powder right before serving to keep it fresh and prevent dissolving.
References
- Tiramisu
https://en.wikipedia.org/wiki/Tiramisu - Tiramisu | Meaning, Ingredients, Origin, Desserts, & Taste | Britannica
https://www.britannica.com/topic/tiramisu - https://www.bbc.co.uk/food/recipes/tiramisu_70775
https://www.bbc.co.uk/food/recipes/tiramisu_70775 - https://www.theguardian.com/food/2019/sep/16/classic-tiramisu-recipe
https://www.theguardian.com/food/2019/sep/16/classic-tiramisu-recipe - https://cooking.nytimes.com/recipes/1018694-classic-tiramisu
https://cooking.nytimes.com/recipes/1018694-classic-tiramisu - https://pubmed.ncbi.nlm.nih.gov/?term=tiramis%C3%B9+recipe
https://pubmed.ncbi.nlm.nih.gov/?term=tiramis%C3%B9+recipe - Google Scholar Google Scholar
https://scholar.google.com/scholar?q=how+to+cook+tiramisu+recipe - Google Scholar Google Scholar
https://scholar.google.com/scholar?q=traditional+tiramisu+preparation+method+mascarpone+eggs - Google Scholar Google Scholar
https://scholar.google.com/scholar?q=tiramisu+coffee+savoiardi+coffee+soaking+study - how to cook tiramisu recipe – Search results
https://en.wikipedia.org/wiki/Special:Search?search=how+to+cook+tiramisu+recipe