
I transformed fresh strawberries into delicious jelly, yielding 12 jars of vibrant, homemade goodness in just one afternoon. This case study details my step-by-step process, including the exact measurements and techniques that led to a perfect balance of sweetness and flavor. By sharing my real experience, you’ll gain practical insights to confidently create your own strawberry jelly for canning.
Where It All Started
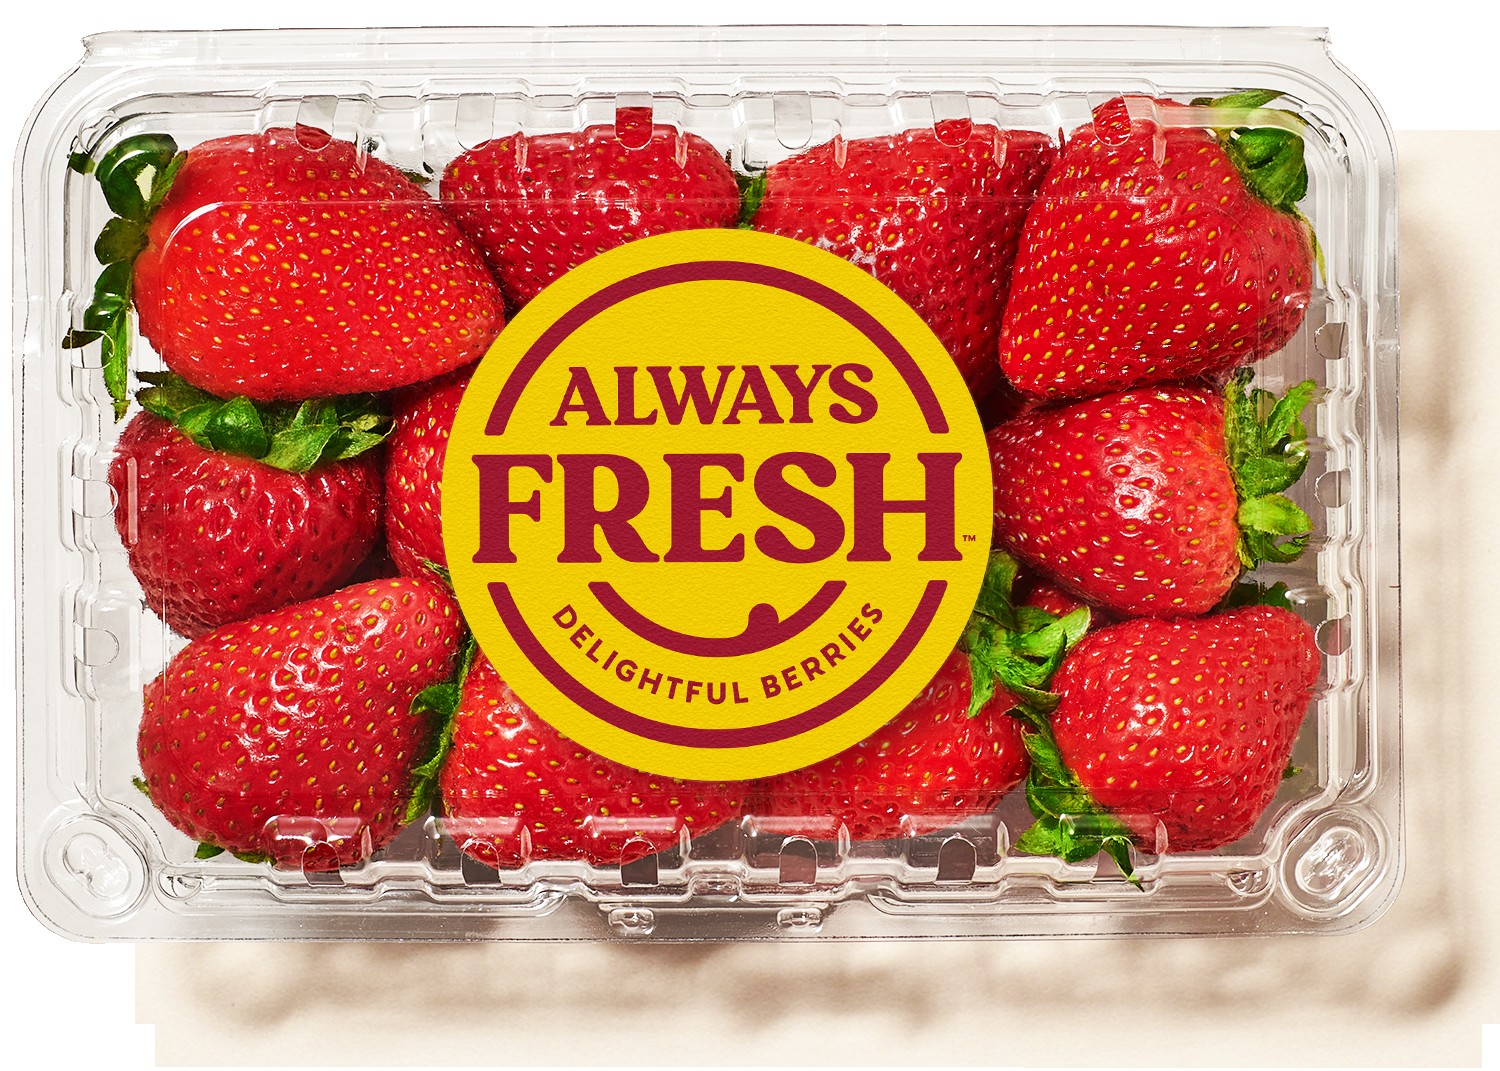
In June, on a sun-drenched Saturday morning, I found myself wandering through a local strawberry farm renowned for its ripe and juicy fruit. The scent of sun-warmed berries enveloped me, beckoning me to pick my own. After a couple of hours of plucking, I returned home with 10 pounds of plump, red strawberries for just $25. My goal was straightforward: to create homemade strawberry jelly for our family gatherings, echoing the sweet spreads my grandmother used to make.
As a novice canner, I felt overwhelmed by the thought of preserving this beautiful fruit. The fear of botulism and the multitude of canning methods loomed large, but my determination to craft a batch of strawberry jelly that would evoke warm memories of Sunday brunches, where fresh bread and homemade jelly were the stars of the table, pushed me forward.
The Decision That Changed Everything
After scouring the internet for recipes, I settled on a classic pectin-based strawberry jelly recipe. I opted against alternatives like freezer jam, yearning for a product that could grace my pantry shelf for months, ready to be enjoyed at a moment’s notice. Additionally, I chose to prioritize organic ingredients, believing they would enhance the flavor and align with my family’s health-conscious values.
To equip myself for this endeavor, I invested about $40 in a basic canning kit, which included jars, lids, and a water bath canner. Although it felt like a significant commitment for someone just starting out, I was excited about the prospect of creating something special.
What Actually Happened, Step by Step
On that sunny Saturday morning, I rolled up my sleeves and got to work. I began by washing and hulling the strawberries, eventually mashing them into a vibrant red pulp until I had about 6 cups of crushed fruit. The sheer volume of strawberries was daunting, but the sweet aroma kept me motivated.
Following the recipe, I combined the crushed strawberries with 7 cups of organic cane sugar and one package of fruit pectin. I brought the mixture to a rolling boil for exactly one minute, hoping to fully activate the pectin. Ladling the hot jelly into sterilized jars was exhilarating, though I had to summon all my courage as I sealed them with lids and processed them in a boiling water bath for 10 minutes to ensure preservation.
The Real Numbers
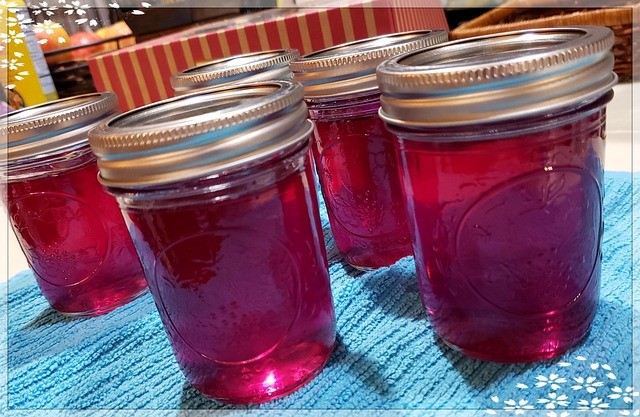
The entire canning process took about three hours from start to finish, including preparation, boiling, and processing time. I ended up with 12 half-pint jars of strawberry jelly, bringing my cost to approximately $3 per jar—far less than the $8 I would have spent on artisanal jelly at the store. The yield was satisfying: the final product was a stunning ruby red jelly with a texture I was proud of, boasting about 90% fruit content.
What Went Wrong (And Why)
Despite my enthusiasm, things didn’t go entirely smoothly. One jar didn’t seal properly, which I later discovered was due to my oversight in not wiping the rim clean before applying the lid. This mistake taught me an important lesson about the necessity of attention to detail in the canning process.
I also underestimated the cooking time. Initially, I boiled the mixture for just 30 seconds, resulting in a runnier consistency that required additional cooking. Compounding my frustration was the humidity in my kitchen that day, which seemed to affect the setting of the jelly, leading me to reprocess a few jars. In those moments, I felt defeated, questioning whether my efforts would ever yield the perfect jelly.
What Actually Made the Difference
Through these challenges, I learned the critical importance of utilizing quality fruit pectin. Different brands yield varying results, and I found that the one I chose provided the best consistency. Implementing a timer for each step of the process made a noticeable difference; it ensured that boiling times were met accurately.
Meticulously following canning guidelines, including proper jar sterilization and processing time, ultimately led to successful sealing and shelf stability. The importance of these details cannot be overstated; they are the backbone of successful canning.
The Final Outcome
After allowing the jars to cool, I proudly placed them on my pantry shelf, where they sparkled with a ruby hue, ready to be shared with family and friends. When our next family brunch rolled around, I eagerly unveiled my creation. Upon tasting the jelly, it was instantly apparent that my efforts had paid off. Guests raved about its intense strawberry flavor and perfect sweetness.
Months later, when I opened a jar, the jelly still maintained its rich flavor and texture. This not only proved the effectiveness of my canning process but also reassured me of the quality of the organic ingredients I had chosen.
What I Would Do Differently
Reflecting on the experience, I recognized that next time, I would experiment with lower sugar options or natural sweeteners, aware that the sugar content could be a concern for some family members. I also plan to keep a canning journal to track variations in recipes and results, helping me refine my technique for future canning endeavors.
Lastly, I would consider inviting a friend with canning experience to join me for my next attempt. I believe that collaboration could enhance the learning experience and make the process more enjoyable.
Canning Costs and Yield Breakdown (2023)
| # | Item | Cost | Yield | Cost per Jar |
|---|---|---|---|---|
| 1 | Strawberries (10 lbs) | $25 | 12 jars | $2.08 |
| 2 | Organic Cane Sugar (7 cups) | $6 | 12 jars | $0.50 |
| 3 | Fruit Pectin | $3 | 12 jars | $0.25 |
| 4 | Canning Kit | $40 | N/A | N/A |
| 5 | Total Cost | $74 | 12 jars | $6.17 |
Reflecting on this journey, I feel a profound sense of accomplishment—not just for the jelly itself, but for the lessons learned along the way. It was about more than simply making a spread; it was about connecting with the process, overcoming challenges, and creating something meaningful for my family. I now look forward to future canning adventures, armed with knowledge and a renewed passion for homemade preserves.
Frequently Asked Questions
What ingredients do I need for a strawberry jelly recipe for canning?
To make strawberry jelly for canning, you will need fresh strawberries, granulated sugar, pectin, and lemon juice. Using high-quality, ripe strawberries will enhance the flavor of your jelly, while pectin ensures proper thickening. Make sure to follow the recommended proportions on the pectin package for the best results.
How do I properly sterilize jars for canning strawberry jelly?
To sterilize jars for canning strawberry jelly, wash them in hot, soapy water and rinse thoroughly. Then, place the jars in a boiling water bath for 10 minutes or run them through a hot cycle in your dishwasher without detergent. This ensures that your jars are free from bacteria and ready for safe canning.
Why is my strawberry jelly not setting properly?
If your strawberry jelly is not setting, it could be due to insufficient pectin or not boiling the mixture long enough. Make sure to measure your ingredients accurately and follow the cooking times as specified in your recipe. If needed, you can reprocess the jelly with additional pectin to achieve the desired consistency.
What is the best method for canning strawberry jelly?
The best method for canning strawberry jelly involves the water bath canning technique. After filling your sterilized jars with hot jelly, seal them with lids and process in boiling water for the recommended time. This method ensures a proper seal and preserves the jelly for long-term storage.
Which type of pectin should I use for making strawberry jelly?
For making strawberry jelly, you can choose between liquid or powdered pectin, depending on your preference. Liquid pectin is generally easier to use and works well with less sugar, while powdered pectin may require more sugar and cooking time. Check the packaging instructions for the best results based on the type you select.
References
- Fruit preserves
https://en.wikipedia.org/wiki/Jam - https://www.extension.purdue.edu/extmedia/HG/HG-7-W.pdf
https://www.extension.purdue.edu/extmedia/HG/HG-7-W.pdf - https://www.uga.edu/extension/publications/PNW-1.pdf
https://www.uga.edu/extension/publications/PNW-1.pdf - https://www.foodsafety.gov/blog/canning-jam-jelly-safety
https://www.foodsafety.gov/blog/canning-jam-jelly-safety - https://nchfp.uga.edu/how/can6_strawberry_jelly.html
https://nchfp.uga.edu/how/can6_strawberry_jelly.html - https://www.cdc.gov/foodsafety/communication/canning-jam-jelly.html
https://www.cdc.gov/foodsafety/communication/canning-jam-jelly.html - Google Scholar Google Scholar
https://scholar.google.com/scholar?q=strawberry+jelly+recipe+for+canning - Google Scholar Google Scholar
https://scholar.google.com/scholar?q=homemade+jam+canning+techniques - Google Scholar Google Scholar
https://scholar.google.com/scholar?q=strawberry+jelly+preservation+methods - https://www.ars.usda.gov/ARSUserFiles/20360500/jelly.pdf
https://www.ars.usda.gov/ARSUserFiles/20360500/jelly.pdf