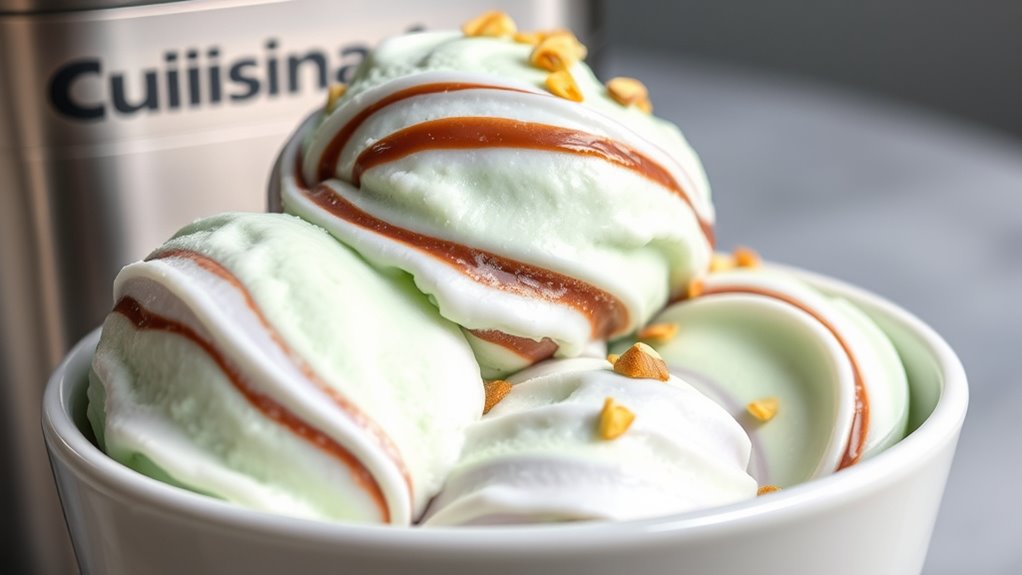
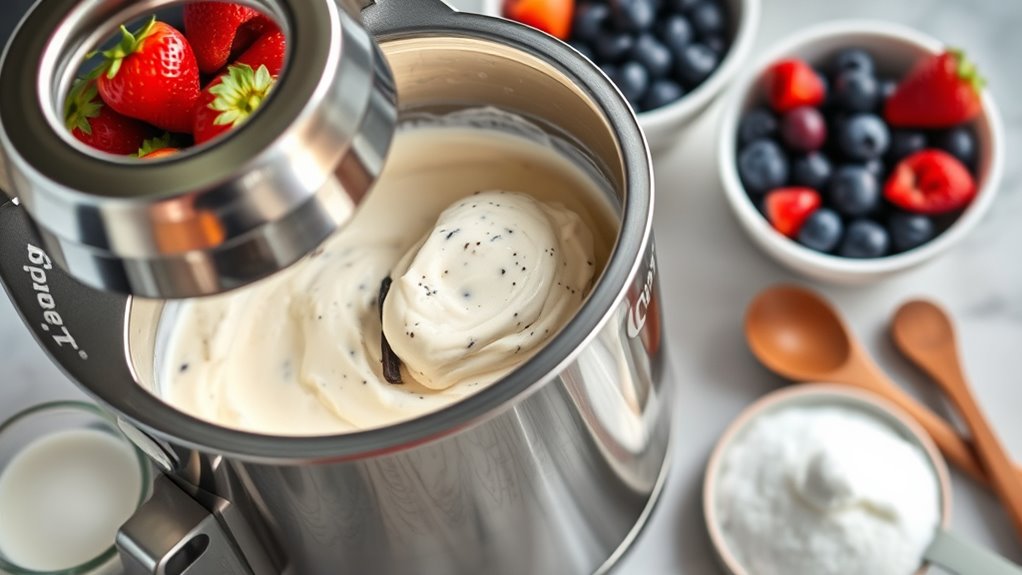
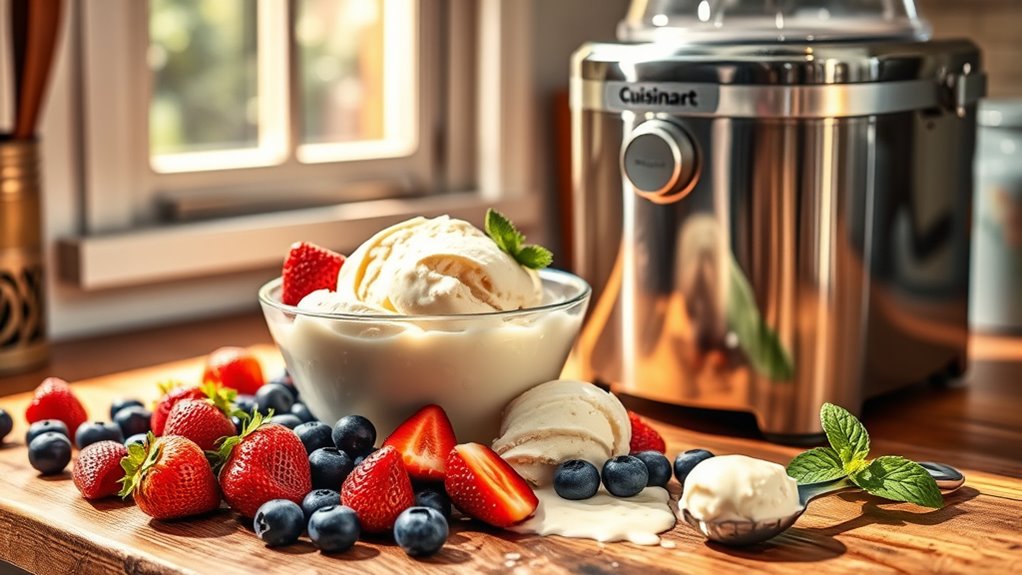
With your Cuisinart, start by whisking a smooth dairy base: heavy cream, whole milk, sugar, vanilla, and a pinch of salt, then simmer gently to bloom flavors. Chill thoroughly, then churn at the lowest speed for a creamy, air-kissed texture. Add mix-ins like berries or chocolate near the end. Serve in chilled bowls with a drizzle of caramel or fruit. Stay tuned for tips that boost creaminess and texture in every batch.
Ingredients and Quantity
Gather the ingredients you’ll need: two cups heavy cream, one cup whole milk, three-fourths cup granulated sugar, two teaspoons vanilla extract, a pinch of salt, and optional add-ins like fresh fruit, chocolate chips, or crushed cookies.
| Base | Optional Add-ins | Substitutions |
|---|---|---|
| Cream | Fruit, chips, cookies | Almond milk, coconut cream |
| Milk | Nuts, swirls | Half-and-half |
| Sugar | – | Honey, maple |
| Flavor | Vanilla | Extracts, zests |
You’ll savor a precise balance—creamy, lightly sweet, bright with vanilla. You’re free to customize with ice cream flavors and ingredient substitutions that suit your palate, staying mindful of texture and melt. This section keeps it concise, inviting experimentation without dulling clarity.
Preparations
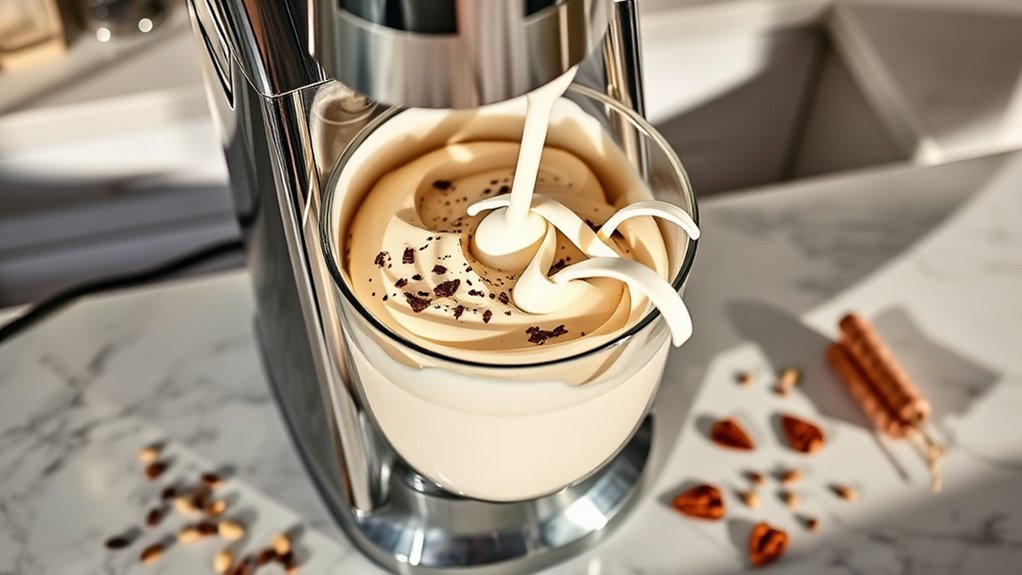
Now that you’ve lined up your ingredients, it’s time to move into preparations. You’ll approach ice cream with purpose, honoring ice cream basics while keeping the process clean and efficient. Begin with gentle tempering: whisk yolks or dairy base until smooth, then heat steadily to a lazy simmer, avoiding scorching. Aim for even texture by streaming fat into the mixture and stirring continuously, never rushing. Chill the base thoroughly to lock in flavor and meld textures, a quiet, patient step that pays off in creaminess. When you’re ready to churn, set your machine to its lowest speed, letting air fold in naturally for volume without stiffness. Mastery comes through these preparation techniques, controlled yet liberating, yielding a final scoop that speaks to ice cream basics with confident freedom.
How to Cook
- Balance heat and texture with measured precision to guide the base to a gentle simmer without scorching.
- Maintain steady movement, watching for a glossy sheen that signals proteins and fats are aligned.
- Keep dairy understated, then bloom flavors with subtle vanilla, cocoa, or toasted seeds.
- Temper eggs or stabilize with cornstarch to ensure a silky, machine-ready custard.
- Chill thoroughly; cold sets structure as air folds in.
- When churning, feel the texture thicken, tracing slow ribbons that cling to the paddle.
- Practice patience; ice cream techniques demand restraint and reward with a clean finish.
- Pair components confidently, exploring flavor combinations that excite you.
- Embrace experimentation, balance, and discipline for flavorful results.
How to Serve
Serving ice cream well starts with presentation that complements the scoop’s creaminess. You’ll elevate flavor with deliberate plating, clean lines, and aroma that tease the senses. Keep portions modest, so each bite feels bold rather than heavy, and let color contrast invite curiosity. Below are ideas designed for freedom-loving minds who crave substance and style.
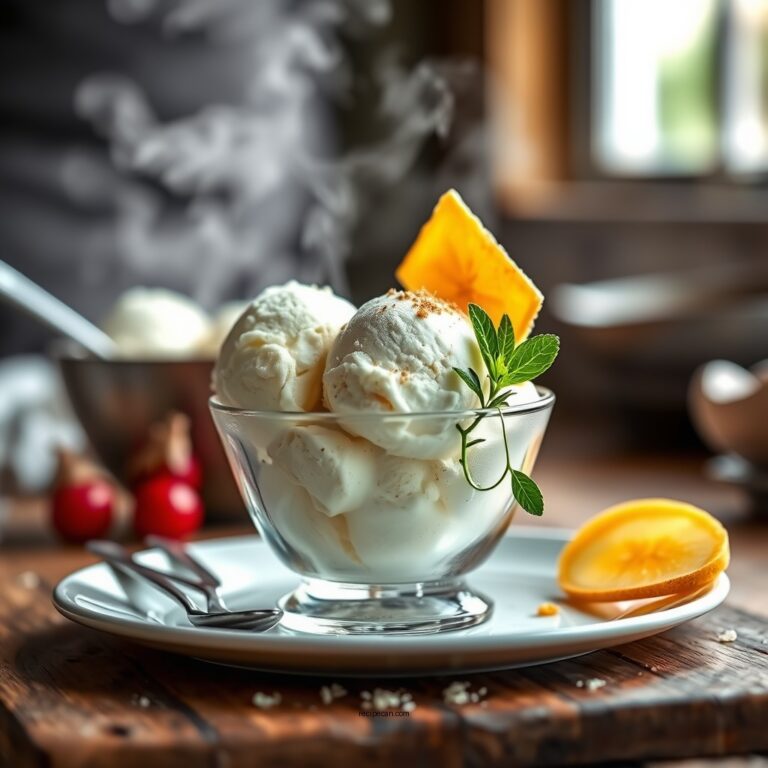
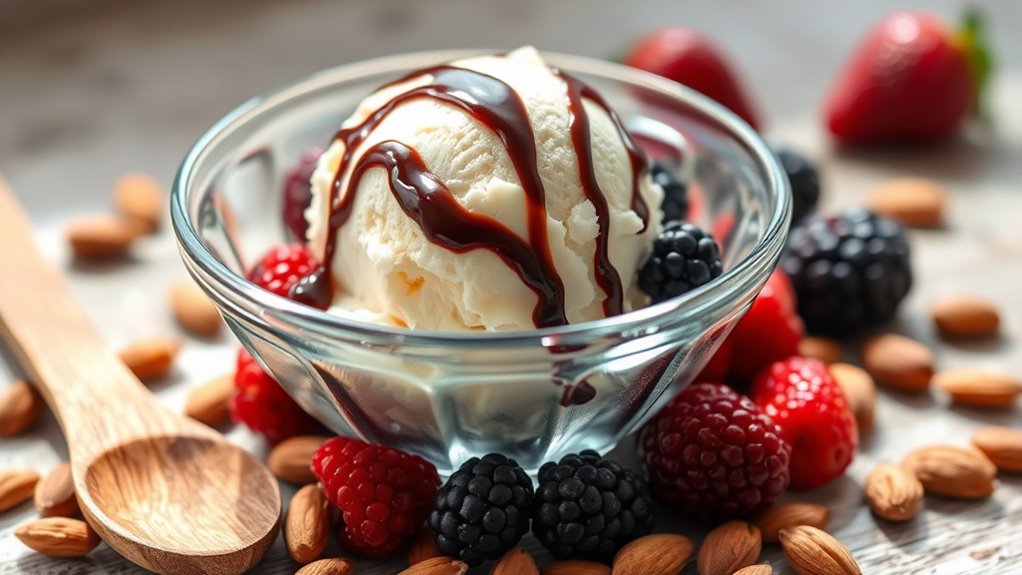
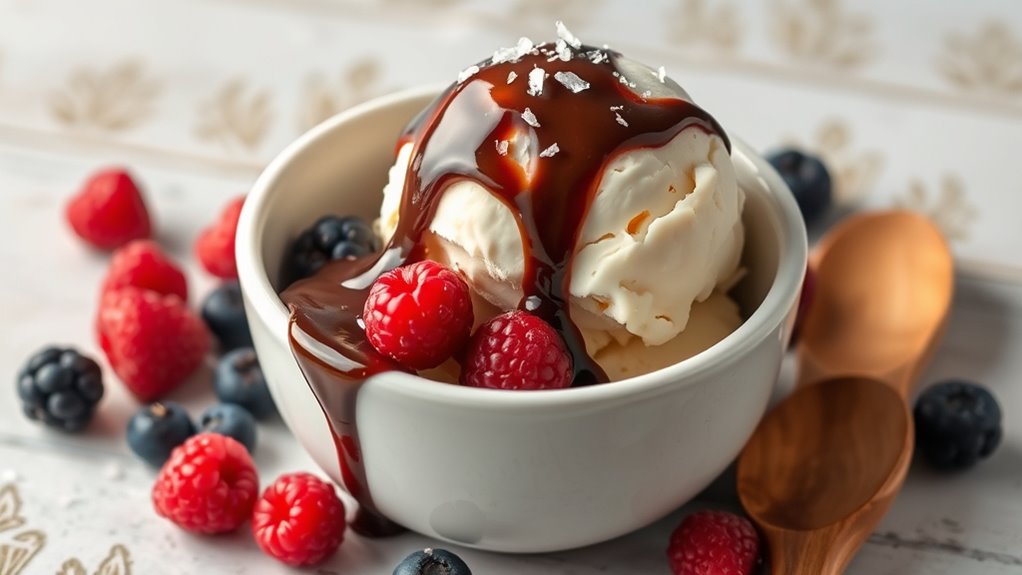
1) Serve in chilled bowls with a drizzle of chocolate or caramel to highlight aroma and texture.
2) Pair with seasonal toppings—berries, toasted nuts, or a pinch of flaky salt for dimension.
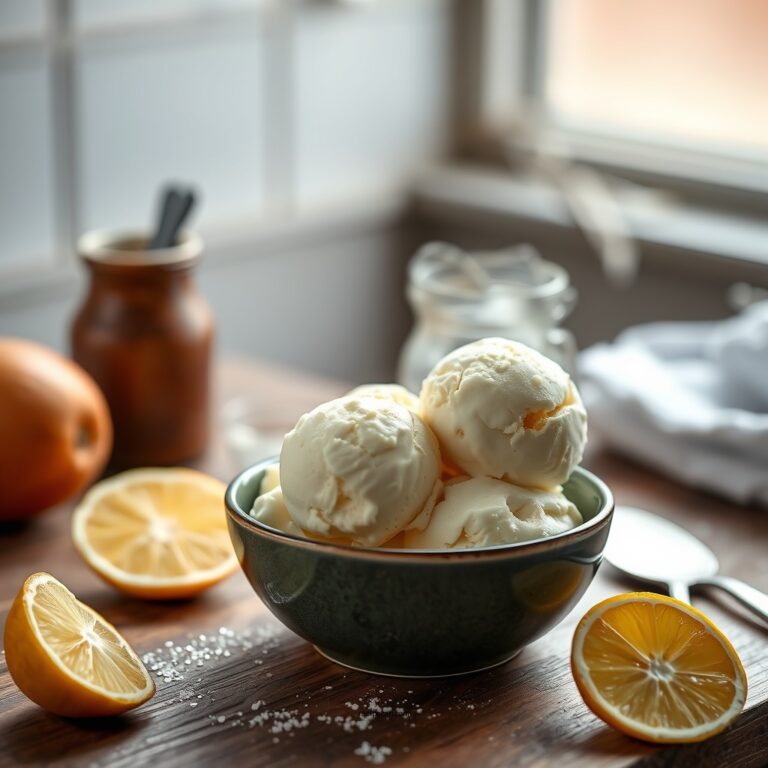
3) Create contrasting vessels—glass, ceramic, or rustic wooden spoons—to enhance the visually appealing experience.
4) Offer bite-size accompaniments on the side to invite tasting and exploration.
Serving suggestions, Presentation ideas to inspire each delightful indulgence.
Tips
Master the basics with confidence: chill your mix, churn at the right speed, and freeze promptly to lock in creaminess. You’ve got this, so stay sharp and patient. Tips you’ll actually use: keep your ice cream base cold until it hits the churn, because warmth invites ice crystals you don’t want. Taste early in the process to guide adjustments without overmixing. For texture, balance fat, sugar, and stabilizers; small changes matter. When you flavor, lean into ice cream creativity—espresso, vanilla bean, or cocoa—then pair with bold flavor combinations that spark delight. Chill portions for serving, and store in a sturdy container to avoid freezer burn. You deserve a dessert that embodies freedom and precision in every scoop. ice cream, flavor combinations.
Food Value and Benefit
Ice cream, when made at home, offers more than just a delicious treat—it provides valuable nutrients and enjoyable benefits that contribute to a balanced diet. Each scoop delivers a satisfying flavor experience while offering essential vitamins and minerals.
Food Value and Benefits of Homemade Ice Cream:
- Nutritional Benefits: Made with lightweight dairy, homemade ice cream is a good source of calcium and protein, essential for strong bones and muscle repair.
- Vitamin Content: Contains vitamin A, which supports vision and immune function, and vitamin B12, important for nerve health and red blood cell production.
- Mineral Content: Provides calcium for bone health and phosphorus for energy metabolism.
- Health Considerations: Controlled sugar content helps maintain steady energy levels, while portion control promotes mindful indulgence without excess calories.
- Flavor and Texture: Using quality vanilla and real cream, combined with slow churning, preserves rich aroma and creamy texture.
- Satiety Advantage: The rich mouthfeel helps satisfy cravings faster, reducing the likelihood of overeating later.
Enjoying homemade ice cream in moderation allows you to indulge in a flavorful dessert that also supports your nutritional needs.
Frequently Asked Questions
How Long Does Homemade Ice Cream Last in the Freezer?
You’ll find homemade ice cream lasts about 1 to 2 months in the freezer. For best texture, seal tightly and prevent frost. freezer storage gaps affect ice cream shelf life, so keep air out and maintain steady temps.
Can I Use Non-Dairy Milk for This Recipe?
Yes, you can, but choose non dairy options that blend smoothly, like soy, oat, or almond milks. Use creamier milk alternatives, whisk well, and monitor sweetness. Your frozen treat will taste cleaner, richer, and liberating for dairy-free cravings.
What Dairy-Free Substitutions Work Best Here?
“Where there’s a will, there’s a way.” You can swap with coconut cream and almond milk for dairy-free creaminess, blending coconut cream for richness and almond milk for light body, giving you smooth, liberation-loving frozen perfection.
Do I Need an Ice Cream Mixer or Will a Blender Work?
Yes, you can use a blender, but a dedicated ice cream mixer yields creamier texture; for blender-only, churn longer and scrape often. Consider ice cream mixers, or treat your blender as a performance-death blender alternatives, staying flexible and fearless.
How Do I Fix Icy or Grainy Texture Quickly?
To fix icy texture fast, churn longer, warm your mix slightly, then add a touch of cream alternatives like coconut cream or dairy-free options; freeze briefly between checks. Texture improvement depends on fat balance and gentle handling.
Frequently Asked Questions about Homemade Ice Cream Cuisinart Recipe
1. What ingredients do I need for a basic homemade ice cream recipe using a Cuisinart ice cream maker?
For a basic homemade ice cream recipe, you will need the following ingredients:
- 2 cups heavy cream
- 1 cup whole milk
- 3/4 cup granulated sugar
- 1 teaspoon pure vanilla extract
- Pinch of salt
These ingredients create a rich and creamy base for your ice cream. You can also add flavorings or mix-ins as desired.
2. How long does it take to make ice cream in a Cuisinart ice cream maker?
The entire process typically takes about 20 to 30 minutes. After preparing your ice cream base, you will need to chill it for at least 1-2 hours in the refrigerator. Once chilled, pour the mixture into the Cuisinart ice cream maker, and churn it for approximately 20 minutes until it reaches a soft-serve consistency.
3. Can I make dairy-free ice cream using a Cuisinart ice cream maker?
Absolutely! You can create dairy-free ice cream by substituting dairy ingredients with non-dairy alternatives. For example, use coconut milk, almond milk, or cashew cream instead of heavy cream and whole milk. Sweeteners like maple syrup or agave can also be used to maintain the sweetness. Experiment with flavors and add-ins to create your perfect dairy-free treat!
4. What are some popular mix-ins for homemade ice cream?
Mix-ins can elevate your homemade ice cream and add delightful textures and flavors. Popular options include:
- Chocolate chips or chunks
- Candy pieces (like M&Ms or crushed Oreos)
- Fresh fruits (strawberries, blueberries, or bananas)
- Nuts (almonds, walnuts, or pecans)
- Swirls of caramel or fudge
Be sure to add mix-ins towards the end of the churning process to evenly distribute them without overmixing.
5. How should I store homemade ice cream?
To store homemade ice cream, transfer it to an airtight container and smooth the surface with a spatula. Cover the top with plastic wrap or parchment paper before sealing the lid to minimize ice crystals from forming. Homemade ice cream can be stored in the freezer for up to 2-3 weeks, but for the best texture, consume it within the first week.
References
- https://www.cooksillustrated.com/articles/2952-the-best-ice-cream-maker
- https://www.seriouseats.com/ice-cream-recipes-5118145
- https://www.huffpost.com/entry/homemade-ice-cream-recipes_n_5d1c8f57e4b0b9a0e02a29f0
- https://www.foodnetwork.com/recipes/ice-cream-recipes-2013070
- https://www.npr.org/sections/thesalt/2014/07/01/326646251/a-guide-to-homemade-ice-cream
- https://www.state.gov/ice-cream-recipe/