Craveable ice cream starts with a silky base: 2 cups heavy cream, 1 cup whole milk, 1/2 cup sugar, and 2 teaspoons vanilla. Whisk until smooth, then chill so flavors settle deeply. Churn in your Cuisinart until it coats a spoon and loosens into scoopable bliss. Fold in espresso, strawberry-basil, or chocolate swirls for personality, then freeze. When you’re ready to serve, scoop into bright bowls and finish with a kiss of cocoa or caramel—there’s more magic to discover.
Ingredients and Quantity
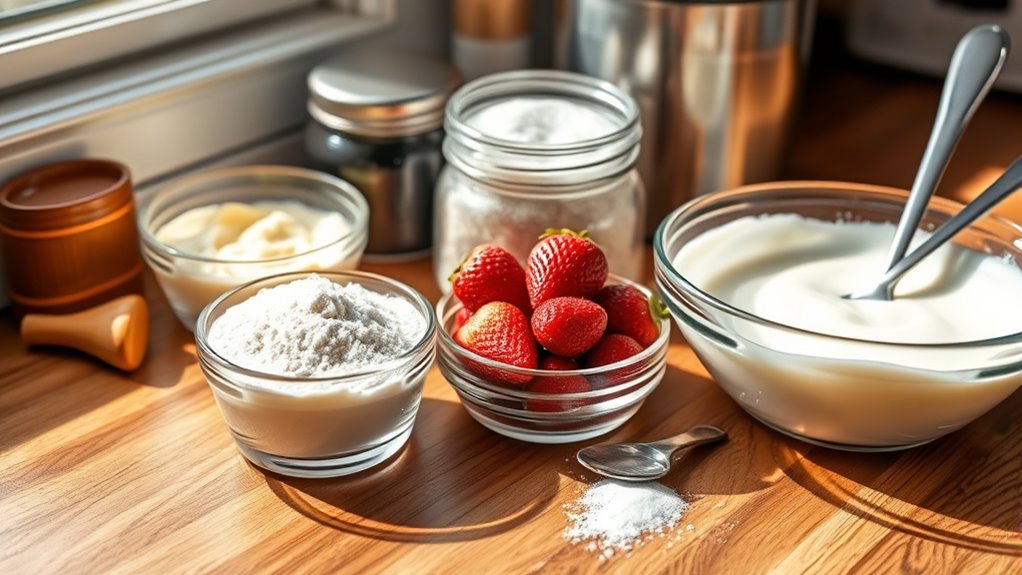
For this recipe, you’ll need a simple, pantry-friendly lineup: heav y cream, milk, sugar, and vanilla, plus a pinch of salt to keep the sweetness balanced. You’re free to mix flavors, and these ingredients invite bold flavor combinations and easy ingredient substitutions if needed. The base is rich, silky, and forgiving, so you can tailor sweetness and texture to your liking with small tweaks.
| Ingredient | Amount |
|---|---|
| Heavy cream | 2 cups |
| Whole milk | 1 cup |
| Granulated sugar | 1/2 cup |
| Vanilla extract | 2 tsp |
Preparations
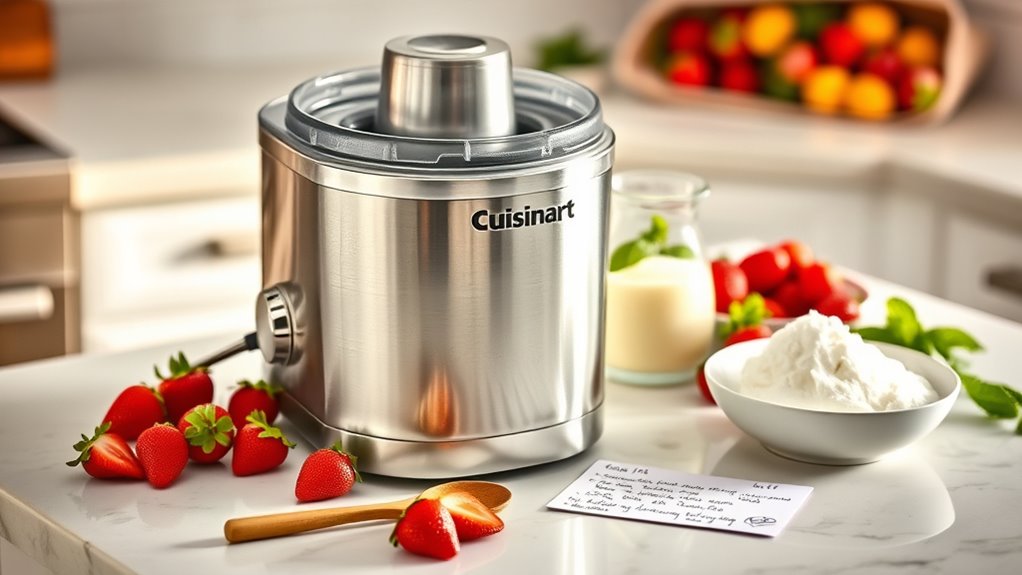
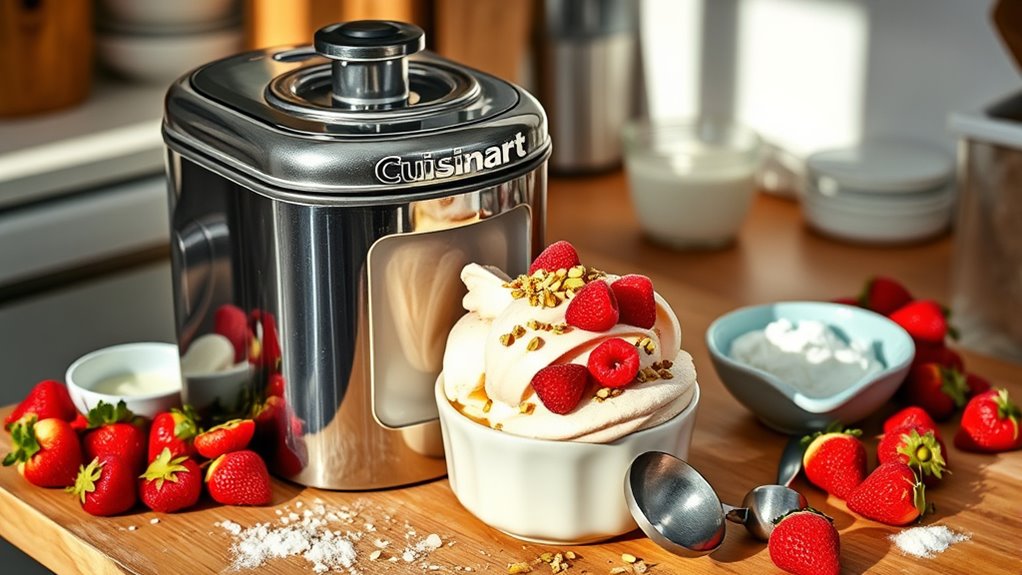
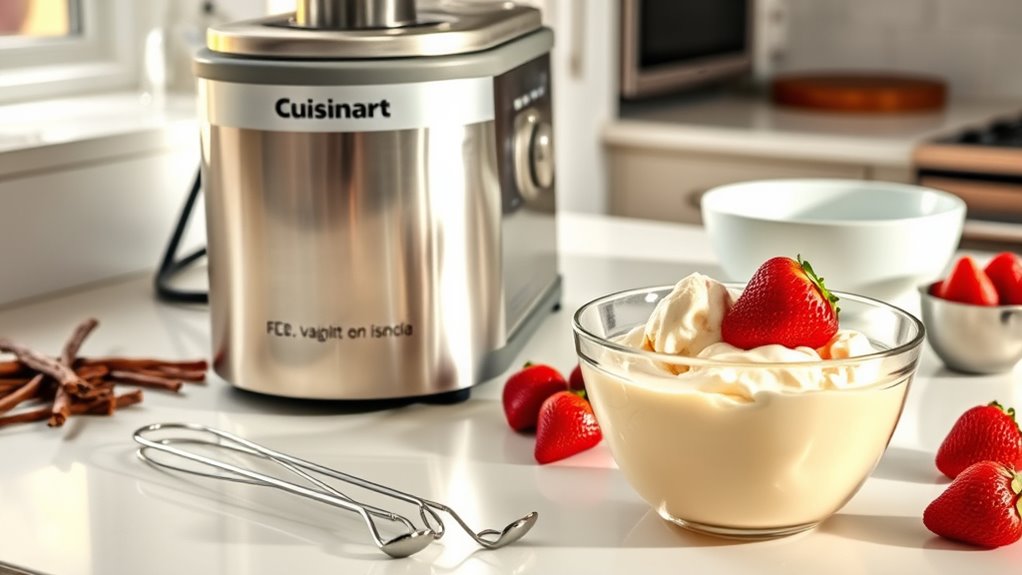
Gather your tools and ingredients, because prep is the quiet splash of flavor you’ll taste later. You’ll gather bowls, a whisk, measuring spoons, and your Cuisinart. Set out milk, cream, sugar, and any add-ins you’re chasing. This step is all about intent, not hurry; you’re shaping the canvas for ice cream, not rushing to the finish. Keep surfaces clean, labels visible, and portions precise so results stay consistent. Think about flavor combinations you want: vanilla with espresso, strawberry with basil, or salted caramel with toasted nuts. Stir with calm confidence until textures sing and temperatures align. When you’re ready, you’ll strike a balance between sweetness and brightness, knowing ice cream will reveal your chosen flavor combinations in every creamy bite. Freedom tastes delicious.
How to Cook
- Prepare your mise en place, organizing all ingredients and tools.
- Heat your base gently, just enough to coax flavors forward without rushing texture.
- Monitor the mixture as it simmers gently, whisking constantly to prevent scorching.
- Continue cooking until the custard coats the back of a spoon.
- Temper eggs carefully and control heat to maintain a smooth, glossy finish.
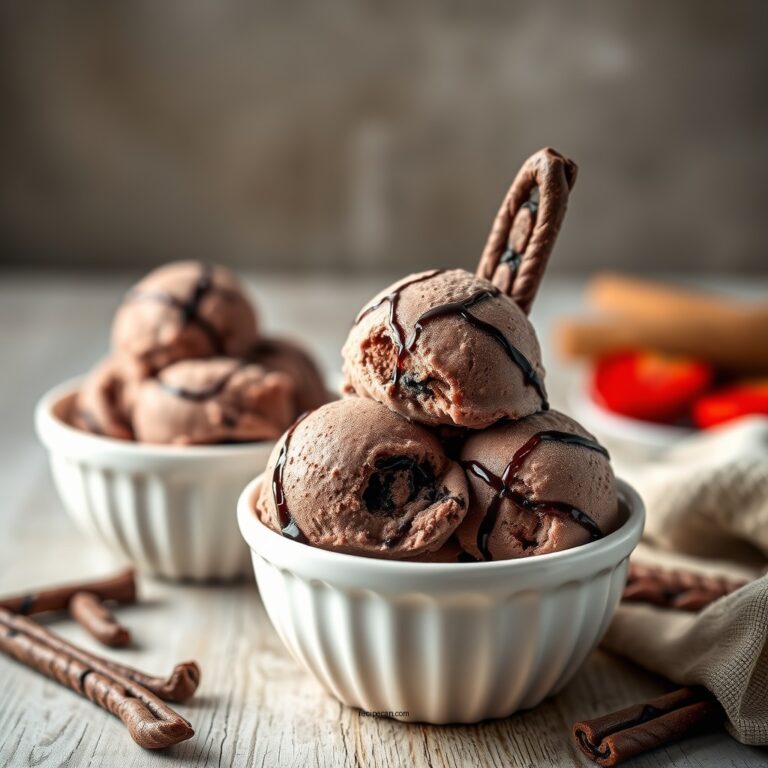
- Fold in flavorings such as vanilla, cocoa, or roasted fruit to enhance aroma and depth without dulling brightness.
- Taste frequently to balance sweetness and richness, adjusting as needed.
- Chill the base completely before churning.
- Churn the mixture until it has a silky texture.
- During freezing, stir occasionally to keep ice crystals small and preserve mouthfeel.
- Follow each step purposefully to honor flavor combinations and build culinary confidence.
How to Serve
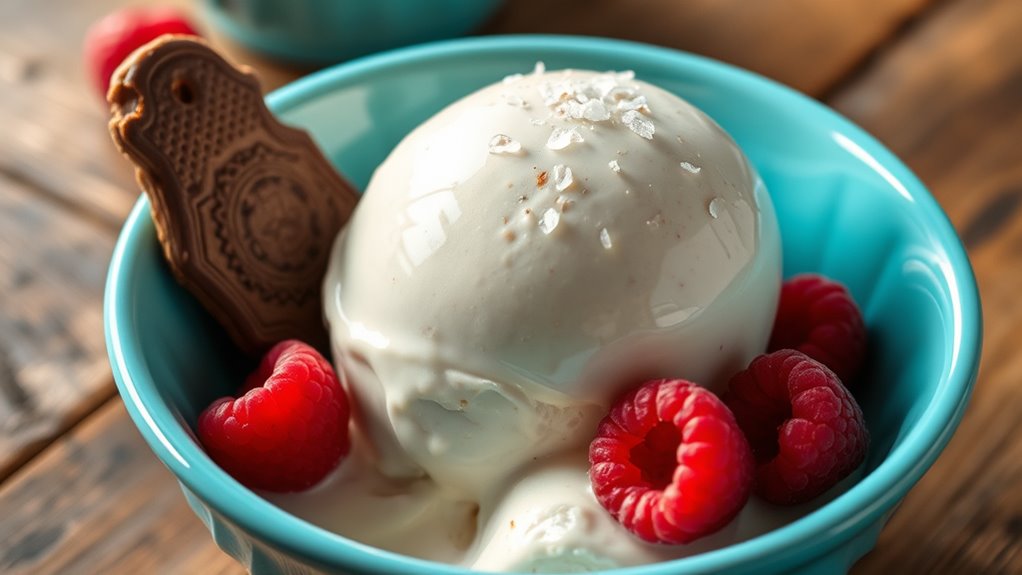
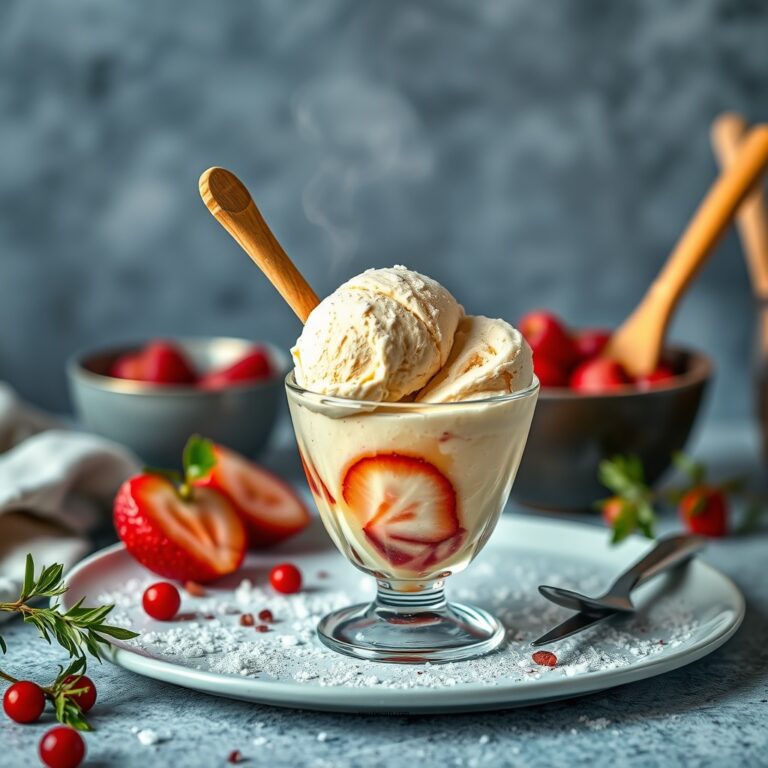
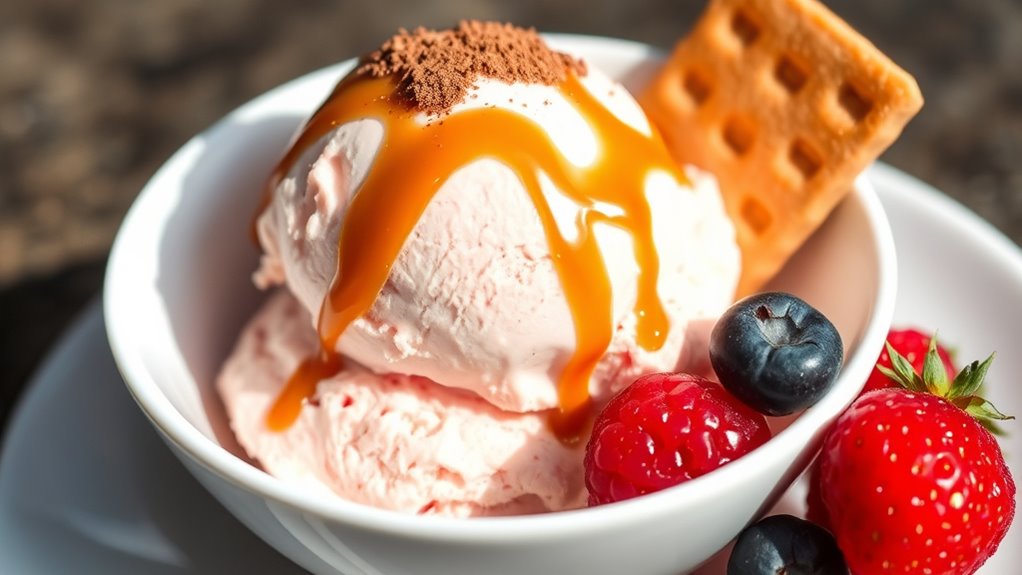
A scoop of homemade ice cream deserves a moment of presentation as inviting as its aroma. You plate with intention, letting the color and sheen speak before the first bite. Keep serving simple—bright bowls, a dusting of cocoa, a drizzle of caramel, or a pinch of flaky salt to wake the palate. For serving suggestions, pair a scoop with a warm dessert or fresh fruit, and offer optional toppings so guests customize their experience. Presentation ideas lean toward contrast: a quenelle or rounded scoop beside a crisp wafer, or a nest of chopped nuts for texture. You want the ice cream to look as liberating as it tastes, not crowded. Clear, generous portions invite curiosity and celebrate flavor.
Tips
Here are practical tips to keep your Homemade Cuisinart Ice Cream silky and scoop-ready, from base ingredients to texture tweaks. You’ll want balanced sweetness and fat to support scoopability, so aim for a creamier base with 2 cups heavy cream and 1 cup whole milk. Chill your base overnight, then churn until softly firm for better texture. For ice cream flavors, fold in flavorings at the end to prevent icy notes, and consider a splash of vanilla, cocoa, or fruit purée to sharpen aroma. Texture tips: avoid overchurning, which makes butter—stop when it looks glossy and droops like soft-serve. If too icy, add a tablespoon more cream during re-churn. Serve after 5–10 minutes for ideal scoopability.
Food Value and Benefit
Ice cream isn’t just a treat; it offers valuable nutrients and can be a part of a balanced diet when prepared mindfully. Homemade ice cream provides essential vitamins and minerals, including calcium, vitamin A, and phosphorus, primarily from dairy ingredients. It also contains protein, which supports muscle maintenance and overall energy.
Benefits of eating homemade ice cream include:
- Provides calcium for strong bones and teeth
- Supplies protein to support muscle health and repair
- Contains vitamin A, which promotes healthy skin and vision
- Offers phosphorus, important for bone strength and energy metabolism
- Allows control over sugar and fat content, aiding in healthier portion management
- Enables addition of nutrient-rich ingredients like fresh fruits and nuts, boosting fiber, antioxidants, and healthy fats
Frequently Asked Questions
How Long Does Churned Ice Cream Last in the Freezer?
Churned ice cream lasts about 1 to 2 months in the freezer. Shelf life varies with air exposure, so seal tightly. For best flavor, follow storage tips and enjoy within a month, savoring every creamy, freedom-filled bite.
Can I Use a Hand Mixer Instead of a Machine?
Yes, you can. With a hand mixer, you’ll whip base until it’s silky, then freeze, stirring every 30–40 minutes for texture. Hand mixer, ice cream becomes creamy, customizable, and free to chase flavor adventures.
Is Dairy-Free Milk Suitable for This Recipe?
Yes, you can use dairy-free milk; choose unsweetened, fortified options. You’ll notice creaminess varies, so tweak with dairy alternatives and a touch of fat. Explore flavor variations while embracing freedom in your frozen, indulgent creation.
How Do I Fix Icy Texture in Homemade Batches?
Aiming for a smoother bite, you just tweak ice cream temperature and mixing techniques—soften the chill, churn evenly, and fold gently. Keep your freezer steady, avoid over-processing, and savor the silkier texture without compromising freedom.
Can I Double the Recipe Without Weird Texture?
Yes, you can double the recipe, but aim for texture consistency by adjusting chilling time and churning cycles. Doubling ingredients may dilute flavor, so taste as you go and balance sweetness, fat, and mix-ins for a richer, freer scoop.
References
- https://www.foodsafety.gov/blog/ice-cream-safety.html
- https://www.extension.purdue.edu/extmedia/FNR/FNR-488-W.pdf
- https://www.cooking.nytimes.com/recipes/1019835-homemade-ice-cream
- https://www.icecreamscience.com/
- https://www.verywellfit.com/how-to-make-ice-cream-750599
- https://www.nationaldairycouncil.org/recipes/ice-cream
- https://www.icecream.com/ice-cream-101/how-to-make-ice-cream/