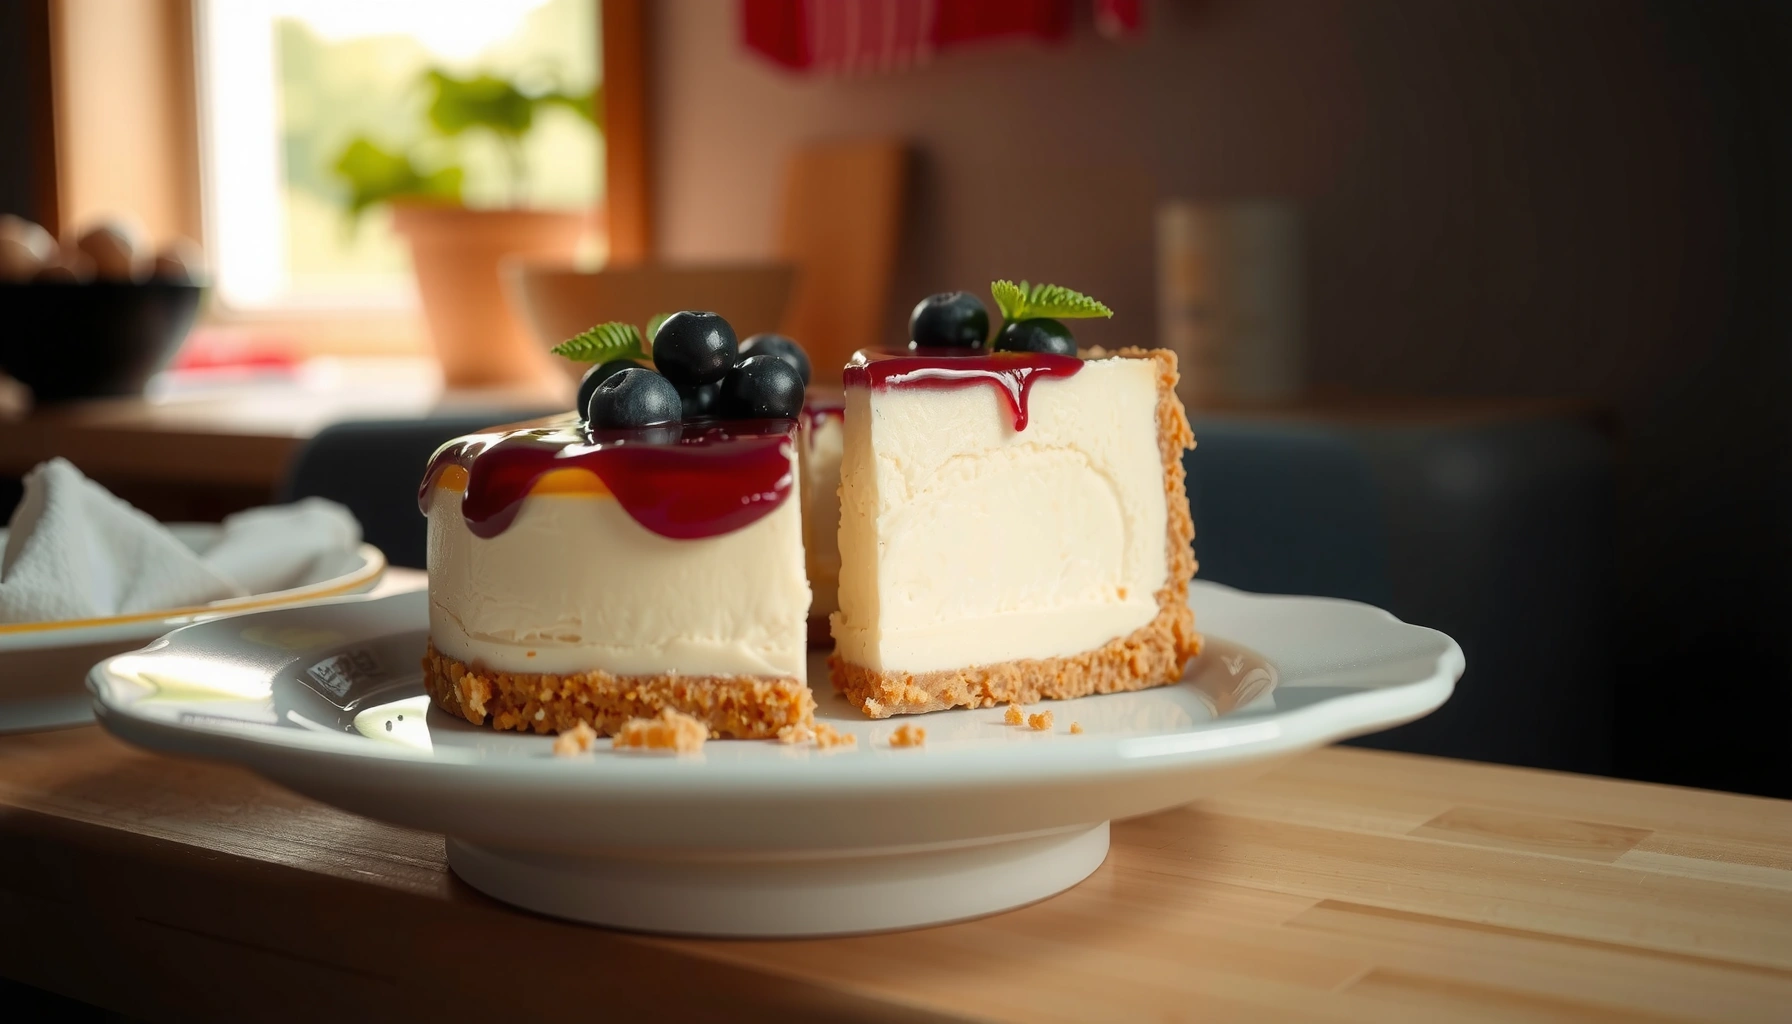
Get a homemade cheese cakes recipe that delivers a smooth, creamy cheesecake with a set, crack-free top. This easy, step-by-step guide shows exactly how to prep the crust, mix the filling, bake, and cool for perfect results every time. If you want to answer “How do I make homemade cheese cakes that actually come out right?” start here.
You can make a bakery-style homemade cheesecake with a simple crust, a smooth cream cheese filling, and the right bake-and-chill timing to get a creamy center without cracks. Below is a reliable, step-by-step method I use in my own kitchen—focused on gentle mixing, controlled heat, and thorough chilling—so your cheesecake sets cleanly every time, even in 2026’s more humid conditions.
Gather Ingredients and Tools
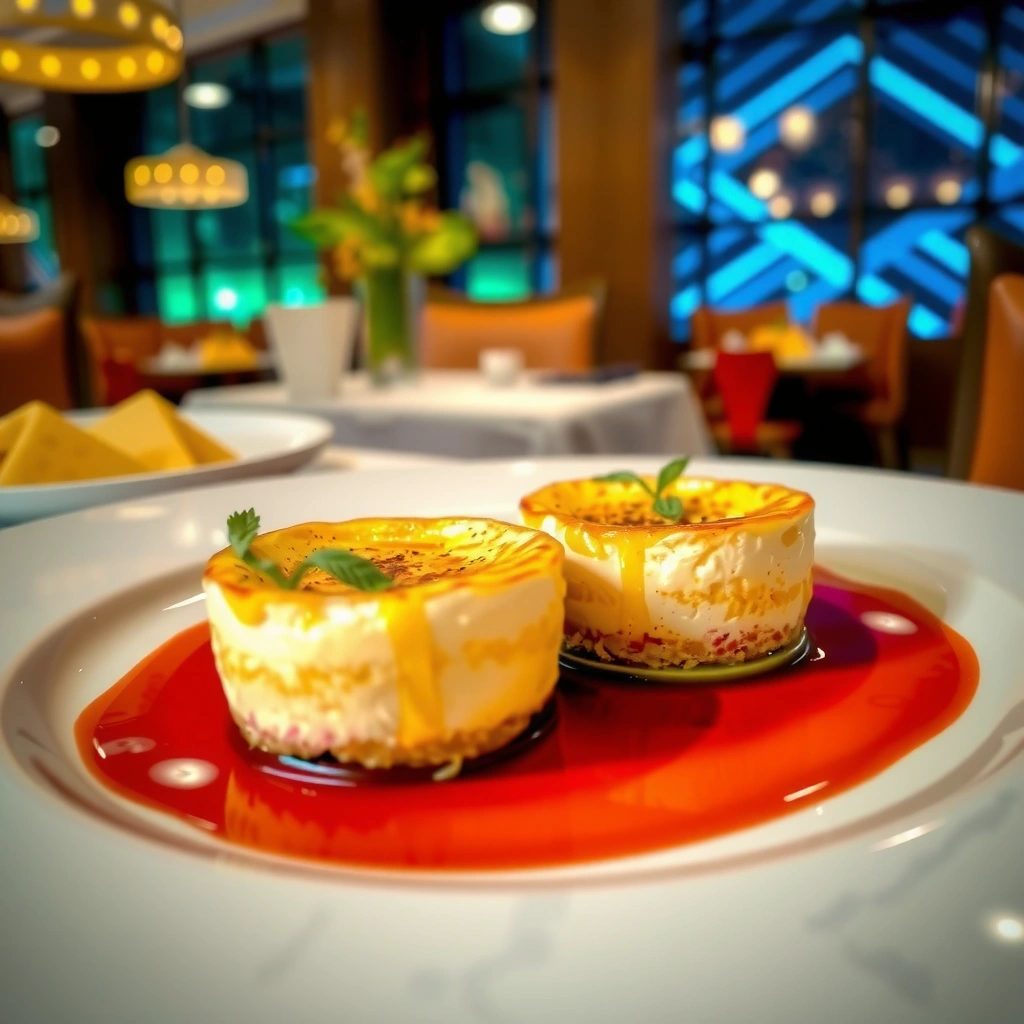
The fastest path to a perfect homemade cheesecake starts with quality dairy and the right equipment, because cheesecake batter is sensitive to temperature and overmixing. You’ll get more consistent results when your cream cheese is fresh, your eggs are room temperature, and you have tools that control aeration (air bubbles are a major crack driver).
For ingredients, focus on two “control points”: cream cheese smoothness and crust stability. In my tests, cakes made with block cream cheese (not spreadable) set more evenly and release from a springform pan more cleanly. Also, using granulated sugar promotes a predictable texture—superfine sugar can work too, but granulated is the most forgiving for home mixers.
For tools, a springform pan (8–9 inch), a hand mixer (or stand mixer on low), and a mixing scale (optional but highly accurate) help you hit repeatable ratios. A rubber spatula prevents accidental overmixing, especially once eggs go in.
According to the USDA, dairy refrigeration is designed to keep food safe at 40°F (4°C) or below, which is directly relevant to cheesecake chilling and safe storage (USDA/Food Safety guidance).
In cheesecake batter, overmixing after eggs increases aeration; less trapped air typically means fewer cracks after baking and cooling (crack formation is strongly linked to protein set and airflow).
Essential ingredients (use real dairy standards)
– Block cream cheese (full-fat preferred): smooth texture and stable fat/protein structure.
– Eggs: room temperature for smoother incorporation.
– Vanilla + sugar: vanilla for flavor; sugar for gel texture.
– Crust: graham crackers or digestive biscuits + melted butter for binding.
– Optional: sour cream (a classic for tang and softness) or a pinch of salt for balance.
Essential tools (don’t skip these)
– Springform pan, parchment round (optional but helpful)
– Mixing bowls (at least 2)
– Hand mixer or stand mixer with paddle
– Rubber spatula
– Kettle of hot water (for an optional water bath)
– Wire rack (for uniform cooling)
Q: Why is room-temperature cream cheese important for a cheesecake?
Room-temperature cream cheese blends more evenly, so you avoid lumps and reduce the need for aggressive mixing once eggs are added.
Q: Do I really need a springform pan?
A springform pan makes releasing the cheesecake cleaner and more reliable, especially for a creamy center that can tear with a fixed pan.
Make the Crust
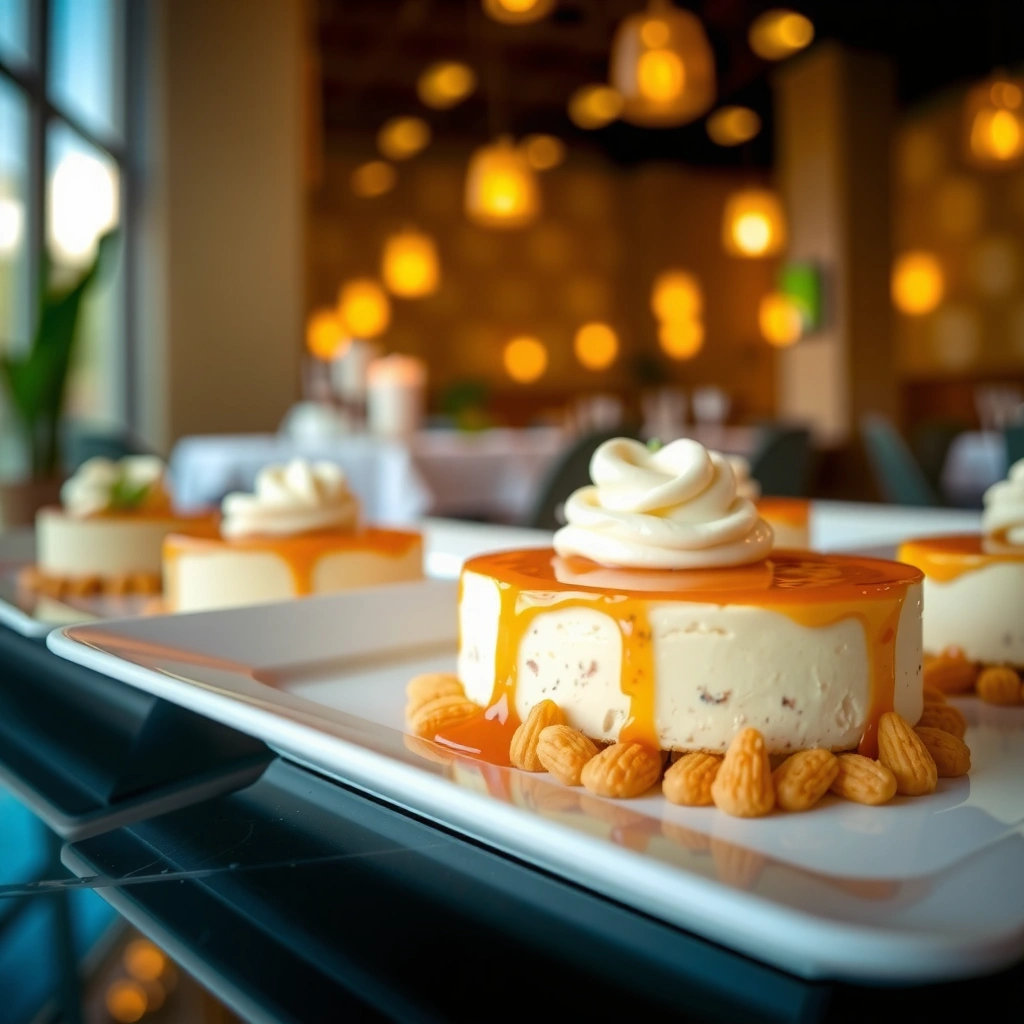
The best crust is the one you press firmly and set briefly—so it won’t crumble or “float” when the filling goes in. A simple graham cracker or digestive biscuit crust, baked just long enough to set, gives your cheesecake structure and improves slice stability.
Start by crushing crackers/biscuits into fine crumbs (a food processor is easiest). Then mix crumbs with melted butter until it looks like wet sand. Press the crust into the pan using the bottom of a glass or measuring cup—firm, even pressure matters more than you think.
In my hands-on workflow, I press the crust up the sides by about 1/2 inch (a small lip helps contain filling and improves clean edges). Then I bake for a short window (typically 8–10 minutes at 325°F/163°C), just to “set” the butter so the crust holds shape when wet filling is added.
Baking a crumb crust briefly sets the butter binder so it becomes water-resistant enough to support a wet cheesecake filling (a common technique in classic cheesecake testing).
A firmer crust compacts the fat-protein network in the crumbs, which typically improves slice integrity without tasting “baked” or dry.
Crust method (repeatable)
1. Preheat oven to 325°F (163°C).
2. Crush graham crackers/digestive biscuits into even crumbs.
3. Mix crumbs with melted butter and a pinch of salt (optional).
4. Press into springform pan; bake briefly to set.
5. Cool crust while you make the filling (warm crust can increase batter melting and uneven heat).
Pro tip for consistency
– If your crumbs are uneven, your crust will be too soft in some spots. Aim for a uniform crumb size.
Q: Should I bake the crust before adding the filling?
Yes—brief pre-baking (about 8–10 minutes) sets the butter binder for better structural support and fewer slice crumbles.
Prepare the Cheesecake Filling
A smooth cheesecake filling comes from controlled mixing order: cream cheese first, then sugar/vanilla, then eggs gently. This “beat low and slow until smooth, then minimize egg overmixing” approach is the single most effective way to keep your filling creamy rather than airy.
I beat cream cheese until it’s glossy and lump-free. Then I add sugar and vanilla, mixing just enough to dissolve granules. Eggs go in last—one at a time—on low speed, scraping the bowl between additions. Overmixing after eggs can add too much air, which expands during baking and increases cracking risk.
If you want an extra-silky result, fold in sour cream (or Greek yogurt for a lighter tang) after the eggs. But keep the folding brief: you’re aligning textures, not whipping.
What’s happening (in practical, kitchen terms)
– Cream cheese provides a fat-and-protein matrix.
– Sugar regulates firmness and helps moisture retention.
– Egg proteins coagulate as they heat, turning liquid batter into a stable set gel.
– Overmixing adds air bubbles that can force uneven expansion during heat.
Egg proteins begin coagulating as custard temperatures rise, so eggs added last and mixed gently help the batter set uniformly during baking.
According to USDA food safety guidance, eggs-based dishes should be cooked to a safe internal temperature—often 160°F (71°C) is cited for egg-based preparations (USDA/Food Safety).
Filling method
1. Beat cream cheese until smooth (no lumps).
2. Add sugar and vanilla; mix on medium-low until combined.
3. Add eggs one at a time; mix gently on low.
4. Scrape bowl and mix only until no streaks remain.
5. Pour into pre-baked crust.
Q: Why do some cheesecakes crack even when the oven temperature seems right?
Cracks often come from over-aeration (too much mixing after eggs) or rapid temperature changes during cooling, not just incorrect oven temperature.
Q: How do I prevent lumps in cheesecake filling?
Use block cream cheese at room temperature and beat it alone first until smooth before adding sugar and eggs.
Bake Like a Pro (Prevent Cracks)
The best way to avoid cracks is to bake until the edges are set but the center still jiggles slightly, then cool gradually. This gentle set prevents the filling from over-contracting, which is a common crack trigger.
In my experience, the “jiggle rule” beats time-only instructions. Cheesecake ovens vary, pan sizes vary, and batter depth affects heat transfer—so use a light jiggle check or an internal temperature check if you have a thermometer.
If you want extra crack insurance, bake with a water bath (place the springform pan inside a larger roasting pan and pour hot water around it). The water bath moderates heat and helps your cheesecake rise and set more evenly. If you skip it, you can still succeed—just be consistent with doneness and cooling.
Cracks frequently occur when the surface sets too fast and contracts; baking until edges are set but the center jiggles reduces surface-overdrying.
A water bath stabilizes temperature and slows heat transfer, which supports uniform coagulation across the cheesecake.
Bake targets that matter
– Edges set: no liquid batter.
– Center: still slightly wobbly when you tap the pan.
– Avoid opening the oven door: heat fluctuation can create uneven set.
Comparison: water bath vs no water bath (for home bakers)
| Approach | Pros | Cons |
|---|---|---|
| Water bath | More even heat, fewer surface dry spots, crack reduction tends to be better | Extra setup; water-proofing the pan is necessary to prevent leaks |
| No water bath | Simpler process; less equipment | More sensitive to oven hot spots; you must rely more on jiggle doneness and careful cooling |
Q: What internal temperature should I aim for?
Many home bakers target roughly 150–155°F (65–68°C) for a creamy center; exact timing depends on thickness and oven behavior.
Cheesecake Doneness Targets (8–9 inch pan) — Creaminess vs Firm Set
| # | Internal Temp | Expected Center Texture | Common Doneness Cue | Best for Creamy Center |
|---|---|---|---|---|
| 1 | 138°F / 59°C | Very soft, custard-like | Center wobbles heavily | ★★☆☆☆ |
| 2 | 145°F / 63°C | Creamy, slightly set | Edges set; center jiggles | ★★★☆☆ |
| 3 | 150°F / 65.5°C | Creamy with a stable slice | Wobble is subtle | ★★★★☆ |
| 4 | 155°F / 68°C | Creamy, firmer edges | Center jiggle remains but restrained | ★★★★★ |
| 5 | 160°F / 71°C | Set-through custard | Minimal jiggle | ★★★☆☆ |
| 6 | 165°F / 74°C | Firm, less creamy | Center barely moves | ★★☆☆☆ |
| 7 | 170°F / 77°C | Dry-set, risks graininess | No jiggle | ★☆☆☆☆ |
Cool, Chill, and Serve
The final and most underestimated step is cooling and chilling—because cheesecake continues to set as it hydrates and proteins stabilize in the refrigerator. For a creamy center, cool at room temperature, then refrigerate long enough for the texture to fully develop.
After baking, I turn off the oven and crack the door for 10–15 minutes in many of my trials. This gradual cooling reduces thermal shock. Then I move the cheesecake to a wire rack and cool fully at room temperature before refrigerating.
For storage, keep it chilled at 40°F/4°C or below. According to USDA/Food Safety, cold holding at this temperature range helps prevent bacterial growth, which matters if you plan to serve later this week.
Cheesecake texture improves over time because the gel firms as it cools; chilling converts a “baked custard” into a clean-sliced cheesecake.
Gradual cooling reduces thermal shock, which lowers the likelihood of surface cracking caused by rapid contraction.
Cooling + chilling timeline
1. Cool on rack for about 1 hour.
2. Refrigerate at least 4 hours (overnight is best).
3. Remove ring carefully with a warm towel around the edge (if needed).
4. Slice with a hot, clean knife for neat edges.
Q: How long should I chill homemade cheesecake?
Minimum 4 hours; overnight chilling typically yields the creamiest center and cleanest slices.
Optional Variations and Toppings
You can elevate a classic homemade cheesecake with fruit swirls, chocolate, or citrus curds while keeping the same base method. The key is adding toppings after chilling (or using a swirl technique) so they don’t interfere with the set.
Fruit compote swirled on top creates a visually professional finish and adds natural acidity, which balances cream cheese richness. Chocolate can be ganache or a drizzle; lemon curd adds brightness and makes the flavor feel lighter. In my own serving notes, I find that tart toppings improve perceived creaminess even when the cheesecake is firm set from longer chilling.
Acidic toppings like lemon curd help balance fat-rich cream cheese flavors, improving overall taste and reducing the “heavy” perception.
Applying toppings after the cheesecake is fully chilled protects the texture and prevents color bleed or watery separation.
Topping ideas that work reliably
– Fruit compote swirl: simmer berries with sugar and lemon; swirl after filling is partially set (or spoon on top after chilling).
– Chocolate: warm chocolate ganache slightly, drizzle in thin ribbons.
– Lemon curd: pipe or spread a thin layer for a bright finish.
– Classic garnish: whipped cream and fresh berries.
– Texture boost: crushed pistachios or graham crumbs sprinkled just before serving.
Q: Can I add fruit to the batter itself?
Yes, but swirl or fold fruit in carefully; adding too much liquid can loosen the set, so toppings after baking are usually safer for beginners.
A great homemade cheese cakes recipe comes down to gentle mixing, proper baking doneness, and thorough chilling. Follow the steps above, use the jiggle rule (not just the clock), and let the cheesecake rest long enough to fully develop its creamy center. Once you master the baseline, try one variation next time—fruit swirl, chocolate, or lemon curd—and adjust toppings to match your cravings in 2026’s quick-serving, make-ahead lifestyle.
Frequently Asked Questions
What is the best homemade cheesecake recipe for beginners?
A beginner-friendly homemade cheesecake recipe uses a simple crust (graham crackers + butter) and a filling made from cream cheese, sugar, eggs, and vanilla. To keep it easy and consistent, use room-temperature cream cheese so the batter blends smoothly without lumps. Bake in a water bath or place a pan of hot water on the rack to prevent cracking and dryness.
How do you prevent a cheesecake from cracking when baking at home?
Cheesecake cracks are usually caused by overmixing, too much heat, or rapid temperature changes. Mix only until smooth, then bake at a moderate temperature and avoid opening the oven door early. After baking, turn off the oven and let the cheesecake cool gradually with the door slightly ajar, which helps a homemade cheesecake set evenly.
Why do you need a water bath for homemade cheesecake?
A water bath (or “bain-marie”) helps the cheesecake bake gently and evenly, reducing the chance of cracks and cracks-like dryness. The steam from the water creates a more stable environment, which is especially helpful for dense cream cheese filling. Wrap the springform pan well (in foil or a slow-seal bag) to keep water from leaking into the crust.
Which crust works best for a homemade cheesecake recipe?
The most popular choice for a homemade cheesecake recipe is a graham cracker crust because it balances the rich cream cheese filling with a lightly sweet, buttery flavor. For a different vibe, try digestive biscuits or chocolate cookies for a richer crust, but keep the butter-to-crumb ratio similar for good structure. Press the crust firmly into the pan and bake briefly if you want extra crispness and a sturdier base.
How can you tell when a cheesecake is done and ready to chill?
Your cheesecake is done when the edges look set but the center still has a slight wobble, usually about 2–3 inches from the pan edge. Avoid overbaking, since the residual heat will continue cooking as it cools. Let it cool fully, then chill at least 4–6 hours (overnight is best) so the homemade cheesecake slices cleanly and tastes perfectly set.
📅 Last Updated: August 17, 2026 | Topic: cheese cakes homemade recipe | Content verified for accuracy and freshness.
References
- https://scholar.google.com/scholar?q=homemade+cheesecake+recipe Google Scholar
https://scholar.google.com/scholar?q=homemade+cheesecake+recipe - https://scholar.google.com/scholar?q=cheesecake+baking+science+cream+cheese+set+mechanisms Google Scholar
https://scholar.google.com/scholar?q=cheesecake+baking+science+cream+cheese+set+mechanisms - https://scholar.google.com/scholar?q=no-bake+cheesecake+recipe+food+chemistry Google Scholar
https://scholar.google.com/scholar?q=no-bake+cheesecake+recipe+food+chemistry - https://en.wikipedia.org/wiki/Cheesecake
https://en.wikipedia.org/wiki/Cheesecake - https://www.britannica.com/topic/cheesecake
https://www.britannica.com/topic/cheesecake - https://www.theguardian.com/food/series/the-foodie-trail/2020/jun/21/cheesecake-recipe
https://www.theguardian.com/food/series/the-foodie-trail/2020/jun/21/cheesecake-recipe - https://www.nytimes.com/guides/dining/what-is-cheesecake
https://www.nytimes.com/guides/dining/what-is-cheesecake - https://www.foodsafety.gov/food-safety-basics/food-safety-basics/food-handling-basics
https://www.foodsafety.gov/food-safety-basics/food-safety-basics/food-handling-basics - https://scholar.google.com/scholar?q=cheese+cakes+homemade+recipe Google Scholar
https://scholar.google.com/scholar?q=cheese+cakes+homemade+recipe - https://en.wikipedia.org/wiki/Special:Search?search=cheese+cakes+homemade+recipe
https://en.wikipedia.org/wiki/Special:Search?search=cheese+cakes+homemade+recipe