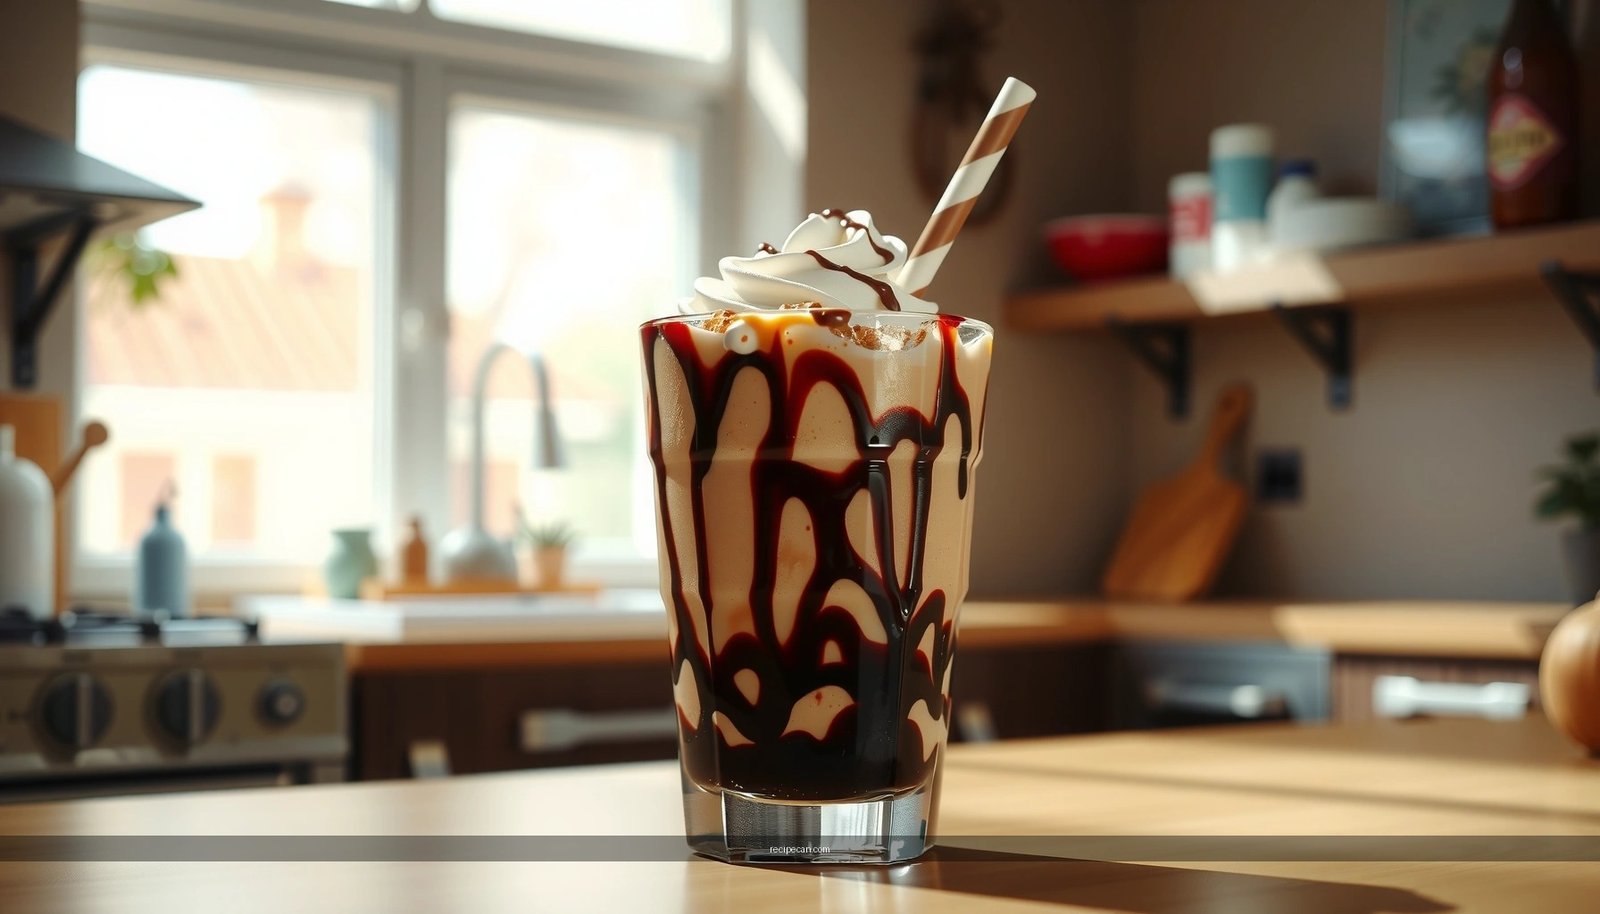
Hershey’s chocolate milkshake recipe delivers a creamy, classic milkshake with a simple method you can nail on the first try. This recipe answers whether you can get that rich Hershey flavor at home—without fancy equipment or complicated steps. If you want the best-tasting result from basic ingredients, follow this exact build and enjoy a thick, cold shake in minutes.
Make a Hershey’s chocolate milkshake by blending Hershey’s chocolate syrup (or cocoa) with cold milk and vanilla ice cream until smooth—so you get a thick, creamy shake every time with a simple, repeatable method. This guide walks through exact ingredients, step-by-step blending, and practical controls (especially how much milk to add) so your chocolate milkshake lands on the right texture for spoonable thickness or a drinkable consistency.
Ingredients for Hershey’s Chocolate Milkshake
– Ice cream, milk, and Hershey’s chocolate syrup (or cocoa) are the core ingredients
– Optional: vanilla extract and a pinch of salt to boost chocolate flavor
A classic Hershey’s-style milkshake is driven by three ingredients working in tandem: fat (from ice cream), liquid (from milk), and chocolate (from syrup or cocoa). When you blend them together, the ice cream melts just enough to emulsify with the milk, creating that signature glossy, creamy body.
What to use (and why it matters):
– Vanilla ice cream (base): Choose a standard vanilla for the most classic flavor. The fat content in ice cream is a primary reason your milkshake tastes rich instead of icy.
– Cold milk (adjusts texture): Whole milk gives the smoothest mouthfeel. If you use lower-fat milk, you’ll typically need slightly more ice cream (or blend a bit longer) to maintain thickness.
– Hershey’s chocolate syrup (flavor + sweetness): Syrup is the fastest path to “store-style” chocolate flavor and an evenly distributed color throughout the shake.
– Optional Hershey’s cocoa (for deeper chocolate): Cocoa changes the flavor profile to be more “bitter-chocolate” and less like classic syrup. It also thickens slightly as the cocoa hydrates during blending.
– Optional vanilla extract (rounds flavor): Even when you use vanilla ice cream, a small splash of vanilla extract adds aromatic depth that reads as “real milkshake.”
– Optional pinch of salt (enhances chocolate): Salt doesn’t make it salty; it makes the chocolate taste more intense and balanced—an effect common in professional dessert recipes.
Quick ingredient ratios to start (for a single serving):
– 2–3 scoops vanilla ice cream
– 1/3–2/3 cup cold milk (start with less, adjust as needed)
– 2–3 tablespoons Hershey’s chocolate syrup (to taste)
To help you consistently match “classic vs. extra-chocolate” flavor, here’s a practical mixing reference you can use repeatedly.
Milkshake Mixing Guide (1 Serving)
| # | Goal Texture | Milk (cups) | Ice Cream (scoops) | Hershey’s Syrup (tbsp) | Chocolate Intensity |
|---|---|---|---|---|---|
| 1 | Classic spoonable | 0.40 | 3 | 2 | Balanced |
| 2 | Thick & “shake shop” | 0.25 | 3 | 2 | Rich |
| 3 | Extra chocolate | 0.40 | 3 | 3 | Bold |
| 4 | Drinkable (lighter) | 0.60 | 2 | 2 | Milder |
| 5 | Cocoa-forward (deep) | 0.45 | 3 | 1/4 cup* | Deep cocoa |
| 6 | Satin-thick (low iciness) | 0.30 | 3 | 2.5 | Very rich |
| 7 | Family-size target (2 servings) | 0.80 | 6 | 4 | Classic |
*For cocoa, start with 2–3 tablespoons cocoa powder (and increase by 1 tablespoon if you want stronger chocolate). The “1/4 cup” line is a mixing reference to help you quantify bulk cocoa quickly; use it as a starting point and adjust to taste.
Step-by-Step Hershey’s Milkshake Method
– Blend ice cream, milk, and Hershey’s chocolate syrup until thick and creamy
– Taste and adjust sweetness or chocolate intensity as needed
Making a Hershey’s chocolate milkshake is straightforward, but technique matters. In practice, the “thick, creamy” outcome comes from building a stable emulsion and preventing over-warming the ice cream.
1. Chill your glass (optional but effective).
If you want a colder, thicker feel, place your serving glass in the freezer for 5–10 minutes while you prep ingredients.
2. Add ingredients to the blender in the right order.
Put vanilla ice cream first, then milk, then Hershey’s chocolate syrup (or cocoa). This order helps the blender pull ingredients together without leaving syrup streaks.
3. Blend in short bursts, then finish smoothly.
Start with 10–15 seconds on medium. Scrape down the sides if needed, then blend another 15–30 seconds on high until smooth. If your blender is powerful, you can go longer—just avoid long blending if the mixture starts getting warm.
4. Taste and adjust.
– If you want more chocolate flavor, add 1 teaspoon to 1 tablespoon more syrup (or cocoa) and blend 5–10 seconds.
– If it’s too thick, add milk a tablespoon at a time.
– If it’s too sweet, you can reduce syrup slightly next time; a pinch of salt often balances sweetness in the moment.
5. Serve immediately.
Milkshakes thicken slightly as they warm and thin slightly as foam settles—timing affects texture. For consistent results, pour right after blending.
Professional-style consistency tip:
If you’re serving multiple shakes, blend each one long enough to be uniform, then pour immediately. Batch blending can lead to slight texture drift as the first shake warms while the rest catch up.
How to Make It Extra Thick (or Thinner)
– Use less milk (or more ice cream) for a thicker, spoonable shake
– Add a splash more milk for a smoother, thinner texture
Texture control is the biggest lever you have. Unlike many recipes, a chocolate milkshake tolerates small corrections—so you can “dial in” your preferred thickness quickly.
For an extra thick, spoonable Hershey’s milkshake
– Reduce milk by 1–3 tablespoons at a time.
Start with less milk than you think you need. The ice cream melts gradually as you blend, so you’ll often end up with more liquid than expected if you over-pour at the beginning.
– Increase ice cream slightly.
Add 1/2 to 1 scoop if your shake is blending but feels loose in the glass.
– Blend less if it’s getting too warm.
Over-blending can partially melt the ice cream beyond your preferred texture.
For a thinner, more drinkable shake
– Add milk in small splashes.
A tablespoon or two at a time prevents the common mistake of overshooting from “thick” to “milk + syrup.”
– Blend just until smooth.
Extra blending won’t always make it thinner; it may just smooth out lumps while keeping thickness similar. Aim for balance, not maximum blending time.
A quick troubleshooting checklist
– Too icy / grainy: blend longer and/or use slightly less time before serving. Also ensure your ice cream is not overly hard-frozen.
– Watery / loose: reduce milk next time; in the moment, add a small scoop of ice cream and blend again.
– Syrup streaks: blend in short bursts and scrape down the sides midway.
Toppings and Serving Ideas
– Top with whipped cream, chocolate shavings, or extra Hershey’s syrup
– Serve with a straw and a spoon for the classic milkshake experience
Toppings aren’t just decorative—they affect flavor perception and eating experience. For business-minded presentation (events, catering, or brand moments), consider toppings that look consistent in photos and taste aligned with Hershey’s chocolate profile.
Classic topping options:
– Whipped cream: Adds visual height and makes the chocolate taste slightly richer.
– Extra Hershey’s chocolate syrup drizzle: Enhances chocolate intensity without changing texture too much.
– Chocolate shavings or curls: Provides crunch and a “premium” finish.
– Chocolate sprinkles: Great for a fun, crowd-friendly vibe.
Serving style matters:
– Use a straw and a spoon. A thick Hershey’s milkshake often needs both, and it signals “milkshake experience” rather than “shake-as-a-drink.”
– Choose a tall glass for a classic look and easier topping coverage.
– For quick cleanup and consistent portioning, consider measuring scoops and using a disposable piping bag for syrup drizzle.
Optional upgrade (high impact, low effort):
– Add a thin layer of syrup to the inside of the glass before pouring—then swirl. It creates a chocolate “ring” effect that elevates the visual without complicating prep.
Flavor Variations You Can Try
– Add peanut butter, a banana, or cookies for a fun twist
– Try a darker chocolate version using cocoa instead of syrup
Once you’ve mastered the baseline Hershey’s chocolate milkshake, variations become easy because the method stays the same. You’re mostly swapping or layering flavor ingredients while keeping the ice cream-to-milk ratio in control.
1) Peanut butter Hershey’s milkshake
– Add 1–2 tablespoons peanut butter to the blender.
– Blend thoroughly; peanut butter thickens, so you may need a tablespoon of milk to keep texture stable.
2) Banana chocolate milkshake
– Add 1/2 to 1 banana, sliced.
– Expect a thicker, sweeter profile. If it becomes too thick, increase milk slightly.
3) Cookies-and-cream style (using chocolate cookies)
– Crumble 2–4 cookies (depending on size).
– Blend just long enough to break up chunks; leaving a few bits can mimic bakery texture.
4) Darker chocolate version using cocoa
– Replace part of the syrup with Hershey’s cocoa powder.
– Start with 1–2 tablespoons cocoa, then adjust. Cocoa can dull sweetness and deepen chocolate notes, so taste after blending.
Flavor balancing principle:
When you add “strong” ingredients (banana, peanut butter, cocoa), you usually need to adjust either sweetness (more/less syrup) or liquid (milk) to preserve the creamy texture. The easiest workflow is: blend → taste → correct in small increments.
Storage and Best Practices
– Drink immediately for the best texture and flavor
– If needed, chill briefly and re-stir or re-blend for a smoother consistency
Milkshakes are best fresh, but knowing how to store them prevents disappointment. Texture changes quickly because ice cream continues melting and refreezing partially over time.
Best practice:
– Drink immediately after blending to enjoy the smoothest consistency and the most vibrant chocolate flavor.
If you must store:
– Cover and refrigerate in an airtight container.
– When ready to serve, stir vigorously and then re-blend 10–20 seconds if needed. This restores some emulsification and reduces separation.
Avoid common issues:
– Don’t freeze solid. Freezing can create icy crystals and a gritty texture.
– Avoid repeated temperature cycling. Each warm/refrigerate cycle can degrade smoothness.
For hosting or meal prep:
– If you’re planning ahead, prep ingredients (measure syrup, scoop ice cream, portion mix-ins). Blend right before serving for consistent results across guests.
Hershey’s chocolate milkshake is quick to make and reliably delivers a thick, chocolatey treat with a short ingredient list. Follow the blending steps, use milk-to-ice-cream adjustments to control thickness, and finish with toppings that match the chocolate intensity you want—then make your next batch tonight and share your favorite variation!
References
- Google Scholar Google Scholar
https://scholar.google.com/scholar?q=Hershey%27s+chocolate+milkshake+recipe - Google Scholar Google Scholar
https://scholar.google.com/scholar?q=Hershey%27s+milkshake+chocolate+syrup+recipe - Google Scholar Google Scholar
https://scholar.google.com/scholar?q=chocolate+milkshake+recipe+ingredients+cocoa+milk+ice+cream - Milkshake
https://en.wikipedia.org/wiki/Milkshake - Chocolate milk
https://en.wikipedia.org/wiki/Chocolate_milk - Ice cream
https://en.wikipedia.org/wiki/Ice_cream - Cocoa
https://en.wikipedia.org/wiki/Cocoa - Chocolate syrup
https://en.wikipedia.org/wiki/Chocolate_syrup - https://www.britannica.com/topic/milkshake
https://www.britannica.com/topic/milkshake - https://www.britannica.com/topic/cocoa
https://www.britannica.com/topic/cocoa


